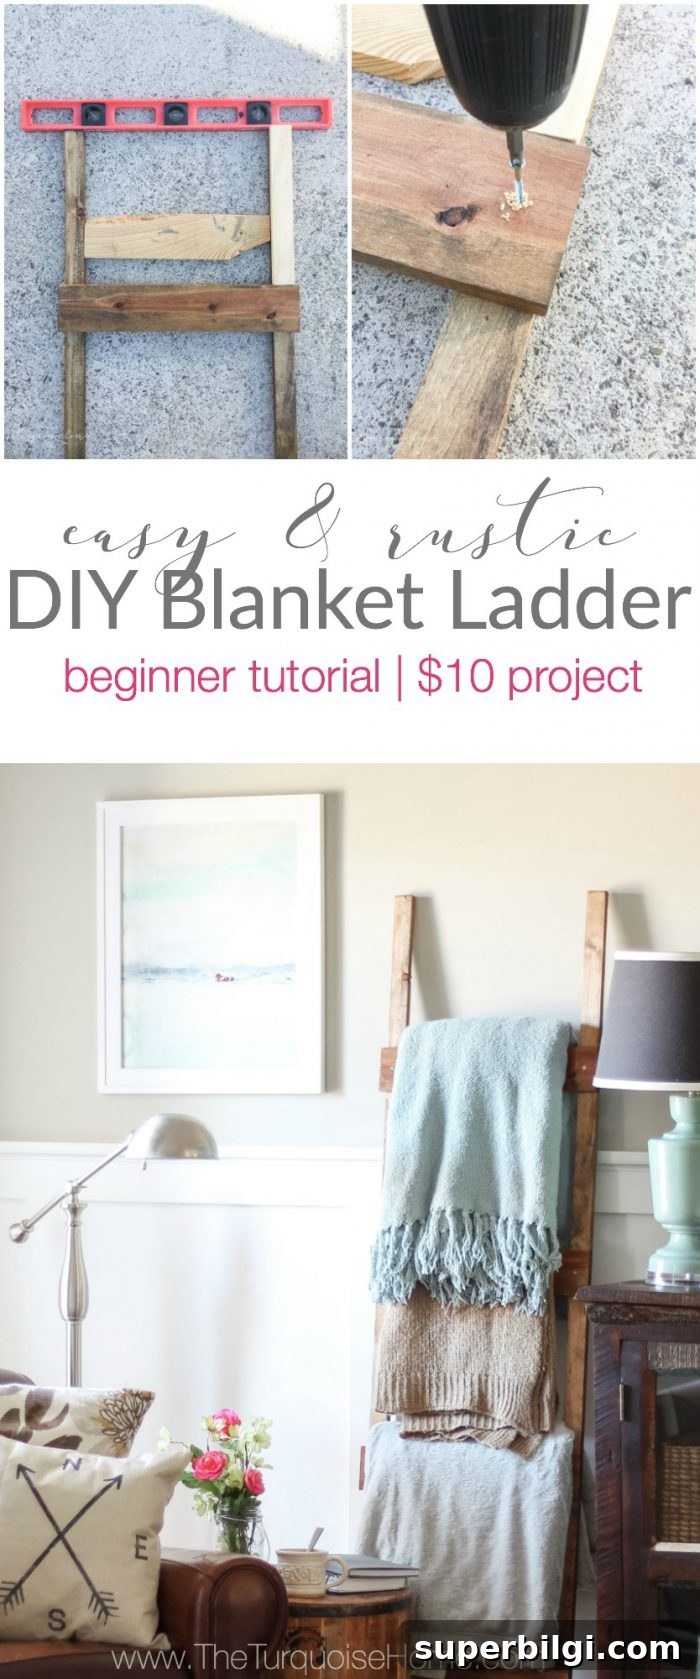
Build a simple DIY blanket ladder that neatly stores and displays throws while adding farmhouse charm to your home. This project is budget-friendly and quick—most supplies cost under $10 and you can finish it in under 30 minutes.
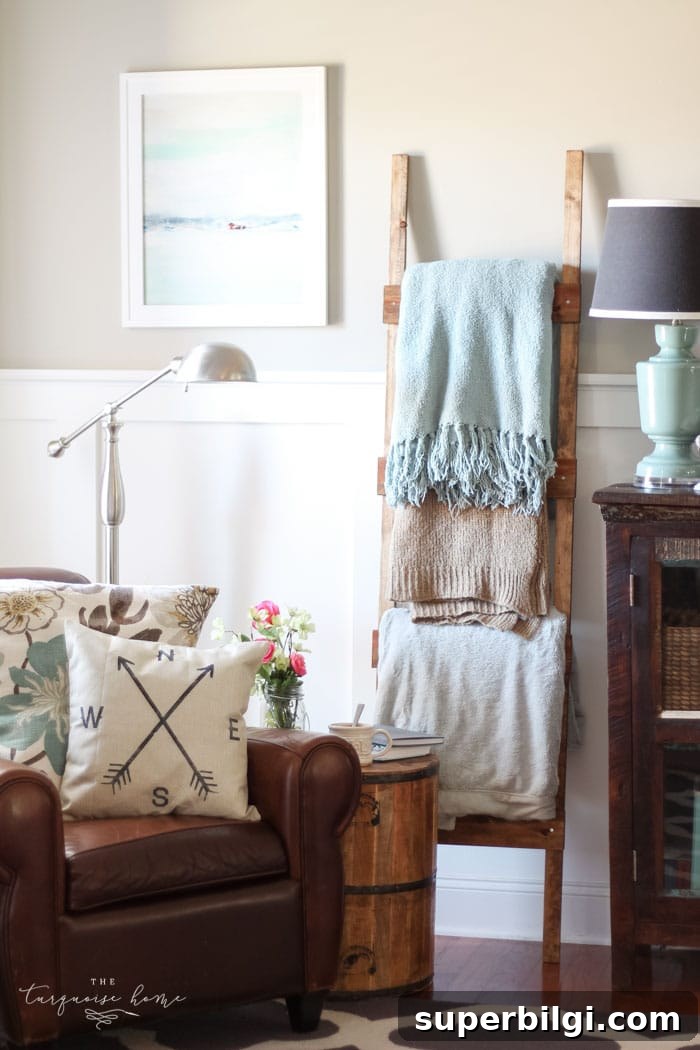
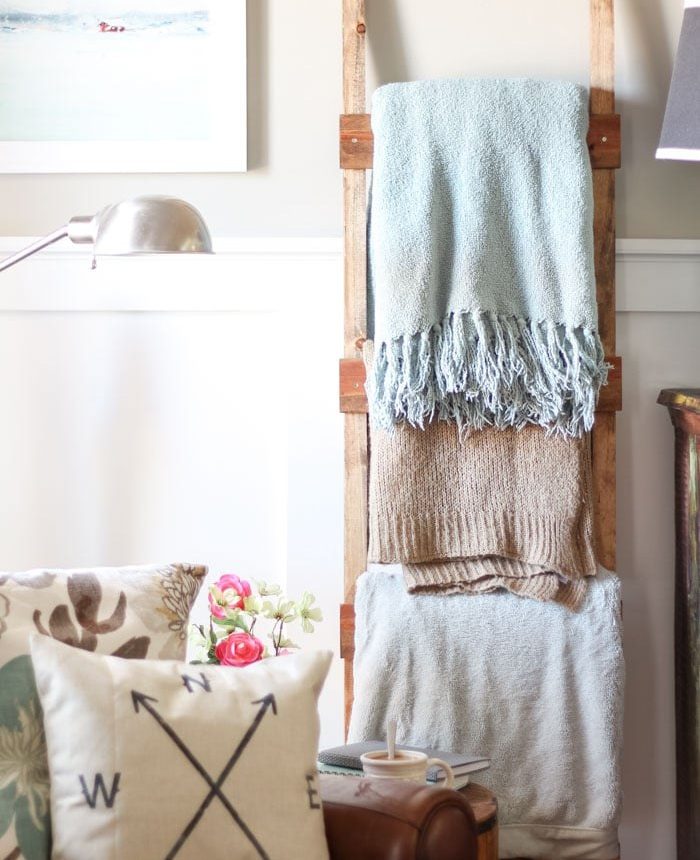
I finally made the blanket ladder I’d been wanting for years, and it was faster and easier than I expected. If you’ve been hesitating, this straightforward project is a great place to start—minimal tools, basic cuts, and a beautiful result that adds texture and function to any room.
This ladder is very inexpensive when you already have a few basic tools. I kept costs low by using common lumber sizes and simple fasteners. Below is a list of supplies, followed by step-by-step instructions and practical tips to help you finish a stable, attractive ladder.
Supplies You’ll Need for a DIY Blanket Ladder
- 2 — 1 x 2 x 72 boards. These are the ladder side rails. Buy two boards cut to the same length.
- 1 — 1 x 4 x 96 board. This board supplies the rungs. You only need about 6 feet for six rungs, but an 8-foot board gives extra material for mistakes or adjustments.
- Drill (drill bits recommended, optional for pre-drilling).
- Circular saw or miter saw. Either works for straight, accurate cuts.
- Wood screws (1–1.5 inch length recommended).
- Tape measure or ruler.
- Wood glue.
- Paint brush or foam brush.
- Stain or paint in your chosen color.
- Scrap wood pieces (optional, to use as guides).
Tip: When buying lumber, lay boards flat on the store floor to check for straightness. Warped boards will make assembly difficult and the finished ladder uneven.
How to Build a DIY Blanket Ladder
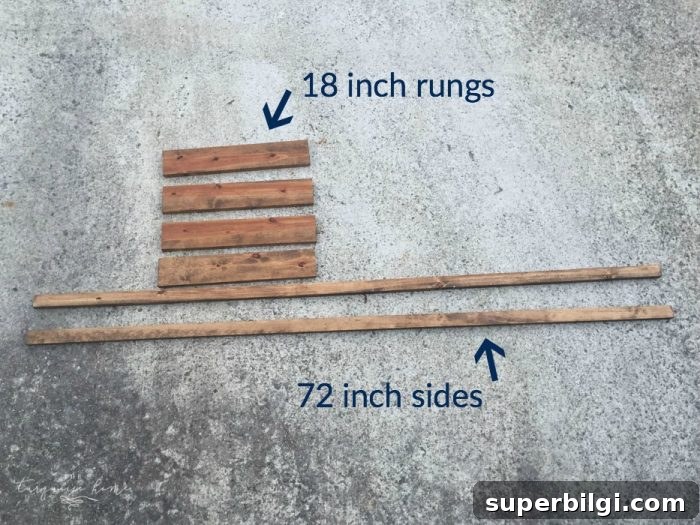
Step 1 — Cut the 1 x 4 x 96 into 18-inch pieces for the rungs
Measure and cut the 1 x 4 board into equal 18-inch lengths. These will become the ladder rungs; plan for as many rungs as you want depending on spacing and ladder height.
Step 2 — Sand all wood pieces
Smooth any rough edges and corners so blankets won’t catch. A quick sanding pass makes a big difference in the final look and feel.
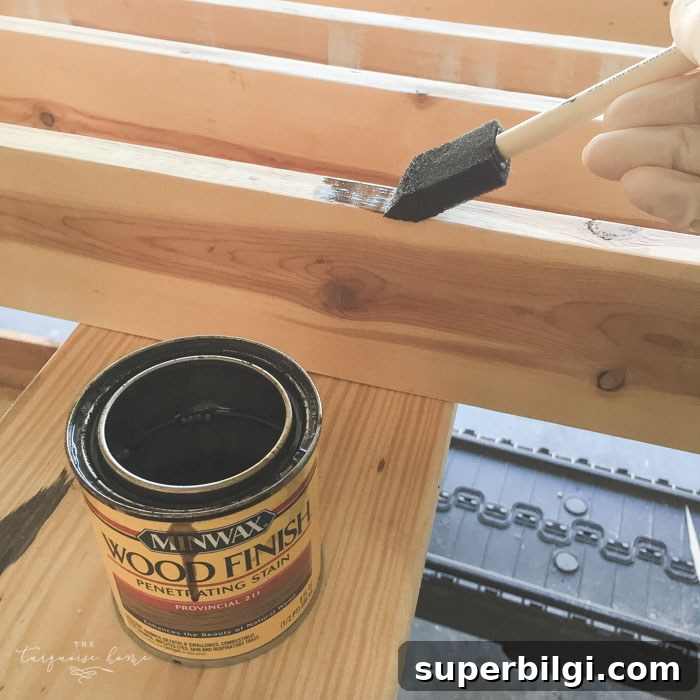
Step 3 — Stain or paint the pieces
Choose a stain or paint color that fits your decor. I used Minwax’s Provincial for a warm, classic tone. Allow the finish to dry thoroughly—overnight or a day—before assembly to avoid lingering odors and to make handling easier.
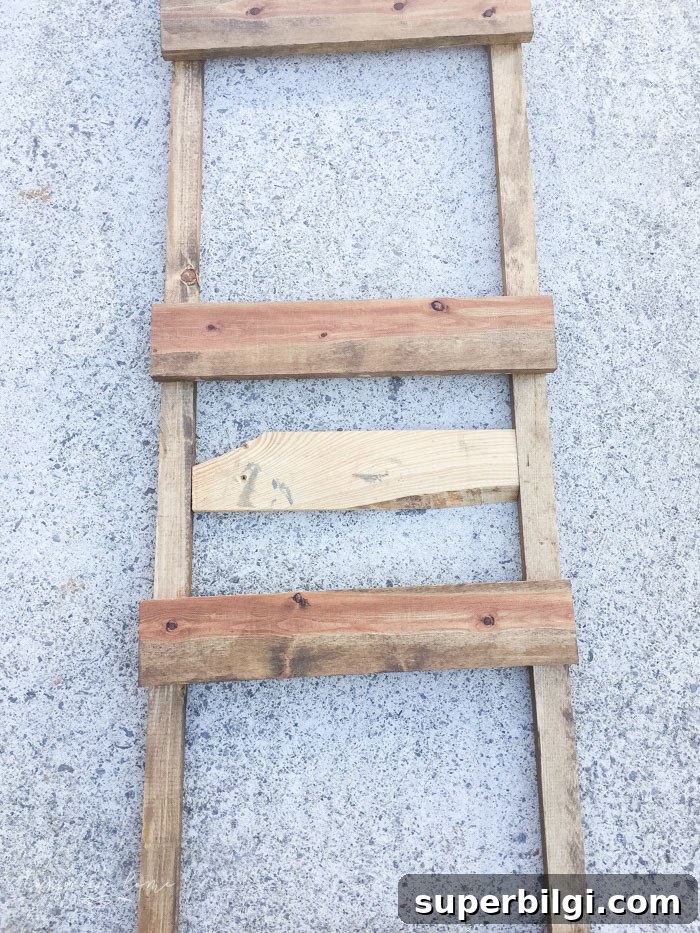
Step 4 — Lay out the ladder sides on a flat surface
Work on a level surface like a garage floor or a large table. Keeping the rails flat and aligned during assembly ensures the ladder stands straight once finished.
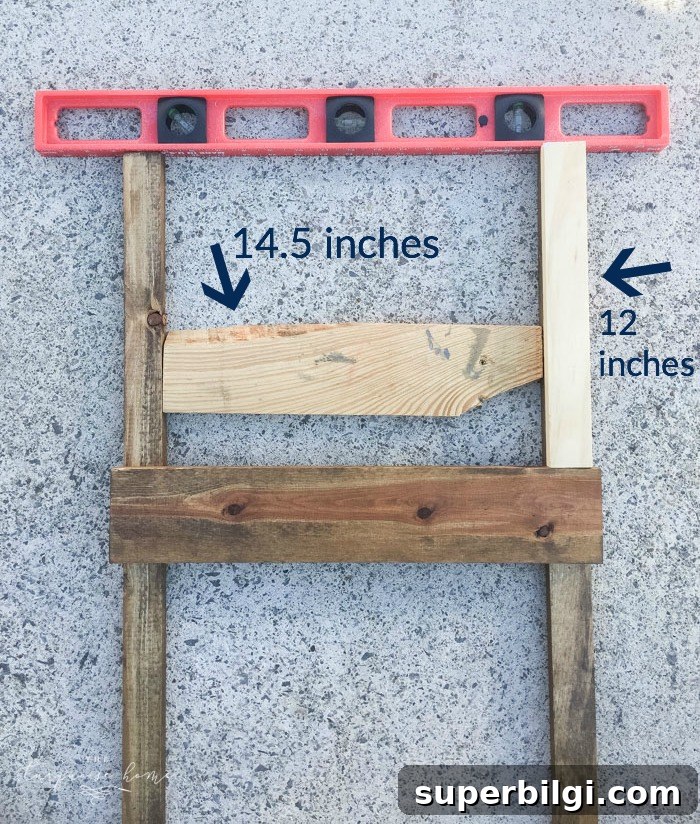
Step 5 — Make simple guides for consistent spacing
Cut scrap wood to the width between the rails to act as a spacer for each rung. I used a 14.5-inch spacer to fit between my ladder sides and a 12-inch spacer to maintain consistent vertical spacing from the top down. These guides help you position rungs evenly.
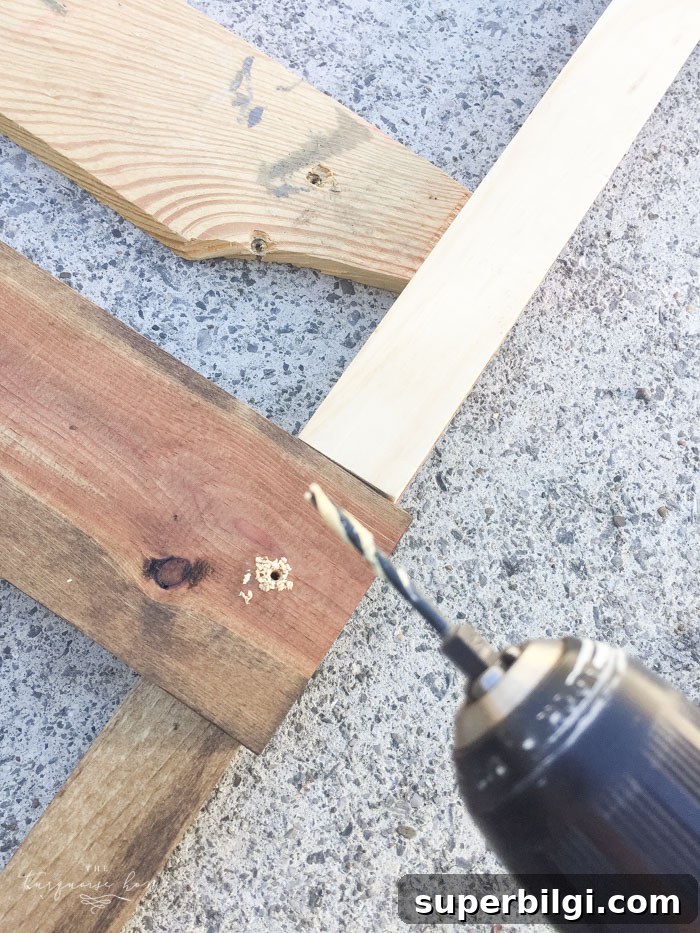
Step 6 — Pre-drill holes before screwing
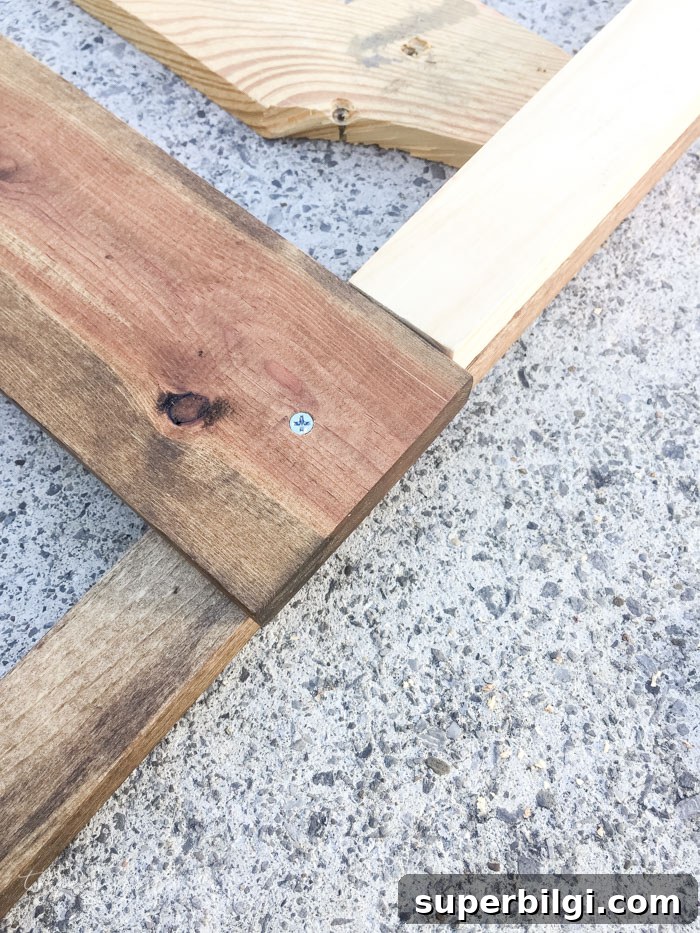
Pre-drilling prevents the wood from splitting and makes driving screws easier. Mark where each screw will go, clamp the rung in place if possible, and drill pilot holes through the rungs into the side rails.
Tip: Use two screws per rung for extra stability. It’s a small step that makes the ladder much sturdier.
Step 7 — Fasten each rung with screws
Apply a bit of wood glue at the joint for added strength, align the rung, and drive 1–1.5 inch wood screws through the pilot holes. Repeat for every rung, checking that spacing and alignment remain consistent.
Step 8 — Finish and style your ladder
Once all rungs are installed and any glue is dry, stand the ladder in place and style it with blankets, quilts, or throws. This simple accent adds texture and function to a living room corner, bedroom, or entryway.
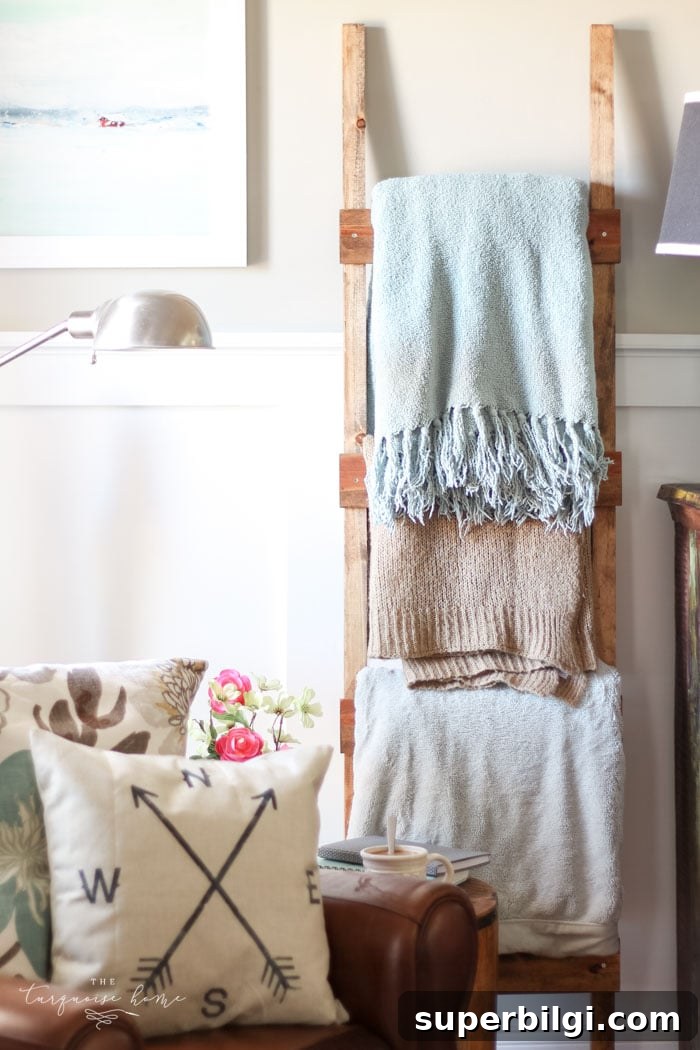
Filling the ladder with blankets is the best part—it instantly softens the room and keeps throws organized and accessible. Because the build is so quick and budget-friendly, this is a great starter woodworking project that yields a high-impact decor piece.
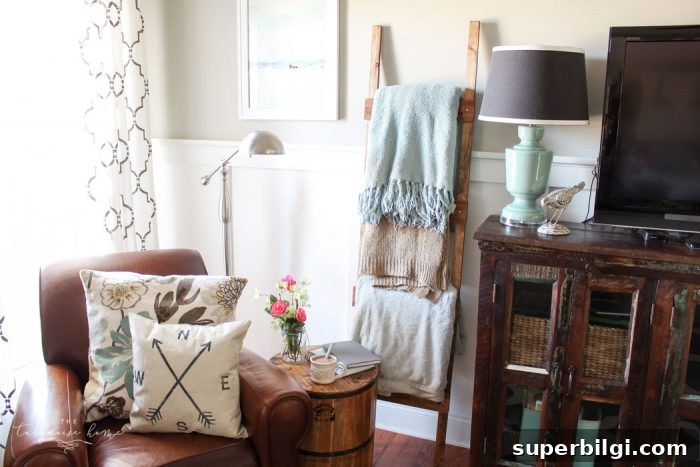
Could you see yourself making one? With basic tools and inexpensive materials, this DIY blanket ladder is doable for beginners and makes a lovely handmade addition to any home.