
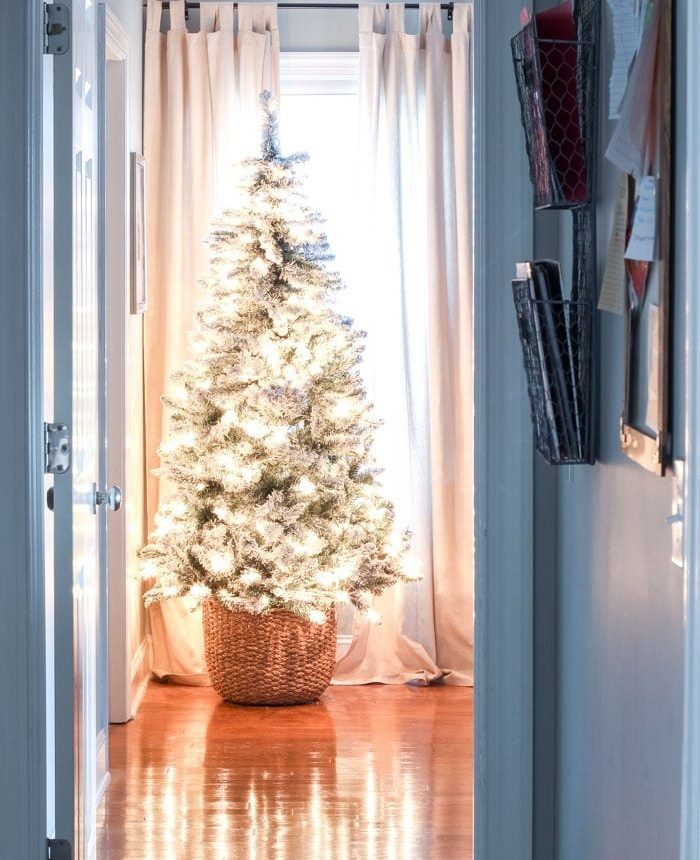
The easiest way to create a basket-style base for your Christmas tree instead of a traditional tree skirt. This simple DIY project is charming, affordable, and surprisingly quick to make. If DIY isn’t your thing, I also share my favorite ready-made basket-style collars so you can shop instead.
I went searching for a basket-style tree collar because I love the cozy, natural look. Stores didn’t have exactly what I wanted, so I made my own—and I ended up liking the handmade version even more. It’s an accessible project for anyone who wants a polished, rustic tree base without the bulk of a standard tree stand showing.
Two Types of Basket-Style Christmas Tree Skirt Options
1. Christmas Tree Baskets
One popular approach is simply setting a small artificial tree stand inside a decorative basket. This look became trendy when home decorators began tucking real and faux trees into oversized woven baskets. The style is warm and farmhouse-friendly, but finding a basket large enough to conceal the tree stand can be challenging. If you plan to use a basket this way, measure the diameter of your stand and the height of the trunk so you pick a basket that fits comfortably.
2. Christmas Tree Collars
A second approach is to use a basket-style tree collar made specifically to hide the tree stand. These collars are constructed to wrap around a stand, creating a tidy, intentional base that complements the tree. Ready-made collars come in many materials—wicker, abaca, rattan, metal, or wood—and different heights, so you can choose a style that matches your decor. If you prefer buying rather than building, search for a collar that fits your stand’s diameter and your tree’s trunk size.
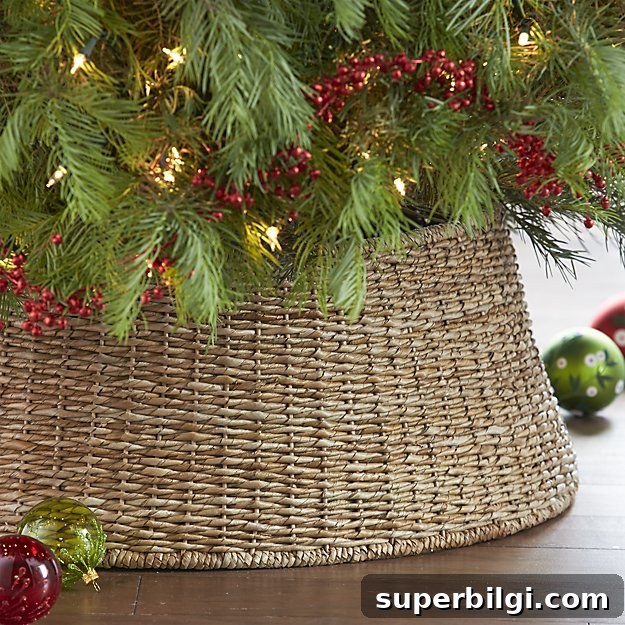
I found a basket that was the right diameter for my tree but too shallow to fit my artificial tree stand, so I adapted by creating a simple, hidden inner stand using a bucket, PVC, and cement. The result is stable, low-profile, and looks like a store-bought collar.
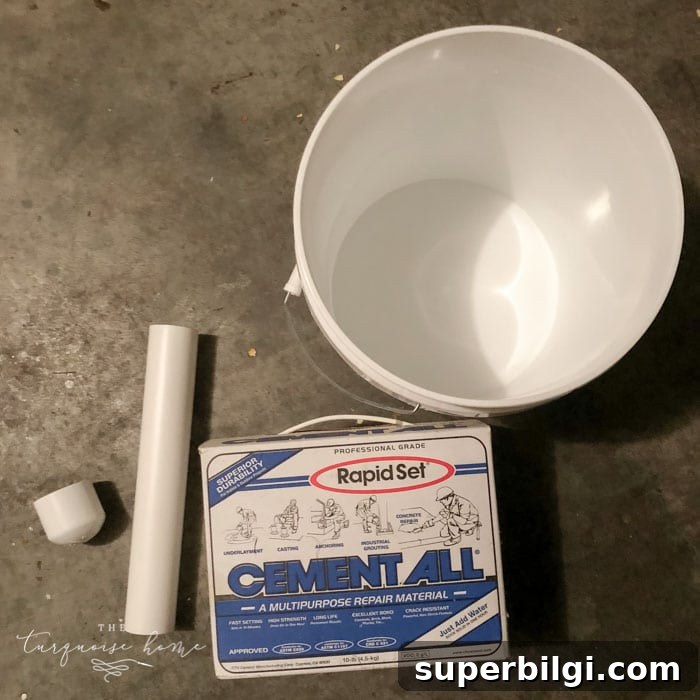
Supplies needed for the DIY Christmas Tree Basket
- Heavy-duty 2-gallon bucket — a sturdy bucket to hold the anchor material and PVC pipe.
- 1-1/4 inch PVC pipe — cut to the height needed to support your tree trunk; choose a diameter that fits snugly around your tree pole.
- PVC pipe cap — matching the diameter of your pipe to seal the bottom.
- Quick-drying multipurpose cement — to secure the pipe inside the bucket and create a stable anchor.
- Large, round decorative basket — big enough to cover the bucket and complement your decor.
- Christmas tree — artificial or real; measure the trunk to ensure the pipe accommodates it.
- Level — to make sure the pipe and finished tree are straight.
- Extras: paint stirrer or mixing stick, water to mix the cement, measuring cup, and a few large rocks if you want extra weight.
5 Steps to DIY your Christmas Tree Basket
1. Cut the PVC Pipe
Measure from the floor up to where the lowest branches begin to determine the needed pipe height—mine was about 10 inches. Cut the PVC pipe to that length. A miter saw makes a clean cut quickly, but a handsaw works fine if you don’t have power tools.
2. Cap the Bottom of the PVC Pipe
Attach a PVC cap to one end of the pipe to seal it. This prevents cement from filling the interior and keeps the trunk centered when placed inside.
3. Mix the Cement
Follow the cement manufacturer’s instructions for mixing. You’ll need enough to fill the bucket several inches deep—4–6 inches is a good minimum for smaller trees; for taller or heavier trees, fill the bucket higher for extra stability. Mix only what you’ll use in one go, because quick-dry cement sets fast.
If you don’t have a full box of cement, you can combine a smaller amount with heavy stones to add weight. Just be sure the pipe will remain centered and upright while the cement cures.
4. Cement the Pipe in the Bucket
Immediately after mixing, place the capped end of the PVC pipe into the bucket filled with cement. Use a level to hold the pipe perfectly vertical until the cement sets enough to support it. Some quick-setting cements stabilize within 10–15 minutes, but allow several hours (or as directed) before placing the tree in it.
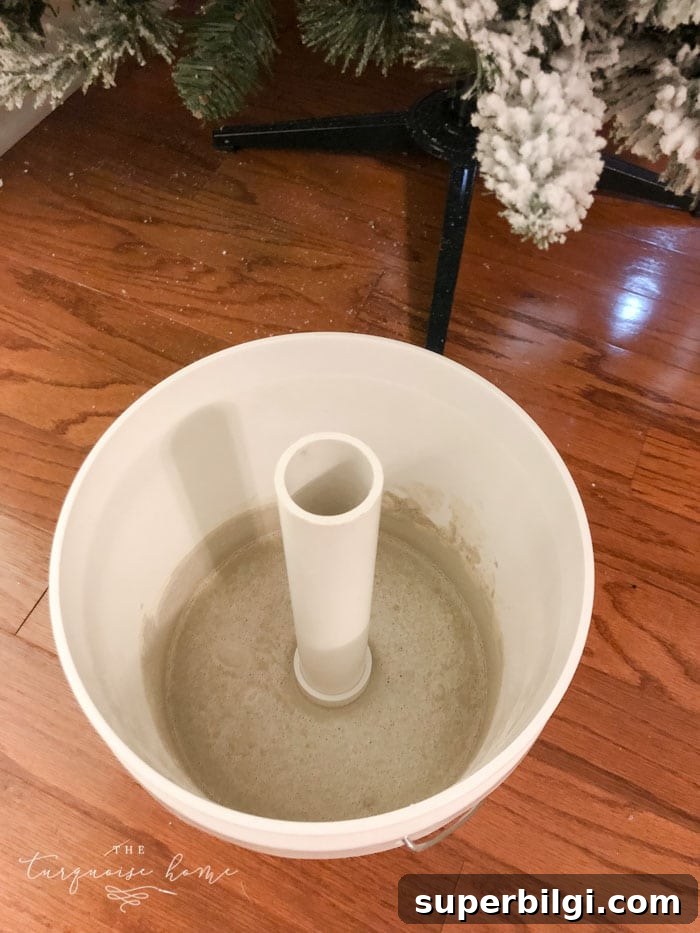
Tip: If your cement batch is small, add rocks or bricks after the cement has set to increase the weight and stability. Just ensure the bucket remains level and the pipe is secure before using it as a stand.
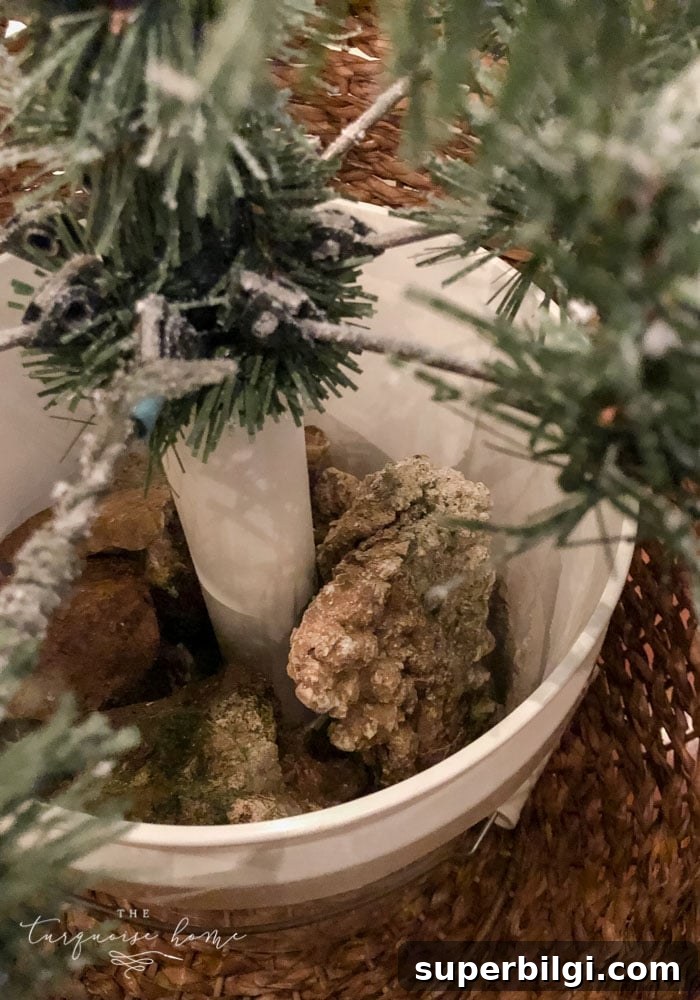
5. Place the Tree in the Pipe
Insert the tree trunk or pole into the PVC pipe, step back, and check that the tree is straight. The bucket-and-pipe assembly should sit hidden inside the decorative basket so only the woven exterior shows. Once the tree is in place, make any small adjustments to the branches and lights for a finished look.
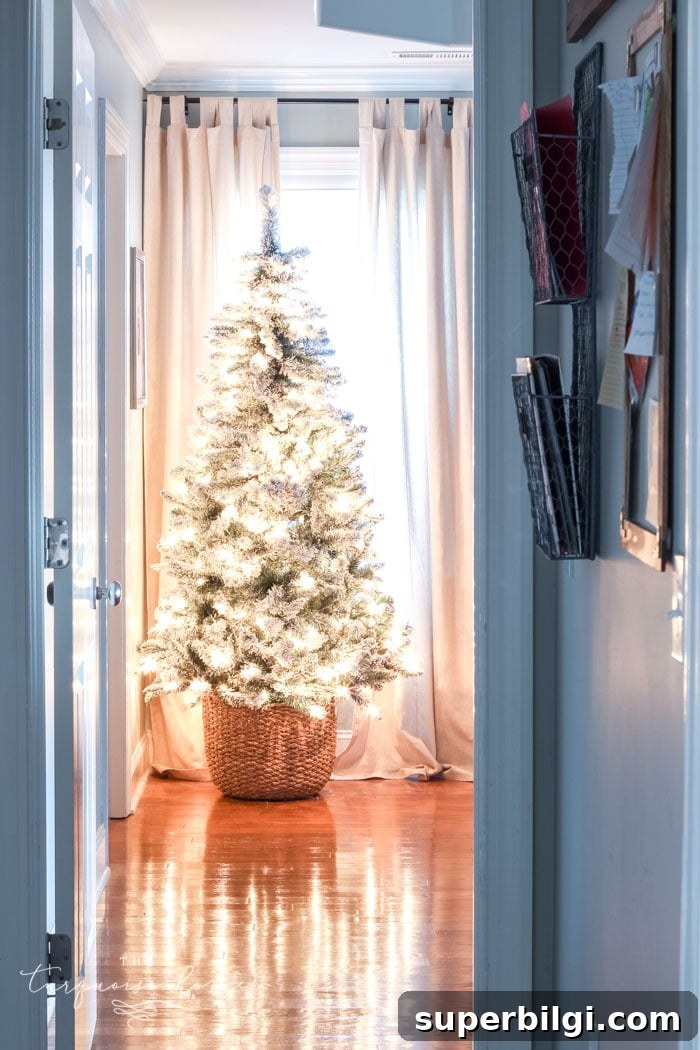
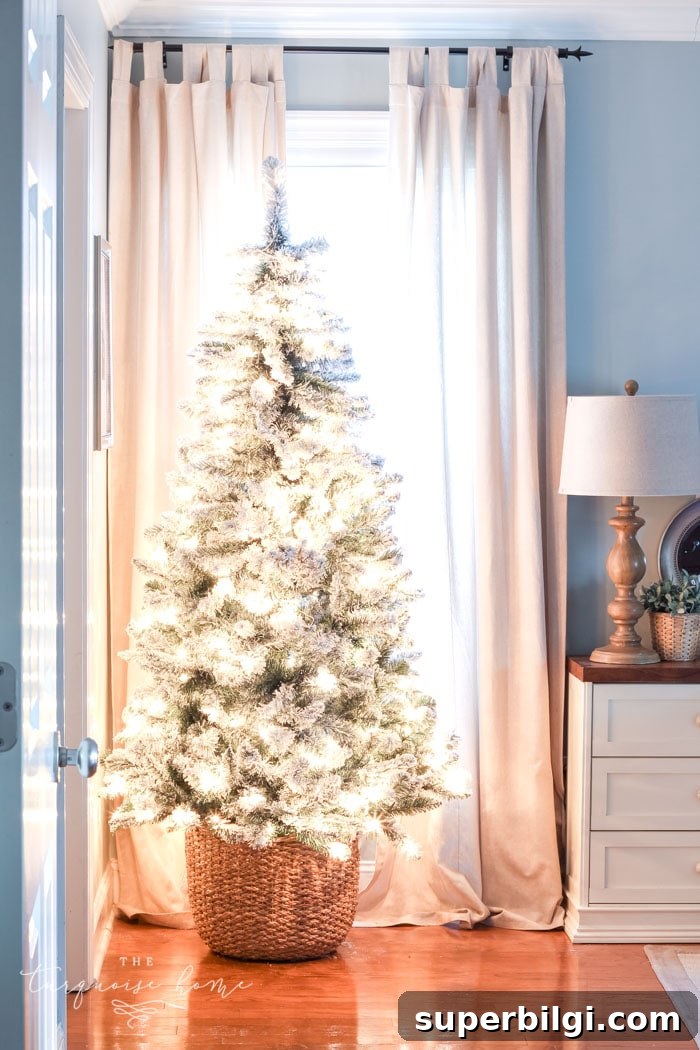
I made this basket-style stand for a flocked tree in our bedroom, and it brought a cozy glow to the space. A basket base is a great way to soften the tree’s footprint and add texture to your holiday decor. Sometimes less is more: I left the bedroom tree mostly simple with lights only, and it felt peaceful and elegant.
If you’d rather not DIY, there are many commercially made basket-tree collars and stands available in a range of materials and finishes. Choose one that fits your stand diameter and complements your home’s style for an instant, polished look.
If you have questions about measurements, materials, or stability, leave a comment and I’ll be happy to help. Happy decorating!
Christmas Tree Stands to Purchase
For more ideas: check my roundup of favorite basket-style tree collars and stands to find ready-made options that match this DIY look.
More Posts You Will Love:
- Best Christmas Tree Collar Ideas
- The Best Artificial Christmas Trees
- Christmas Bedroom Decor Ideas & Inspiration
- How To Decorate With Christmas Bells (7+ Must-Try Ideas)
- 40+ Amazing DIY Christmas Gift Ideas











