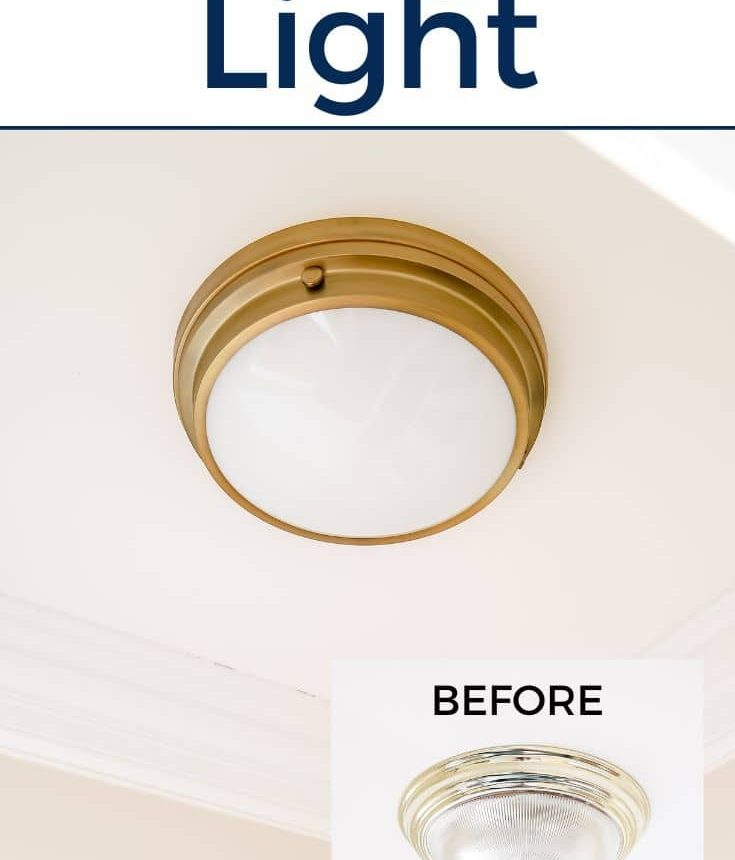
Learning how to change a light fixture is one of the quickest ways to refresh a room. New lighting can modernize a space and transform the mood almost immediately.
When we moved into our first home, I waited far too long to update the light fixtures because I was intimidated by electrical work. After about five years I finally asked my husband to help swap the chandelier in our former dining room. It felt stressful then because we had no experience, but now, after many swaps, changing a light fixture is straightforward and completely manageable with the right precautions.
Note: this article originally contained affiliate links.
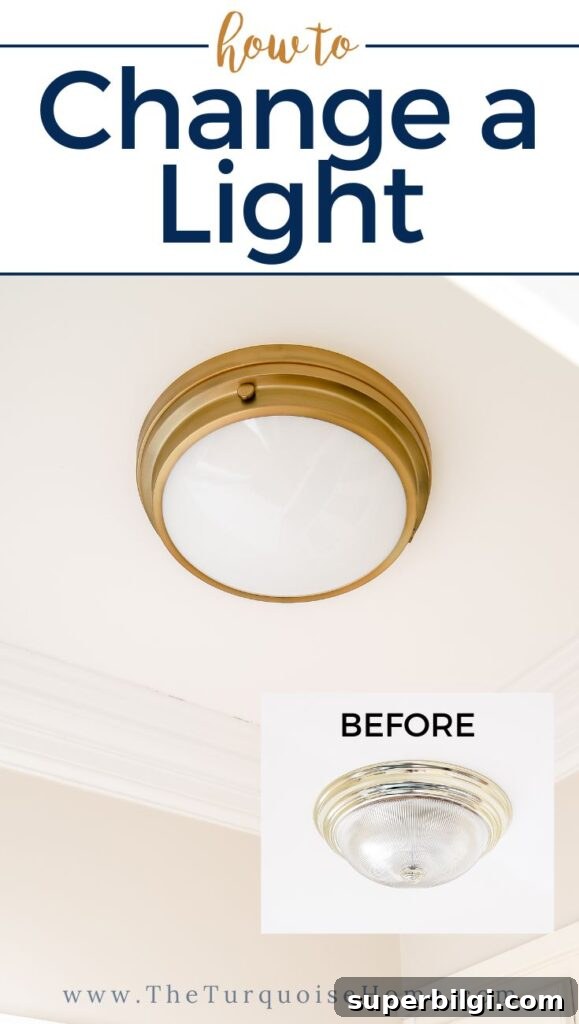
In less than three years in our current home I’ve replaced ten light fixtures—and I plan to update the rest. If you take your time and follow safe steps, you can do this too.
Quick safety reminder: this DIY requires working with electricity. Always turn off power at the circuit breaker before you begin, double-check the switch and, if available, use a voltage tester to confirm the circuit is dead. If you are at all unsure or uncomfortable, call a licensed electrician. Safety first.
What You Need to Change a Light Fixture
- New light fixture (with mounting hardware and instructions)
- Wire cutters/strippers
- Ladder
- Power drill or screwdrivers (Phillips and flat head)
- Voltage tester (optional but recommended)
- A helper to hold the fixture is very helpful
How to Replace a Light Fixture
1. Choose a New Fixture
Selecting the right light fixture depends on your room size, ceiling height and style. Consider the fixture’s scale relative to the room and the recommended bulb types. If you want bright, even light choose fixtures that accommodate multiple bulbs or use LED modules; for softer, ambient light choose shaded or diffused fixtures. Read the manufacturer’s spec sheet for weight and installation requirements so you have the right mounting hardware on hand.
2. Turn Off the Electricity
Turn off the circuit at your breaker box. Keep the light switched on while you flip the breaker so you can confirm which breaker controls that light—when the fixture goes dark you know the power is off. Then leave the wall switch in the off position. If you have a voltage tester, confirm that the wires at the junction box are not live before touching anything.
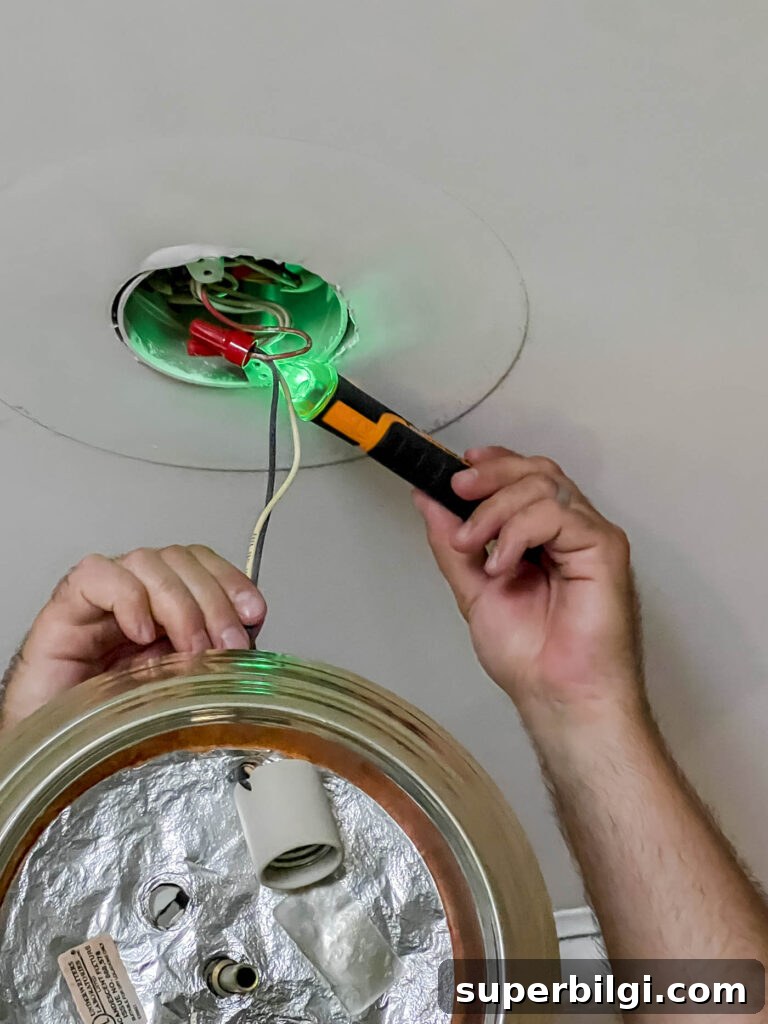
3. Remove the Old Fixture
Most fixtures are attached to a mounting bracket or directly to the electrical box with screws. Unscrew the fixture hardware and carefully lower the fixture enough to access the wire connections. Support the fixture while you work so it doesn’t fall.
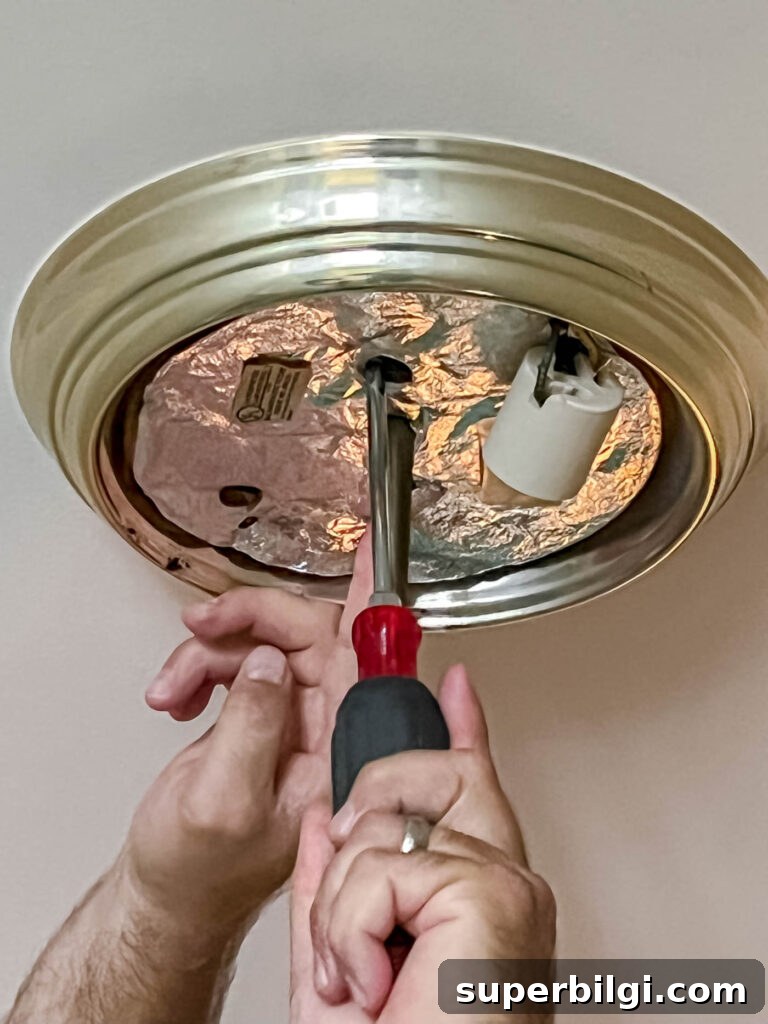
4. Disconnect the Electrical Connections
Before disconnecting, take a clear photo of the existing connections so you have a reference. Then untwist wire nuts and separate the fixture wires from the house wires. Remove and set aside the old fixture.
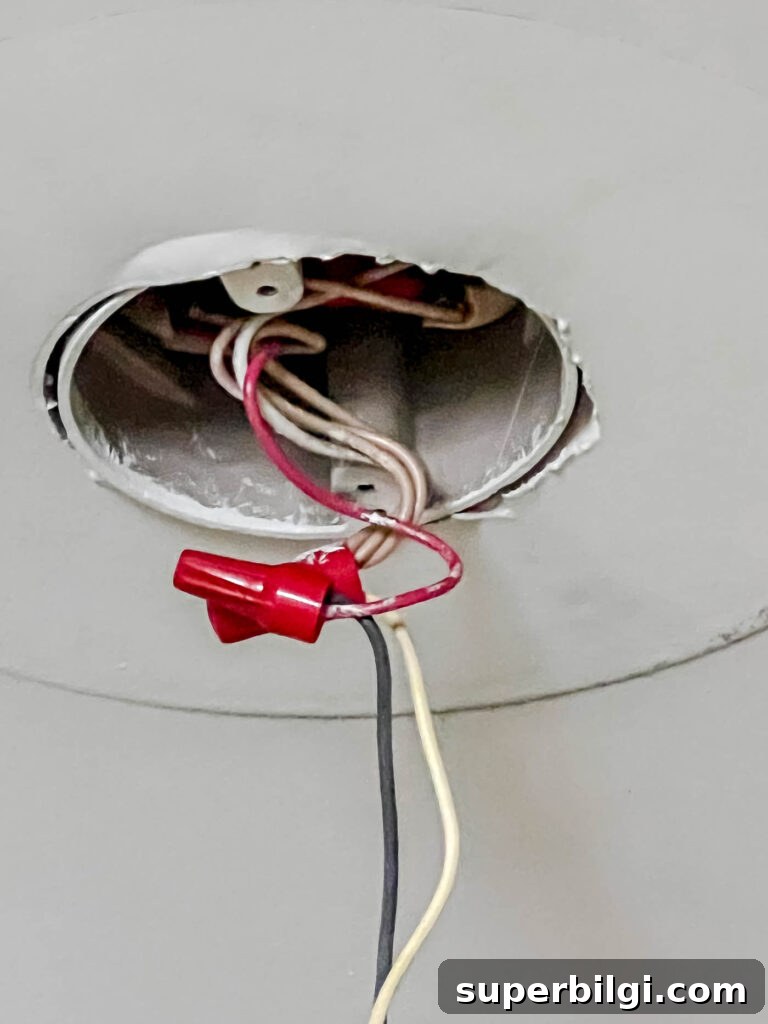
5. Prep to Install the New Light
Read the new fixture’s instructions first. Check that the package includes the mounting bar, screws and wire connectors. Strip about 1/2 inch of insulation from each fixture wire if it isn’t already exposed. If there are multiple neutrals or hots in the ceiling box, twist matching wires together as indicated by the instructions before you climb the ladder.
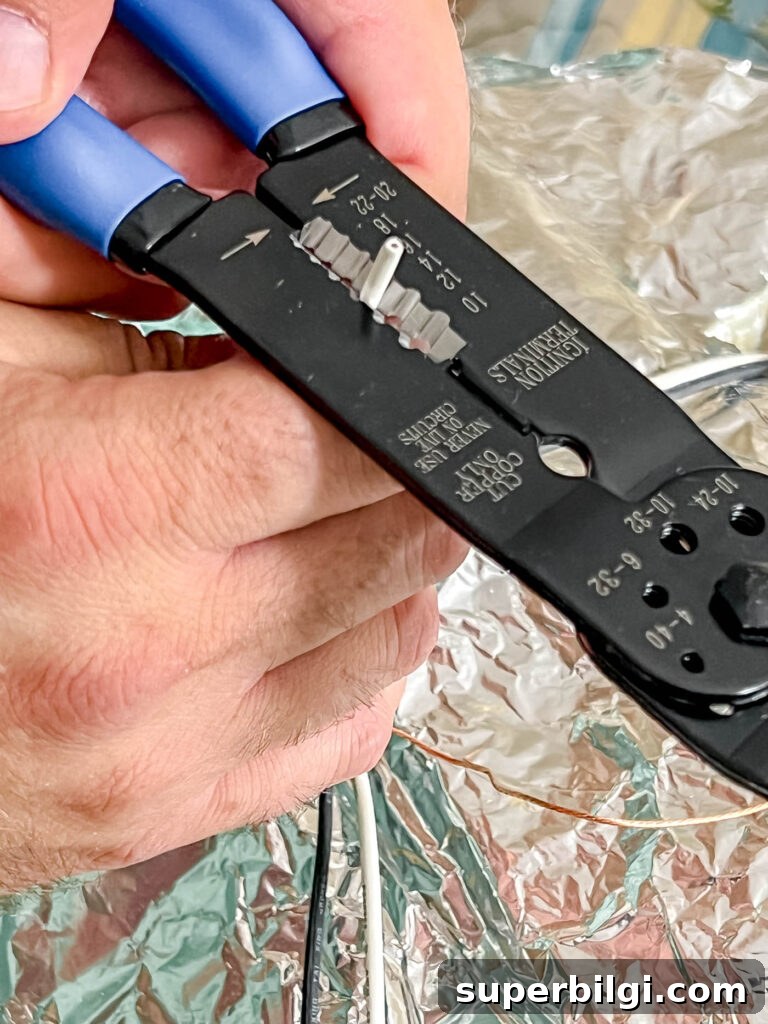
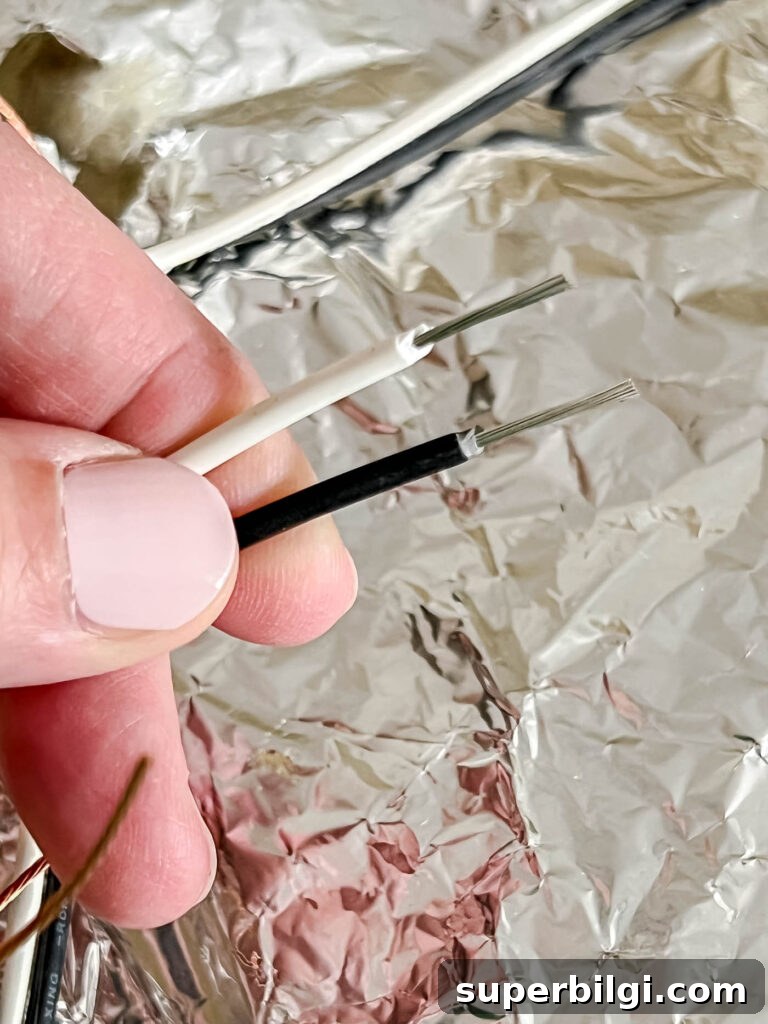
6. Replace Grounding Bar or Mounting Bracket if Needed
If the new fixture uses a different mounting or grounding bar than the old one, remove the existing bracket and install the new crossbar supplied with the fixture. The crossbar provides the secure attachment point and usually includes a green grounding screw to connect the fixture ground.
7. Connect the New Wires
Have a helper hold the fixture while you make the wire connections, or use a temporary support. Connect the grounding wire (bare copper or green) from the fixture to the house ground, either by wrapping it under the green screw on the crossbar or joining it to the house ground with a connector. Connect white (neutral) to white, and black (or the fixture’s hot) to the hot wire from the ceiling—sometimes the hot may be red. Secure each connection with a properly sized wire nut and tug gently to make sure it’s tight. Push the wires carefully into the junction box so they won’t be pinched when the fixture is installed.
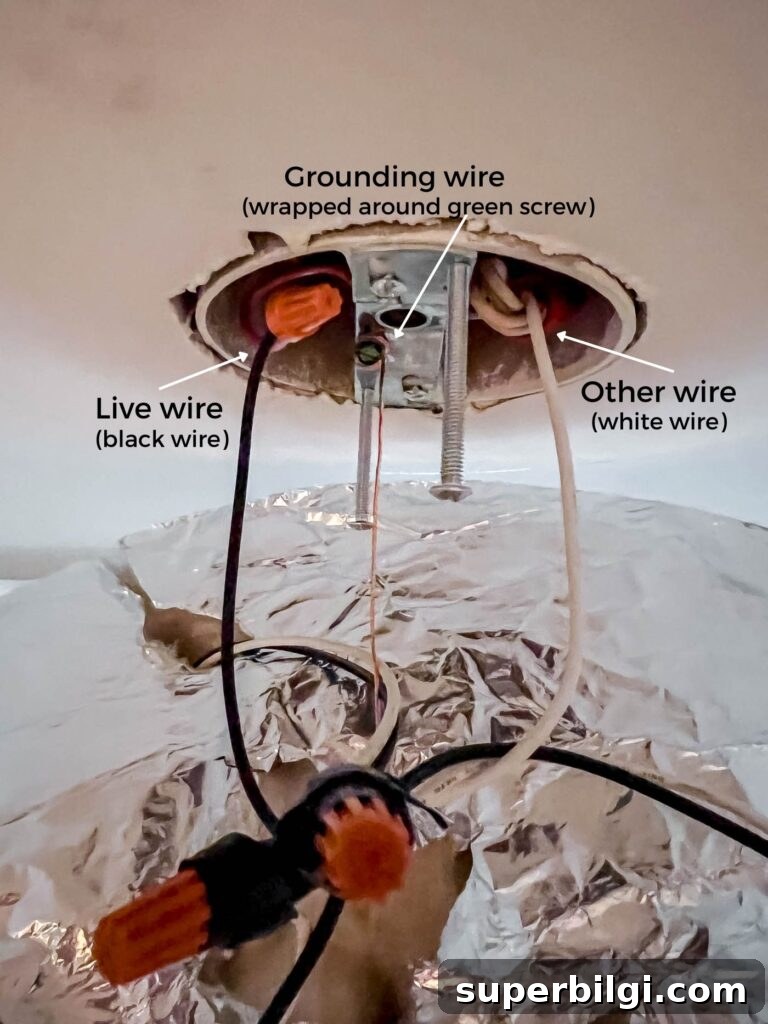
8. Secure the Light to the Mounting Bracket
Follow the fixture manufacturer’s instructions to attach it to the crossbar or bracket. Attachment methods vary—some fixtures use decorative nuts, others use screws that go through the fixture base into the bracket. Make sure the fixture is level and all mounting hardware is tightened securely.
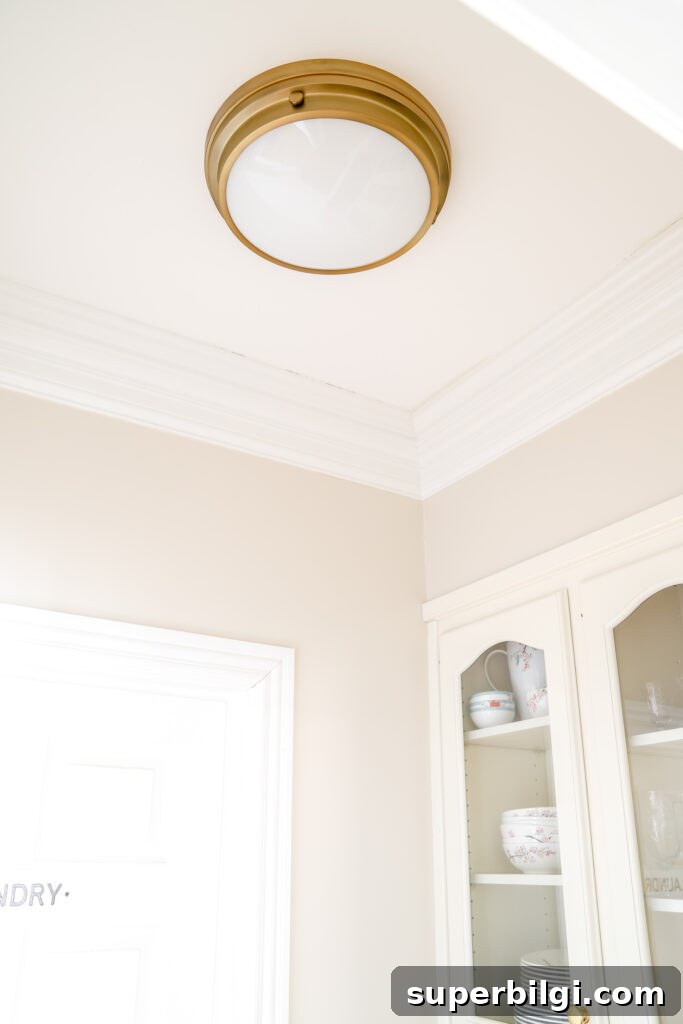
9. Add Lightbulbs and Install Shades
Install bulbs according to the fixture’s wattage and type recommendations—LED bulbs are energy efficient and often provide the best light for general living spaces. Attach any shades or diffusers, then restore power at the breaker and test the fixture. If the light doesn’t work, turn the power back off and recheck your connections.
And that’s it—step back and enjoy your updated lighting. Replacing a light fixture is an effective, budget-friendly upgrade that can change the look and feel of a room instantly. If you ever feel unsure while working with electrical wiring, stop and consult a licensed electrician.
More posts you may enjoy:
- Tips for choosing the right bulbs for each room
- Ideas for flush-mount lighting and chandeliers
- Beginner friendly DIY tools and safety tips