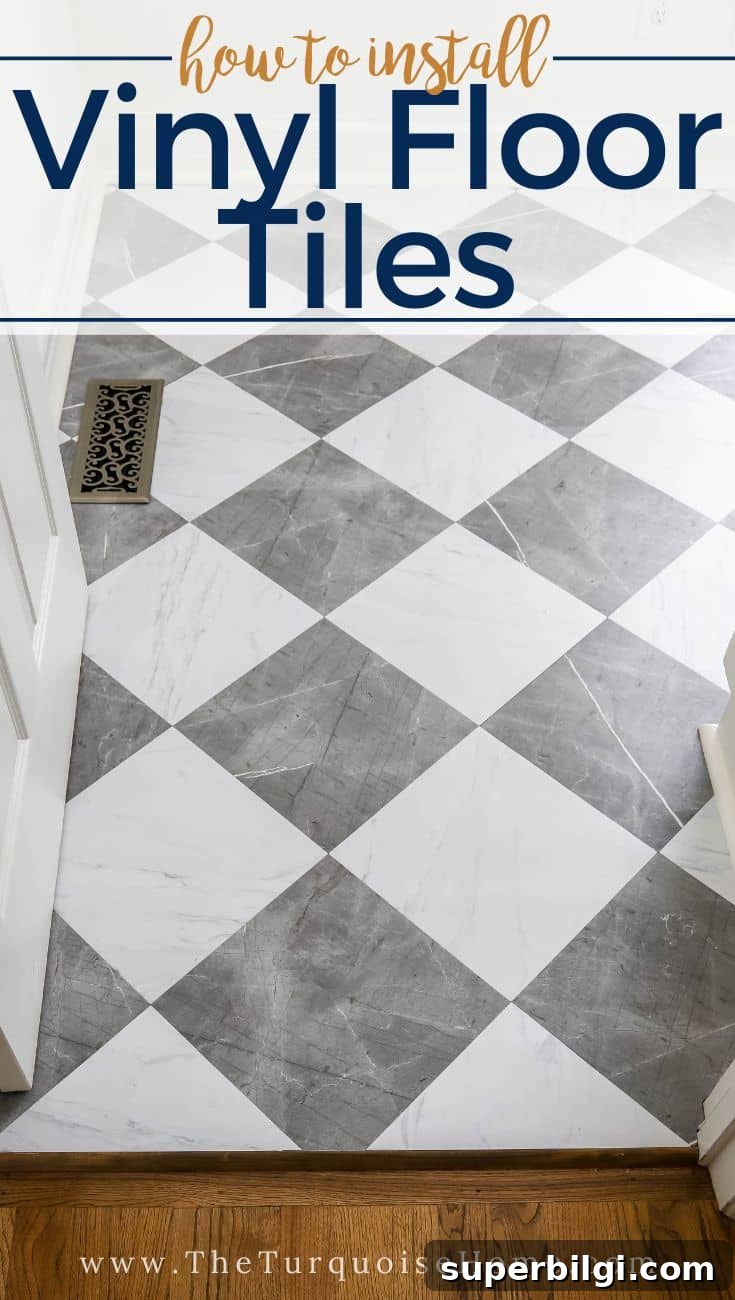
Replacing flooring can feel overwhelming and costly. Peel-and-stick vinyl tiles offer a quick, affordable, and low-mess solution: just peel, stick, and trim with a utility knife.
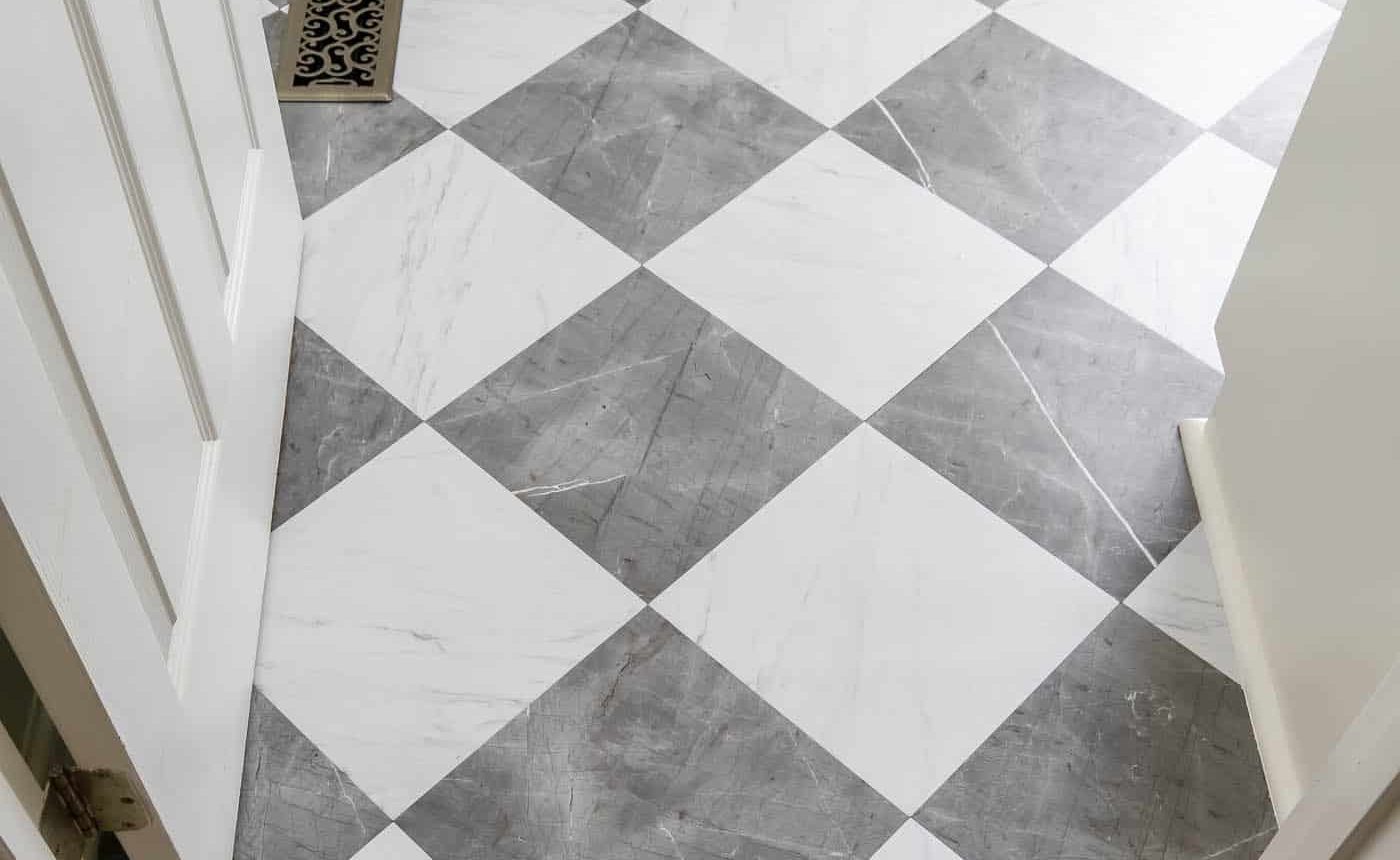
I recently updated the old hunter-green tile in my laundry room using marble-look peel-and-stick vinyl tiles. The installation was straightforward, fast, and the final result exceeded my expectations.
This post contains affiliate links for your convenience. See my full disclosure policy.
For my project I used popular marble-pattern peel-and-stick vinyl tiles. There are many styles available, so you can choose anything from checkerboard to realistic stone patterns to suit your space. This flooring update is part of a broader laundry room makeover, so you’ll see a few other design elements in the photos.
What You’ll Need to Install Peel & Stick Floor Tiles
- Vinyl floor tiles (peel-and-stick)
- Utility knife for scoring and snapping tiles
- Straight edge to guide cuts
- Pencil
- Scissors for non-straight or precision cuts
- Hammer or crowbar to remove quarter round molding
- Nail gun to reinstall molding
- Wet/dry shop vacuum and general floor cleaning supplies
- Caulk
- Paint and replacement quarter round, if needed
If your existing grout lines are uneven, you’ll also need:
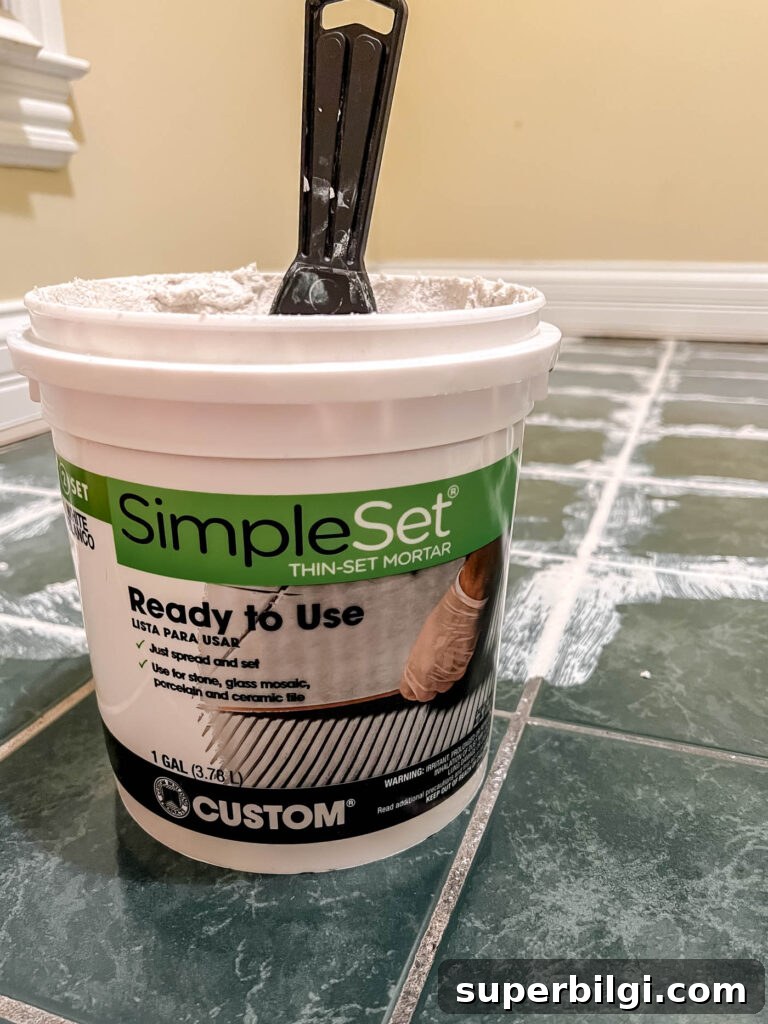
- Premixed thinset or floor patch compound to level grout lines
- Putty knife or trowel
- Sandpaper
How to Install Peel & Stick Floor Tiles
1. Remove the quarter round molding
Peel-and-stick tiles require a small expansion gap at the wall, so remove the quarter round before laying the floor. Score the caulk between the molding and baseboard with a utility knife, then pry the molding off with a hammer or crowbar. If the molding is in good condition, you can reuse it—otherwise replace it after the tiles are installed.
In my case the old molding needed replacement, so I installed new quarter round after finishing the floor.
2. Fill and level grout lines
If your old tile has deep grout lines, fill them with a premixed thinset or floor patch. Spread the compound with a putty knife and smooth it as level as possible. Let it dry according to the manufacturer’s instructions.
3. Sand any high spots
Once the leveling compound is dry, sand down any uneven areas so the floor is as flat as possible. A smooth surface will help the tiles adhere and sit flush.
4. Clean thoroughly
Remove every bit of dust and debris with a wet/dry vacuum, then wipe the floor if needed. A clean surface ensures good adhesion and a longer-lasting installation.
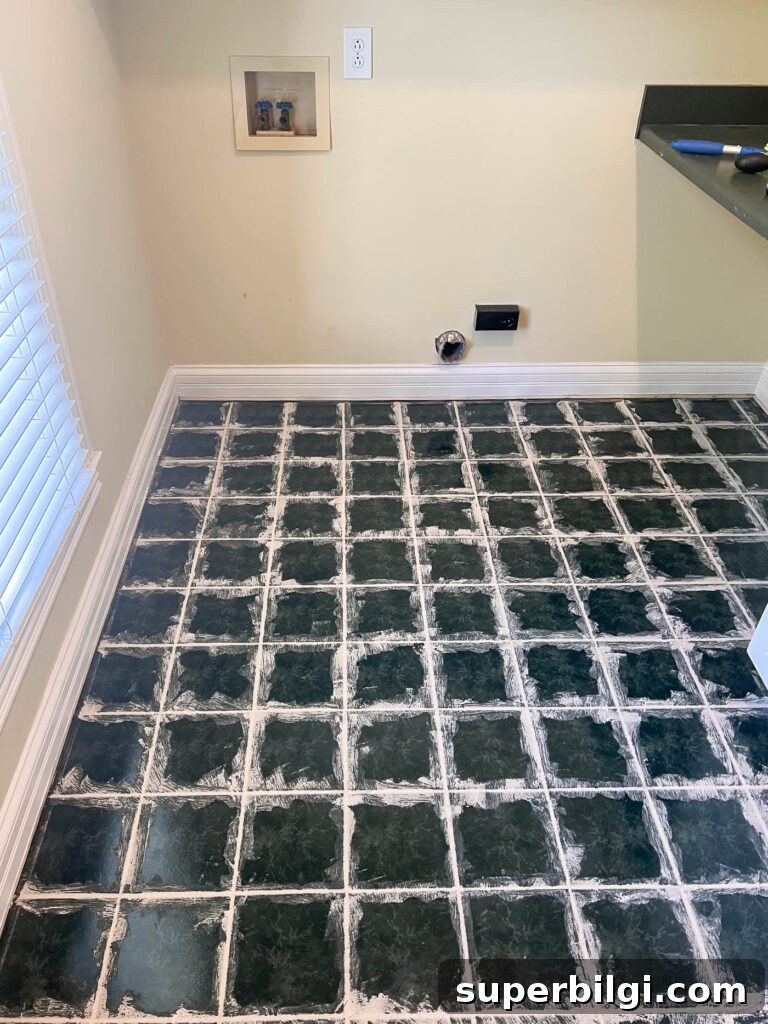
5. Arrange tiles first to plan the layout
Lay tiles out dry before sticking anything down. This helps you avoid ending up with tiny slivers at edges and ensures a balanced pattern across the room. For patterned tiles, vary tile orientation so repeat patterns aren’t adjacent.
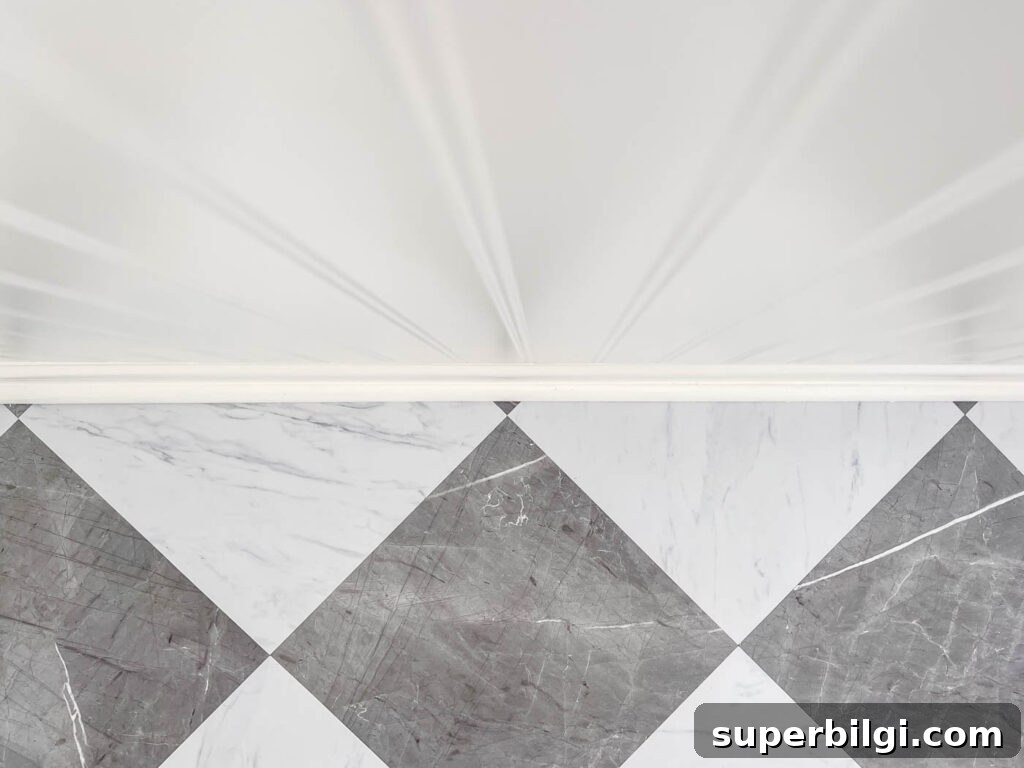
6. Find the room center and start there
Measure and mark the center of the room with a chalk or pencil line. Begin your first row along that line to keep tiles symmetrical and to avoid awkward narrow cuts at the walls. Work outward from the center. If a heavy floor roller is recommended by the tile manufacturer, use it; otherwise, walking on each tile to press it down works in a pinch.
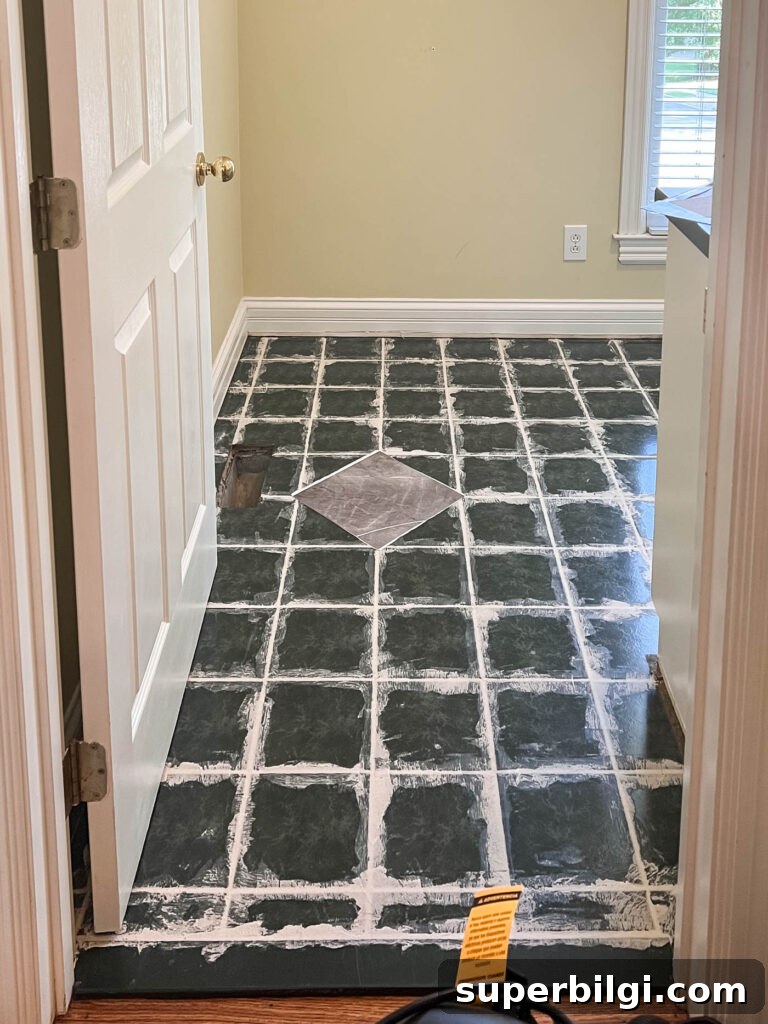
7. Trim tiles at edges and doorways
Use the tile backing or scrap paper to trace irregular cuts, then score straight lines with a utility knife and snap along the score. Use scissors for curved or odd-shaped cuts. Always leave a small gap between tile edges and baseboards to allow for seasonal expansion.
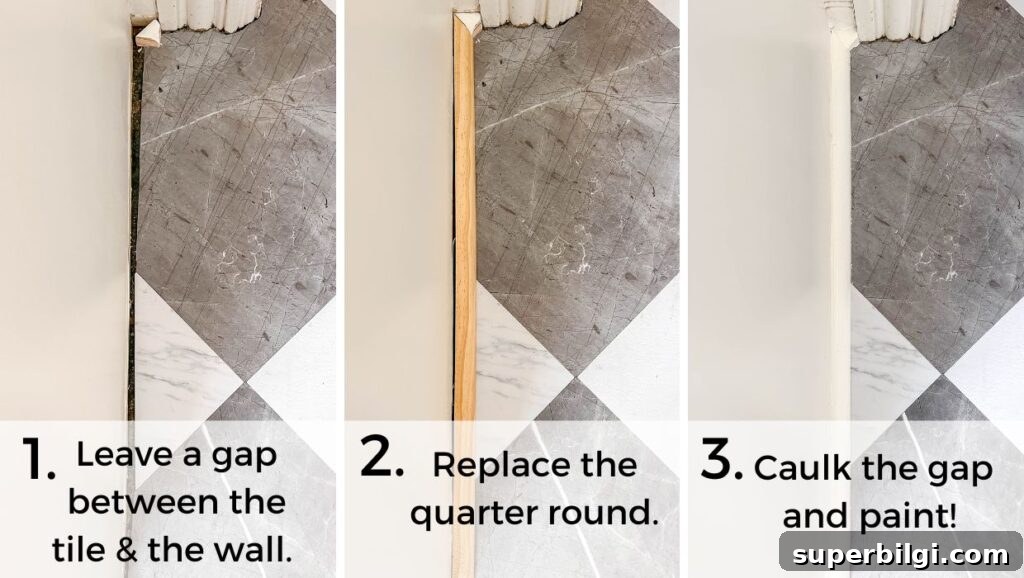
8. Reinstall or replace quarter round
After all tiles are in place, reattach the original quarter round or install new pieces. Use a nail gun to secure the molding, then caulk and paint as needed. Once the molding is finished, your room is complete.
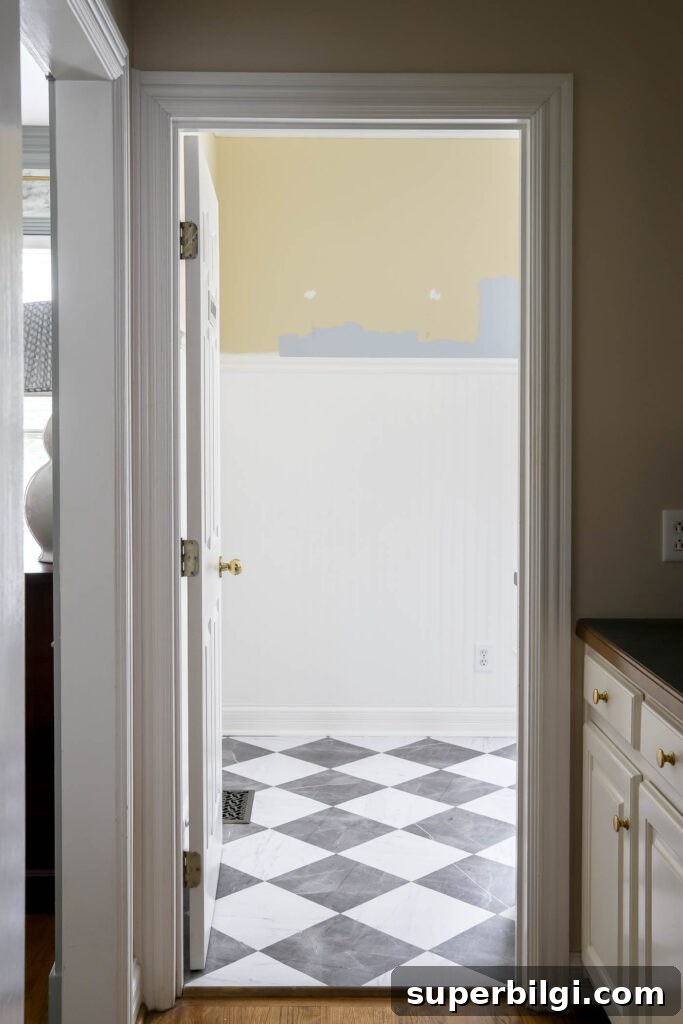
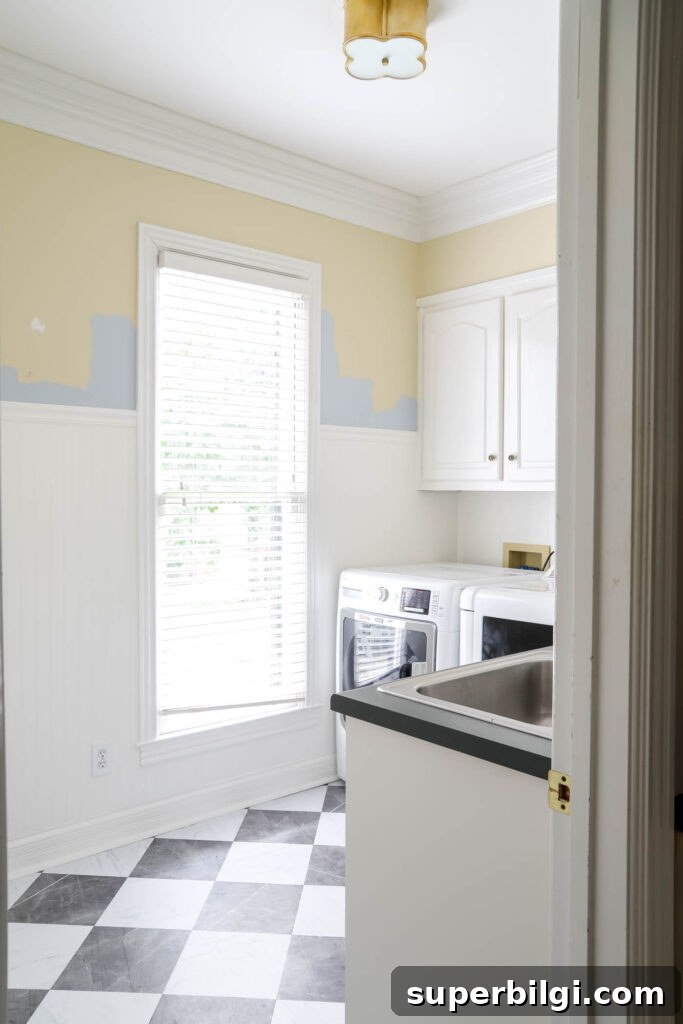
You can see the rest of the laundry room makeover plans in my project notes.
Vinyl Tile Stickers vs. Vinyl Floor Tiles
There’s a difference between thin vinyl tile decals (tile stickers) and thicker peel-and-stick vinyl floor tiles. Tile stickers are thin, removable decals applied on top of existing tiles; they don’t cover grout and are more vulnerable to water seeping underneath. Rigid vinyl floor tiles are thicker and more durable, installed edge-to-edge on a level surface. When grout lines are filled and the floor is level, these rigid tiles form a water-resistant surface suitable for laundry rooms and similar spaces.
Is Vinyl Tile Easy to Install?
Yes. Peel-and-stick vinyl tiles are one of the easiest DIY flooring projects. They score and snap cleanly with a utility knife, adhere quickly, and if a tile becomes damaged you can remove and replace a single piece without redoing the whole floor.
How Much Does Peel & Stick Vinyl Tile Cost?
For my 10′ x 7′ laundry room, materials to cover the floor cost under $200, excluding tools I already owned. This makes peel-and-stick a cost-effective option to refresh older flooring without a full demolition.
If you’re aiming to modernize a small room on a budget, peel-and-stick vinyl tiles deliver a stylish, practical update with minimal hassle.
More projects you might enjoy:
- Economical laundry room ideas
- DIY window cornice with fabric
- Updating your home with beadboard
- Choosing checkered floors for your home
- Cheap flooring ideas to update on a budget