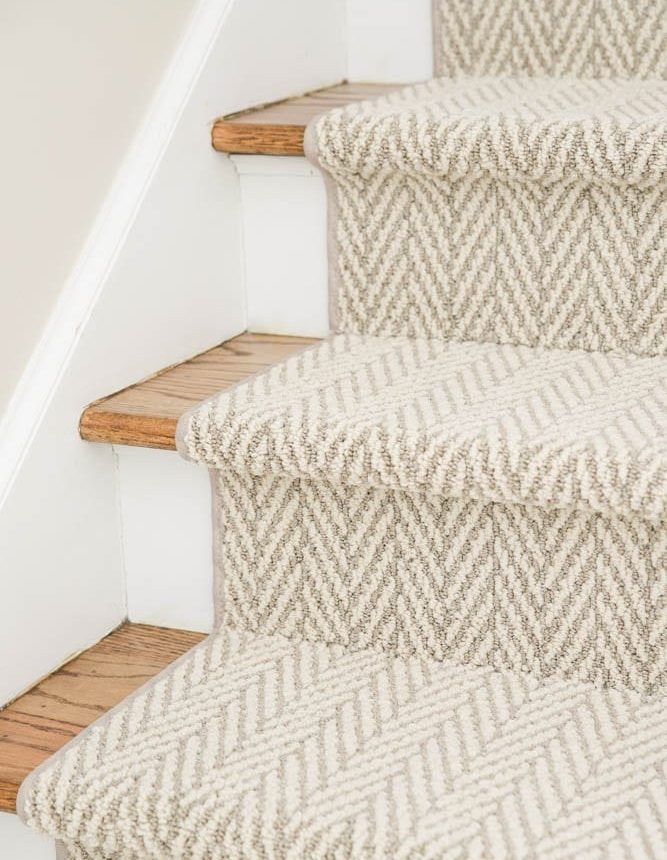
Adding a stair runner to our wooden stairs brought texture, style, extra comfort, and much-needed safety to our home — and it made the stairs noticeably quieter, too.
If you follow me on Instagram you might have seen me go back and forth about this seemingly small update. After plenty of deliberation, I’m happy to report the runner is installed and we all love how it turned out.
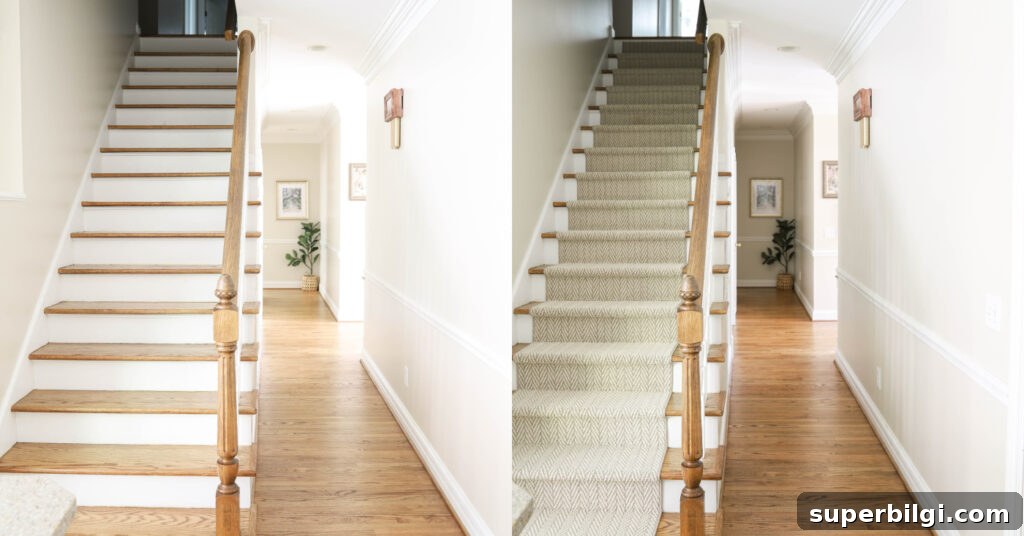
First, here’s how the stairs looked before the change.
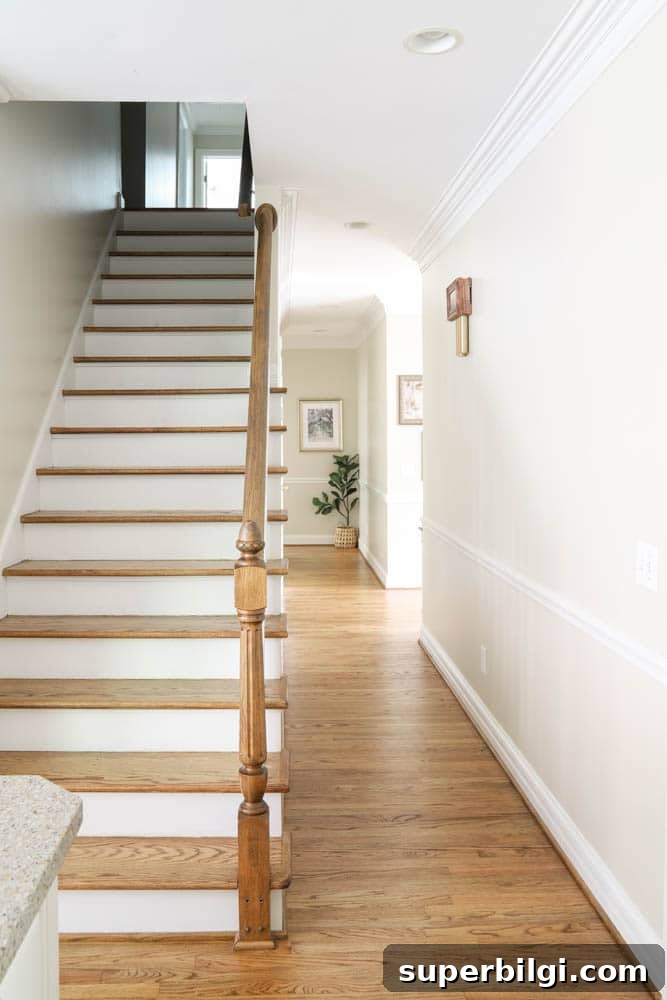
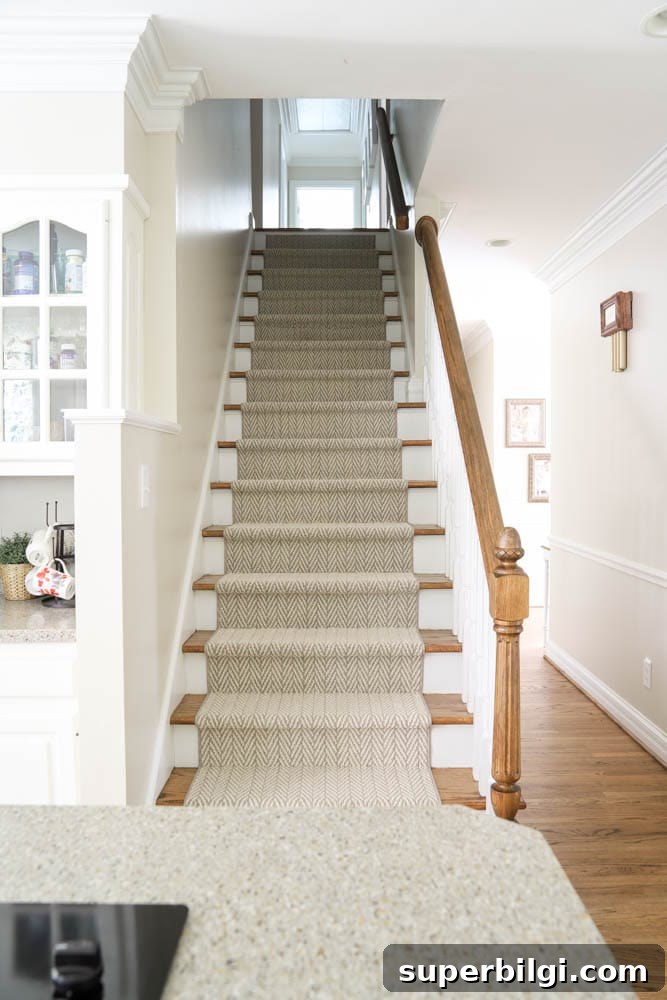
These stairs open directly into our kitchen. When we bought the house I wasn’t sure how I’d feel about that layout, but it’s grown on me because the kitchen really is the hub of our home — it makes it easy to talk to anyone on the stairs while I’m in the kitchen.
Because the stairs flow right into the kitchen, I included this runner in my kitchen makeover plans and later mentions in various home-goals updates.
Why Did We Need a Stair Runner?
Some readers suggested it was a shame to cover up the beautiful hardwood, and I understand that. For us, though, safety won out. Several family members, including our kids, had slipped on the stairs. A runner felt like the right, practical choice to reduce the risk of falls.
One of my daughter’s first reactions was pure delight: “Yay! Now we can wear socks on the stairs!” The kids had been too nervous to wear socks on the bare wood, but with the runner they feel safe enough to do so again.
Three bedrooms are on the second floor, including the guest room, so I wanted to feel confident that visitors — especially older guests — wouldn’t be at risk of slipping. Even if someone were to fall, the runner provides extra padding and reduces the chance of a serious injury.
A runner also gave the chance to introduce more texture and pattern to the kitchen entryway, which helps personalize a space that’s often overlooked since the stairs meet the kitchen directly.
The nice thing about this choice is it’s reversible: if we ever decide to remove the runner, we can pull it up and patch any small marks. The stairs actually had carpet before we moved in; the previous owners removed it and refinished the treads, so a few old nail holes are visible but not bothersome.
Which Carpet Did We Pick?
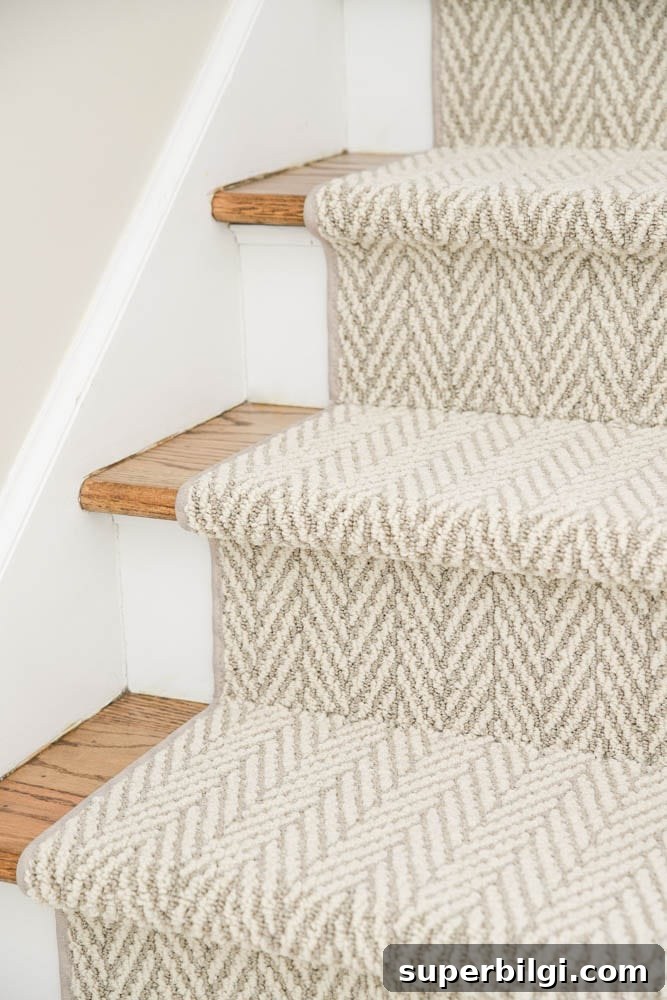
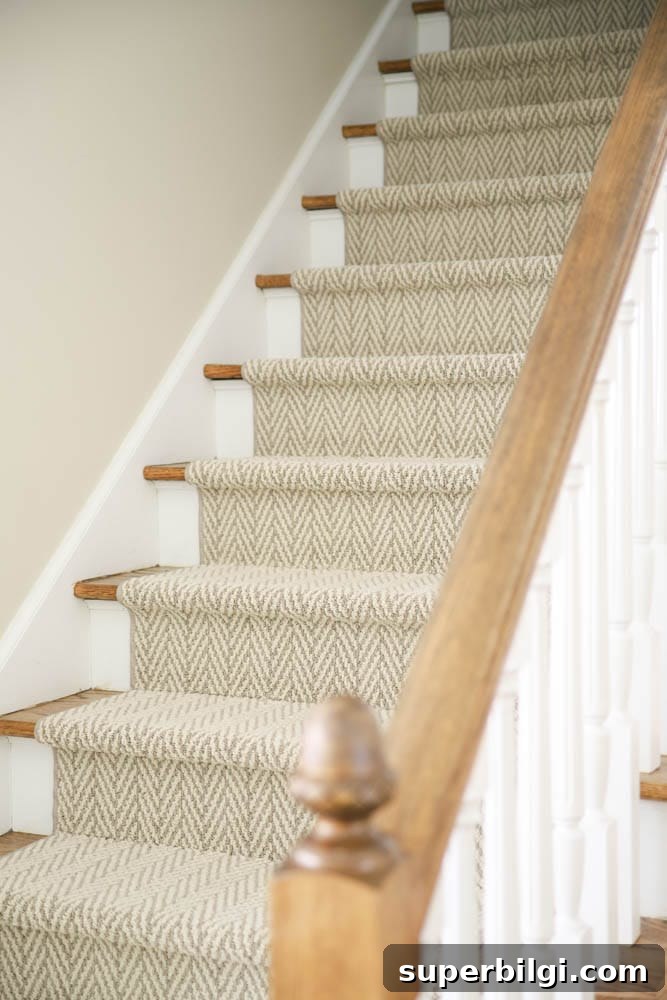
After weighing several budget-friendly options like sisal or a pre-made runner, I returned to the first carpet I fell for: Anderson Tuftex Only Natural in Plaza Taupe. Its subtle herringbone pattern pairs nicely with our Edgecomb Gray walls and adds visual interest without overpowering the space.
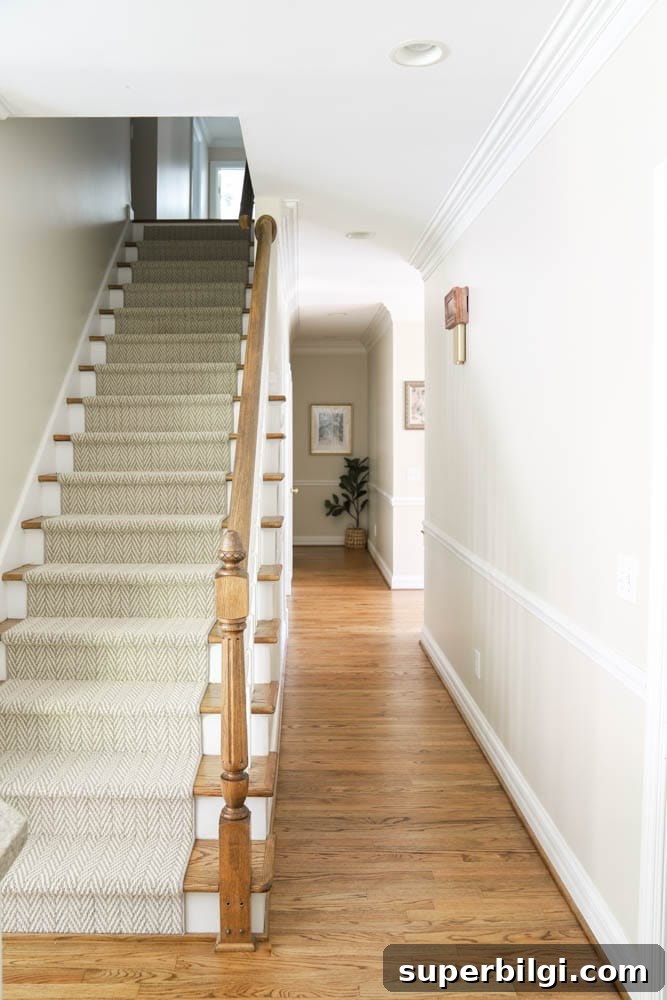
I ordered sisal samples at first, but they felt too rough for what I wanted. Our kids like to sit on the stairs and chat while I cook, so comfort mattered. I also read that sisal can become slick as it wears, which could defeat the purpose of adding traction. For those reasons I ultimately chose carpet over sisal, and I returned a pre-made sisal runner I had briefly considered.
Decisions We Made Before Ordering
Width: Our stairs measure 37 inches across at the top, so we picked a 30-inch-wide runner. That left about 3.5 inches of exposed wood on each side, which looks balanced.
Centering: We decided to center the runner at the top of the stairs rather than the bottom opening. Centering at the top aligns visually with the stair width as seen from the kitchen and prevents the runner from looking awkward when viewed from below.
Cleaning: A common concern is that carpet is harder to keep clean than wood. We already have a no-shoes-upstairs rule, which helps a lot, and we use a cordless stick vacuum daily to keep the stairs tidy. That routine works well for us and made the maintenance decision simple.
Stair Runner Installation
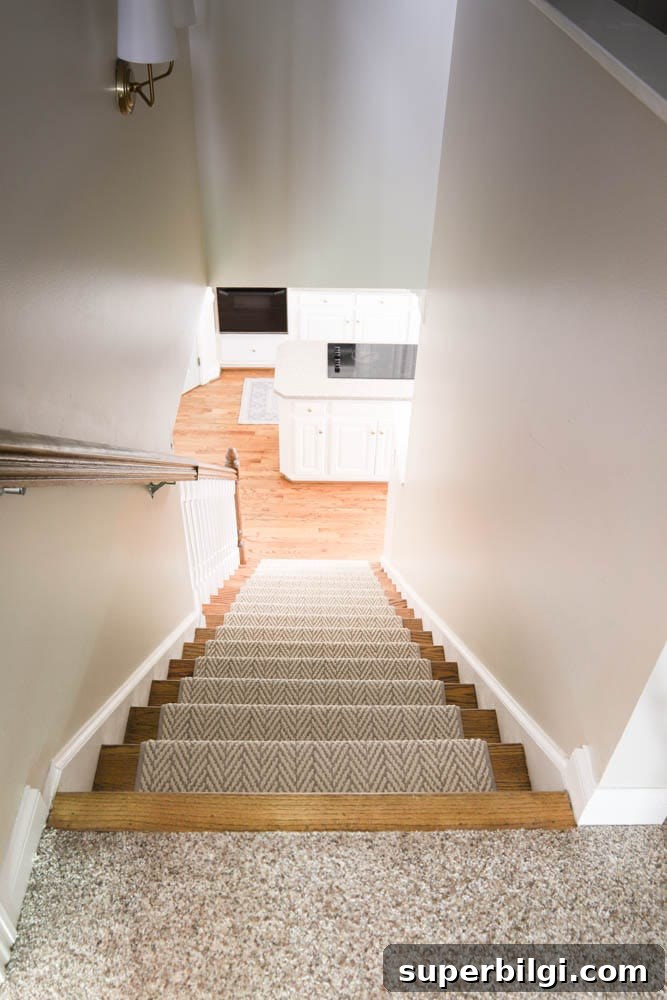
I enjoy DIY projects and originally planned to install a pre-made runner myself. After ordering, I learned the carpet needed to be seamed every three steps, so I hired the carpet company’s installer to ensure a professional result. In hindsight, hiring made sense: the installer realized he’d under-ordered and had to purchase additional material out of pocket to finish the job correctly.
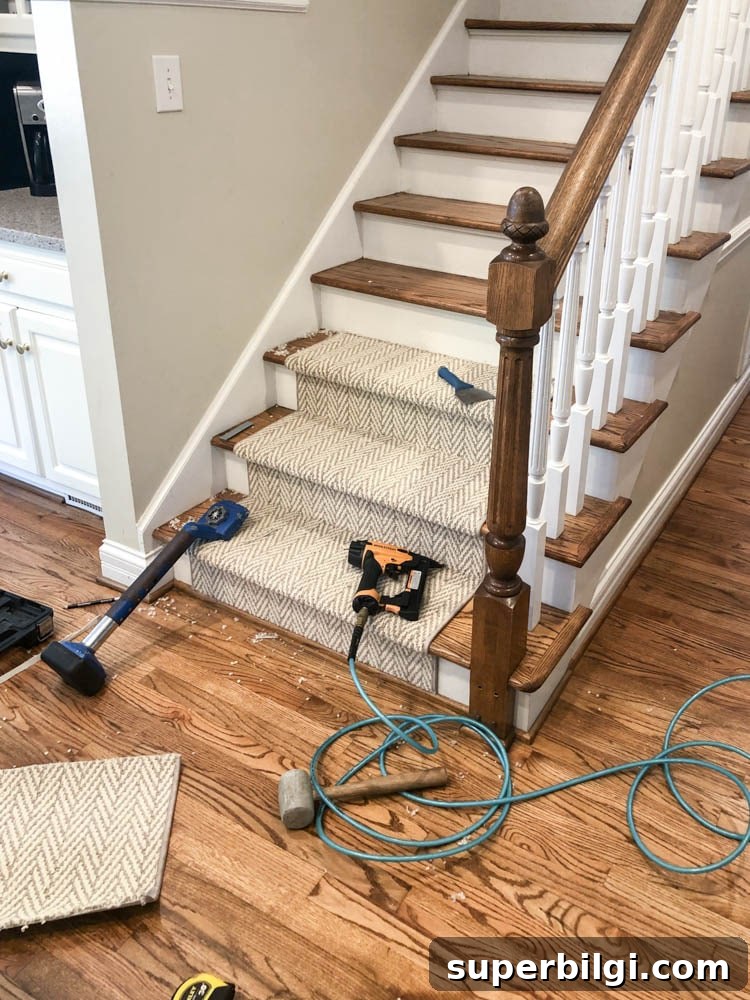
When the installer returned to finish the final three stairs, he worked in a hurry and those last steps weren’t as neat as the first dozen. I used my staple gun to tidy up a few spots he missed; that made me realize I could have tackled the whole project myself if I’d been patient and methodical. If I install another runner in the future, I’d likely DIY it from start to finish.
Overall I’m thrilled with the outcome. The runner has moved our kitchen makeover forward and improved both the safety and the look of this busy entry point. Next up: deciding whether to add art or other decor along the hallway walls.
See More Kitchen Updates:
- Traditional Coastal Kitchen Mood Board
- My Traditional Kitchen at Christmas
- Traditional Brass Chandelier in the Kitchen
More Posts You Will Love:
- How To Hang Garland On the Stairs
- Luxury Vinyl Plank Flooring Review
- Timeless Home Decor Essentials
- How to Upgrade Your Home with Beadboard
- Loft Bed Ideas For Small Rooms