
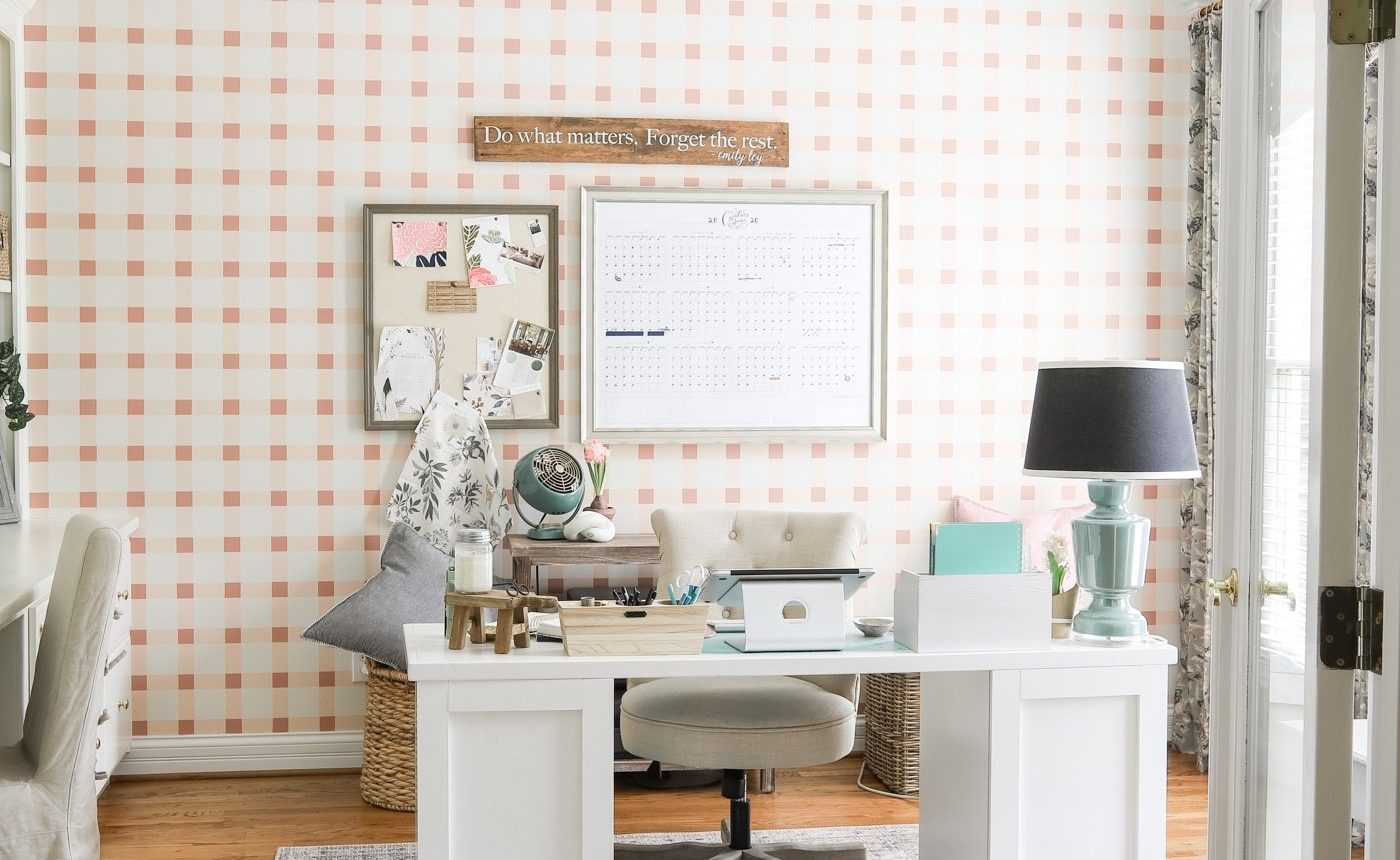
Learn how to paint a plaid accent wall with only two simple measurements and no complicated math. This project takes time and patience, but the finished wall is striking and well worth the effort.
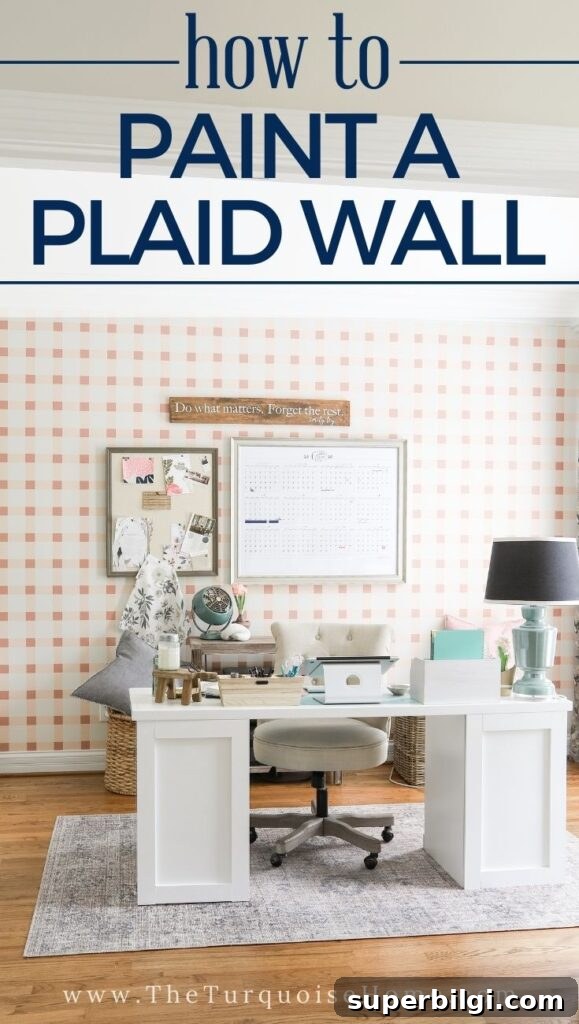
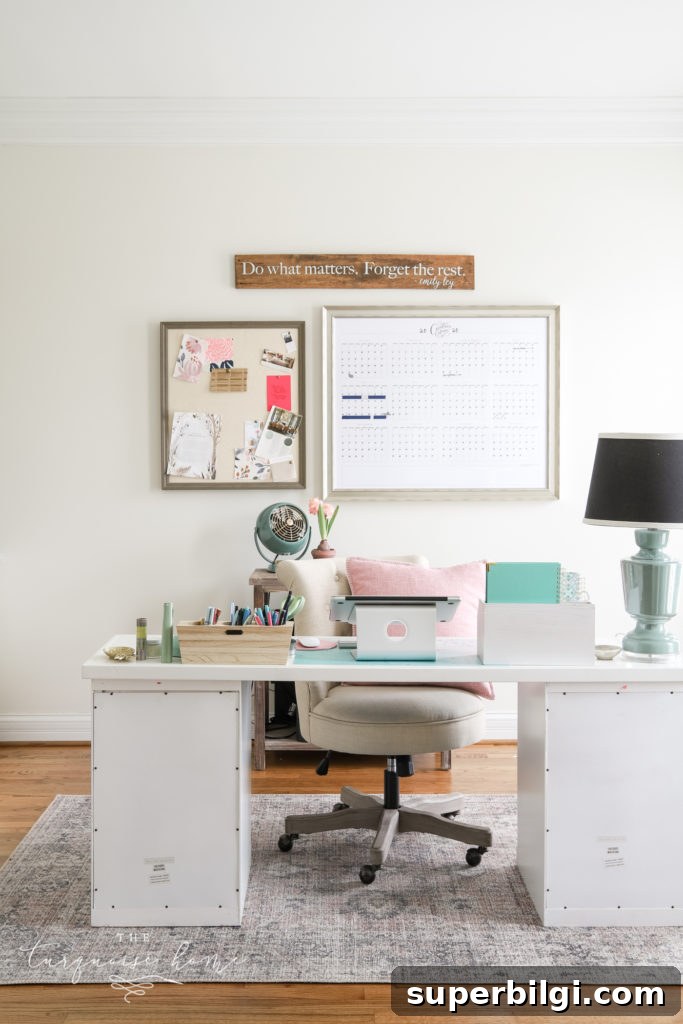
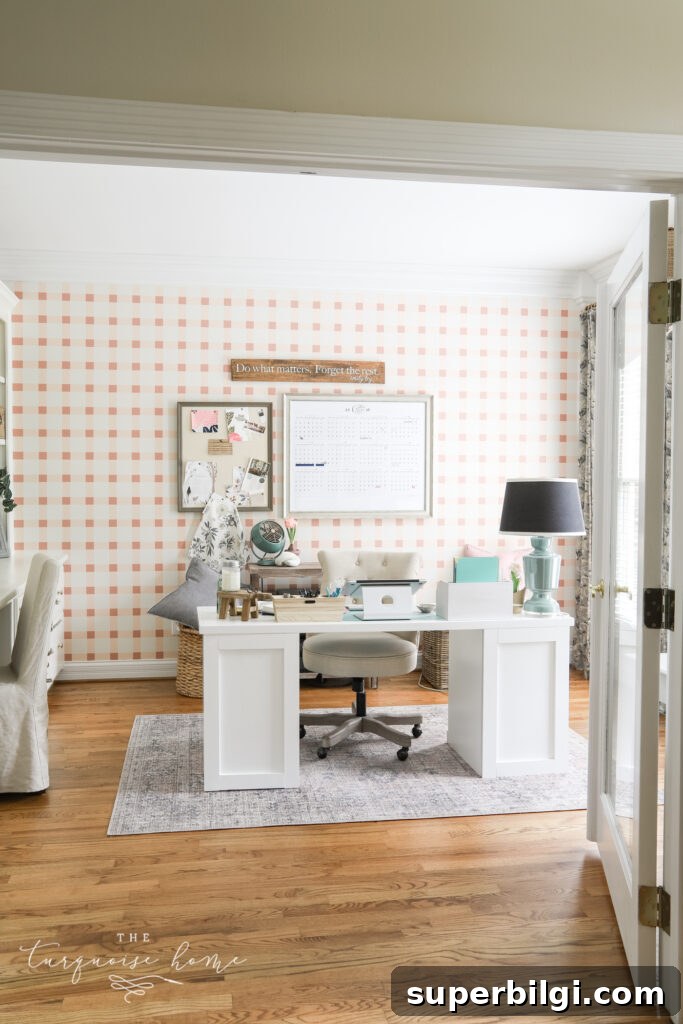
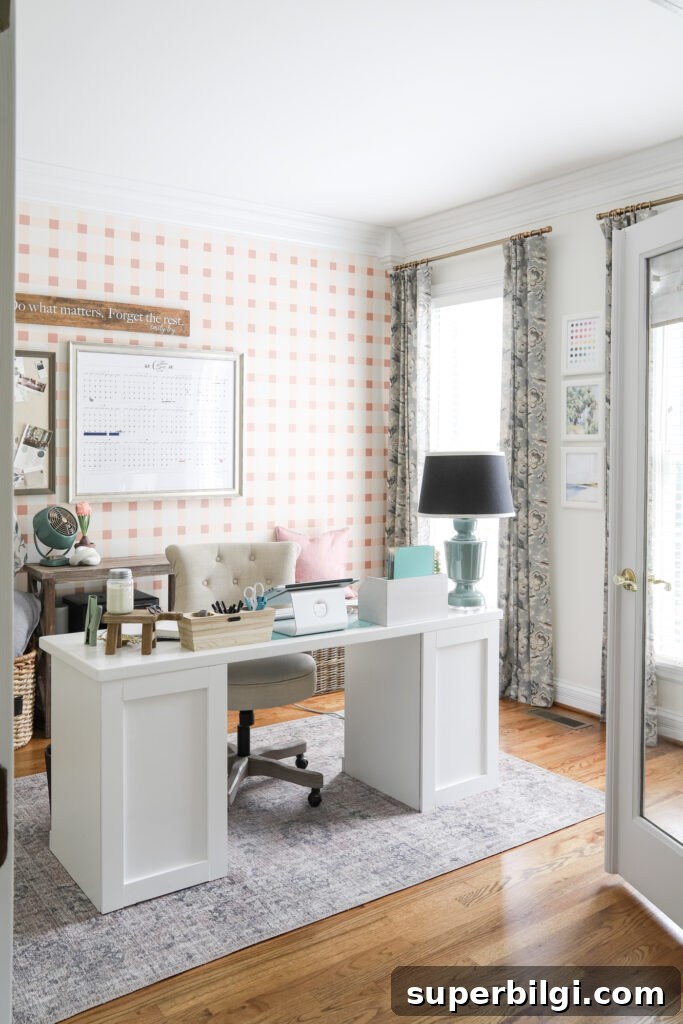
When I finished my office refresh, the wall behind my desk needed interest. Wallpaper was tempting, but I wanted to stay on budget and opted to paint a pattern instead. With floral curtains in the room, a geometric pattern felt like the right contrast — and painted plaid was the perfect choice.
Since installing it, this painted plaid wall has drawn more compliments than anything else in my home. Visitors often assume it’s wallpaper. The technique is forgiving, reversible, and creates a high-impact feature wall without the cost of wallpaper.
The Paint Colors
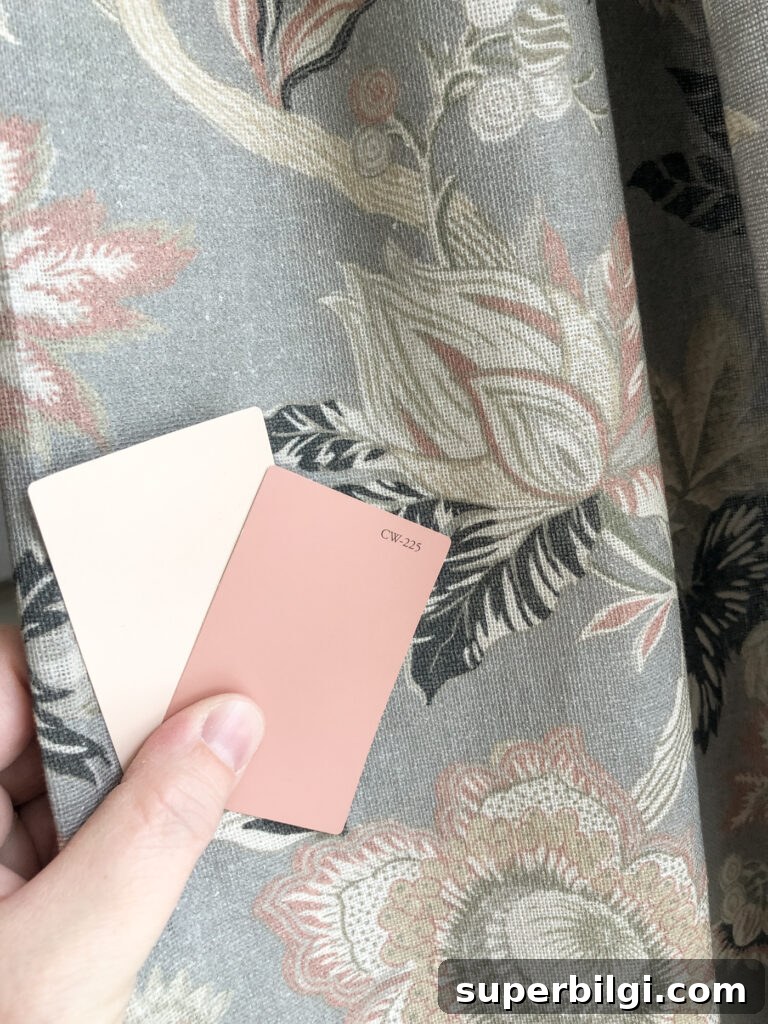
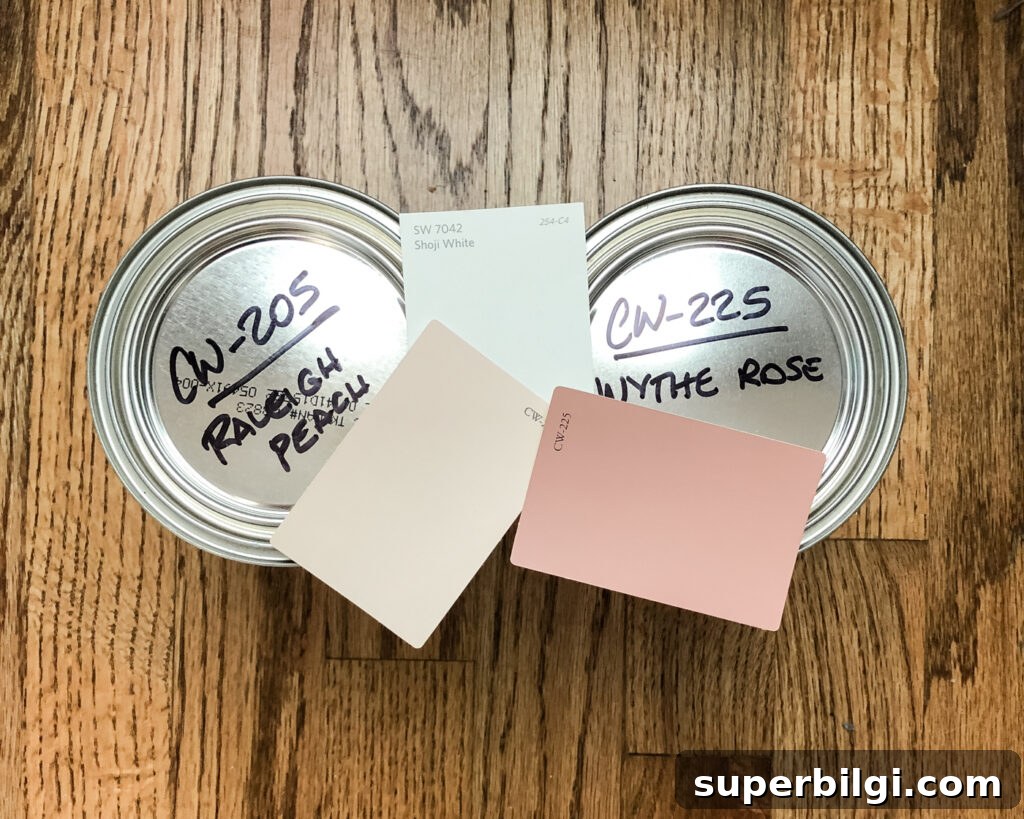
Choose three coordinating paints: a light base, a medium tone for the stripes, and a darker accent for the small squares. For my office I used:
- Shoji White (light base)
- Raleigh Peach (medium)
- Wythe Rose (dark)
If you want an easier time picking colors, select light, medium, and dark shades from the same paint strip so they share the same undertone. I already had the light base on the wall, so I matched the pinks by eye at the paint counter — it worked out well with my decor, but using a sample strip is a less risky approach.
What You Will Need
- Painter’s tape — I used 1.88-inch Scotch Delicate Surface tape and went through several rolls.
- Wallpaper smoothing tool to press tape firmly and reduce bleed.
- Ladder for reaching the top of the wall.
- Laser level or a regular level to make straight vertical and horizontal reference lines.
- Paint brush — a 1-inch brush is ideal for the stripe work.
- Paint roller if you need to apply the base color over the whole wall.
- Three paint colors (light base, medium stripes, darker accent).
How to Paint a Plaid Wall
This method uses only two main measurements and no math. The layout is based on the width of the painter’s tape: I used tape that is 1.88 inches wide and made the light squares exactly double that width (about 3.76 inches). If you want larger squares you can scale up, but that may require calculating spacing.
I applied two coats of paint at each painting step for solid, even coverage.
Step 1 — Paint the Light Base
Start with the lightest color across the entire wall. If your wall is already the light base, you can skip this. Patch any holes and follow standard prep and painting practices before proceeding with the pattern.
Step 2 — Mark the Center Vertical Line
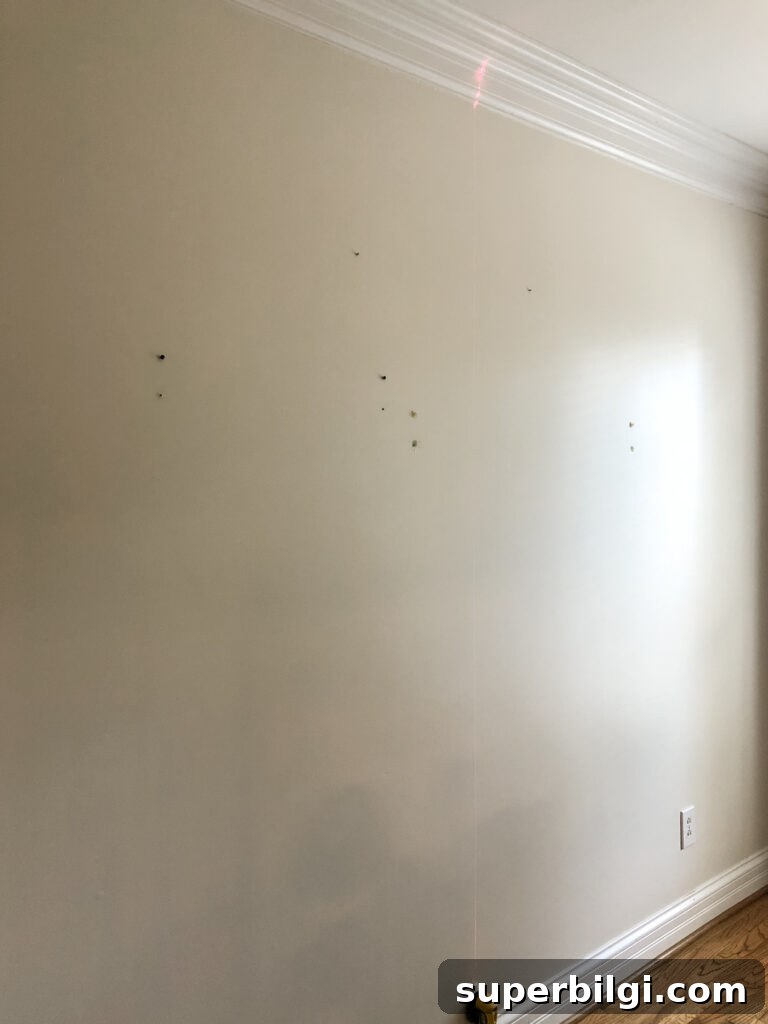
Use a laser level or straightedge to draw a perfectly vertical center line from top to bottom. This is the first key measurement and your main reference for spacing the vertical stripes.
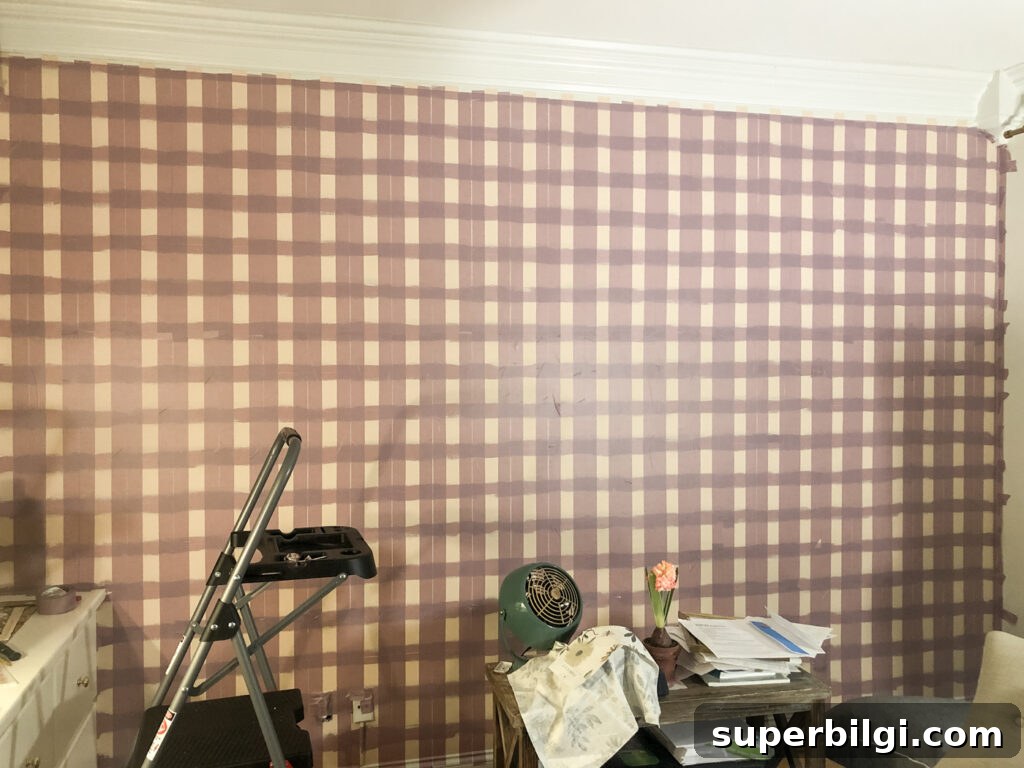
Step 3 — Apply Vertical Tape Stripes
Place two strips of painter’s tape side by side along the center line, then leave a gap equal to one tape width and add two more strips. Continue this pattern across the entire wall so you have pairs of taped stripes with single-tape gaps between them. Use small temporary tape pieces as spacers if it helps keep spacing consistent.
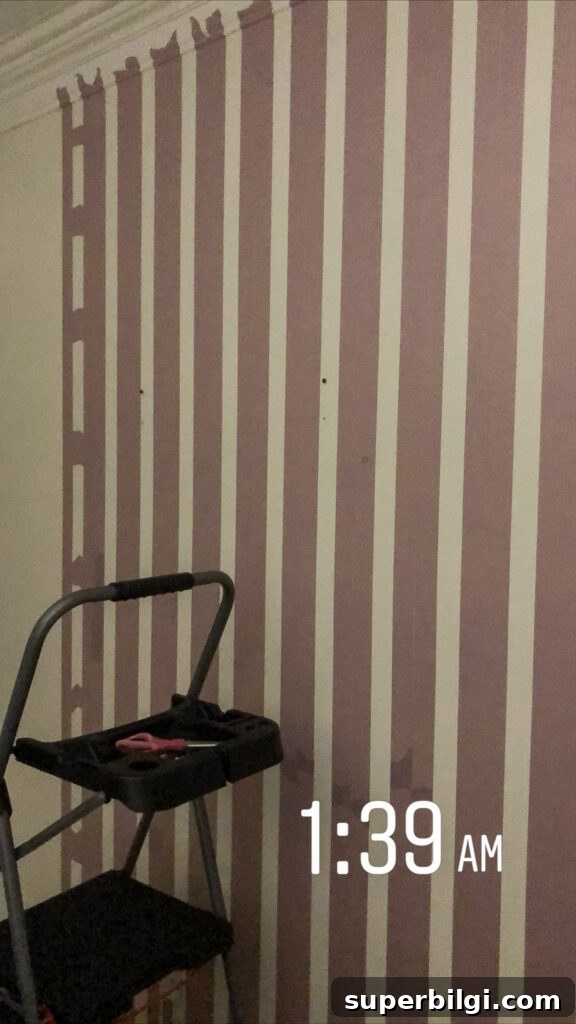
Periodically check alignment with a handheld level to ensure the stripes remain plumb.
Step 4 — Press Down the Tape
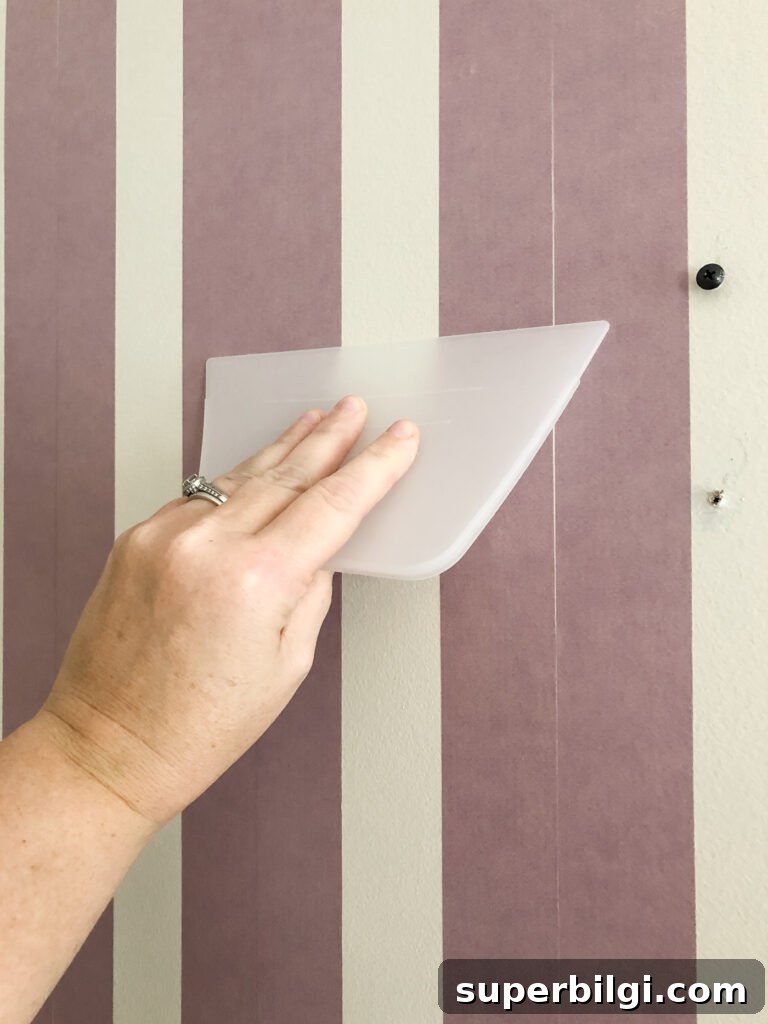
Run a wallpaper smoothing tool or a flat edge over all tape edges to ensure they’re sealed. This helps prevent paint bleed and creates crisp lines.
Step 5 — Paint the Vertical Medium Stripes
Using a 1-inch brush, paint two coats of the medium color between the taped vertical lines. Take care to keep brush strokes neat and avoid overloading the brush near tape edges.
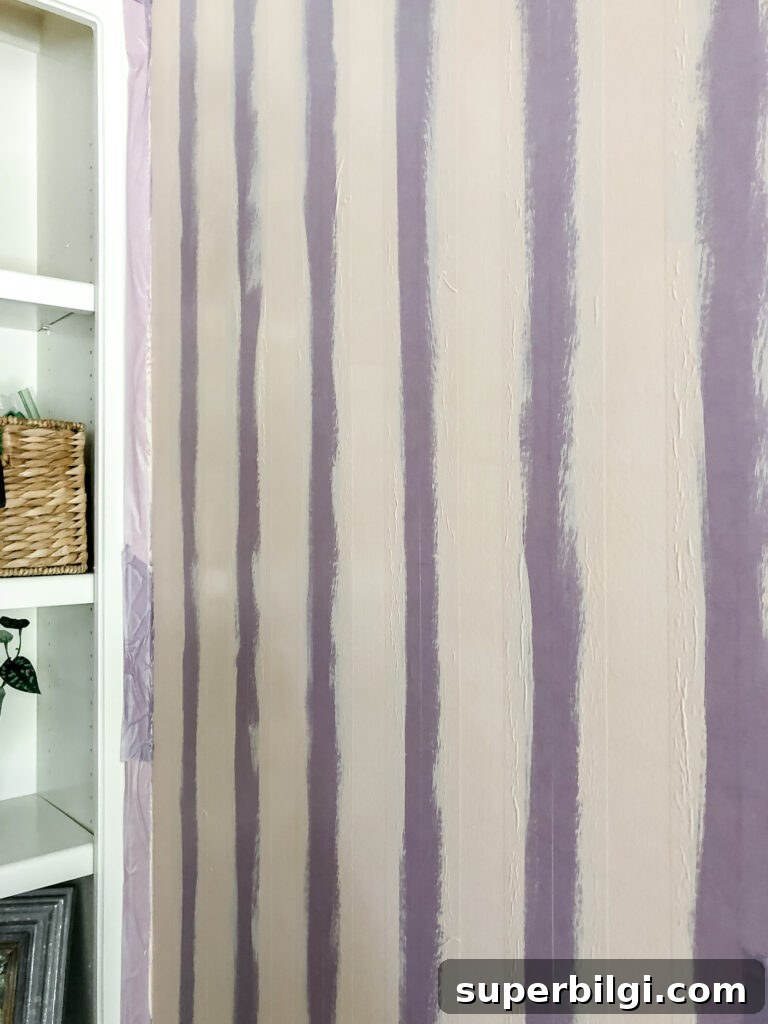
Step 6 — Remove Tape and Mark Center Horizontal Line
Peel off the vertical tape, then use the level to draw a centered horizontal guideline across the wall. This is the second primary measurement and will guide the horizontal stripes.
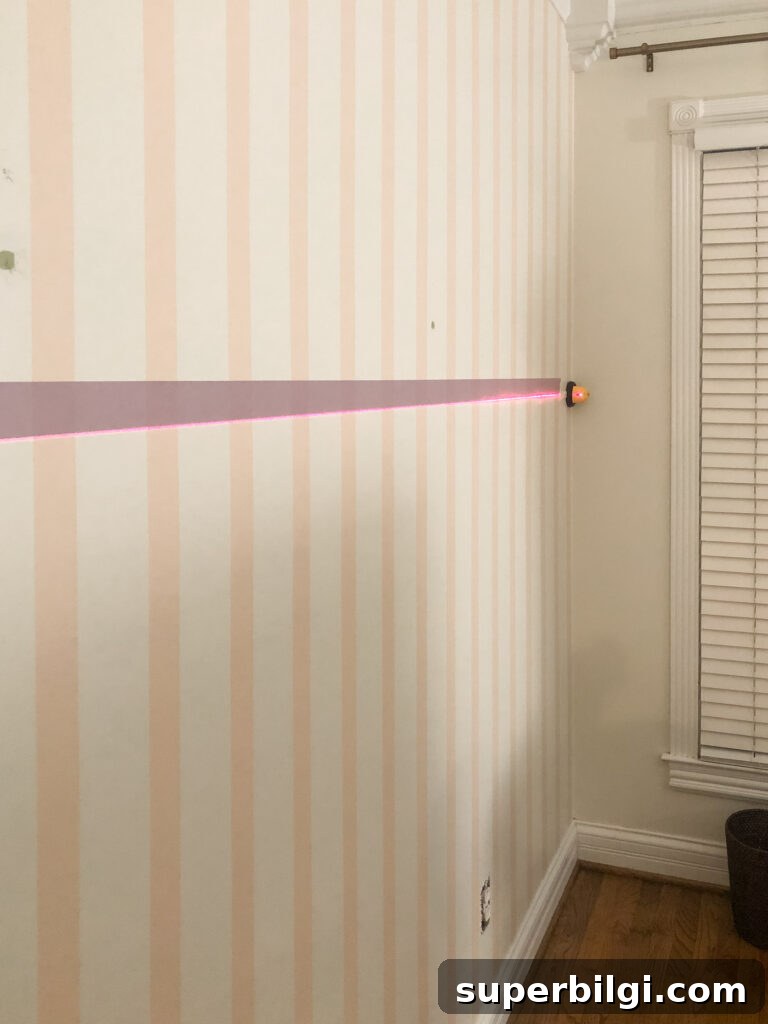
Step 7 — Tape Horizontal Stripes
Following the same pattern as before, place two strips of tape along the horizontal center line, leave a gap equal to one tape width, then add two more. Continue this pattern from one side of the wall to the other. Check level as you go.
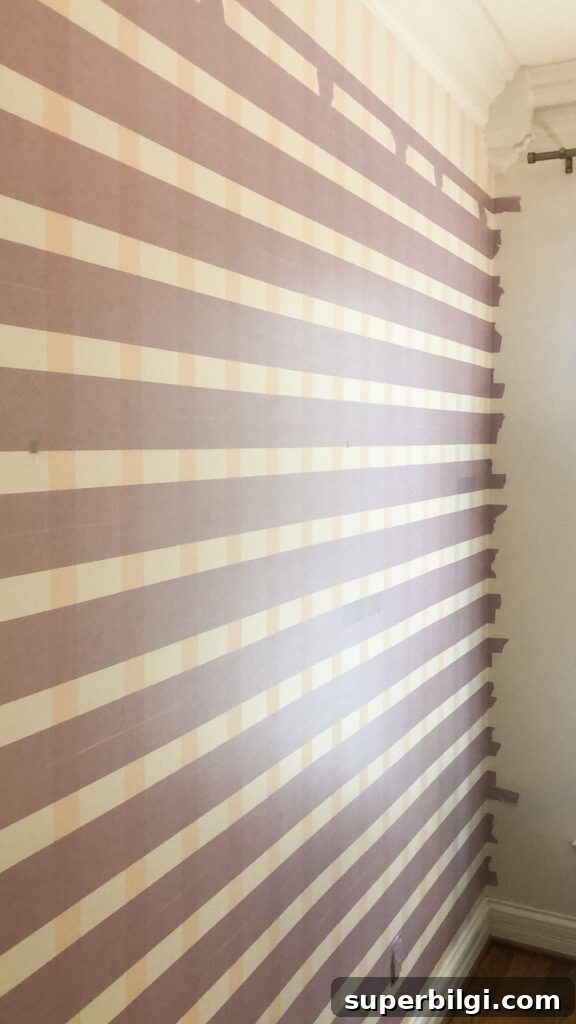
Step 8 — Press Down Tape Again
Use the smoothing tool to press all horizontal tape firmly into place to prevent paint bleeding.
Step 9 — Paint the Horizontal Medium Stripes
Paint two coats of the medium color along the horizontal taped areas with a 1-inch brush. Do not remove the tape after painting these horizontal stripes — leave it in place for the next step.
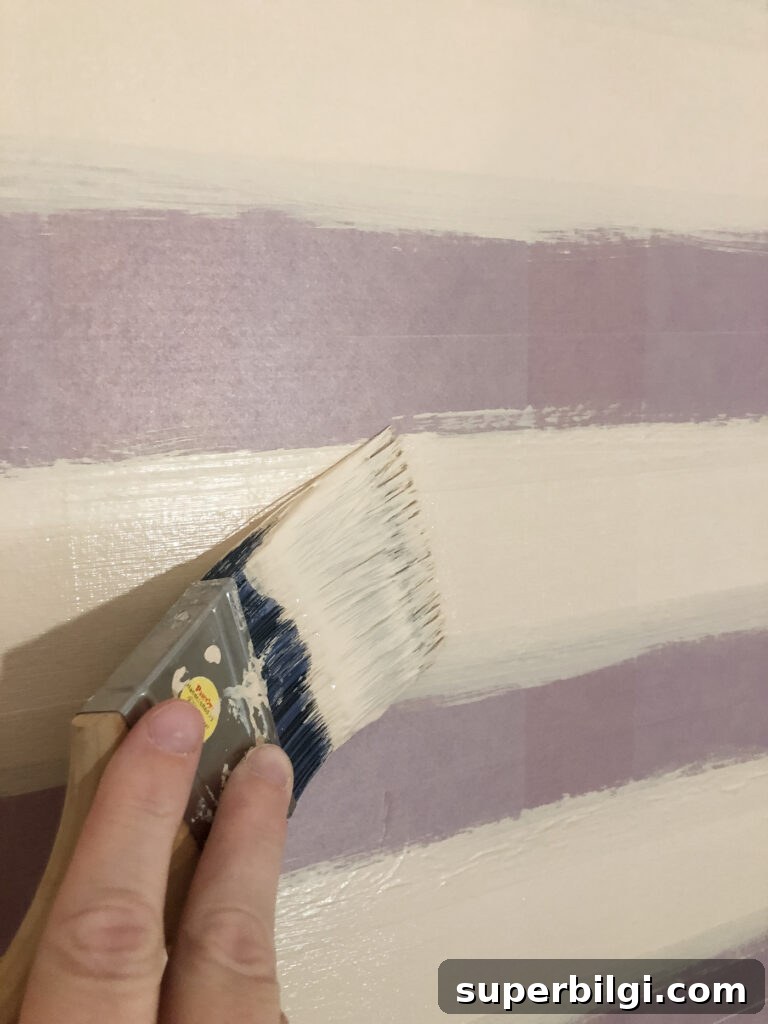
Step 10 — Reapply Vertical Tape
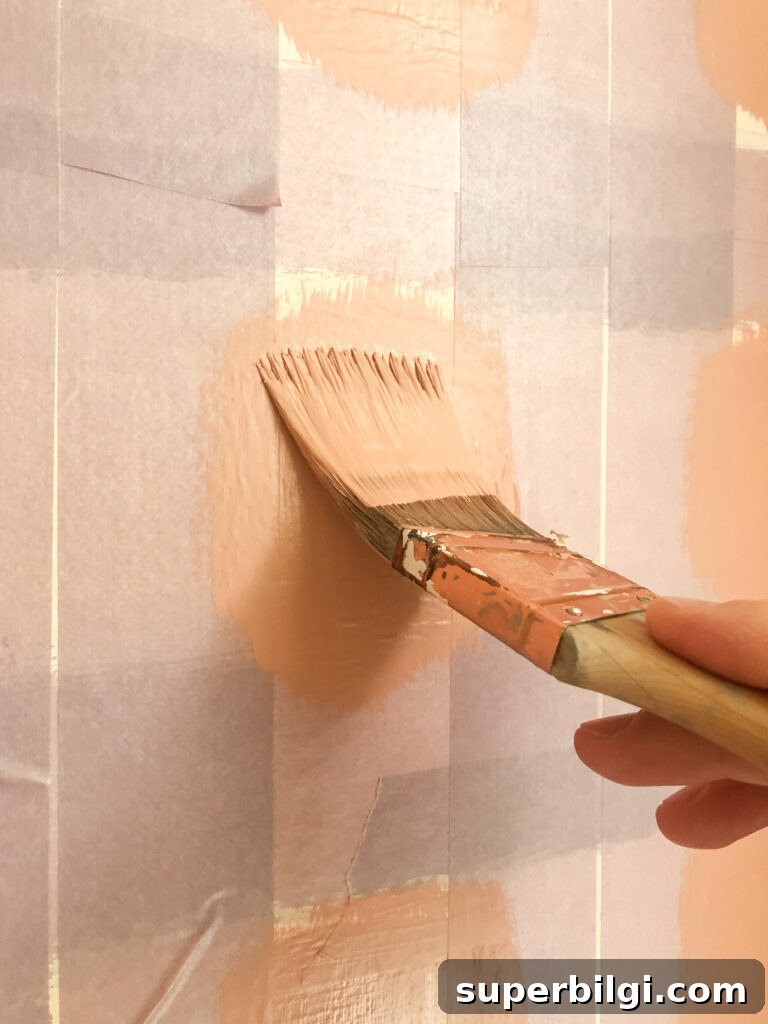
Re-tape the vertical stripe positions by aligning new tape strips over the painted vertical areas. Press the tape down with the smoothing tool so the edges are sealed. This creates small open squares where the dark accent will go.
Step 11 — Paint the Dark Accent Squares
Fill each small open square with two coats of the darkest color. These accents simulate the darker overlaps you see in woven plaids and add depth to the pattern.
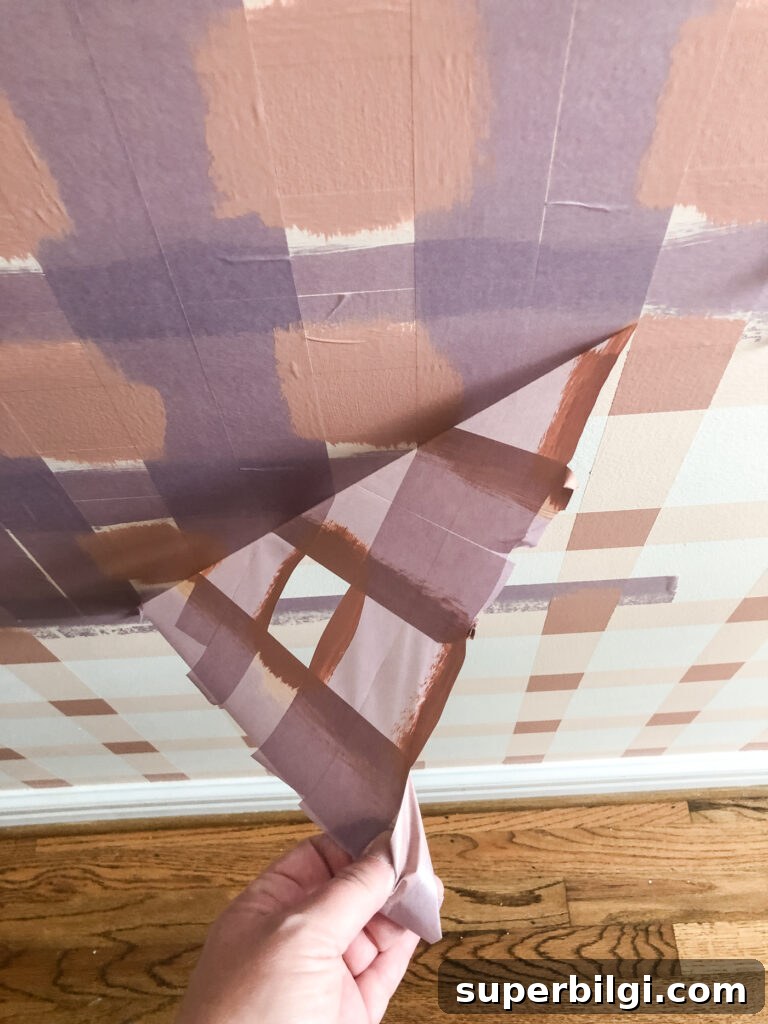
Step 12 — Remove the Tape and Enjoy
Carefully remove all tape to reveal crisp lines and the finished plaid design. Step back and admire your new feature wall — it should have the depth and texture of plaid, but with the custom finish of paint.
This painted plaid has become one of my favorite features in the house. It pairs nicely with patterned curtains and other rooms nearby, creating a thoughtful visual connection between spaces.
If you try this technique, I’d love to see your results — share photos on social media or keep a project journal. Happy creating!
More posts you might enjoy:
- The Best 15 Neutral Paint Colors
- Best Living Room Paint Colors
- Beautiful Interior Door Paint Colors
- How to Paint Outlet Covers
- Blush & Brass Holiday Office Decor











