
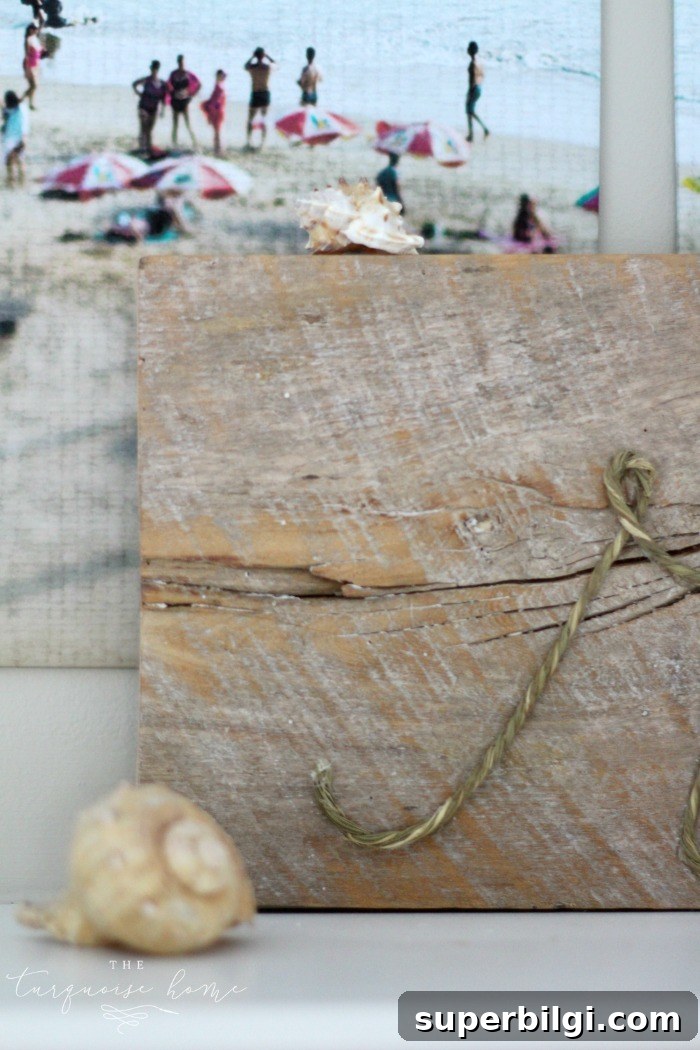
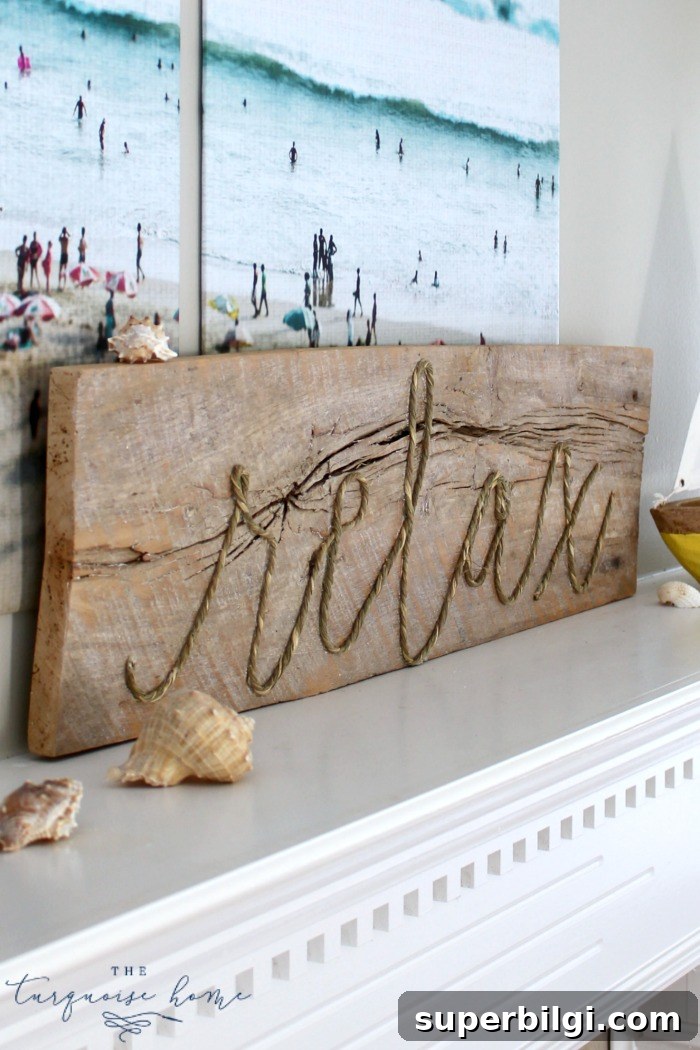
This DIY driftwood finish is an easy way to achieve the whitewashed, weathered look of real driftwood. It makes a beautiful backdrop for beachy signs, mantel decor, and coastal-inspired projects.
I’m excited to share this simple technique for transforming ordinary wood into a weathered driftwood finish. I wanted a beachy, worn look for a rope-and-wood sign, but I don’t live near the ocean and had no genuine driftwood on hand. Instead, I created that soft, sun-bleached appearance using materials I already had in the garage.
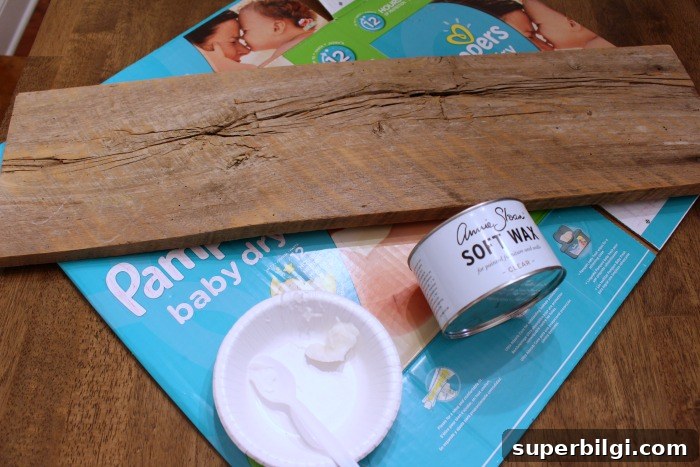
I pulled an old piece of barn wood from my scrap pile. It had great grain and texture—perfect for this technique. If your piece is smooth or new, you can easily create texture before applying the finish. The goal is to subtly lighten the wood and emphasize the grain so it reads like driftwood rather than barn wood.
This method works well on fence boards, pallet wood, reclaimed barn wood, or even new pine once you add some grain. The look is ideal for coastal decor, rustic signs, picture frames, and furniture accents.
Tools You’ll Need to Create a Driftwood Finish
- Wood with visible grain (reclaimed or new)
- White or light paint (craft or latex)
- Finishing wax (clear or tinted; any brand with a butter-like consistency)
- Cloth rags for wiping and buffing
- Wire brush (optional, for adding or enhancing grain)
- Sandpaper (medium and fine grits)
- Stain (optional, for deepening tones before whitewashing—weathered gray stains work well)
How to Create a Driftwood Finish
Follow these steps to transform your board into a driftwood-style piece. The technique uses a white-tinted finishing wax to settle into the grain and gently lighten the surface without obscuring texture.
1. Prepare the wood: Remove dirt and loose debris, then sand lightly to even the surface while keeping the grain visible. If your wood is new and smooth, add texture by wetting the surface and scraping gently with a wire brush along the grain to create shallow grooves. Let the wood dry completely before moving on.
2. Optional staining: If you want a cooler gray undertone, apply a thin coat of a weathered-gray stain and let it dry. This can help mimic the subtle gray tones found in real driftwood. If you like the natural color of your wood, skip this step.
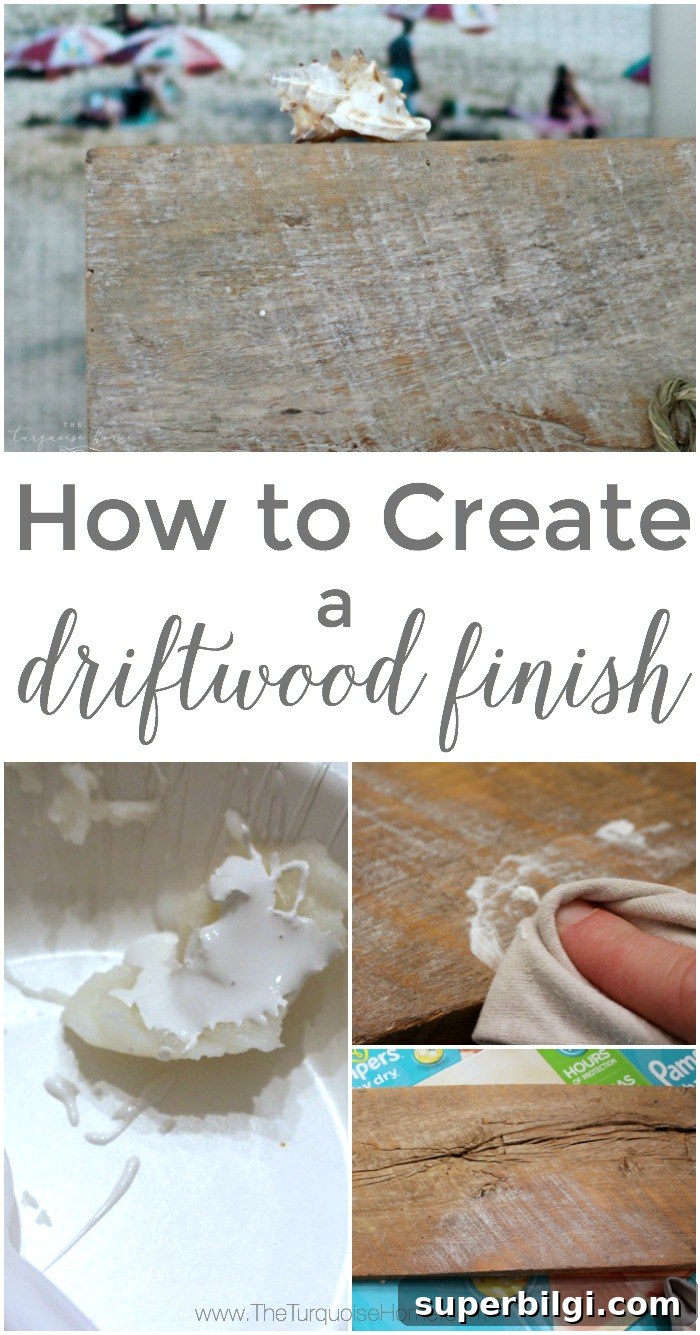
3. Make the white wax: Scoop a small amount of finishing wax into a container and mix in a little white or very light paint until you get a creamy, spreadable consistency—think softened butter. You can purchase ready-made white wax, but mixing your own gives more control over opacity.
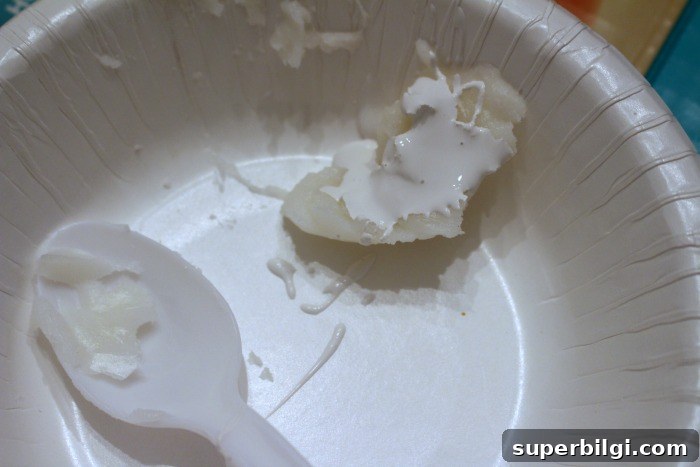
4. Apply the white wax: Use a cloth or your fingers to work a small amount of the white wax into the wood, pressing it into the grooves and grain. Work in sections, rubbing and then wiping off the excess. The goal is a thin, even layer that highlights the texture without leaving thick clumps of wax.
5. Blend and refine: After the wax is applied, buff the surface lightly with a clean cloth to smooth and blend. If some areas need more white, add a touch more wax and wipe again. Less is more—build up subtle color gradually until you achieve the desired driftwood look.
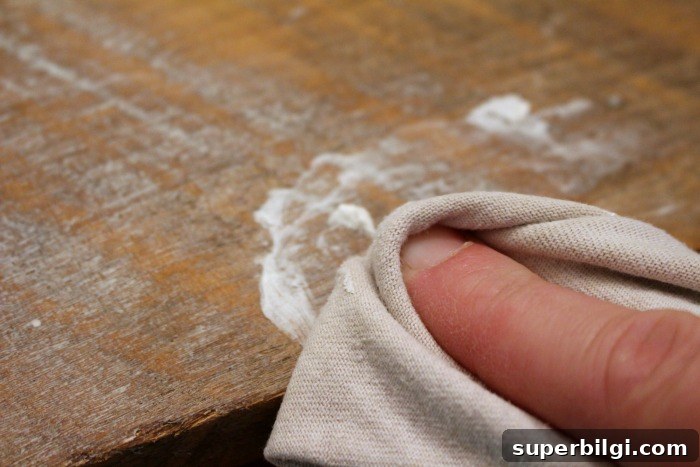
6. Final touches: Let the finish cure according to the wax manufacturer’s recommendations, then buff once more for a soft sheen. If you plan to attach rope, hardware, or lettering, the finished board is ready to use as a backdrop for signs, coastal wall art, or decor.
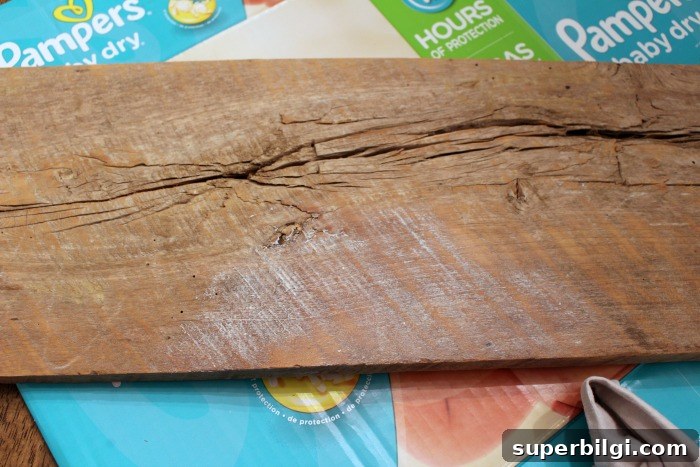
This approach creates a truly weathered, beach-inspired surface without harsh sanding or heavy paint. It preserves the wood’s natural character while giving it a softened, sun-bleached appearance.
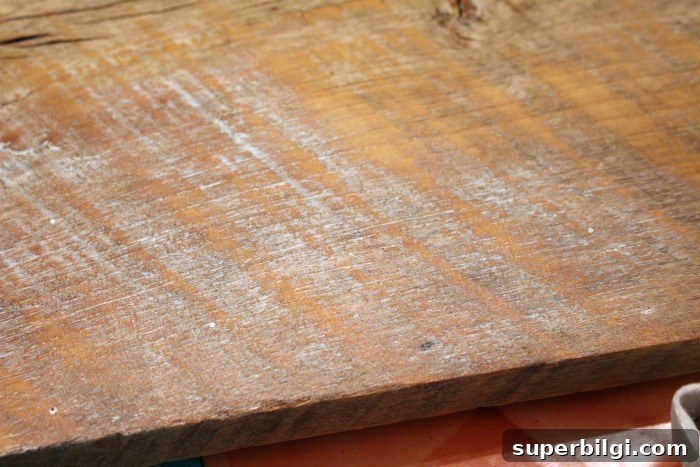
The board made the perfect backdrop for the rope “relax” sign I planned. I love how the subtle whitewash highlights the grain and gives the piece a light, coastal vibe—without looking painted or fake.
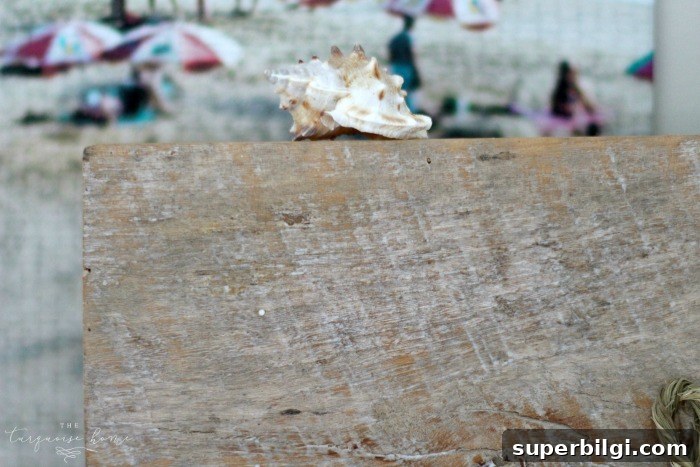
This technique is fast, forgiving, and versatile. Try variations—more white for a bleached look, or a hint of gray stain beforehand for a cooler finish. Use it on frames, shelves, signs, or small furniture pieces for an instant coastal update.
More posts you will love:
- The Best Summer Decorating Ideas
- Beach-Inspired DIY Framed Canvas Art
- Color Engineer Prints: DIY Large Art on a Budget!