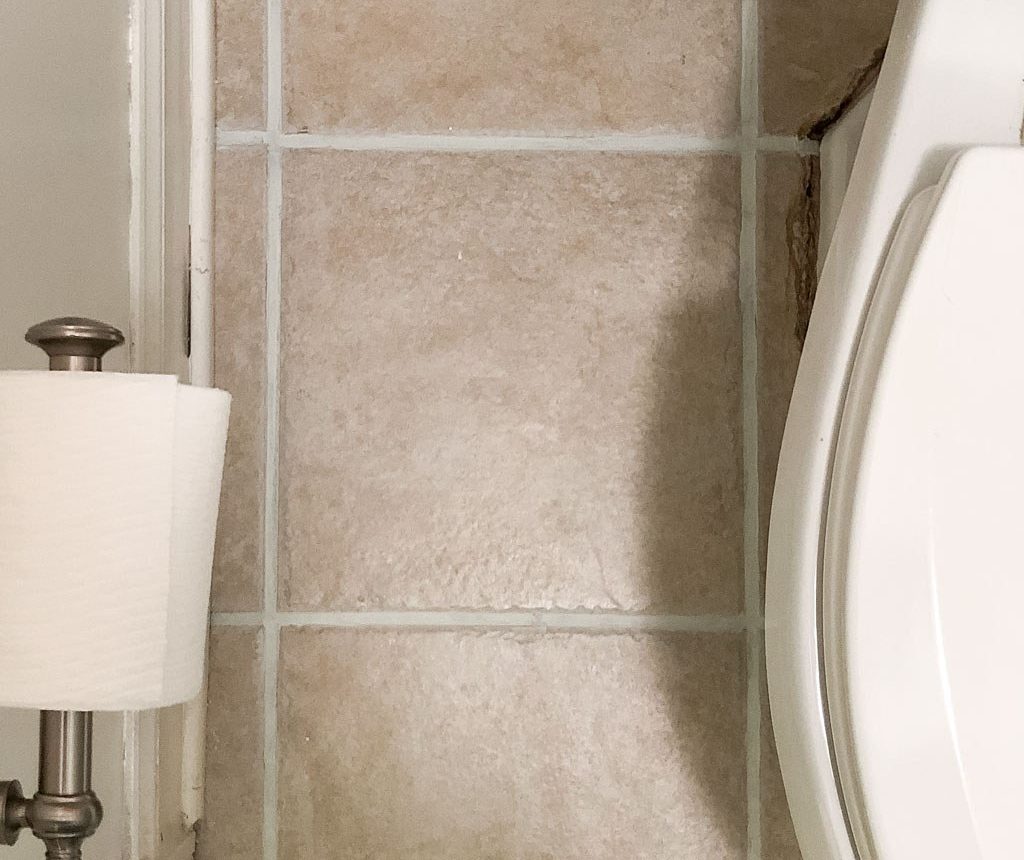
Refresh your bathroom or laundry room by restoring your grout. With a simple grout paint, you can make grout lines look like new—no more dingy, stained joints.
Whether you want to return grout to its original gray or beige, or switch to a darker shade, grout paint makes it possible. The right product will cover stains and even out color so your tile looks cleaner and more consistent.
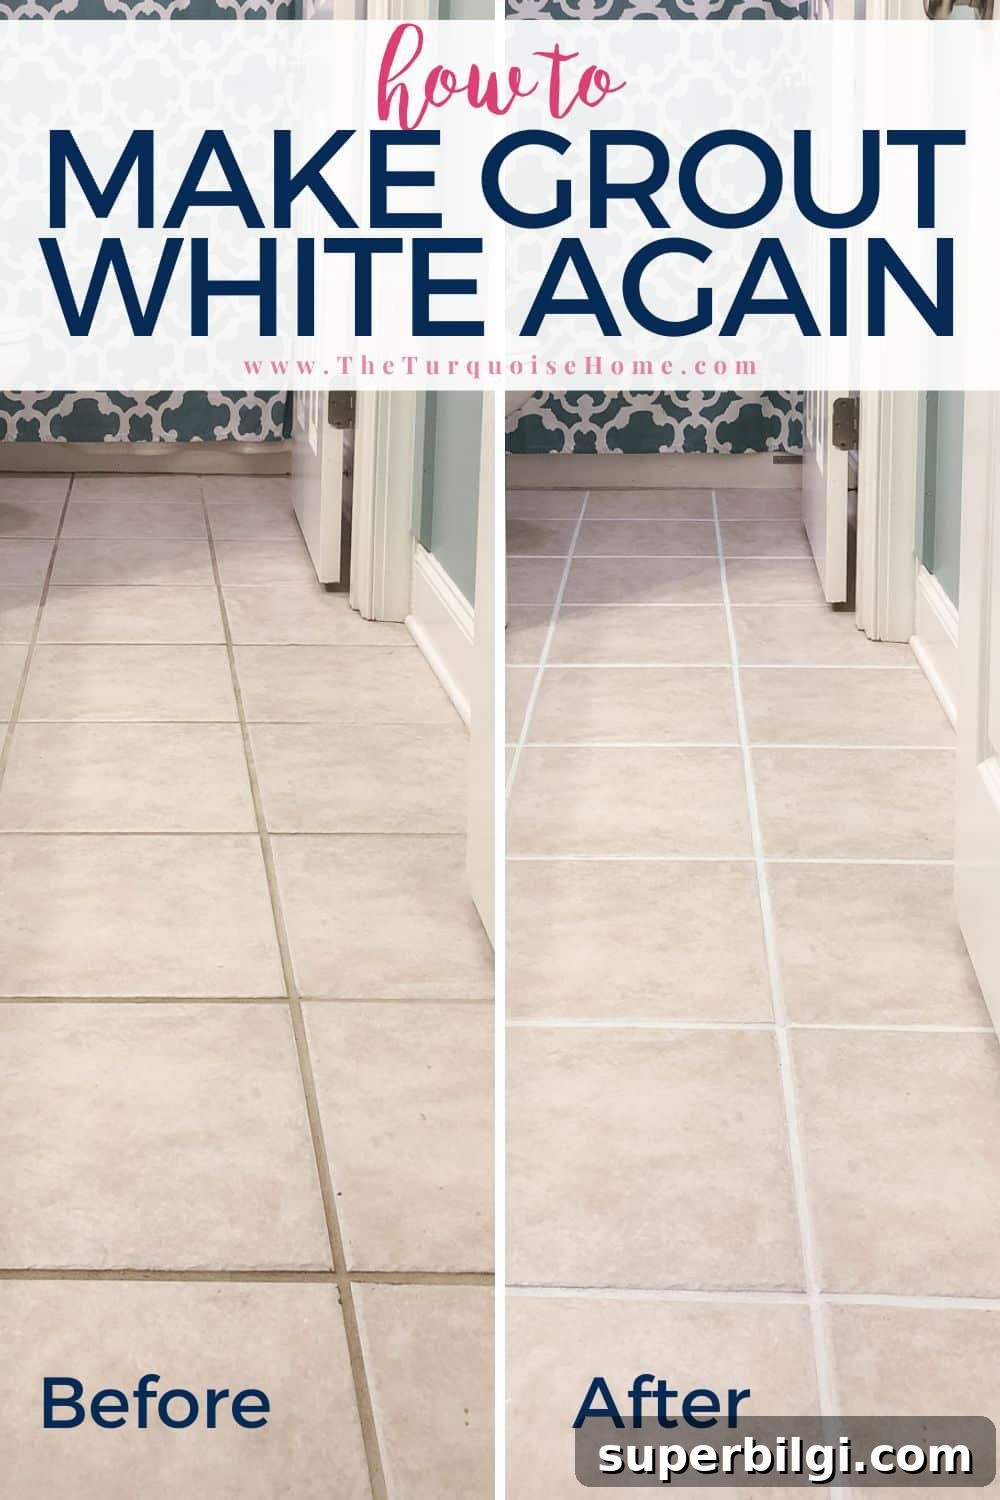
The difference is dramatic.
I’d had a bottle of grout paint for a long time. My laundry room grout was badly discolored, and I meant to use it there, but the bottle sat on the shelf until I finally decided to just do it.
If you’re like me, you might buy supplies and put a project off—then one day you get motivated and finish it. This grout refresh was one of those projects.

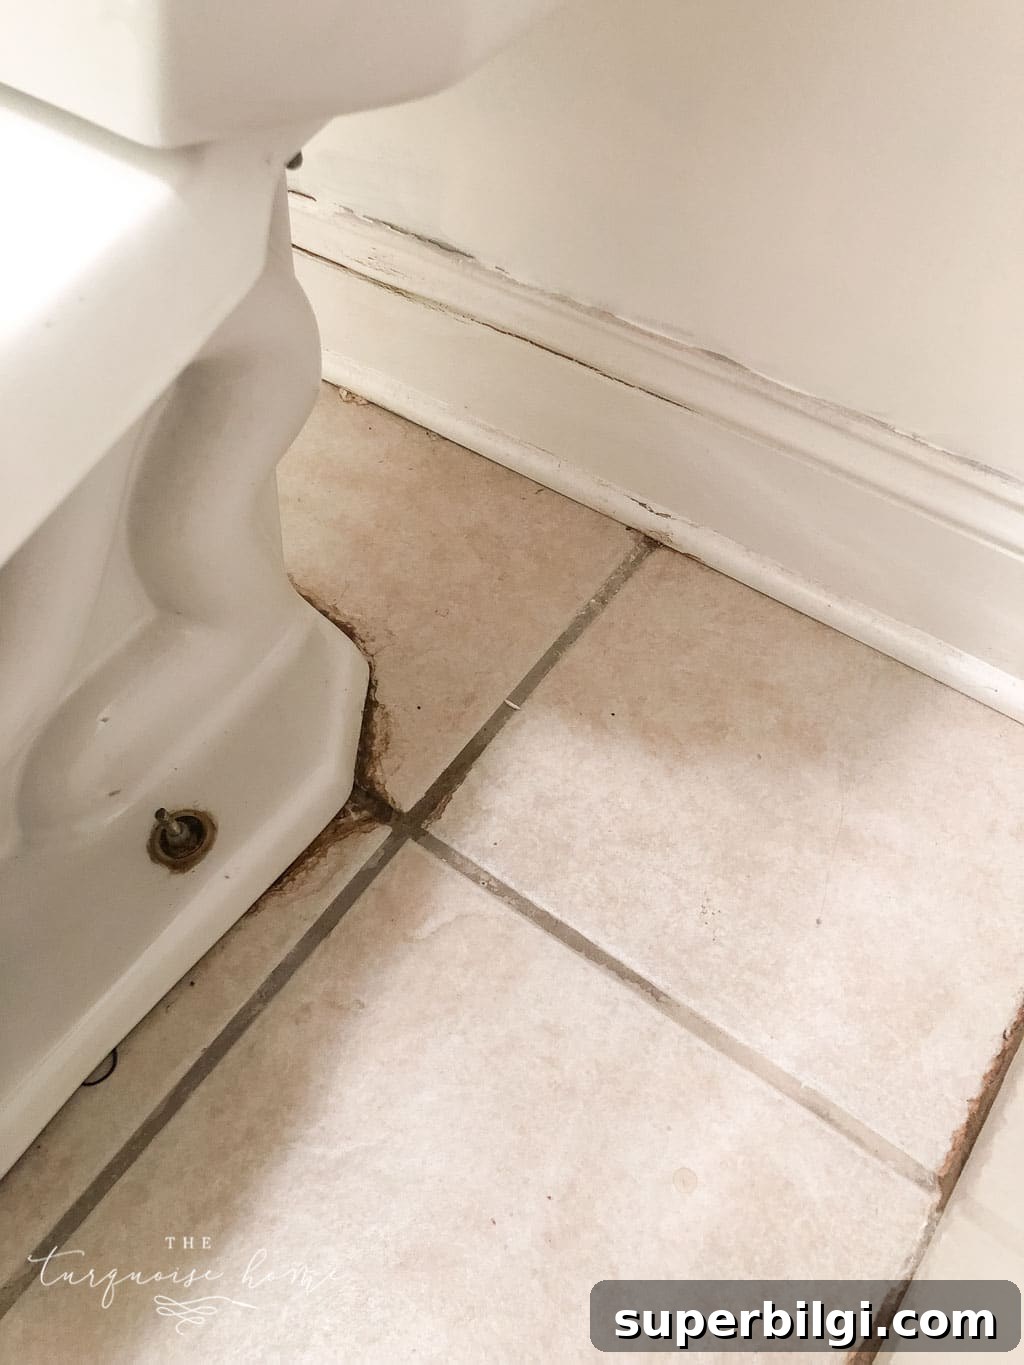
When I was ready to install peel-and-stick vinyl floor tiles in the bathroom, I realized the new floors wouldn’t look right with stained grout. The sink area was acceptable, but around the toilet the grout had stubborn, dark stains from before we bought the house.
Here’s how the grout looked before I refreshed it with white grout paint.
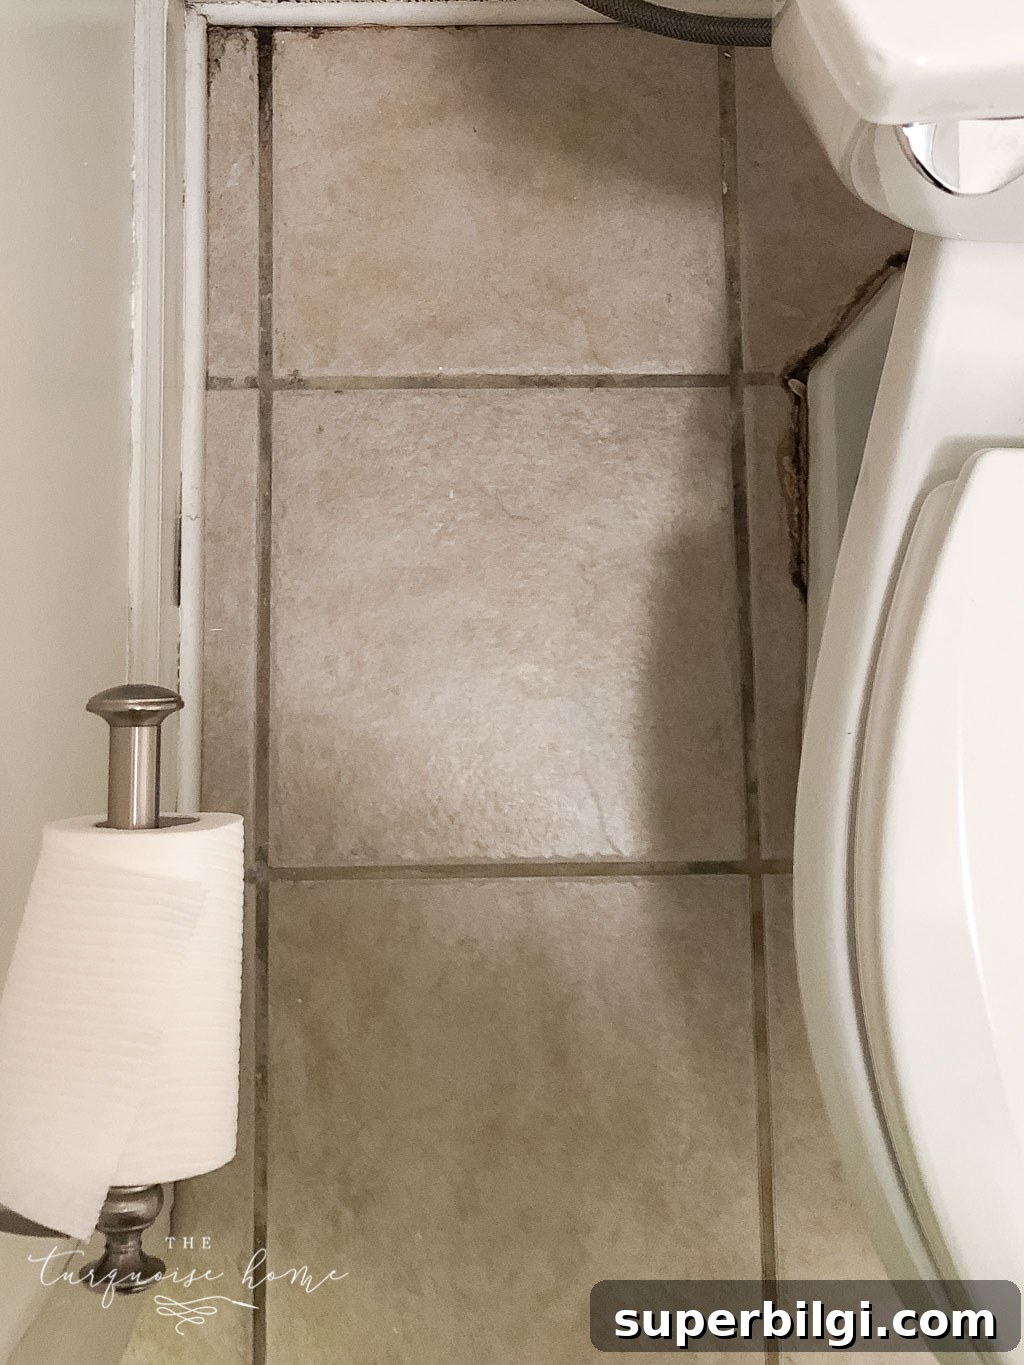
Pretty gross. I’d scrubbed multiple times and the stains wouldn’t budge.
The application itself was painless, aside from my knees protesting from working on the floor. Other than that, it was quick and straightforward.
This post contains affiliate links for your convenience. See my full disclosure policy.
Supplies You’ll Need to Paint Your Grout
1. Polyblend Grout Renew – choose the color you want (I used Snow White). They also offer a paint pen version that can be handy for small touch-ups.
2. Small craft paintbrush or toothbrush. The manufacturer recommends a toothbrush, but a small stiff-bristle craft brush offers more precision.
3. Rag or tissues – to wipe excess paint from tile.
4. Krud Kutter or another degreasing cleaner – for prepping the grout.
Steps to Make Your Grout Look New
1. Clean the grout thoroughly.
Start by cleaning the grout to remove dirt, soap scum, and grease. I used Krud Kutter, let it sit for a few minutes, then wiped the area with a rag. For heavily soiled grout, scrub with an old toothbrush or a grout brush. Allow the floor to dry completely before applying the grout paint.
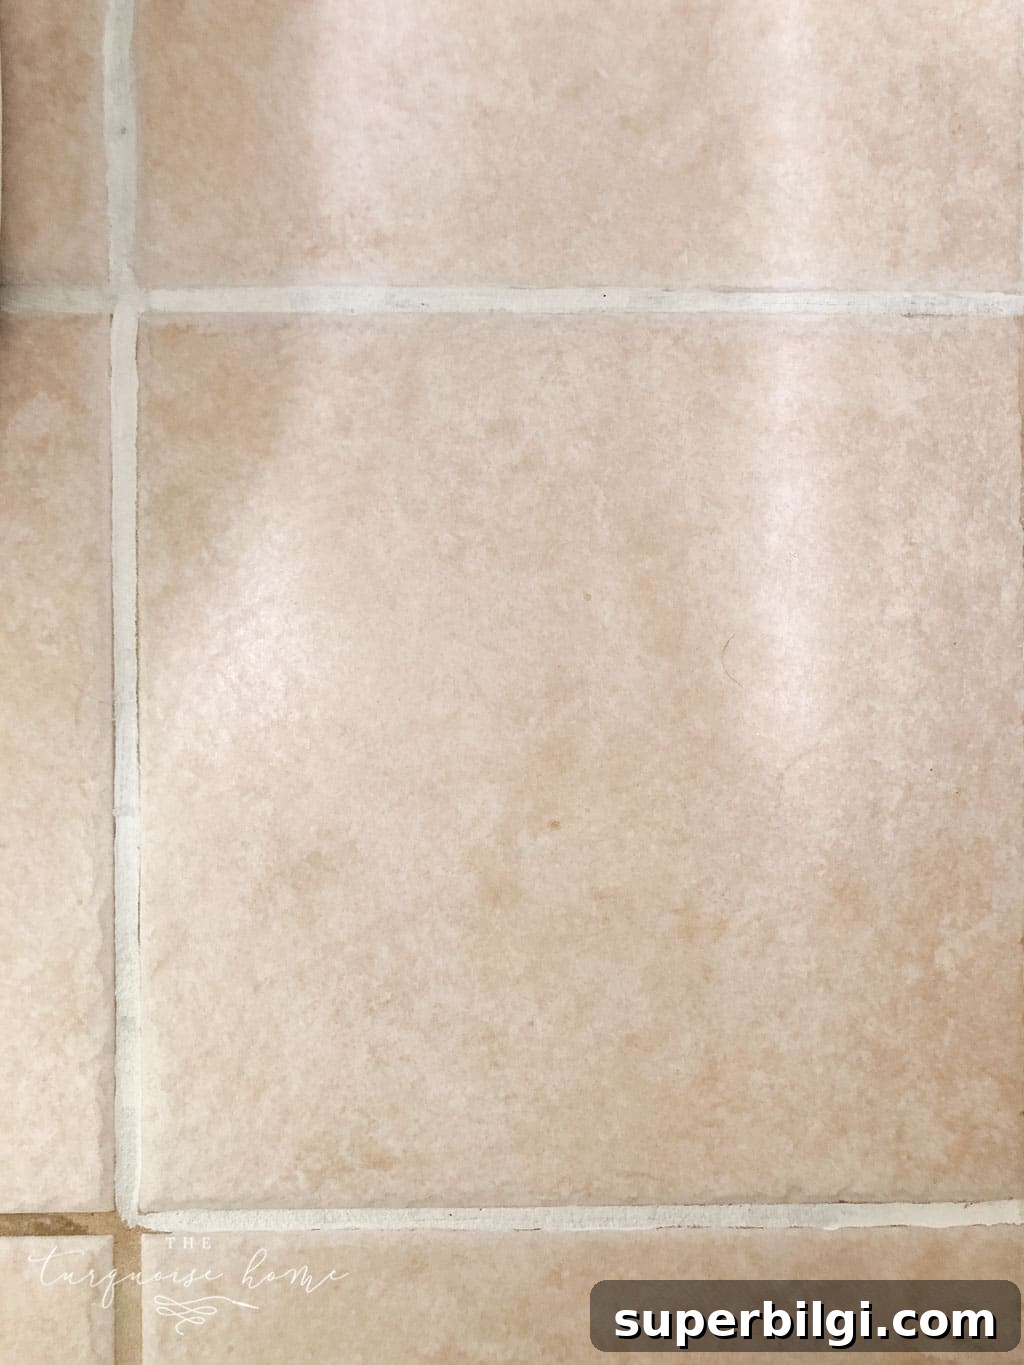
2. Apply the grout paint.
Use a small, stiff brush to apply the grout paint along the grout lines. A craft brush gives more control than a toothbrush, so you can paint neatly and reduce cleanup. Work in small sections to keep the process manageable. I chose Snow White because it’s not an overly stark white but still brightens the grout beside the tiles.
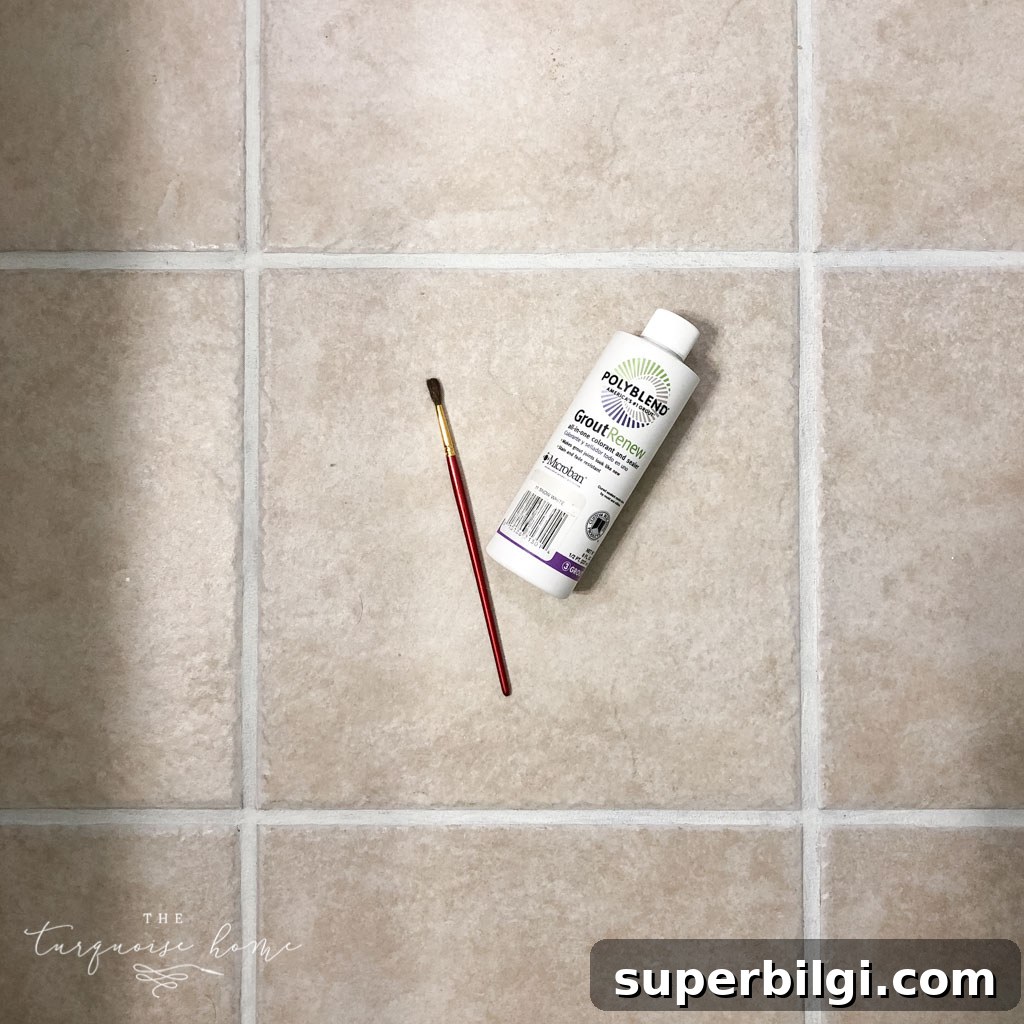
3. Wipe excess paint from the tiles.
After applying paint to a small area, quickly wipe any paint that landed on the tiles before it dries. I used a piece of toilet paper to remove the excess and worked one tile at a time. Keeping sections small prevents dried paint residue on the tile surface.
4. Let it dry and cure.
Follow the manufacturer’s drying and curing times. The product I used recommended 24 hours before normal use and 72 hours before exposing the grout to water. I kept the bathroom door closed for a few days and used another bathroom while the grout fully cured.
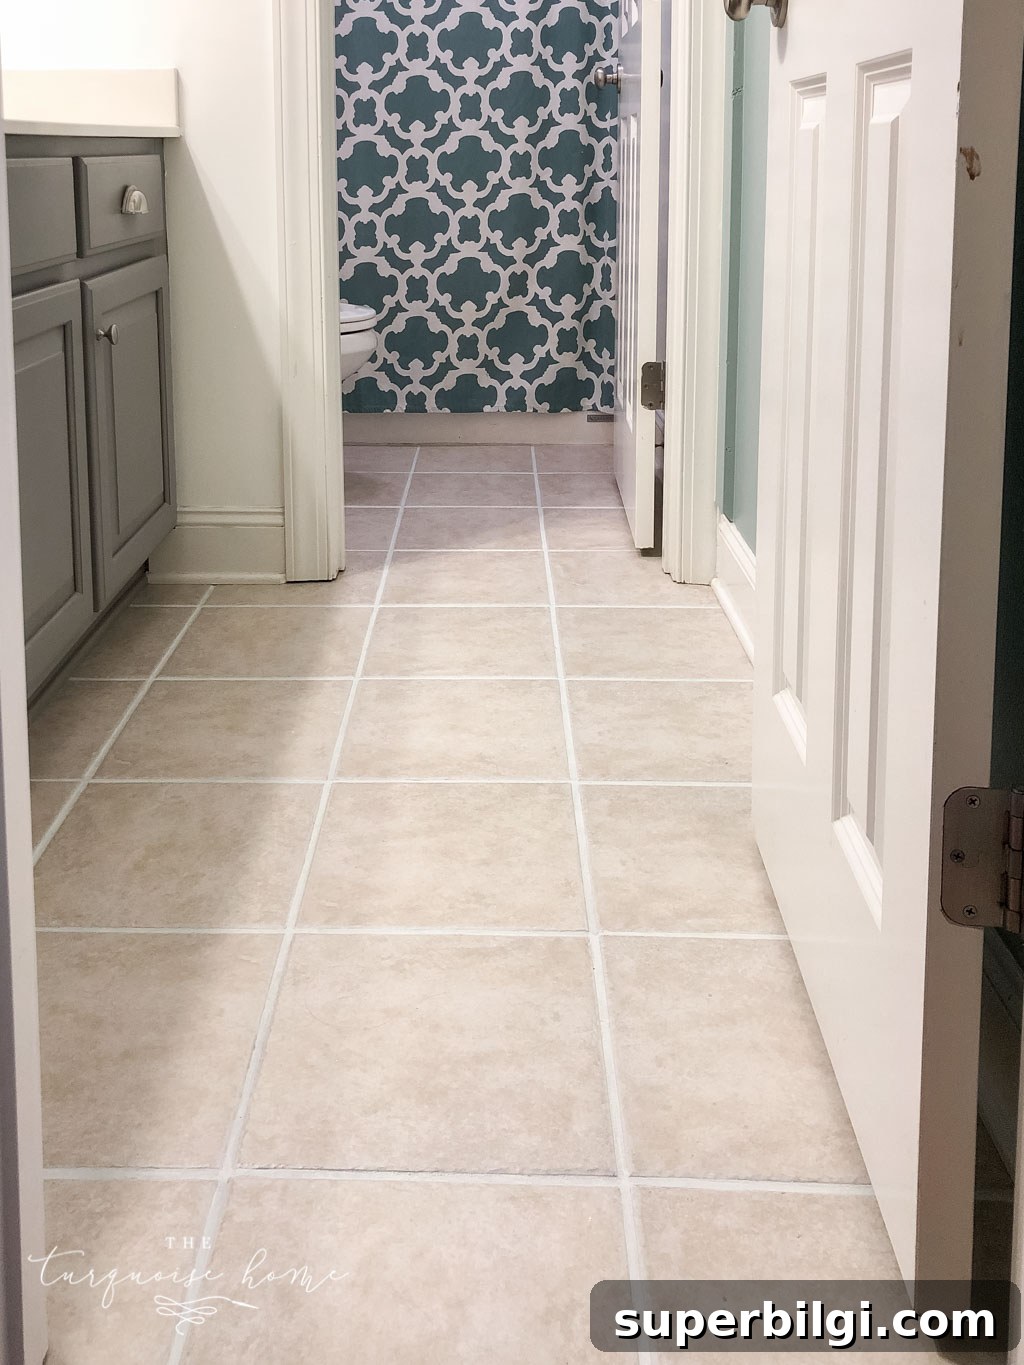
The whole job was surprisingly quick. My small bathroom took only a couple of hours. Larger areas will take longer, but you can spread the work across several sessions if needed.
Here’s a before-and-after—what a transformation. The grout looks fresh and the entire floor appears cleaner and brighter. My next project will be refreshing the laundry room grout, which is much worse than this bathroom.
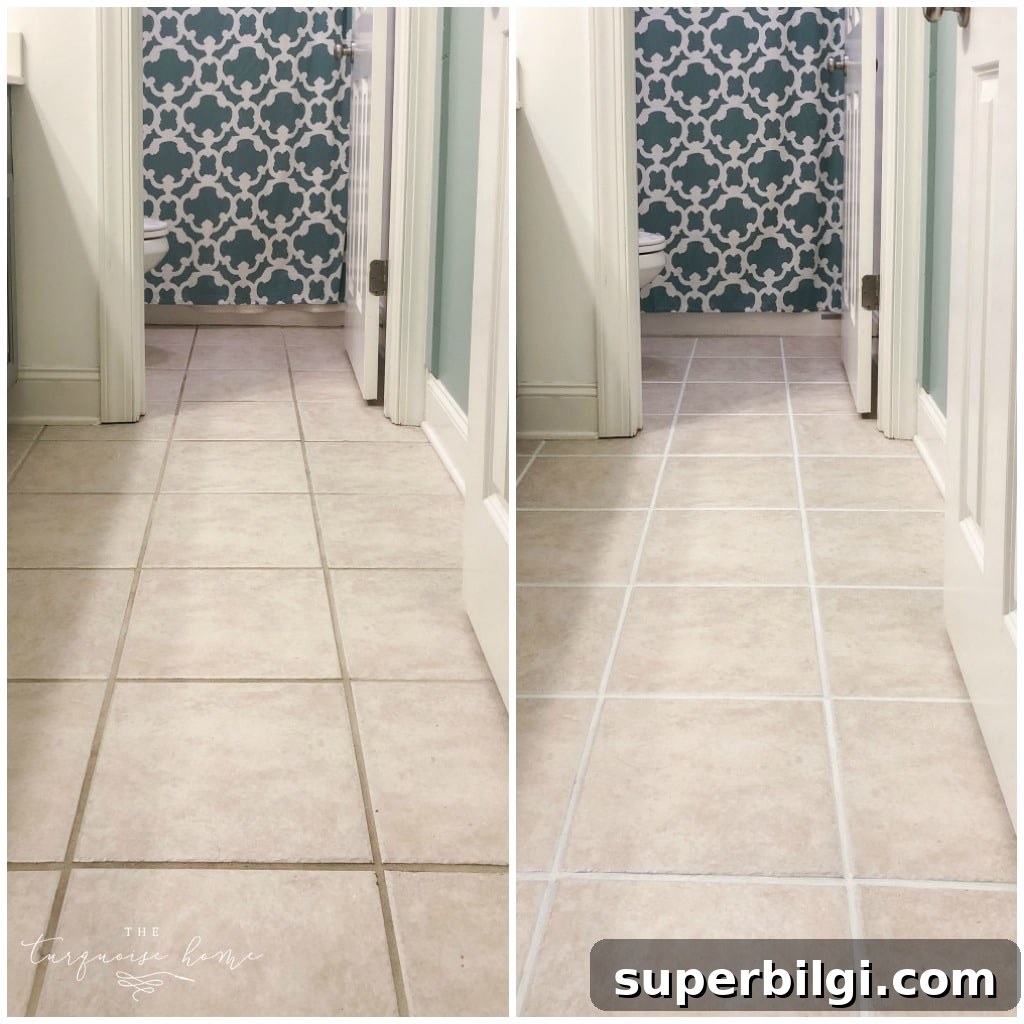
Once the grout was refreshed, I could install the peel-and-stick vinyl tiles and move forward with the bathroom makeover. The cleaner grout makes a big visual difference and makes the new floor look intentional and well finished.
I still have a few final touches to complete the girls’ bathroom refresh, but the grout update was a major step forward.
More posts you may like:
- How to Install Peel & Stick Floor Tile
- Washable Kitchen Runner Rugs: 10 Favorite Pretty Floor Runners
- Cheap Flooring Ideas: Update Your Floors on a Budget
- Luxury Vinyl Plank Flooring Review
- How to Choose the Right Checkered Floors for Your Home