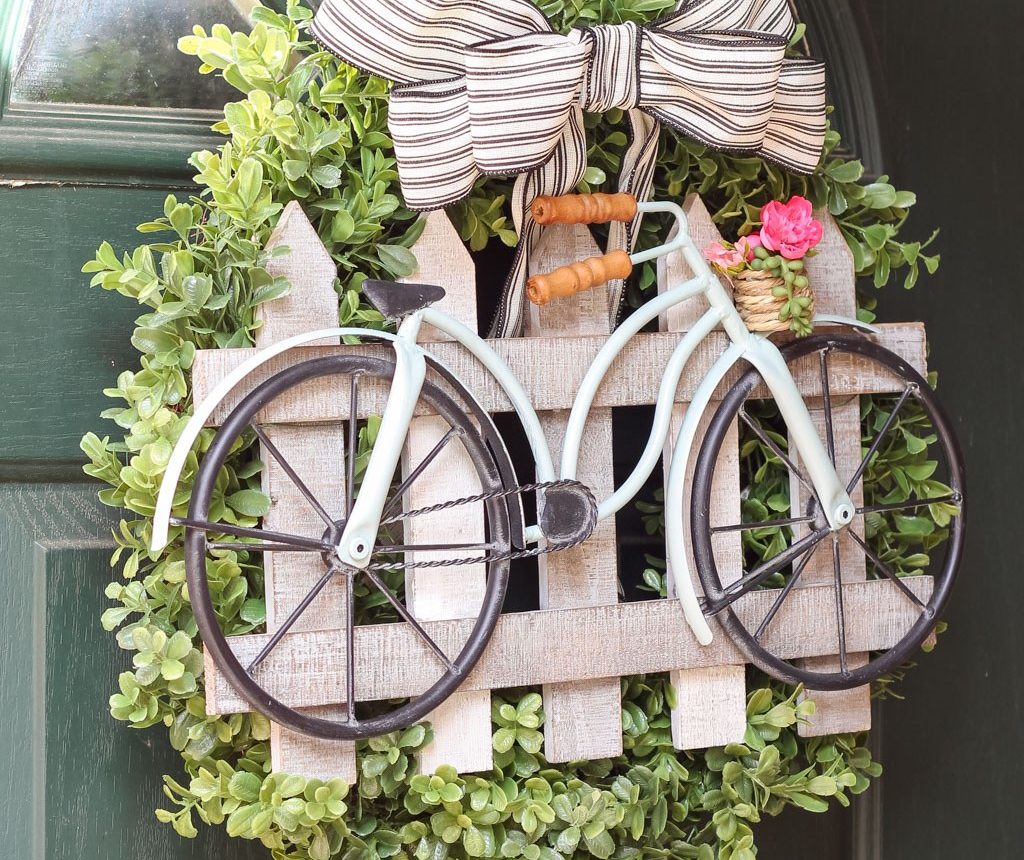
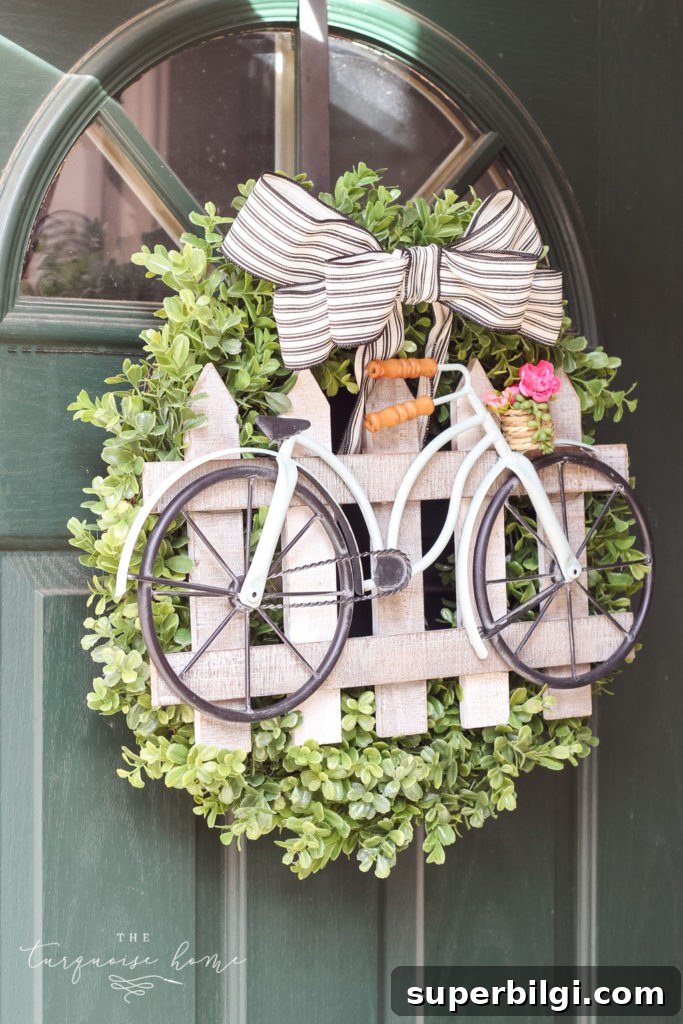
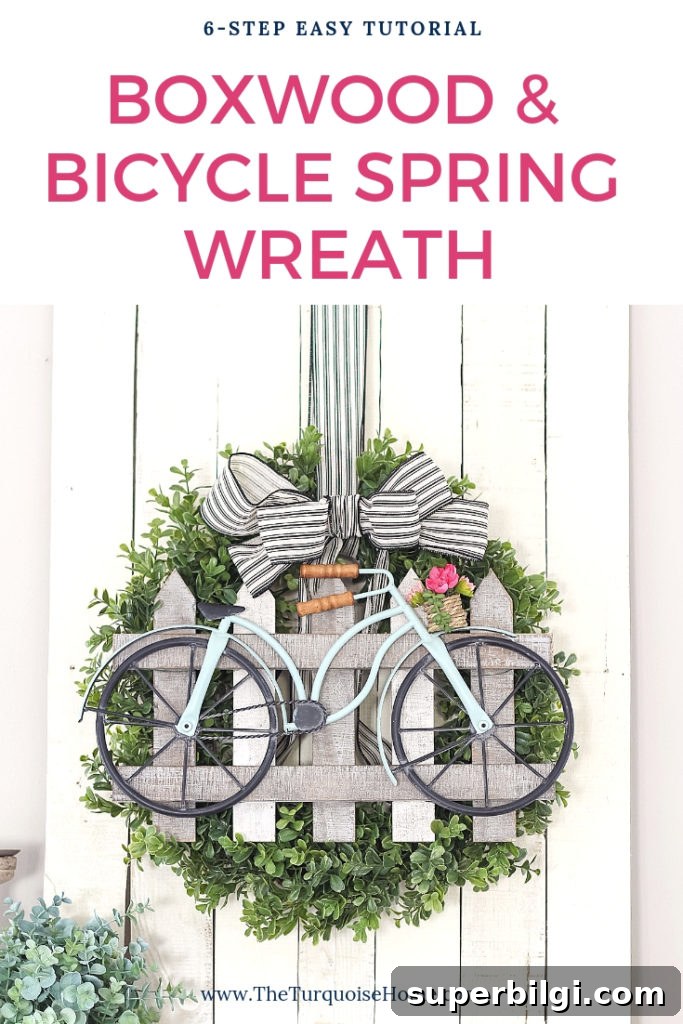
This charming boxwood-and-bicycle spring wreath is a delightful way to welcome the season at your front door.
With spring approaching, it’s the perfect time to refresh your front door decor with a new wreath. I always enjoy a seasonal wreath because it brightens the entryway and gives the house a festive, welcoming look when I return home.
Last year’s peony wreath remains one of my favorites and now lives on the open shelves in the kitchen, so I wanted something fresh for the door this year. My new design centers on a miniature bicycle attached to a rustic fence, tucked into a lush boxwood wreath — simple, playful, and full of spring charm.
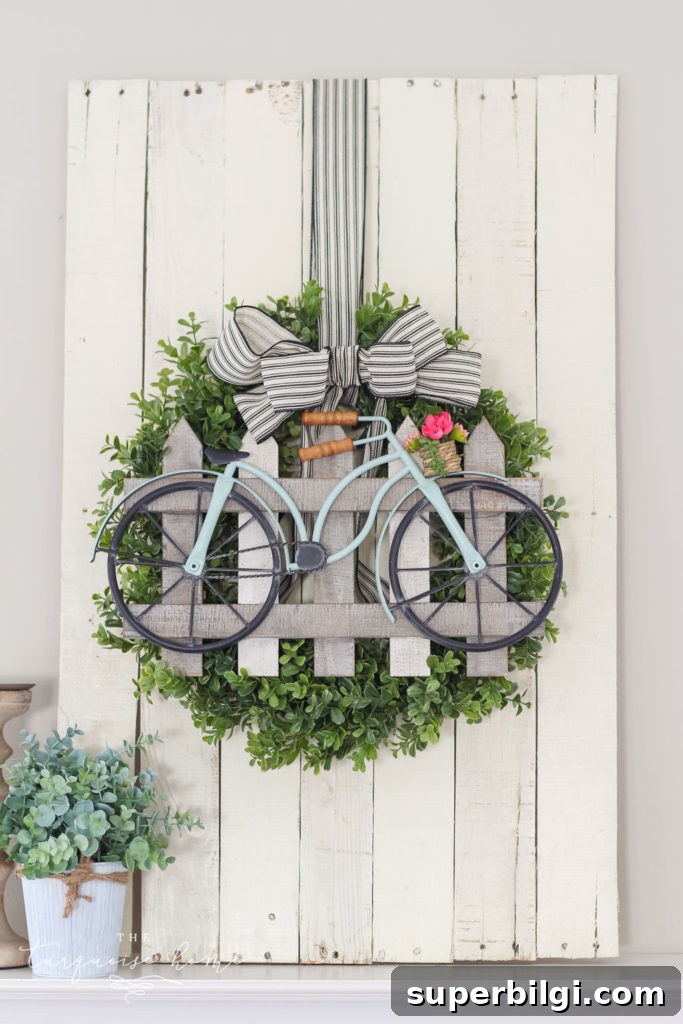
I originally searched for a small decorative bike online, but when shipping timing didn’t work out I hunted locally. I found a small fence-and-bike accent that fit the wreath perfectly — it just needed a little color and a tiny basket filled with flowers to complete the look. Painting and a bit of DIY basket-making were all it took to bring the vision together.
The bike’s wooden handlebar detail is my favorite; it adds a touch of warmth against the greenery. I also love how the basket on the front can be customized with faux blooms to match your entryway palette.
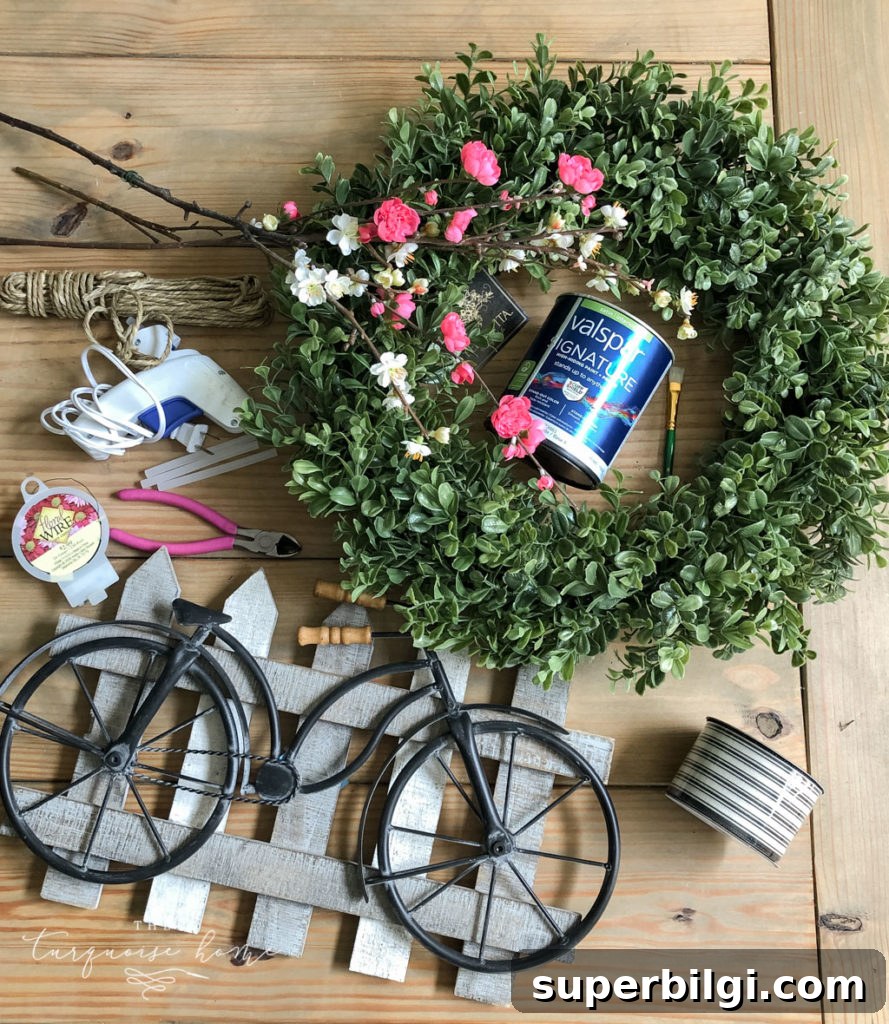
Supplies needed for a Boxwood & Bicycle Spring Wreath
Below are the supplies I used. Many items can be substituted based on what you already have:
- Boxwood wreath — I used a faux boxwood wreath because it stands up well outdoors. A real boxwood wreath would also be lovely if you prefer natural foliage.
- Mini fence-and-bicycle accent — look for a small decorative bike or fence piece that will fit inside the wreath. If you can’t find one pre-colored, you can paint it to match your decor.
- Paint — craft paint in your chosen color for accents on the bike or fence. I used a blue-green I love, but any outdoor-friendly craft paint will work.
- Small craft paintbrush — for painting details.
- Thin rope or twine — to make a tiny basket for the bike if you can’t find one sized right.
- Faux floral stems — small-scale blooms and greenery that fit in the basket and complement the boxwood.
- Hot glue gun and glue sticks — for assembling the basket and securing flowers.
- Floral wire and cutters — to attach the bike and fence securely to the wreath.
- Ribbon — to finish with a bow or hanger. I used a black-and-white ticking ribbon for contrast, but choose a ribbon to suit your style.
How to Create a Boxwood & Bicycle Spring Wreath
1. Paint the bicycle or fence accent
If the accent needs color, paint it first. I painted the bike frame and left details like the wheels, seat, and handles unpainted for contrast. To protect other parts (like a fence piece behind the bike), slide paper between sections before painting so paint won’t spread where you don’t want it.
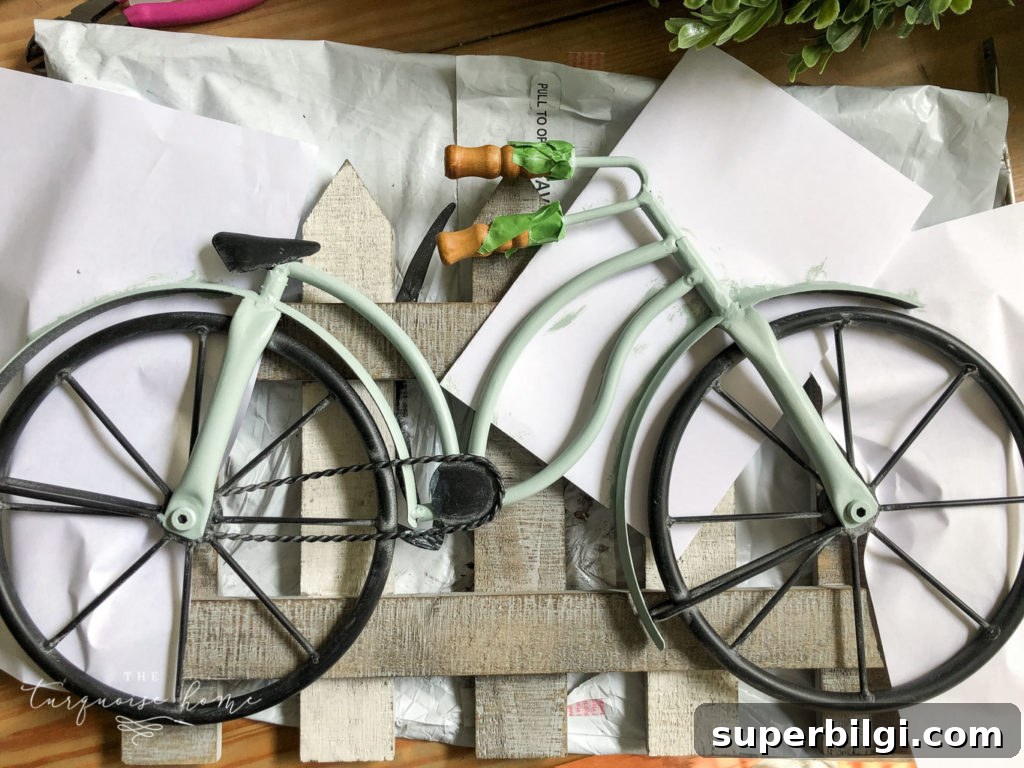
Let the paint fully dry before proceeding. Craft paint dries quickly, but different brands and temperatures can affect drying time.
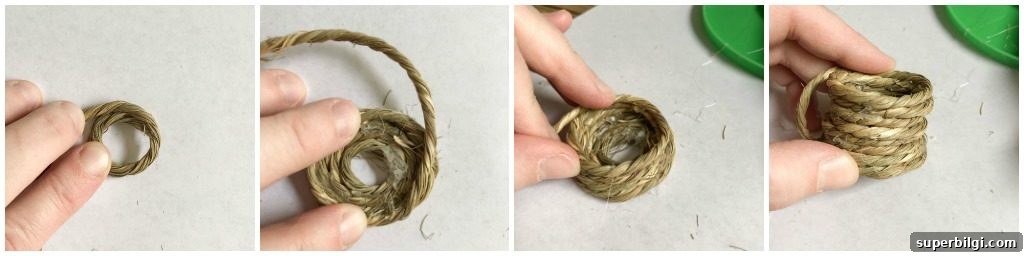
2. Make a tiny basket
If you can’t find the right-sized basket, make one using thin rope and hot glue. Start by forming a small circle of rope and glueing successive coils to build a flat base. Then continue glueing coils upward to form the sides until the basket reaches the right height. Periodically hold it up to the bike to check the fit.
3. Add flowers to the basket
Trim small faux floral stems to scale and hot glue them into the basket. Use a mix of textures and a couple of focal blooms with small filler flowers or greenery for a natural look. Tuck stems in at different angles so the arrangement looks full and organic rather than flat.
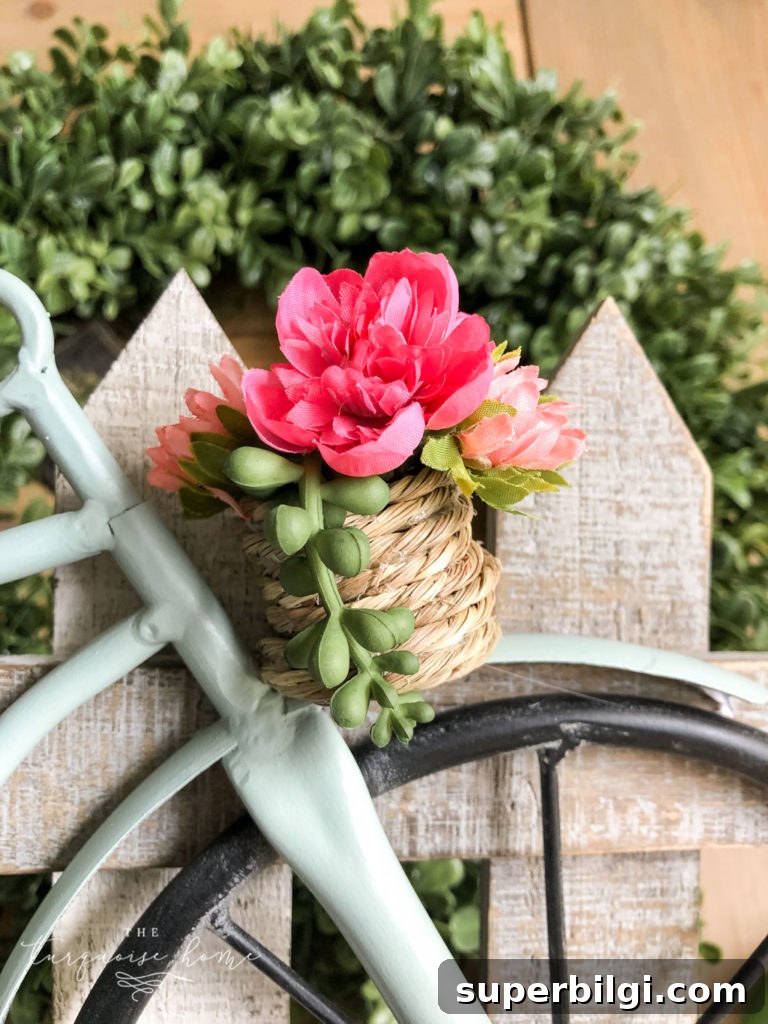
4. Attach the basket to the bike
Secure the finished basket to the bike with hot glue. If the accent’s design allows, you can also wrap a bit of floral wire around the basket rim and the bike for extra stability. Make sure the attachment is neat and firmly held in place.
5. Attach the bike and fence to the wreath
Position the bike and fence on the boxwood wreath where they look balanced. Use floral wire threaded through the fence slats or the bike frame to tie the accent securely to the wreath base. Wrap the wire on the back side of the wreath and tuck or twist it so the front stays visually clean. Add a dab of hot glue where needed for extra hold.
6. Add a ribbon or bow
Finish with a bow or pre-made ribbon accent. Attach it with floral wire or hot glue. A contrasting ribbon adds a polished look and helps hide any attachment points.
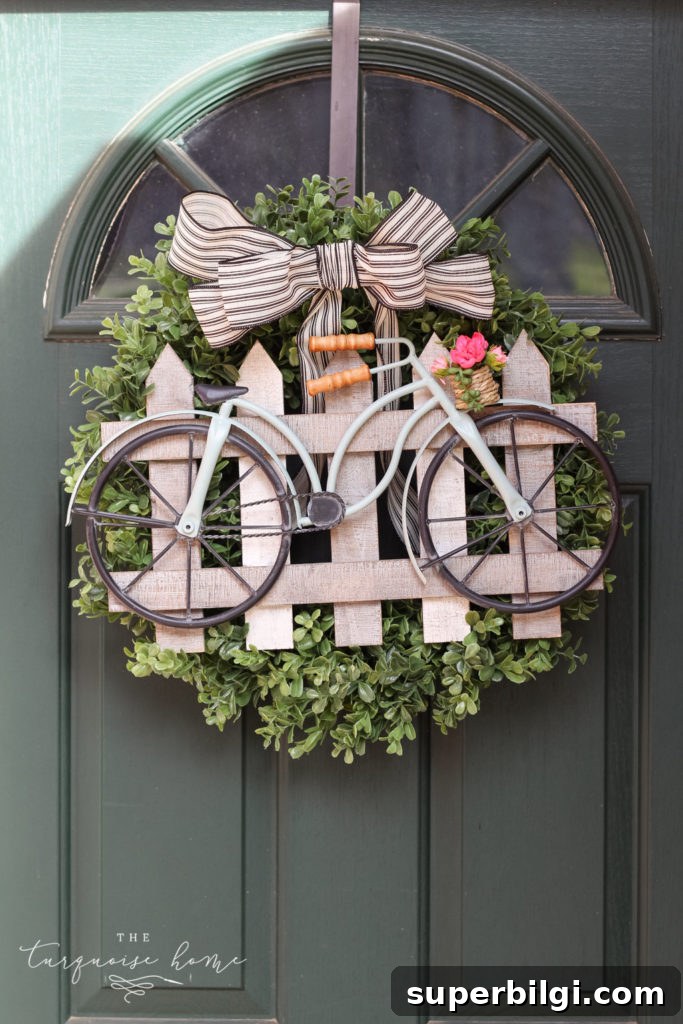
That’s it — your wreath is ready! From start to finish it took me about an hour, and it’s a cheerful, sturdy piece for the door. It’s a little extra in weight, but the visual payoff is worth it.
More projects you might enjoy:
- Spring Table Decorations
- Spring Favorites Free Printable
- 12 Sweet Spring Treats
- 25 Gorgeous Spring Ideas for Mantel Decor
- 9 Simple Ways To Decorate Your Home For Spring
DIY Lamb’s Ear and Peony Wreath
DIY Simple Burlap Wreath