
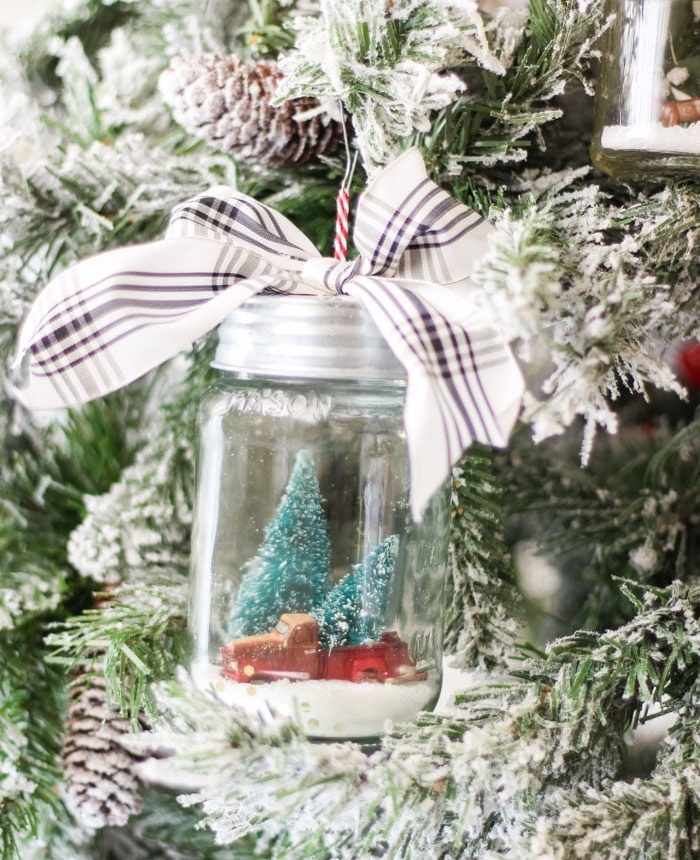
Create a snowy scene inside a glass jar with this charming DIY Christmas snow globe ornament. Follow five simple steps to make a delightful miniature winter scene perfect for your tree.
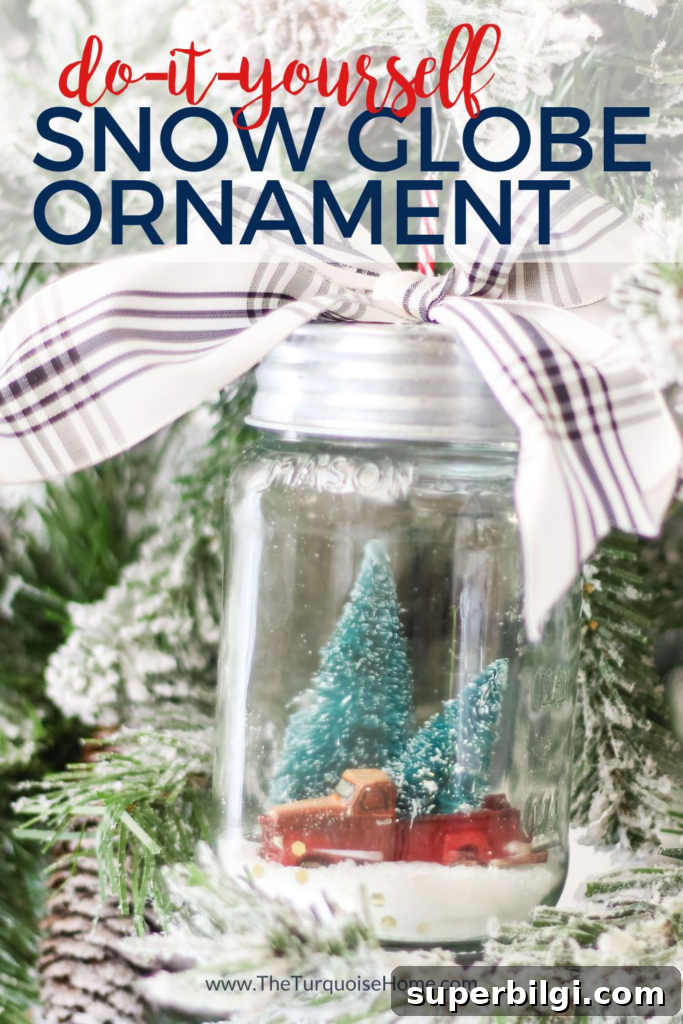
I love making a new Christmas ornament each year, and this mason jar snow globe ornament was so much fun. Tiny glass jars, a few miniature figurines, and a sprinkle of fake snow add up to a magical scene that kids and guests will adore. These ornaments are inexpensive to make, highly customizable, and a great way to reuse jars you already have.
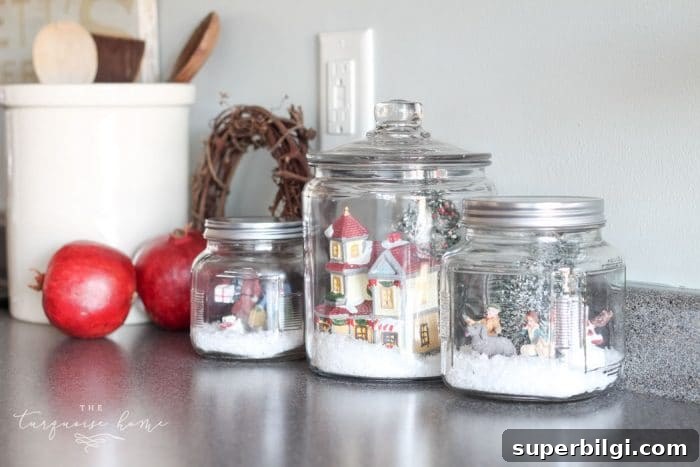
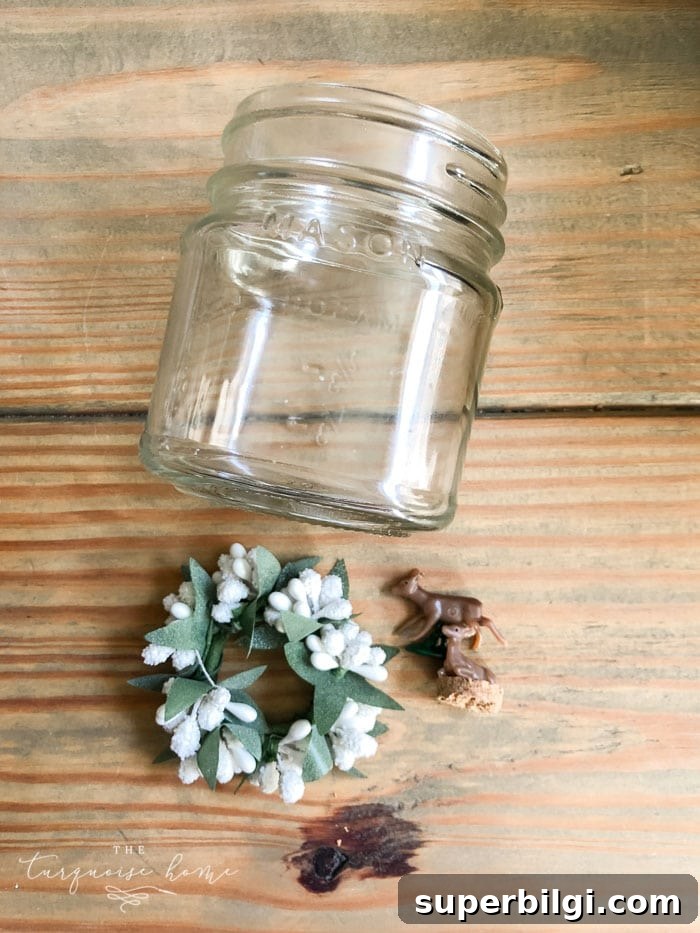
For this project I shopped the dollhouse and miniatures section at my local craft store and gathered tiny trees, a little truck, and miniature deer to create a tiny winter village in each jar. If you don’t have clear jelly jars, repurposed candle jars clean up beautifully and make excellent clear containers for snow globe ornaments.
Disclosure: this post mentions products and materials you can source for convenience. Use whatever small-scale ornaments and jars you have on hand.
Supplies You Will Need to Make a Mason Jar Snow Globe Ornament
- Mini tractor, truck, or other tiny figurines
- Mini reindeer or small animal figurines
- Mini winter wreath or seasonal accessories
- Bottle brush trees or other small winter trees
- Clear mason jars or repurposed candle jars (various sizes)
- Fake snow or coarse Epsom salt as an alternative
- Hot glue gun and glue sticks
- Hammer and a large nail (for making the hanger hole)
- Scissors
- Jute, twine, or string for hanging
- Ribbon or decorative twine (optional)
- Small cork pieces or foam (optional, to raise figures)
How to Make Mason Jar Snow Globe Ornaments
Step 1 — Choose Clear Jars and Clean Them
Start with clear-sided jars so your miniature scene is easy to see. Small jelly jars are cute, but patterned glass can obscure details, so clear candle jars or standard mason jars work best. If you’re repurposing candle jars, remove wax and residue completely and wash the jars thoroughly before you begin. A clean jar lets light catch the faux snow and glitter for the best effect.
Step 2 — Create a Hanger in the Lid
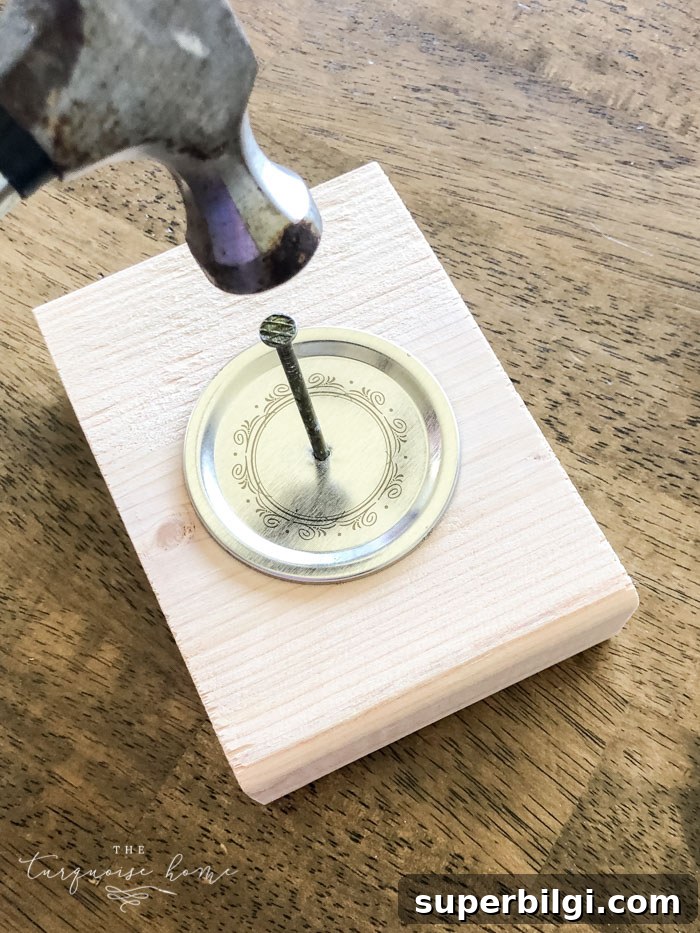
Make a simple hanger by using a hammer and a large nail to punch a hole through the center of the metal lid. Thread a loop of jute or twine through that hole and knot it securely so the jar can hang from a tree branch. If you prefer, you can glue a small eye screw into the top of the lid instead for a neater finish.
Step 3 — Build the Miniature Scene Inside the Jar
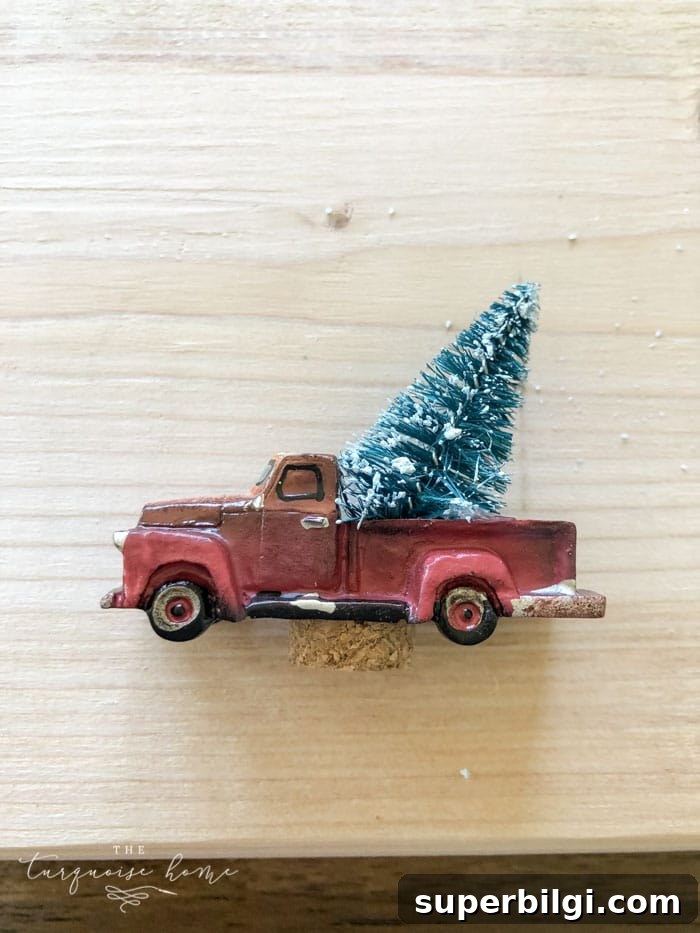
Plan your composition before you glue anything down. Arrange the miniature truck, trees, and animals to see how they fit. Once you’re happy with the layout, use hot glue to fix the figures to the bottom of the jar lid (so the scene remains upright when the lid is attached). Adding a small piece of cork or foam under a toy can lift it slightly so it sits above the snow layer and looks natural.
Trim or modify bottle brush trees to fit in pick-up beds or beside a figure. Secure each piece firmly and allow the glue to cool completely so nothing shifts when you add snow.
Step 4 — Add a Layer of Snow
Sprinkle fake snow into the jar, filling the bottom to create a shallow “blanket” of snow that covers the base but doesn’t hide your figures. About a quarter inch usually works well for small jars; larger jars can use a little more. You can mix in a pinch of glitter for sparkle or use coarse salt for a more textured look. If you want the snow to appear lightly dusted on trees or toppled across the truck, add a little extra around those elements.
Step 5 — Close the Jar and Add Finishing Touches
Carefully screw the lid (with your glued scene attached) onto the jar. Tie decorative ribbon or twine around the lid, and make a bow if you like. Hang your ornament from a branch with the jute loop you created and adjust the ribbon for the prettiest presentation. These ornaments are sturdy but treat them gently because miniatures glued to the lid can come loose if dropped.
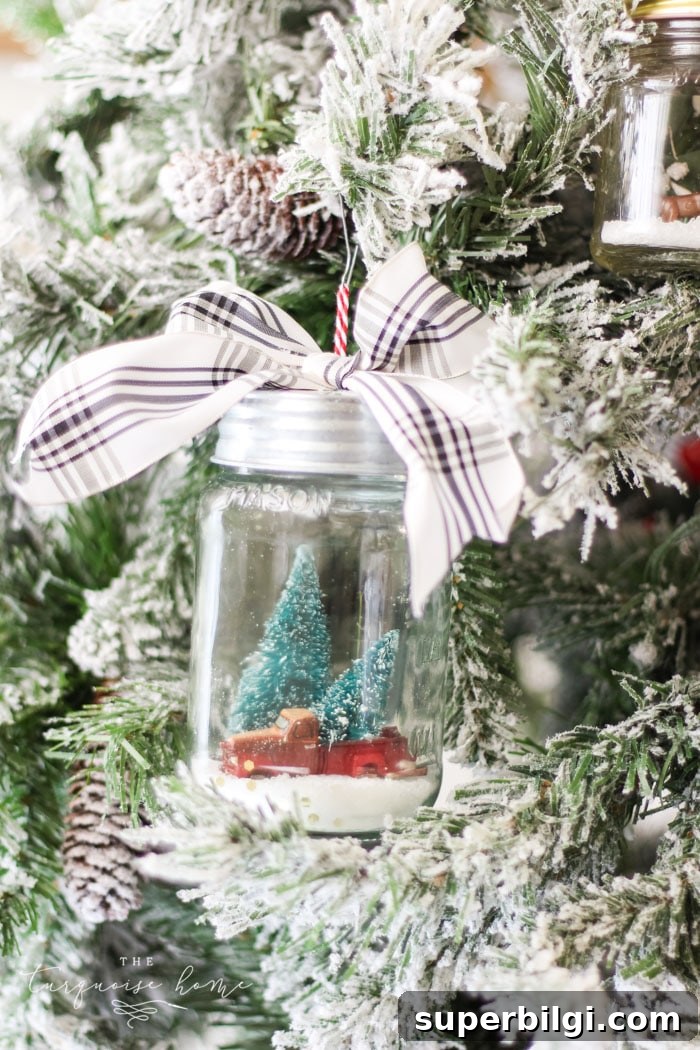
That’s it—simple, affordable, and absolutely adorable. These mason jar snow globe ornaments make lovely personalized gifts or a fun family crafting night. Experiment with themes like coastal winter scenes, woodland animals, or tiny nativity sets.
Tips and Variations
- Use different jar sizes to create a collection of varied ornaments on the tree.
- Add tiny battery-operated LED lights to larger jars for a warm glow.
- Seal the lid with a small dab of hot glue if you’re gifting the ornament and want extra security.
- Choose non-toxic faux snow and keep small parts away from very young children.
More Christmas project ideas you might enjoy:
- 40+ Amazing DIY Christmas Gift Ideas
- DIY Wood Finial Ornament
- Mini Wooden Christmas Sign Ornaments
- Chalkboard Wood-Slice Ornaments
- DIY Paper-Covered Ornaments











