
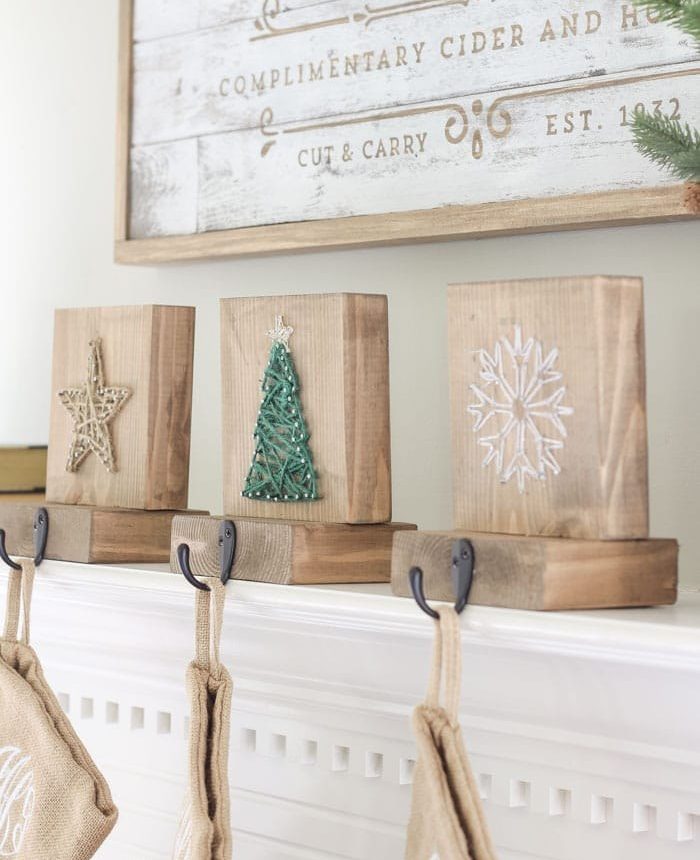
Make these string art DIY stocking holders with just a few simple items: a template, nails, a hammer and some string!
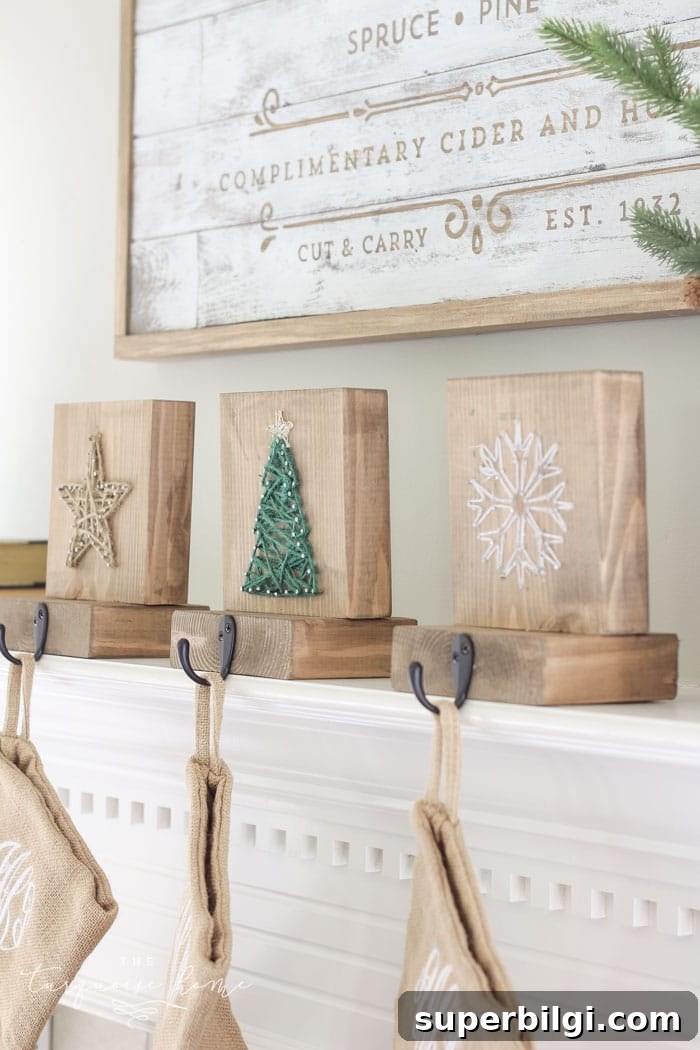
I wanted to try a Christmas string art project, but I also wanted it to be useful, not just decorative. That led me to make these DIY string art stocking holders. They’re simple to make, customizable, and functional—perfect for adding a handmade touch to your holiday decor.
A quick childhood memory: growing up, our stockings were hung with thumbtacks pushed into the underside of the mantel. It worked, but these little stocking holders feel a bit more special and festive. They’re also a great beginner woodworking and string-art project to gift or display year after year.
Supplies to Make a DIY String Art Christmas Stocking Holder
You need just a few basic supplies. Choose finishes and string colors that match your holiday style—farmhouse, modern, rustic, or colorful.
- 2″ x 6″ pine board, cut into 5.75″ and 4″ pieces (one of each per holder)
- Hooks for hanging stockings (choose finishes you like)
- Hammer
- Nails about 1″ long with a flattened head
- String, embroidery floss, or twine (twine gives a farmhouse look)
- Longer nails or brad nails to attach the base piece
- Nail gun (optional)
- Circular saw or miter saw (optional)
- Stain or paint and a brush
- Hot glue or craft glue
How to Make a DIY String Art Christmas Stocking Holder
1. Cut your 2″ x 6″ board
Cut one 5.75″ piece and one 4″ piece from a 2″ x 6″ board for each stocking holder you plan to make. The larger piece becomes the string art face and the smaller piece is the base that the hook attaches to.
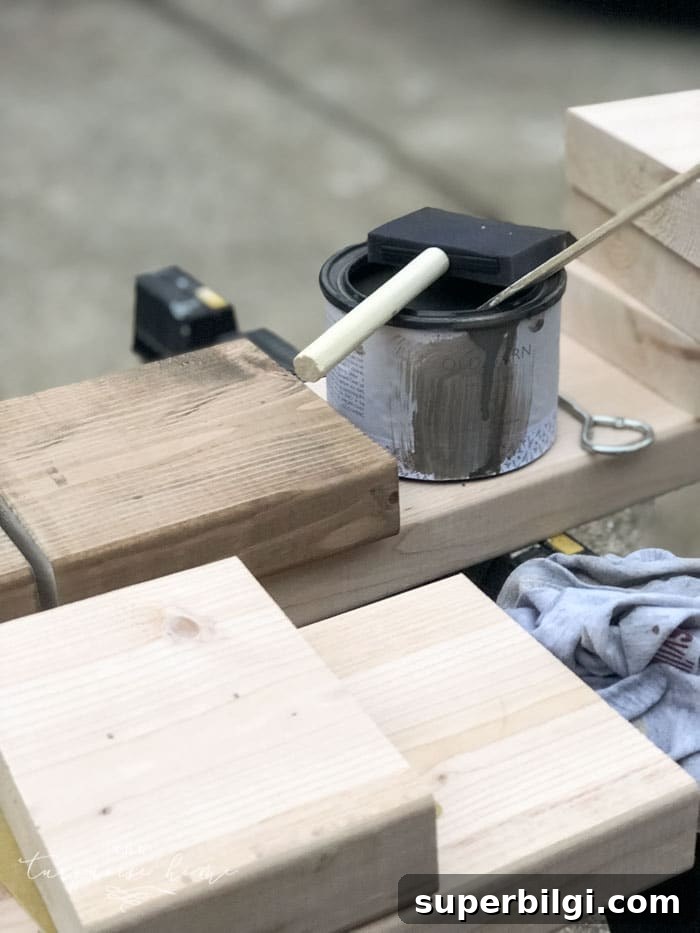
2. Stain or paint the blocks
Finish your blocks in a color or stain that complements your decor. A water-based stain or paint that dries evenly works well. Allow the finish to dry fully before moving on to nailing and stringing.
3. Print your templates
Use printable templates for the shapes you want: star, tree, snowflake and an optional deer head. The deer head is more intricate and may be better suited to a larger project if you want a challenge. If you prefer, scale any template to a larger size for more detail.
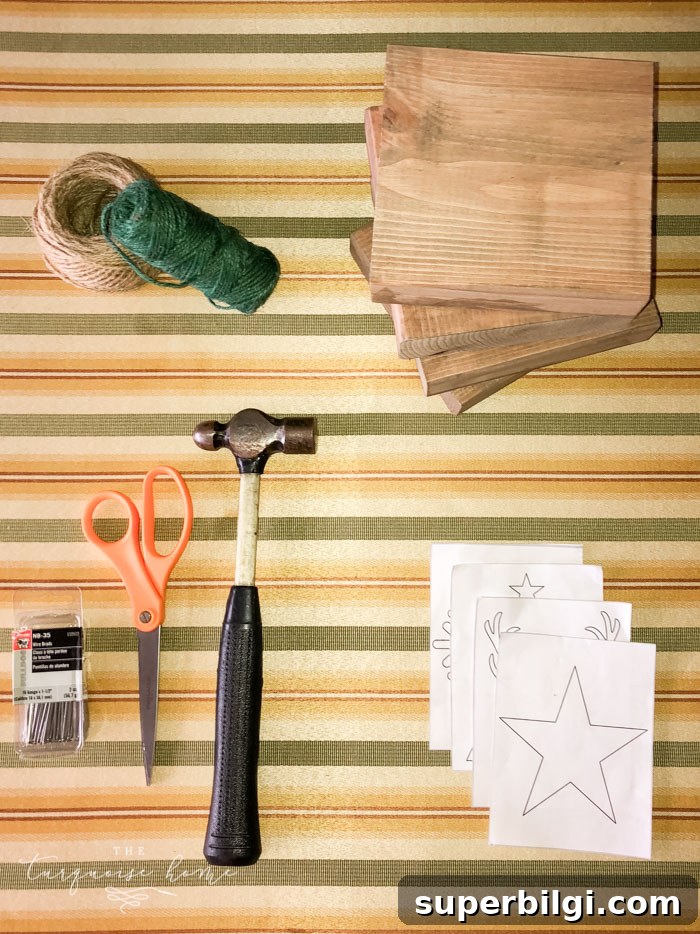
4. Nail the templates to the blocks
Center the template on the 5.75″ block and begin placing nails along the outline. For shapes like a star, start with corners and points, then space nails evenly along each edge. For the snowflake, place nails in the middle lines of the design rather than only on the outside—it simplifies the pattern and looks cleaner.
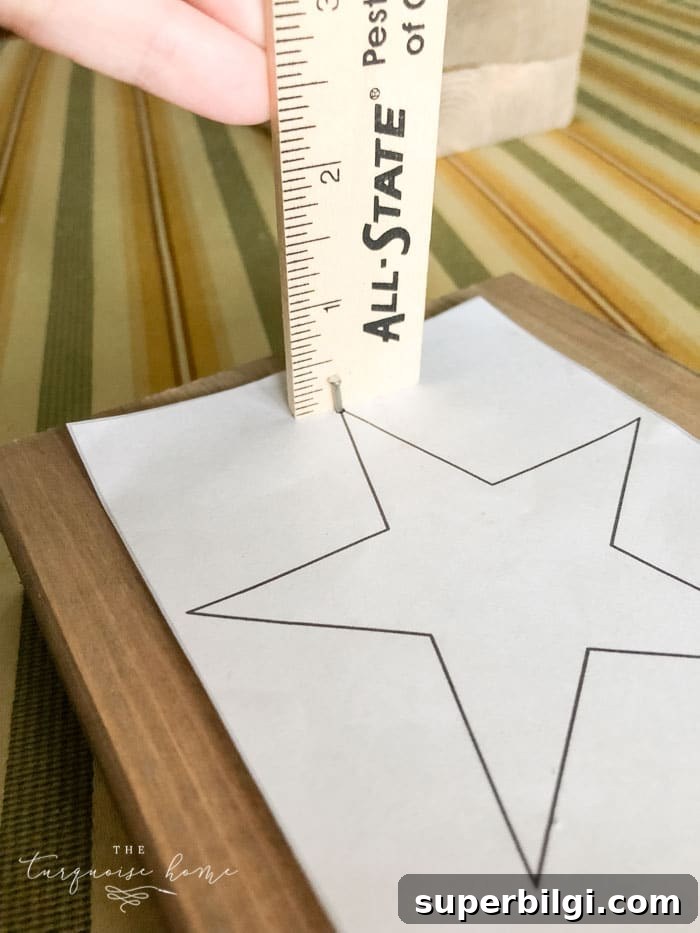
5. Remove the templates
After all nails are set, carefully lift off the paper template so the nail pattern is clearly visible.
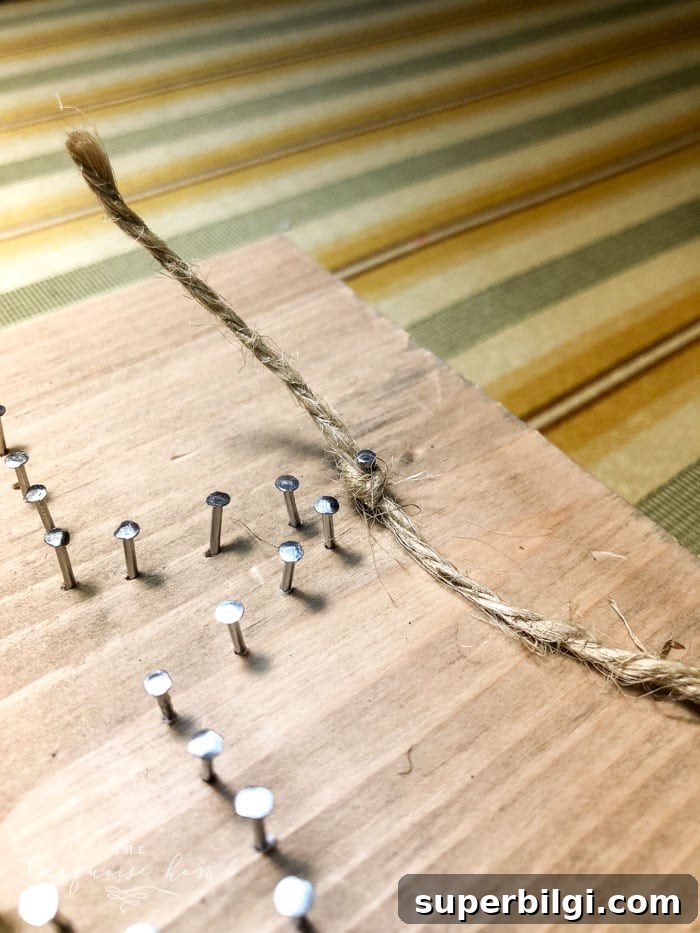
6. Add twine or string to the design
Tie the string to a top nail and weave it across the pattern in a random but balanced way, zig-zagging to fill the shape. Maintain tension on the string for neat lines, and keep the pattern dense enough that the shape becomes clearly defined.
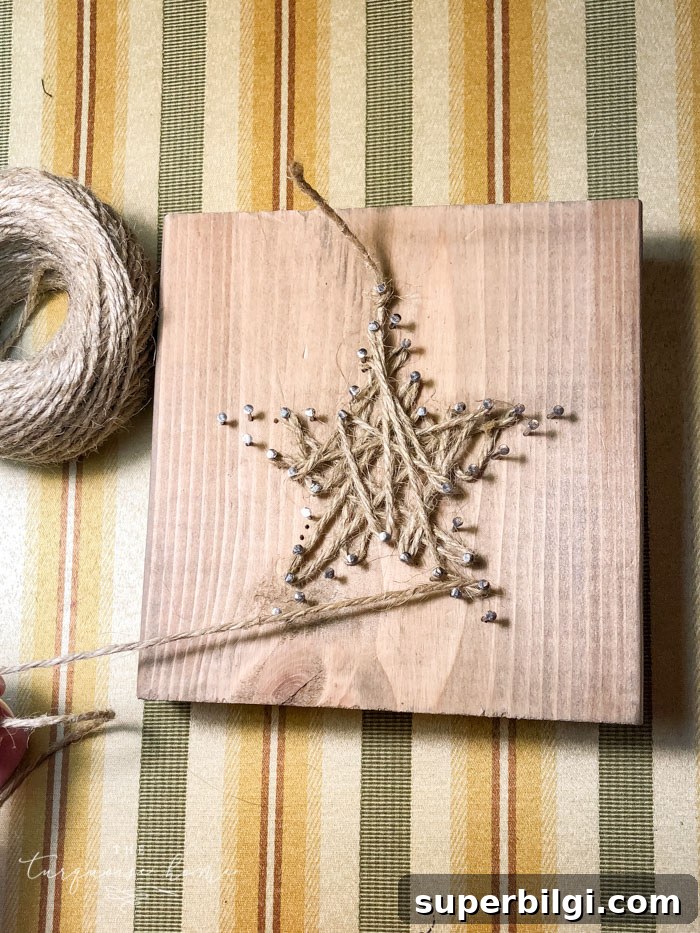
When the interior feels filled, make one final pass around the outside outline to give the piece a finished look.
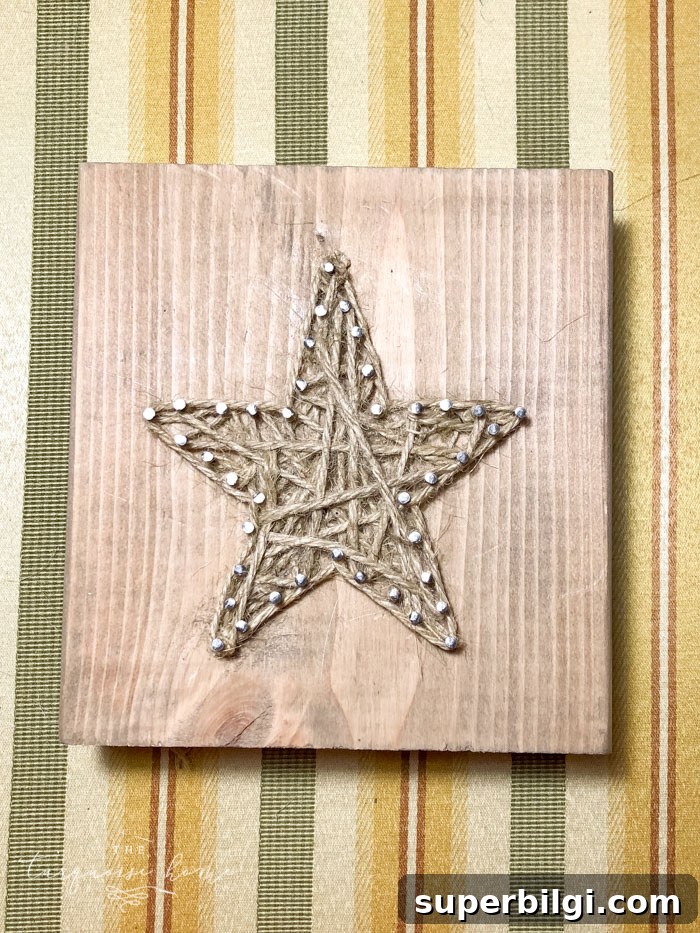
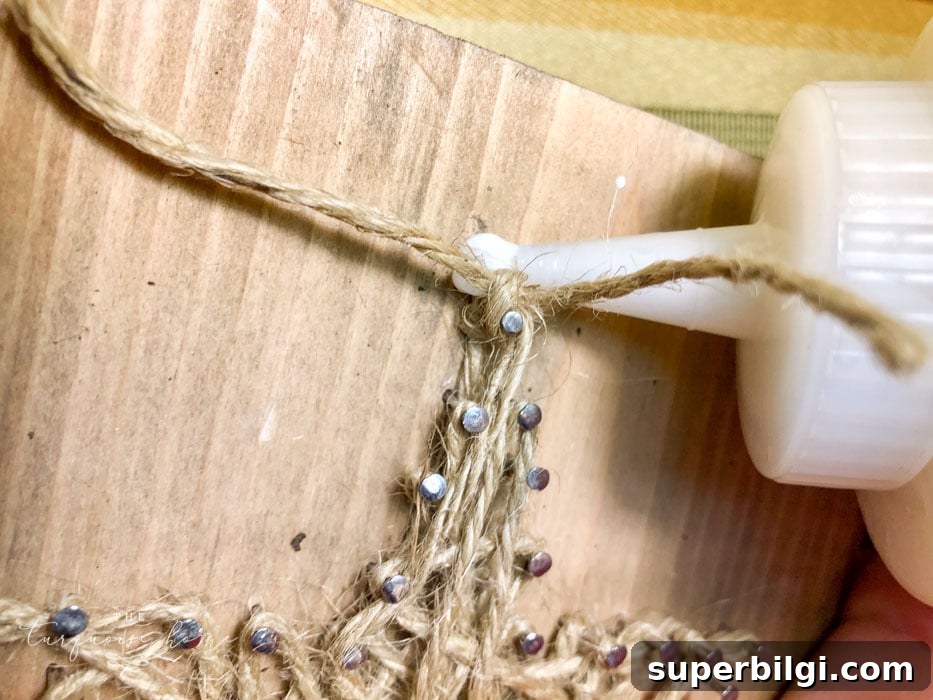
7. Secure the twine with glue
Tie off the string on the final nail and secure the knot with a dab of hot glue or craft glue. Trim any excess and tuck loose ends under nearby strands with tweezers for a tidy finish.
8. Repeat for as many blocks as you want
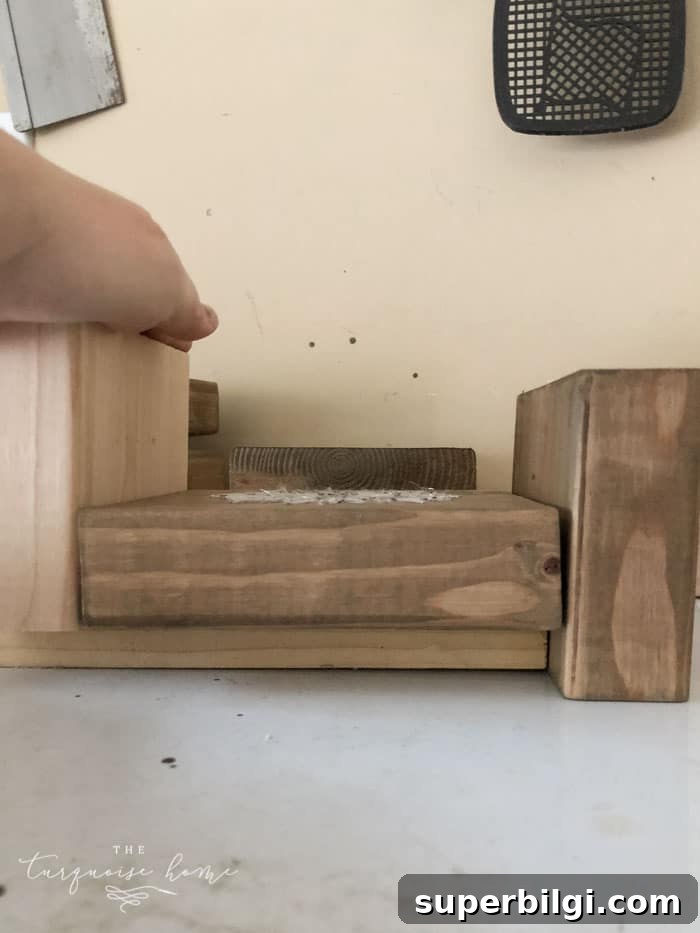
9. Attach the string art block to the base block
Align the finished string-art block with the 4″ base piece. You can use a small spacer behind the art block if you want a little gap between the wall and the art. Secure the two pieces together using a nail gun, brad nails, or wood glue and clamps. If using nails, drive from the base into the thicker art block so the joint is strong.
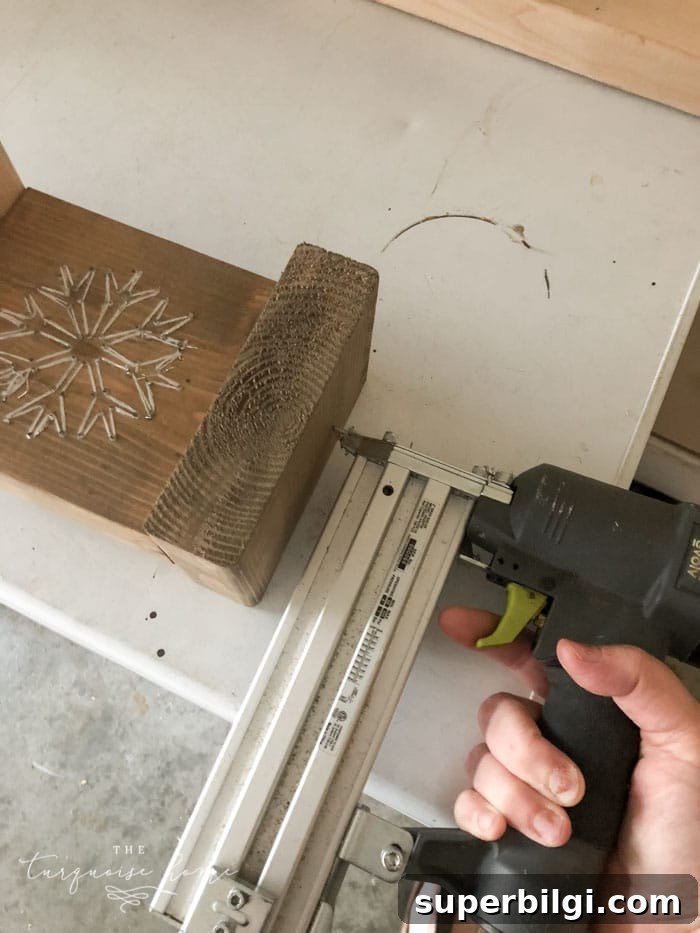
10. Add a hook to the front of the base block
Screw a hook into the front of the base block. Choose a hook that will hold the weight of a loaded stocking and that matches your finish choice. Once installed, hang stockings and enjoy your handmade holders.
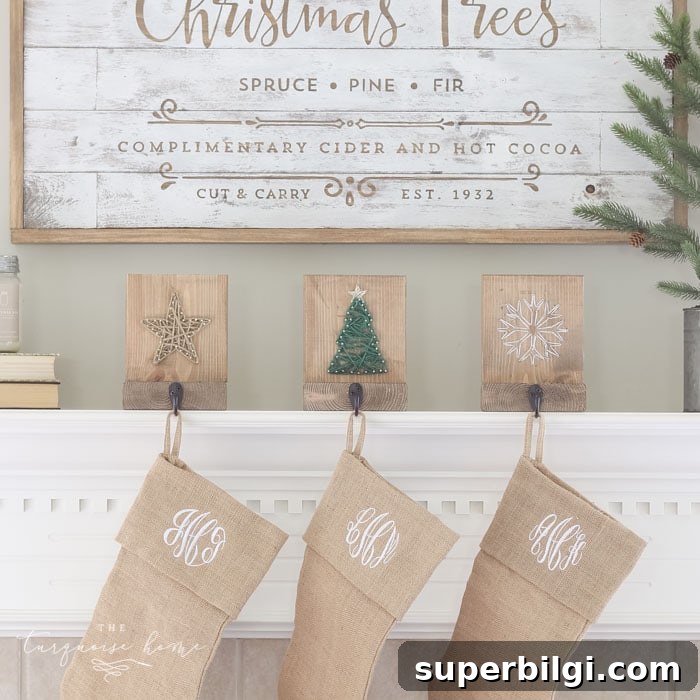
I would love to see what you make—if you share photos on social media, tag @turquoisehome so I can admire your creations. Tell me in the comments if you plan to make these and which shapes you chose. Where do you usually find your favorite stocking holders?
More Christmas projects you might like:
- DIY Twig Ornament for the Christmas Tree
- DIY Mason Jar Snow Globe Ornament
- 40+ Amazing DIY Christmas Gift Ideas
- Mini Wooden Christmas Sign Ornaments
- DIY Winter Wreath with Bells











