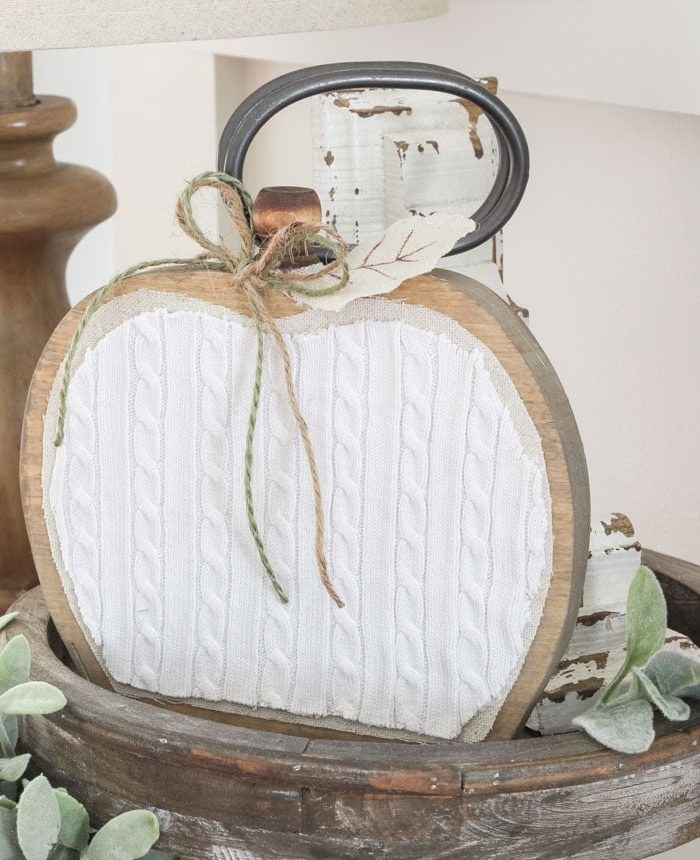
Make a simple farmhouse wooden pumpkin using scrap wood and materials you already have at home. It’s charming, inexpensive, and perfect for fall décor.
If you have leftover wood, fabric, or an old sweater tucked away, turn those scraps into cozy farmhouse wooden pumpkins. This DIY project is forgiving, budget-friendly, and results in rustic pieces that work well on mantels, shelves, or as part of a seasonal vignette.
Below is a clear, step-by-step guide to create your own wooden pumpkin, plus a helpful supplies list and ideas for simple embellishments to finish the look.
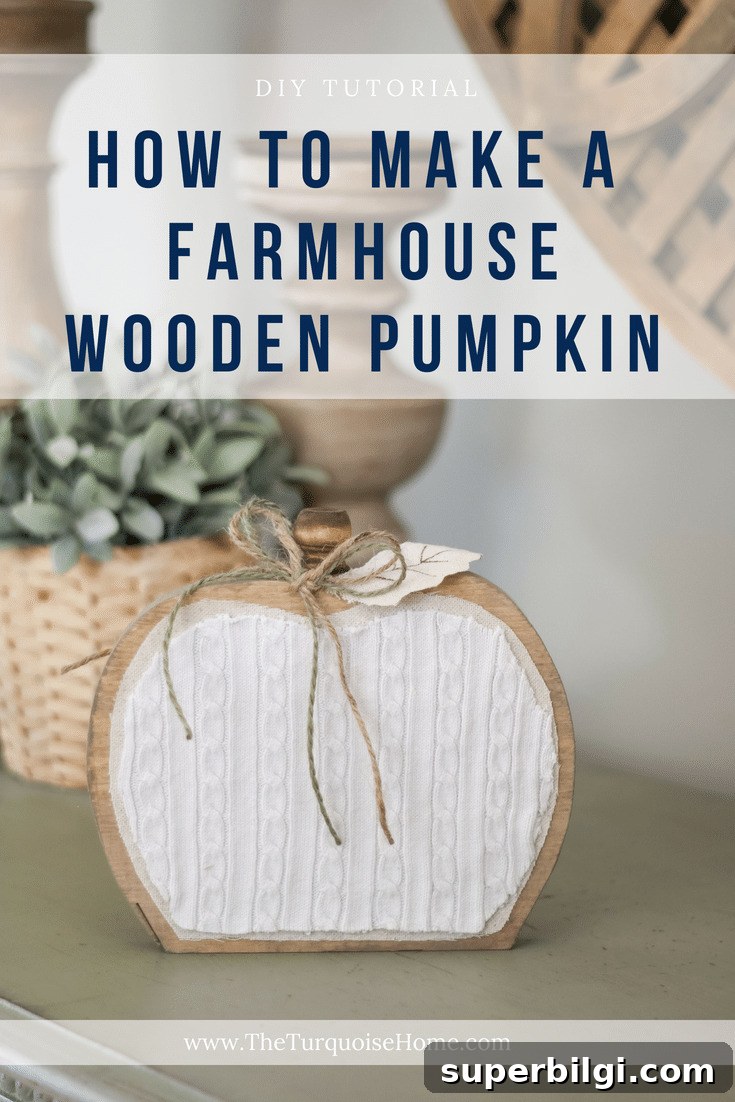
I’m drawn to small wooden pumpkins because they add instant autumn warmth without looking overly whimsical. They’re a great way to introduce texture and seasonal color while keeping a sophisticated, farmhouse style.
I prefer to craft with supplies I already own. The materials and tools listed below reflect that approach, but feel free to substitute with what you have on hand.
Wooden Pumpkins for Purchase
If you prefer to buy rather than make, many handmade and mass-produced wooden pumpkins are available online and in craft stores. Look for farmhouse-style shapes, neutral stains, and options that can be personalized with fabric or a finial stem.
Supplies & Tools Needed to Make Wooden Pumpkins
- 1″ x 8″ board — approximately one foot or longer (use whatever scrap wood you have; wider boards make larger pumpkins)
- Mod Podge or wood-and-fabric adhesive
- Sandpaper
- Wood stain and brush
- Burlap, drop cloth, or other fabric (drop cloth makes a nice neutral texture)
- Cable knit sweater or other textured fabric for contrast
- Finial or small wooden dowel cap to serve as the pumpkin stem
- Hot glue gun and glue sticks
- Jigsaw or scroll saw for cutting the pumpkin shape
- Fine-tip marker or pencil to trace templates
Steps to Create Wooden Pumpkins
1. Draw a pumpkin outline on your board.
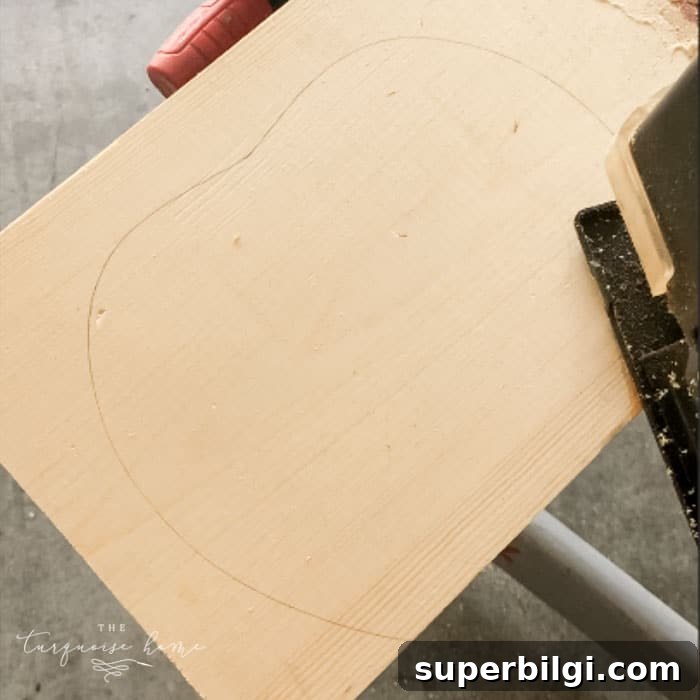
Use a pencil to sketch a pumpkin silhouette directly onto your board. I created a printable template I use for consistency—trace it onto the wood if you prefer a uniform shape. Make sure the bottom of the pumpkin is flat so it sits steadily.
2. Cut the pumpkin outline with a jigsaw.
Cut along your drawn line using a jigsaw. Take your time on the curves; a slower cut gives a smoother edge. After cutting, sand any rough areas until the edges feel even and clean.
3. Stain the pumpkin.
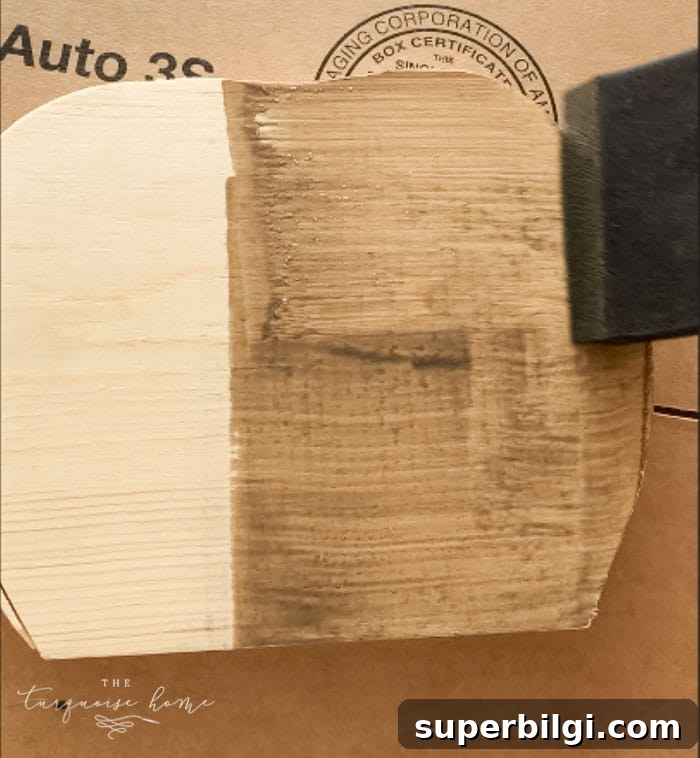
Apply a thin coat of stain and let it dry completely. A warm weathered or early-American shade works beautifully for farmhouse pumpkins. Staining first gives a finished look around the edges where fabric won’t cover.
4. Cut burlap or drop cloth to the pumpkin shape.
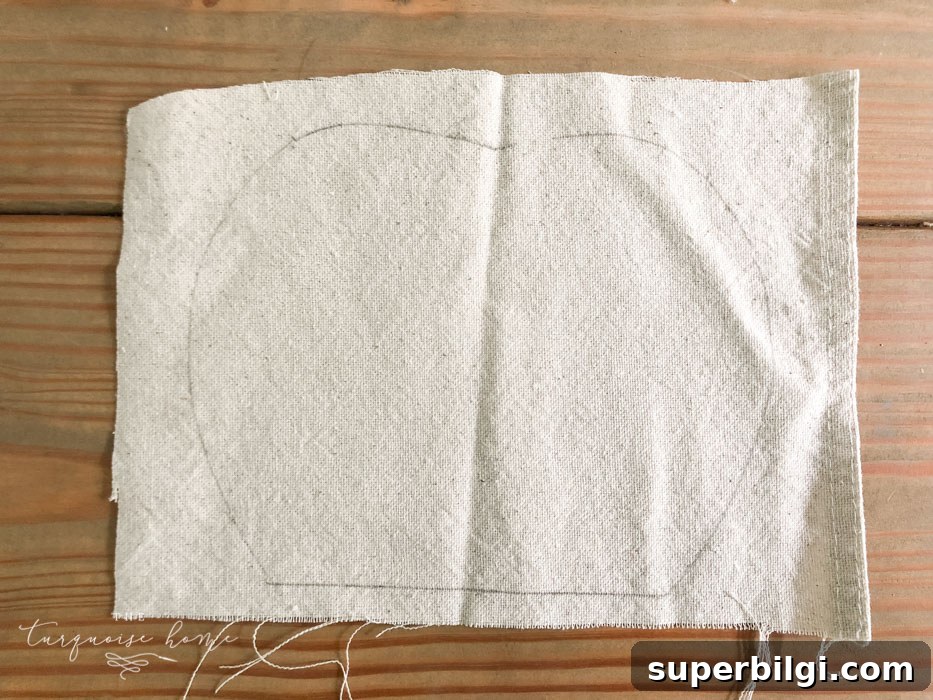
Trace the pumpkin outline onto your fabric, then cut the shape slightly smaller than the wood so the wood frame remains visible around the edges. This creates a nice layered effect.
5. Adhere the fabric to the wood with Mod Podge.
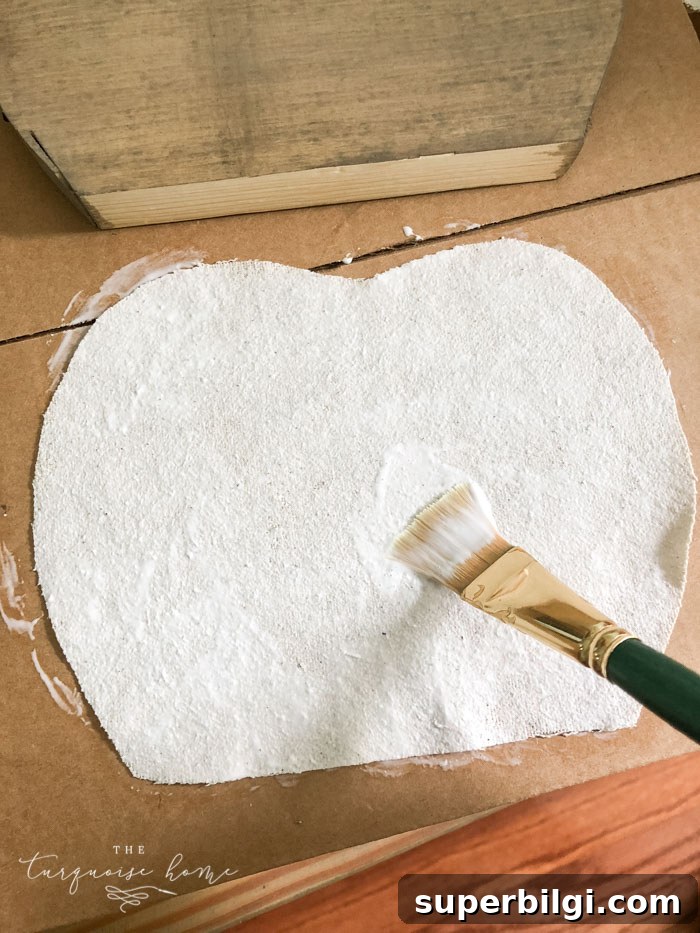
Brush Mod Podge on the wood or the back of the fabric and press the fabric into place. Smooth out wrinkles or air bubbles with your hands or a flat tool. Allow the adhesive to dry thoroughly before moving to the next layer.
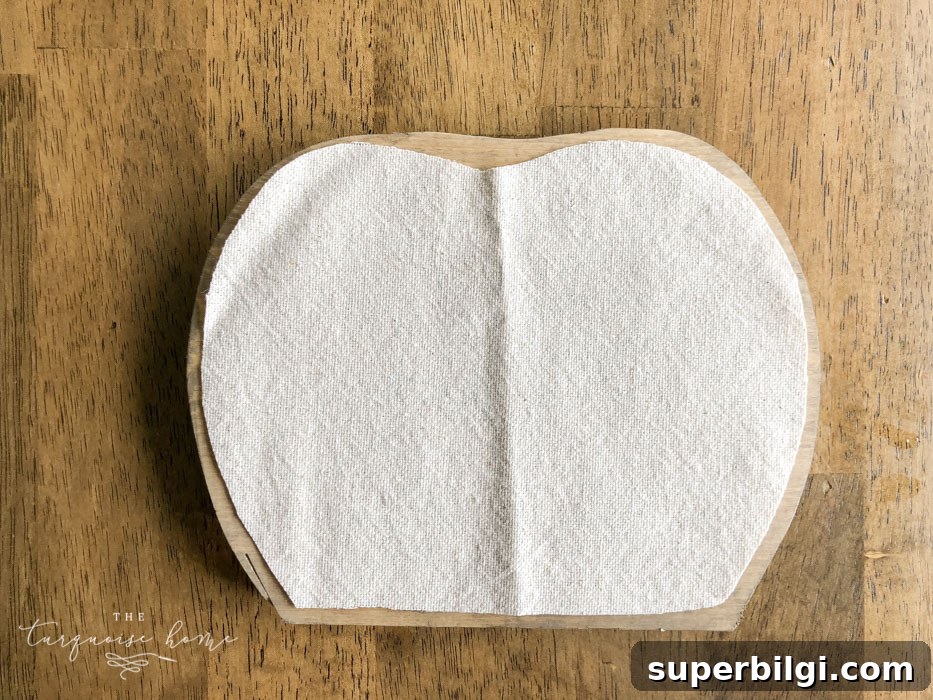
6. Add a textured sweater layer.
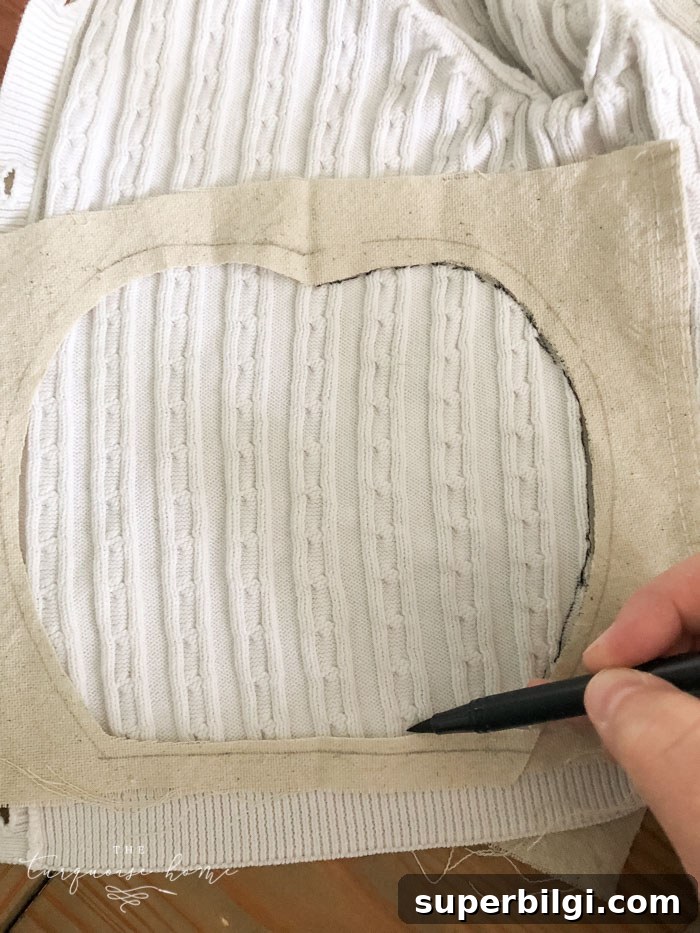
Cut the sweater fabric slightly smaller than the burlap layer for contrast. Trace using the burlap shape as a template, trim inside the line, and adhere with Mod Podge or hot glue. The knit adds cozy texture that elevates the rustic look.
7. Stain and attach the finial as the stem.
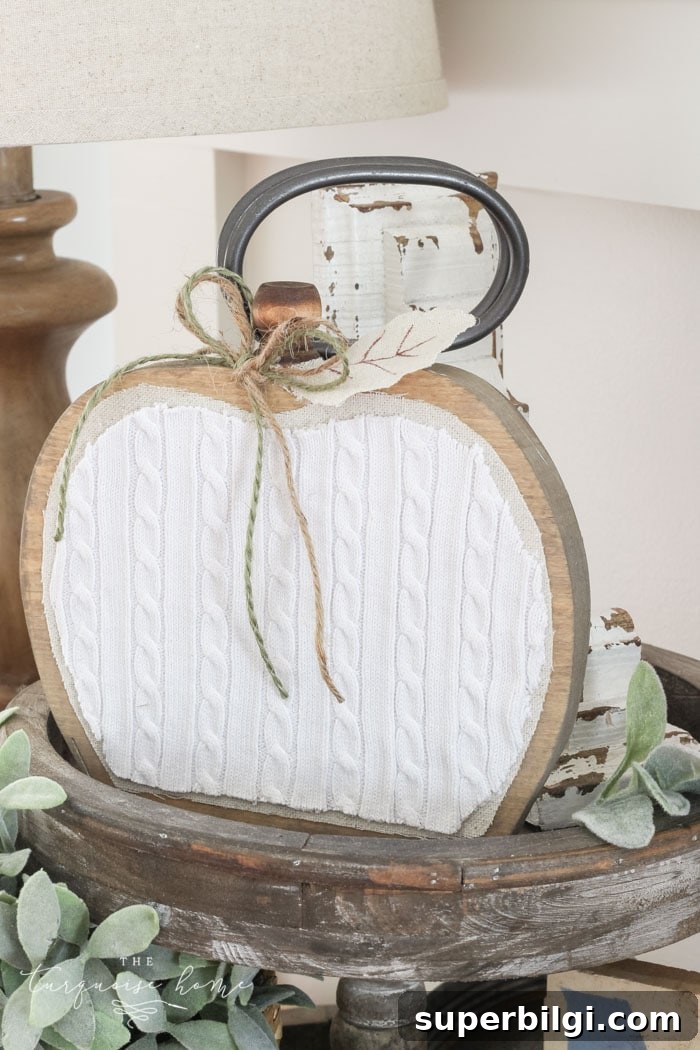
Stain the finial or wooden cap to match or complement the pumpkin stain, then glue it into place as the stem using hot glue. Press firmly and let the glue set before handling.
The stem gives your pumpkin a finished, authentic look—simple but effective.
8. Add simple embellishments.
Finish with a small jute bow, a fabric leaf cut from your drop cloth, or painted veins with a fine marker. Keep decorations minimal to preserve the farmhouse aesthetic.
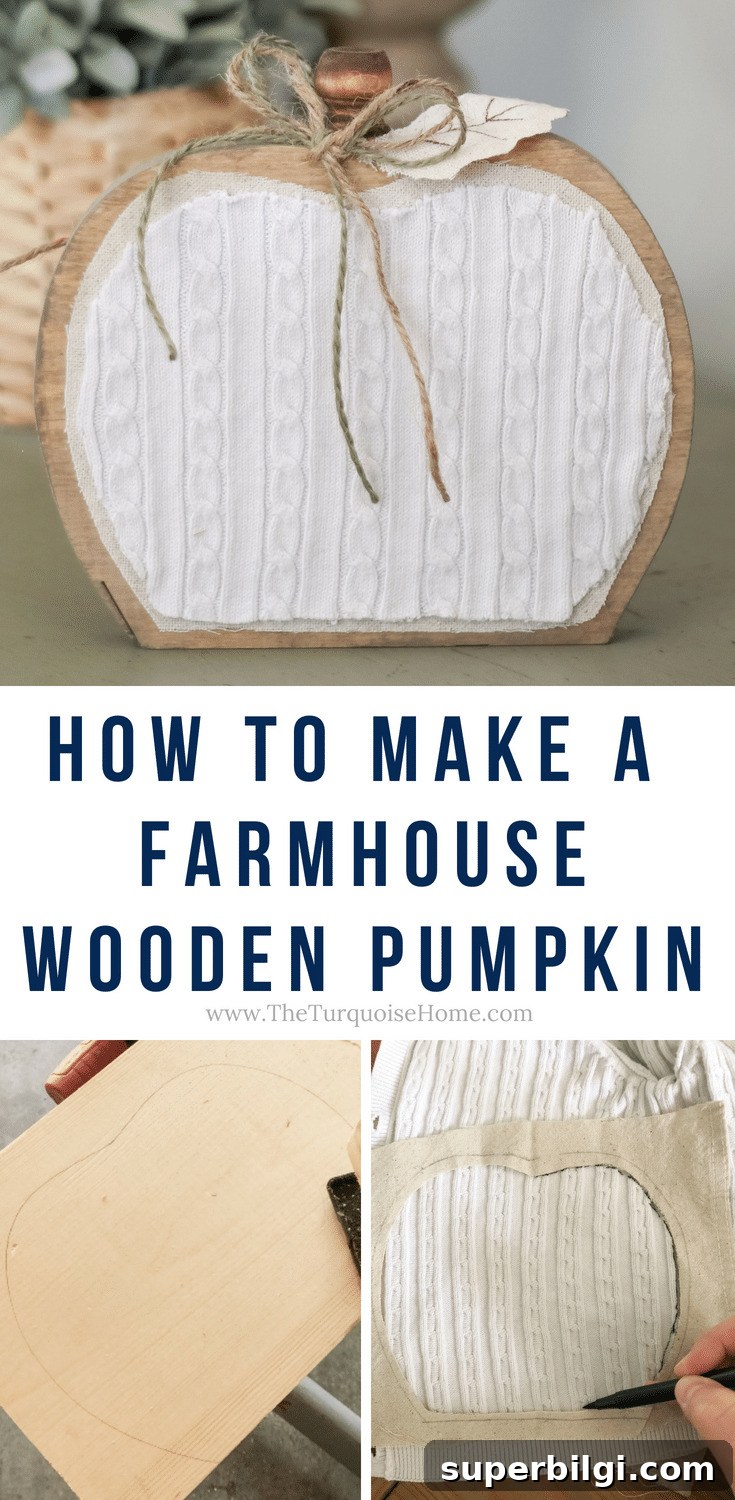
That’s it—your farmhouse wooden pumpkin is complete. These are easy to personalize by changing stain color, fabric mix, or stem style. Make a handful in different sizes and textures for a layered fall display.
More pumpkin-related ideas
- DIY Lighted Pumpkin Candy Holder (project idea)
- Mason Jar Lid Pumpkin Craft (upcycle craft)
- “Scrappy” Pumpkin Fall Decor (use leftover materials)
- Pumpkin Chocolate Chip Muffins (seasonal recipe idea)
If you try this project, save a photo for inspiration and share your version with friends. Small, handmade accents like these make a big seasonal impact and are a great way to use materials you already own.