
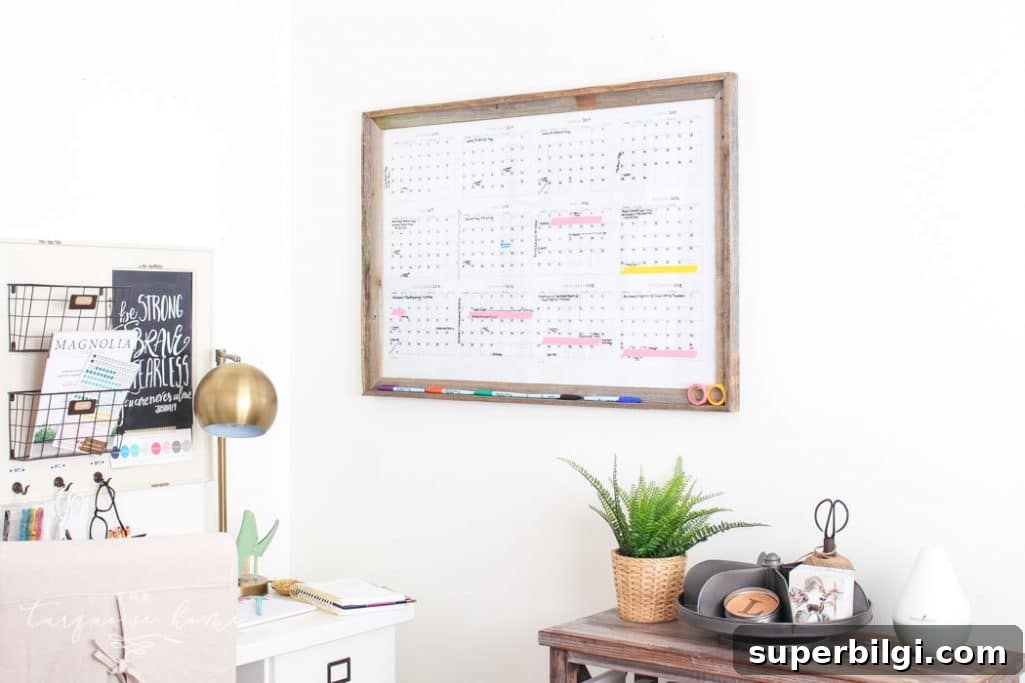
Make your own DIY dry erase calendar using a glass picture frame, a free yearly printable, and this simple step-by-step guide. Create an affordable, reusable wall calendar to keep your year organized.
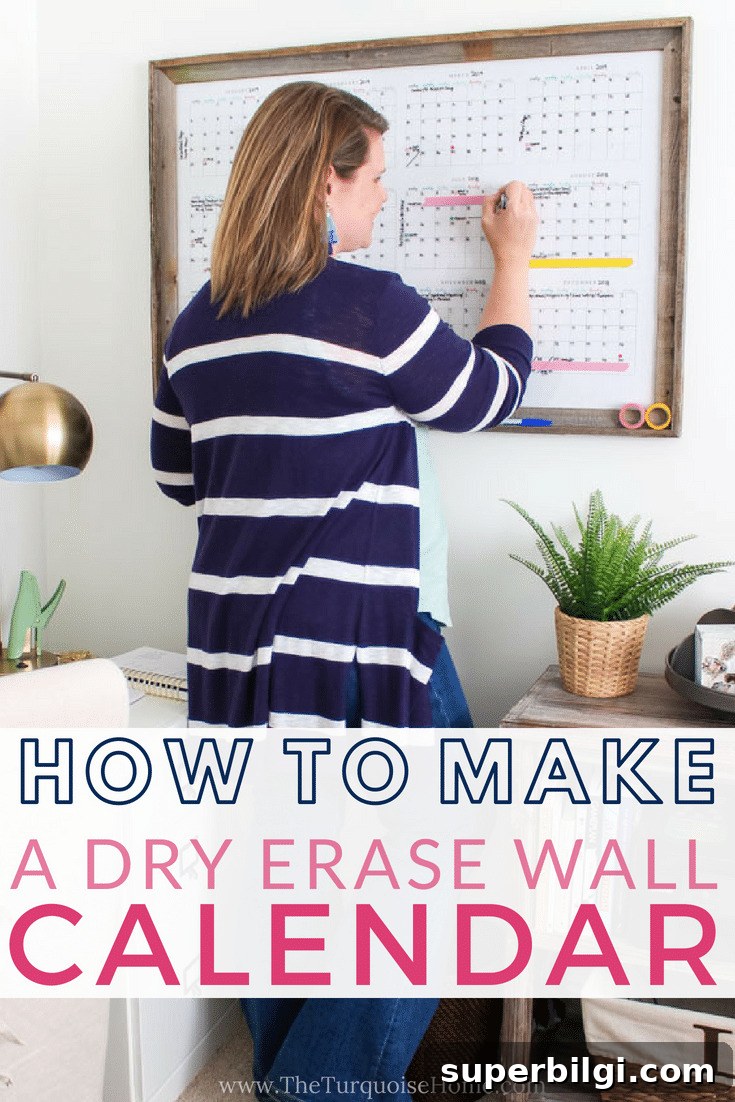
I’m a planner junkie: I use a detailed planner for daily tasks and a shared digital calendar for family events, and I like a wall calendar in the kitchen for a quick month-at-a-glance. Even with multiple calendars, I needed a dedicated yearly calendar to plan work-related posts, projects, and events in one place. After taping printed pages to the wall and having them knocked down by my ceiling fan, I decided a single large dry erase calendar would be much more practical.
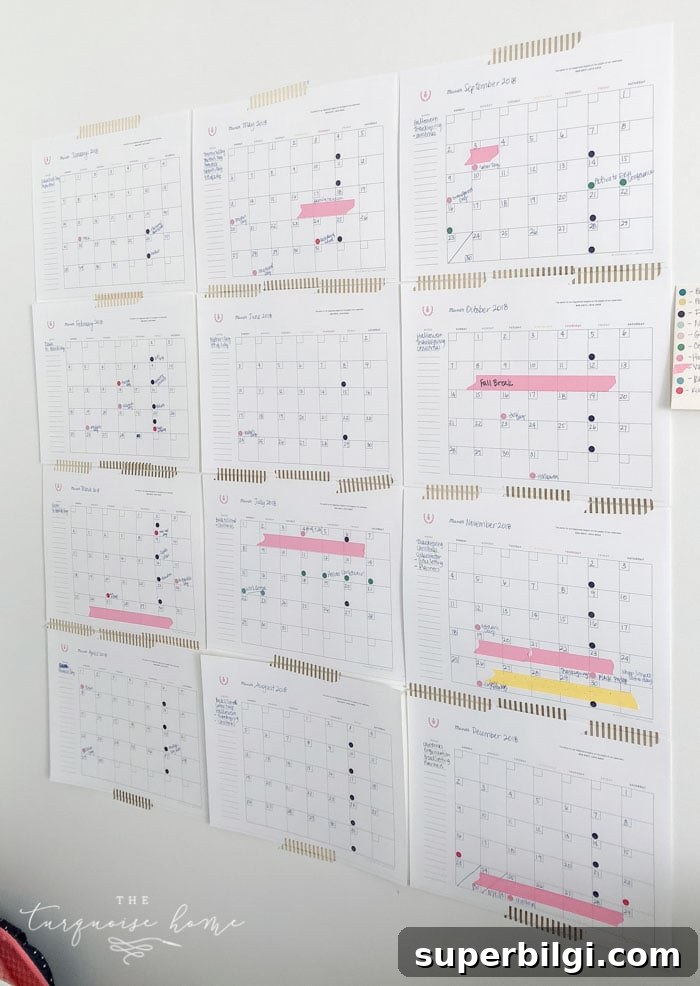
My paper yearly calendar idea that fell off the wall when the fan turned on.
Large store-bought dry erase yearly calendars are great but often expensive. Then I realized many of the commercial products are simply framed prints behind glass or plexiglass. That meant I could recreate the same concept much more affordably by printing a full-year calendar, framing it behind glass, and writing on the glass with dry erase markers.
One inexpensive option for large prints is an engineer print (also called blueprints). Many copy and print services offer large-format prints on inexpensive paper—for example, 24″ x 36″ prints are commonly available at national print shops. The print quality is basic and slightly grainy, but it’s perfect for a dry erase wall calendar as the print only needs to be legible. If you want crisper color, poster prints are available at higher cost.

Items You’ll Need for a DIY Dry Erase Wall Calendar
1. A 24″ x 36″ printable yearly calendar (download a free printable or use your own design).
2. A 24″ x 36″ picture frame or poster frame with glass.
3. Optional: plexiglass if you prefer a lighter, shatter-resistant surface (note: plexiglass can bow slightly).
4. Dry erase markers with a fine tip for writing in the compact day boxes.
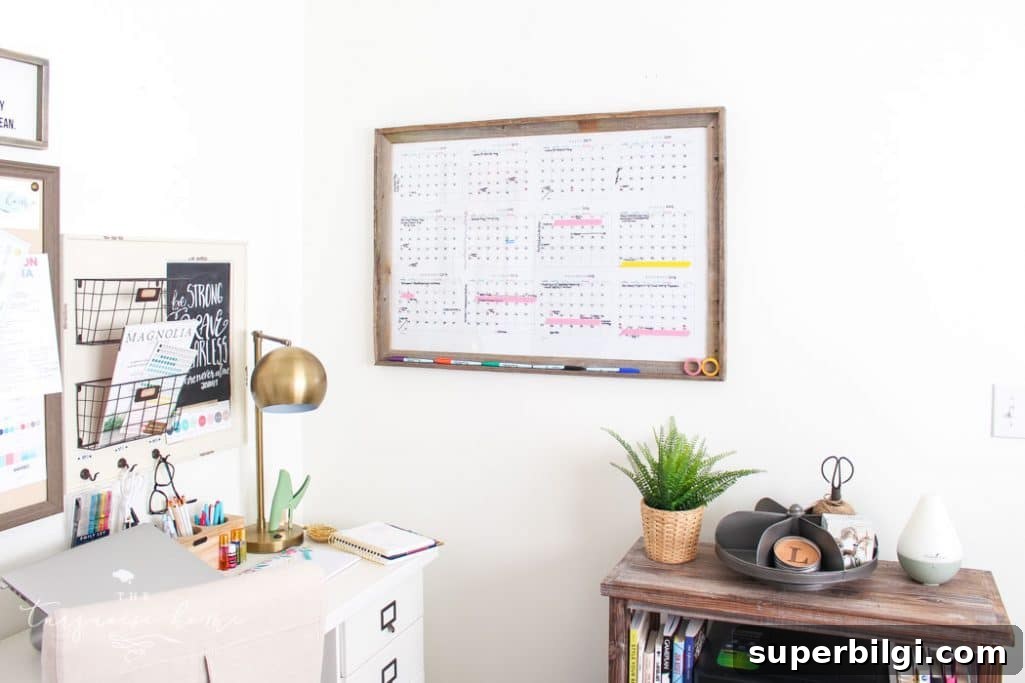
How to Make a DIY Dry Erase Wall Calendar
Step 1 — Prepare the printable: Choose or create a yearly calendar layout and export it to a file sized for a 24″ x 36″ print. If your print shop asks for image dimensions, sizing the file to approximately 2592 × 1728 pixels can help it fit. Many online editors and photo tools can resize images if needed. Order an engineer print at a local or national print shop for the most budget-friendly option. If you’d rather have richer color and higher quality, select a poster print instead.
Step 2 — Frame the print: Place the printed calendar into a 24″ x 36″ frame. Poster frames are affordable and come with glass or plexiglass. If you use plexiglass from a cheaper frame, check for bowing—some plexiglass panels curve if they’re thin. The glass that comes with a quality frame will remain flat and provides the smoothest writing surface for dry erase markers.
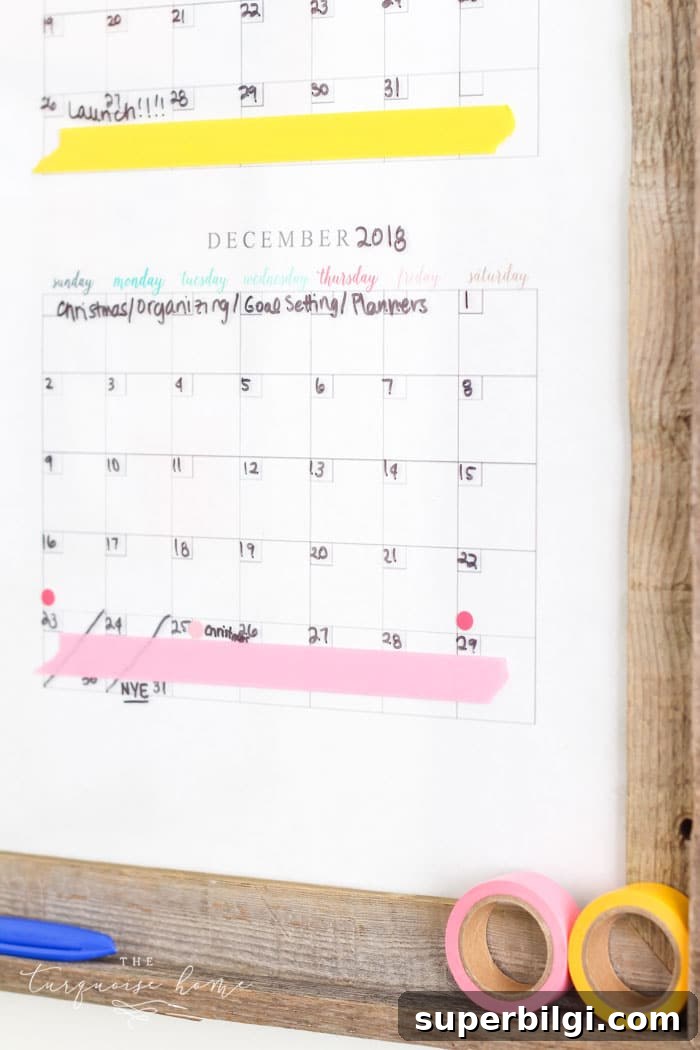
Step 3 — Mount and use: Hang the framed calendar on your wall in a high-traffic area where you’ll glance at it daily. Use fine-tip dry erase markers to add events, deadlines, and notes directly on the glass. The marks should dry without smudging and erase cleanly with a damp cloth when you want to update or change months.
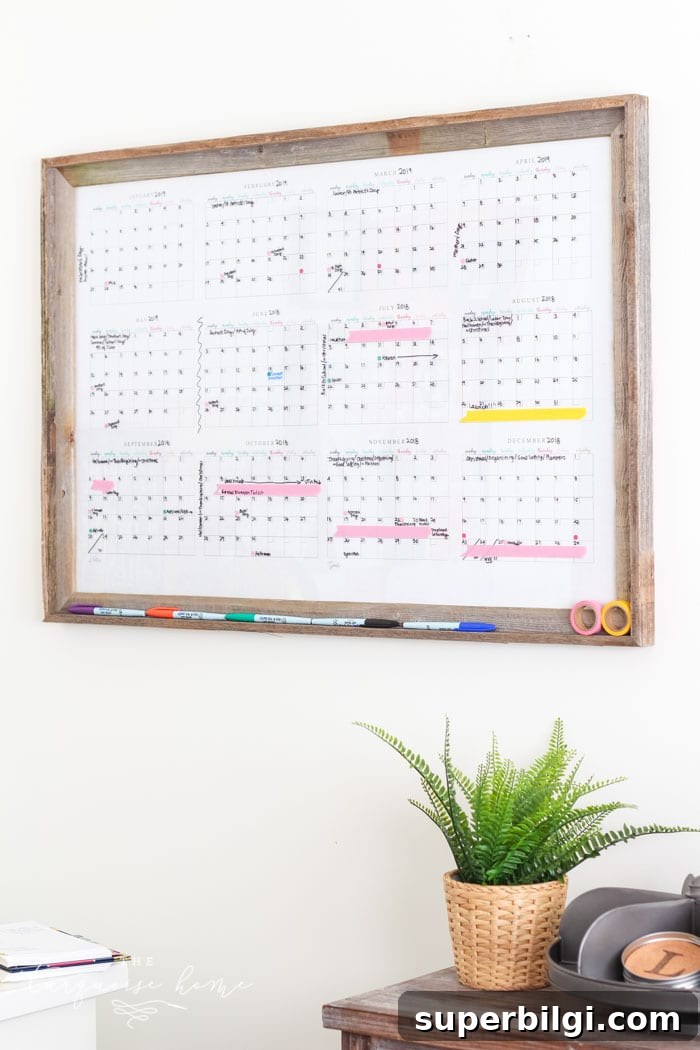
Tips for best results: choose fine-tip, low-odor dry erase markers so your writing is readable in each small day box; avoid permanent markers on the glass; clean the glass regularly with a damp microfiber cloth or a glass cleaner formulated for whiteboards to prevent ghosting. If you ever accidentally use a permanent marker, rubbing alcohol or a dry erase marker drawn over the permanent ink will typically lift it.
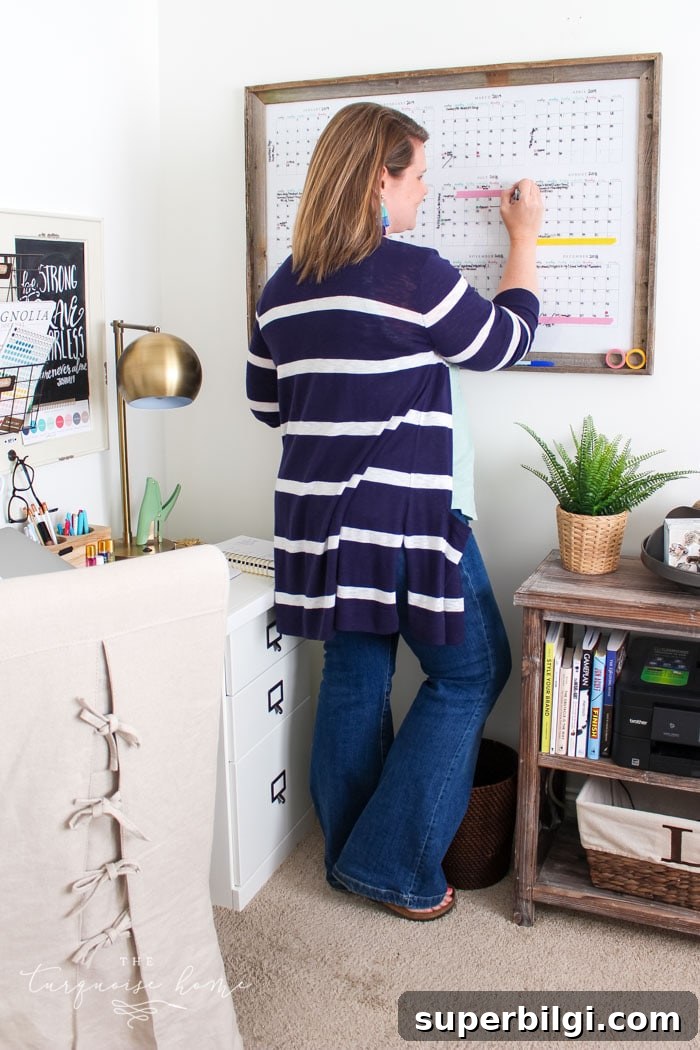
Why this works well: a framed engineer print or poster gives you a large, affordable canvas for planning an entire year at once. The glass protects the print and provides a reusable writing surface so you can plan all twelve months without reprinting each month. It’s a flexible, low-cost solution ideal for bloggers, families, teachers, freelancers, and anyone who needs a visual yearly plan.
Free Printable Calendar Download
I’ve created a free yearly calendar printable you can use for personal projects like this DIY dry erase wall calendar. The printable is sized for 24″ x 36″ engineer prints. If you plan to print at a commercial print shop, ask them to print at the full 24″ x 36″ size and select the paper option that fits your budget.
Enjoy your new calendar and the clarity it brings to planning your year. Use it to track deadlines, vacations, holidays, content ideas, and big-picture goals. With a simple frame and a set of dry erase markers, you’ll have a customizable, reusable planning tool that keeps everything visible and organized.











