
Get your cozy, wintery Christmas fix by learning how to flock a Christmas tree the easy way! It’s simple, affordable, and a great DIY alternative to buying an already-flocked tree—perfect for creating a winter wonderland at home.
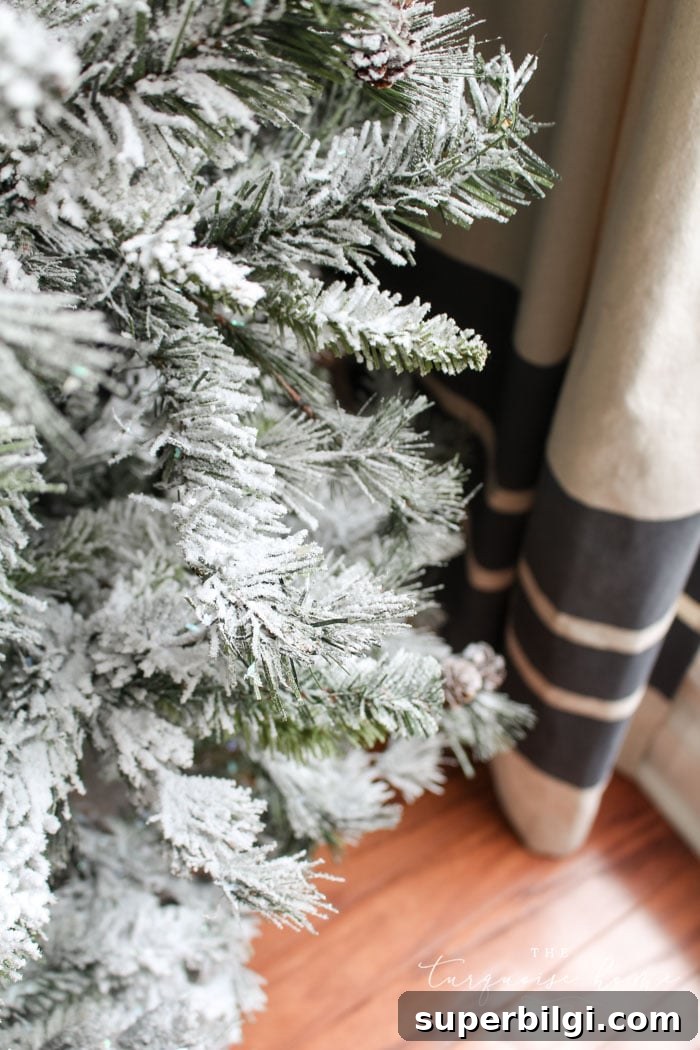
I absolutely love the look of a flocked Christmas tree. A few seasons ago I swapped a small living-room tree for a flocked one, and the result was stunning. The soft, snowy branches bring a cozy, nostalgic winter vibe—especially welcome here in Alabama, where real snow is rare.
There’s nothing better than curling up on the couch by the fire with twinkling lights and a snow-dusted tree nearby. The mood is instantly warm and magical.
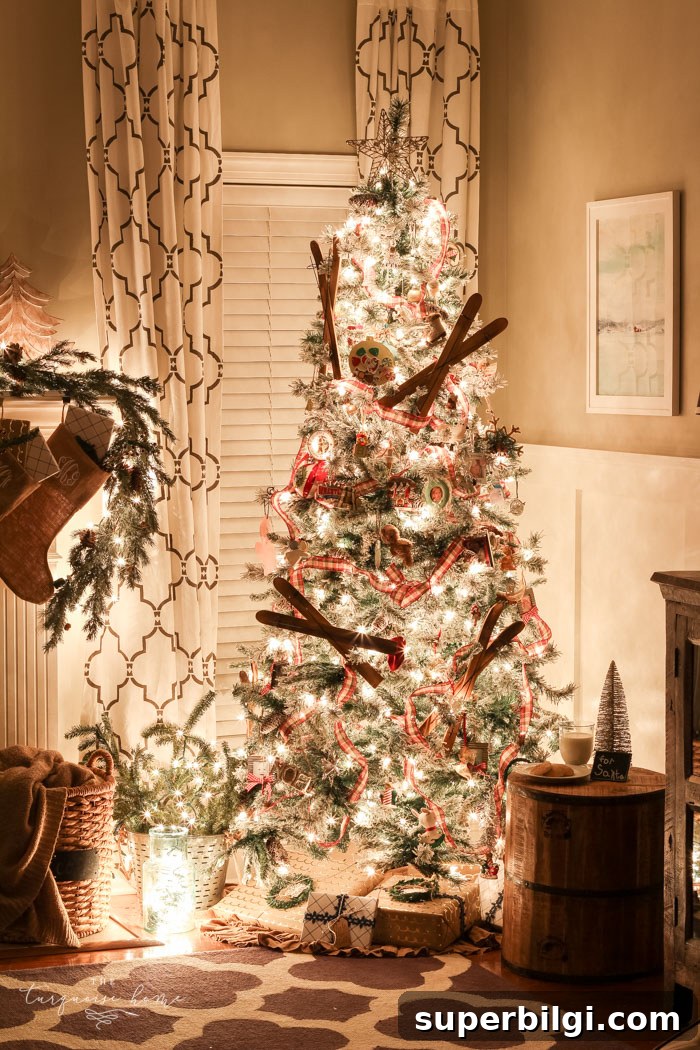
Until recently, I was happy with a 9-foot slim artificial pine in the dining room window. It fit the space perfectly—but one fall I began dreaming about a flocked tree in that front window. The vintage, rustic charm of snowy branches kept calling to me.
Rather than buying a second flocked tree, I decided to try a DIY approach. It let me keep the perfectly good tree I already had and get the look I wanted without the cost of a new purchase.
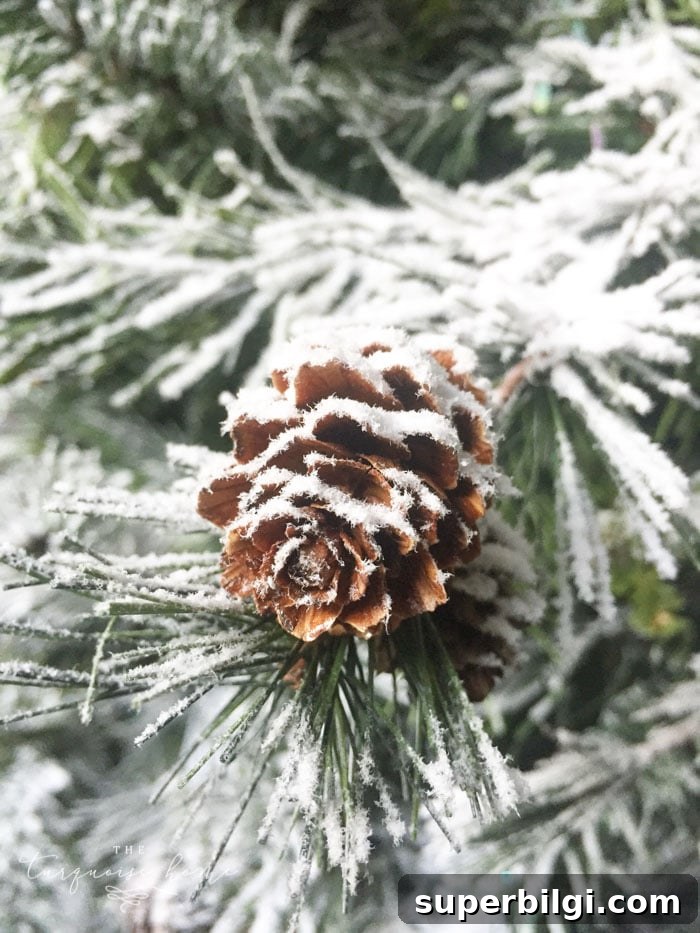
I ordered a box of DIY flocking powder recommended by another blogger and bought the 5 lb. size for my 9-foot tree. I was a little worried about the mess, but the process turned out to be manageable and surprisingly quick. Below is a clear, step-by-step guide so you can flock a Christmas tree the easy way, too.
Tools You Need to Flock a Christmas Tree
- SnoFlock decorative snow flocking powder (I used a 5 lb. box for a 9-foot tree and used a bit more than half).
- Kitchen strainer or fine sifter.
- Large spray bottle filled with water.
- Drop cloth or protective covering for the floor.
How to Flock a Christmas Tree
1. Set up your tree
Decide whether you want to flock the tree while it’s assembled or while working on sections. Place a drop cloth below the work area—garage, basement, or a protected room works well. I flocked mine in the dining room while assembling the tree, which helped the flocking reach the inner branches for a fuller effect.
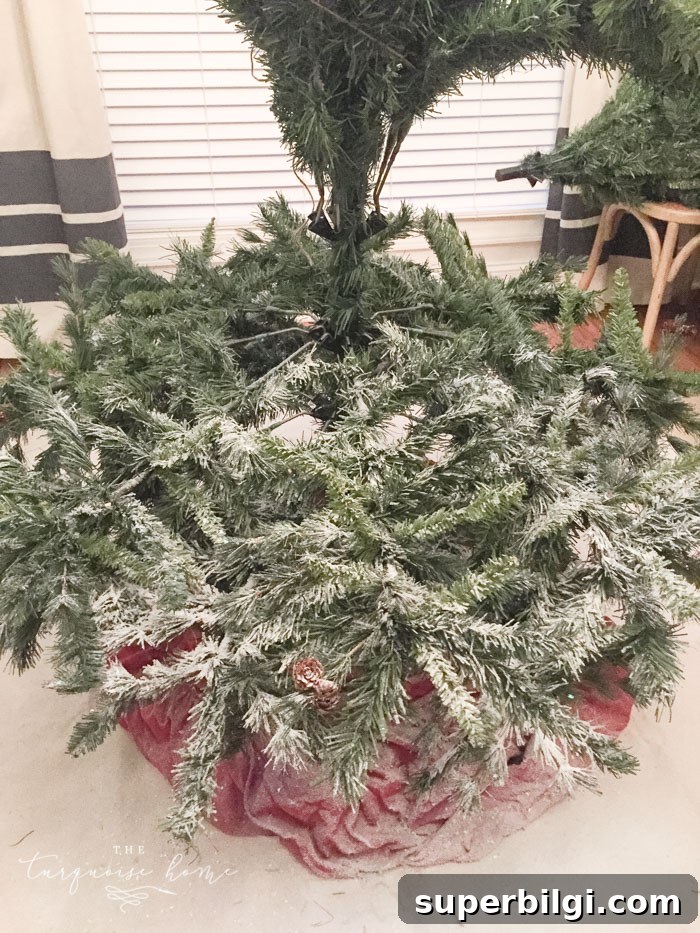
Flocking from the bottom up while assembling makes it easier to coat branches inside the tree. If you only want a lightly dusted outer look, you can fully assemble the tree first and work on the outside only.
2. Gather your supplies
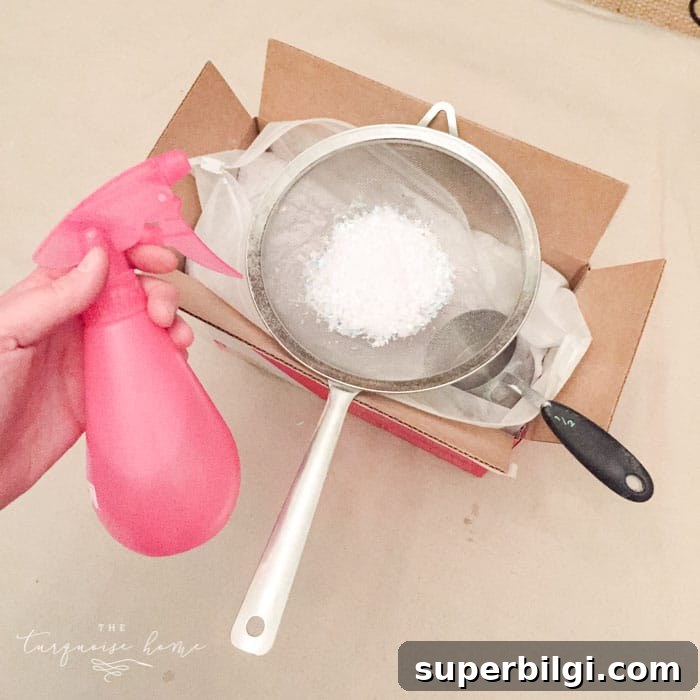
Fill your spray bottle with water and have the strainer and flocking powder ready. Keep a trash bag nearby for any unwanted residues and a damp cloth for quick clean-up.
3. Mist first
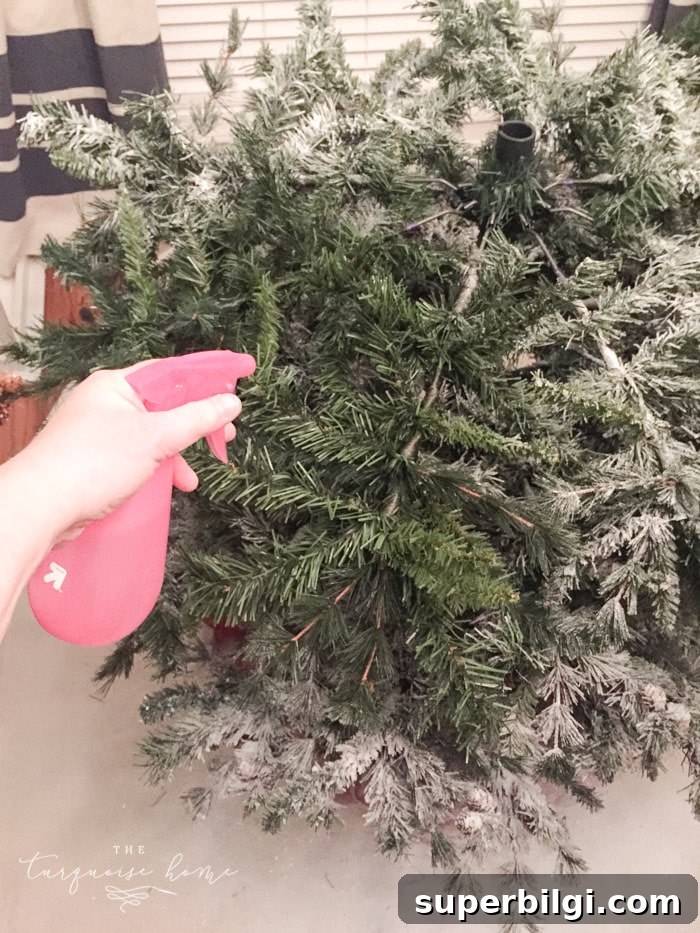
Spray a generous, even mist over the section you plan to flock. The water helps the powder adhere and creates that soft, snowy texture.
4. It’s time to flock!
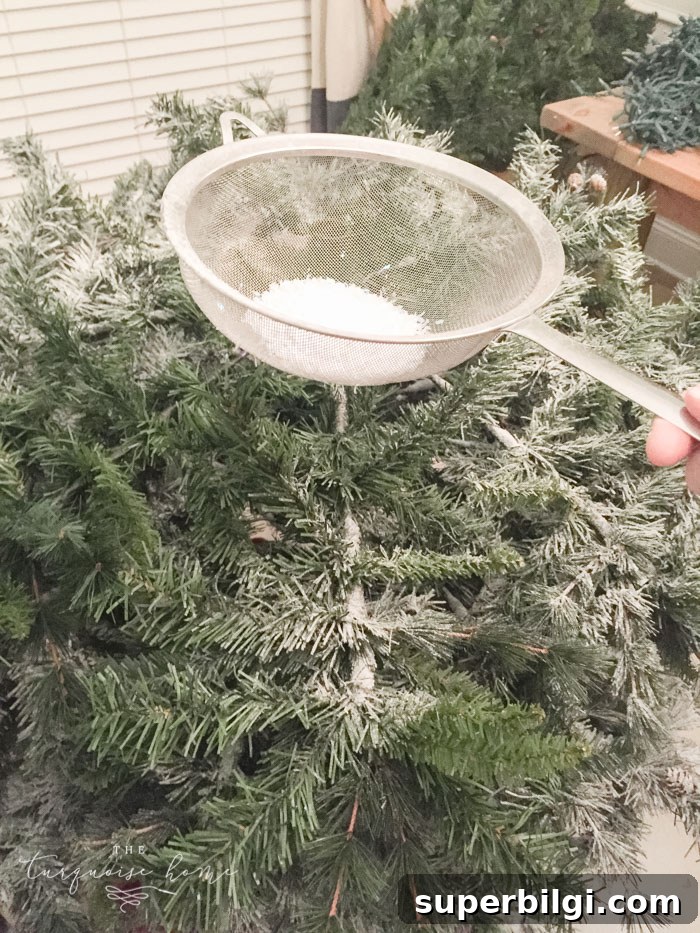
Spoon half the strainer with flocking powder and gently shake it over the wet area. The manufacturer suggests spraying the falling powder, but I found it worked fine to spray the tree first and let the powder fall naturally. Avoid spraying the strainer directly.
5. Disperse the “ice flakes”
Some shiny “ice flakes” may remain in the sifter—these are decorative and can be sprinkled on the tree for extra sparkle, or discarded if you prefer a matte snow finish.
6. Mist again
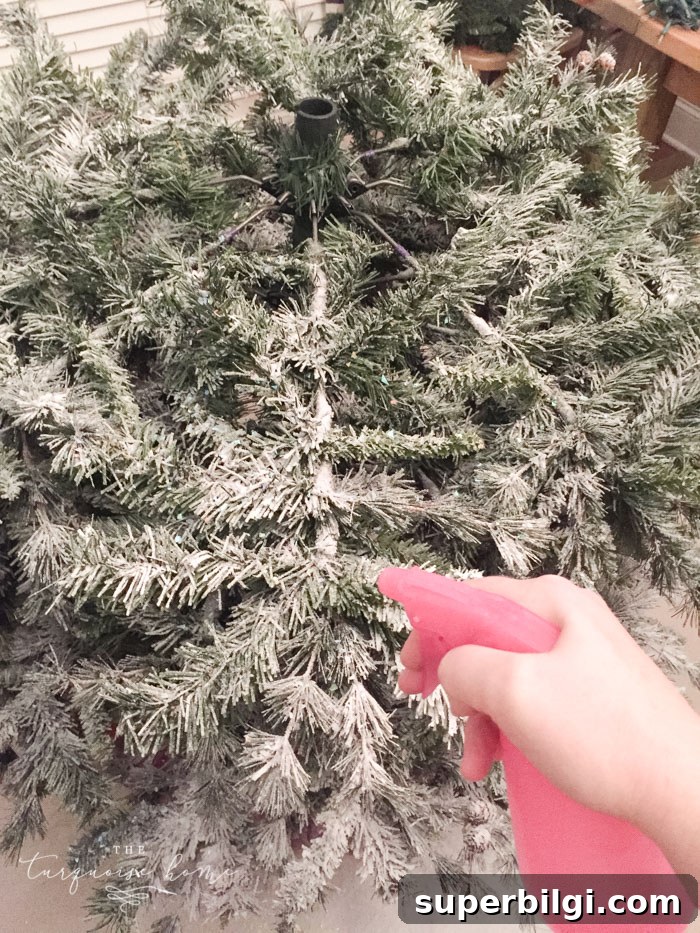
Lightly mist the flocked branches again to help the powder bind. The goal is to saturate the flocking so it fluffs up without making the branches drip.
7. Repeat until complete
Work methodically section by section until the whole tree has the level of flocking you want. For a heavier, vintage look, apply more powder and focus on inner branches; for a light dusting, stay mainly on outer tips.
8. Let it dry
Allow the flocking to dry fully before adding lights or ornaments. I applied mine at night and it was dry by morning; to be safe, wait 24 hours. Once dry, the flocking adheres well and won’t shed much when you move or decorate the tree.
That’s it—your DIY flocked Christmas tree is ready to transform your home into a snowy, festive display for the season!
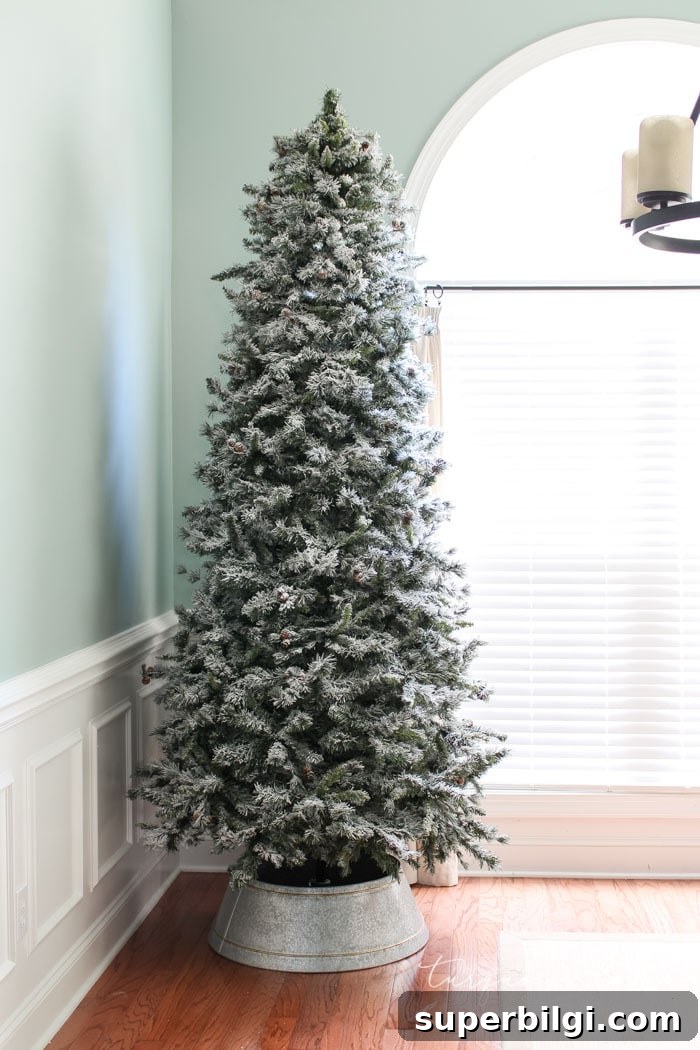
Galvanized Tree Collar
Frequently Asked Questions about How to Flock a Christmas Tree
Q: Is it messy?
A: The process can be a little messy, but it’s manageable with a drop cloth. A fine dust may land on the floor, but it wipes up easily with a damp cloth. Once the flocking dries, it sticks well and sheds very little.
Q: Will it look like a store-bought flocked tree?
A: DIY flocking can come very close to the look of a store-bought flocked tree. The powder tends to cling more to the tops of branches than the undersides, so the tree may appear whiter from above than when viewed straight-on. If you want fuller coverage underneath, consider flipping sections and treating the undersides before storing the tree at season’s end.
Q: Is it safe?
A: The product I used is non-toxic and naturally sourced, though official instructions recommend wearing a dust mask, gloves, and eye protection. I didn’t find safety gear necessary for my project, but use your own judgment and follow the manufacturer’s guidance.
If you have more questions, I’m happy to help—just ask!
I loved the result: an elegant, snowy tree that took only a few hours and cost far less than buying a new flocked tree. Watching the transformation from green branches to soft white was incredibly satisfying—and now my dining room window looks like a little winter scene all season long.