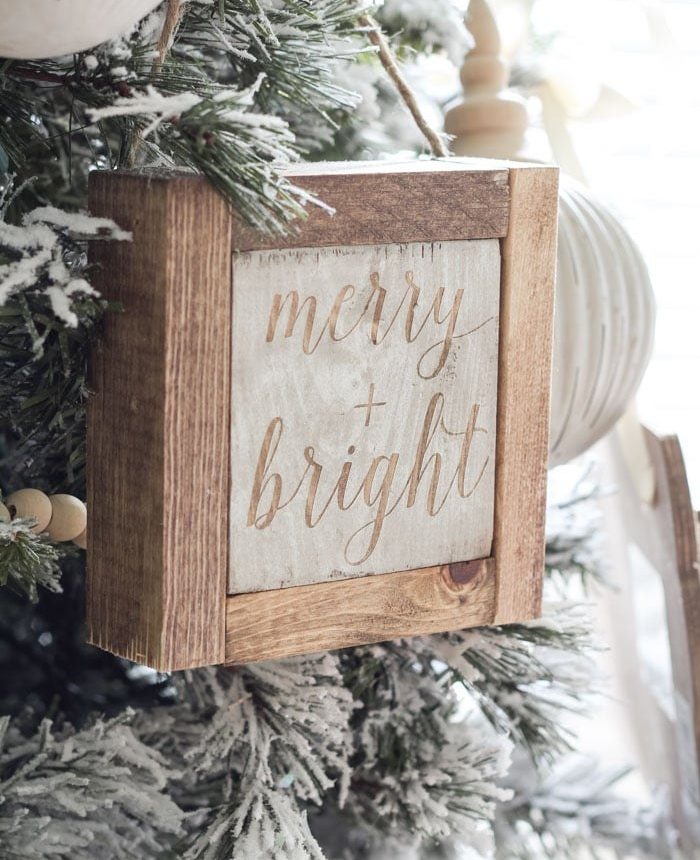
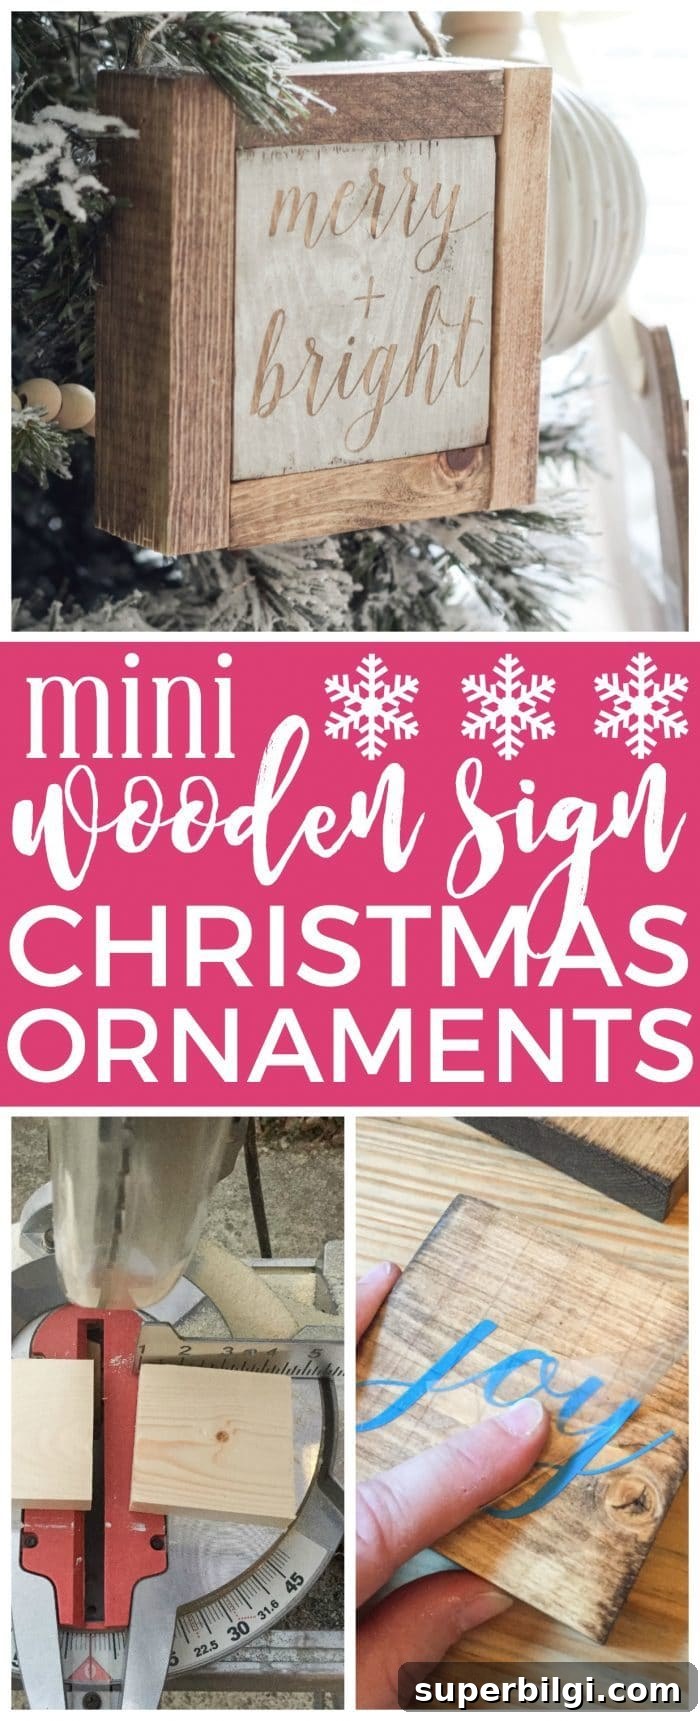
Wooden Christmas signs are some of my favorite decorations, so I decided to make them into tiny ornament-sized signs. These mini wooden sign ornaments are inexpensive, simple to make, and give a charming rustic farmhouse feel to your tree.
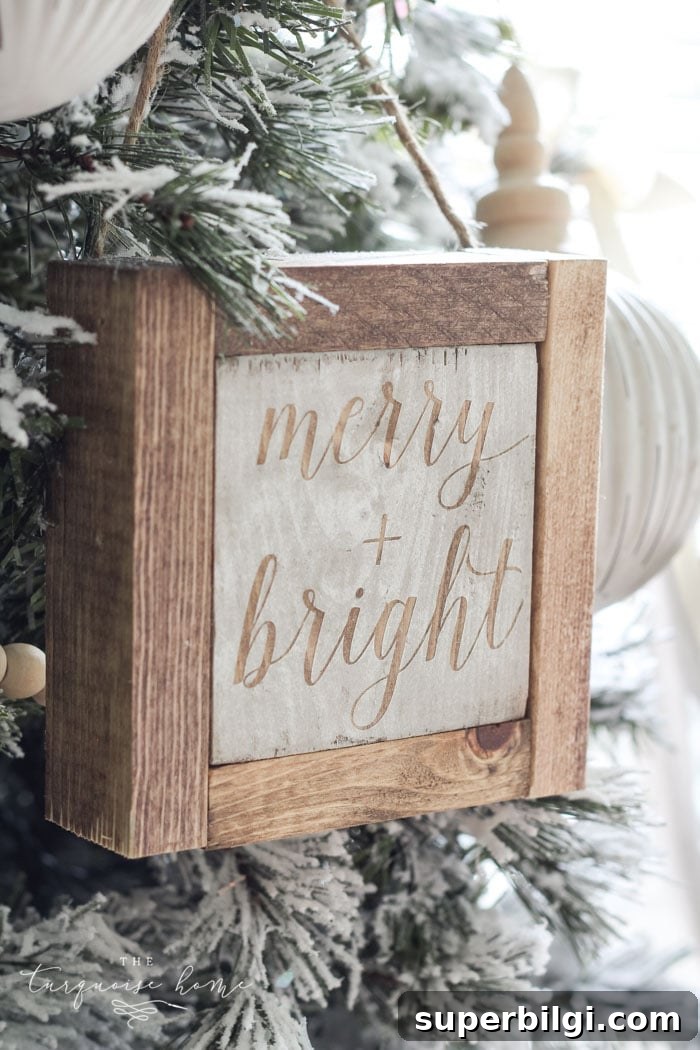
If you follow my projects, you know I enjoy making wooden signs. I haven’t made dozens, but the ones I do have—wood and canvas—are favorites. I prefer creating pieces myself rather than buying pre-made signs, since it’s more affordable and it lets me customize the size, wording, and finish.
Scaling down a full-size sign into an ornament is straightforward: use scrap lumber, a small frame, a stencil or vinyl cut, and a little paint. The result is a meaningful, handcrafted ornament that fits perfectly with a farmhouse Christmas theme.
RELATED: How to Make a Large Wooden Sign
While shopping at a holiday market, I spotted the cutest mini wooden sign ornaments and realized they were easy to replicate at home. I used materials I already had—scrap wood and leftover stain—so the cost was nearly nothing. These ornaments are a great way to use small offcuts and experiment with finishes and lettering on a tiny scale.
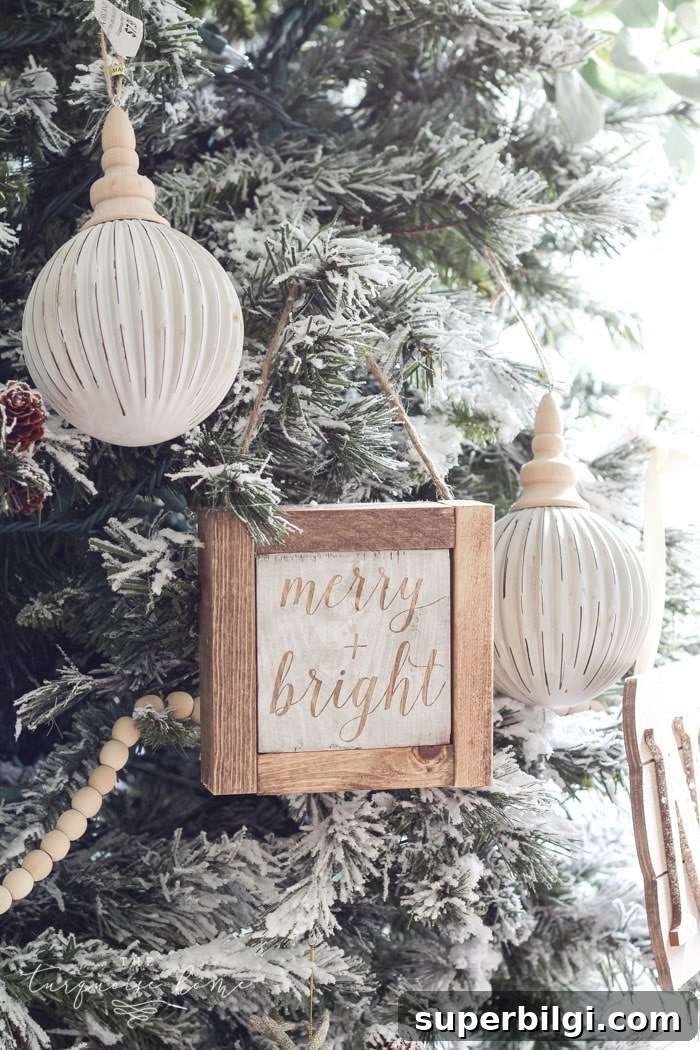
Supplies You’ll Need for Mini Wooden Christmas Sign Ornaments
- 1″ x 4″ x 6′ board — cut into 3.5″ x 3.5″ squares for the sign faces (one board yields several squares)
- Two 1″ x 2″ x 8′ boards — cut into two 3.5″ lengths and two 5″ lengths per ornament for the frame pieces; one 8′ board makes multiple signs
- Sandpaper (various grits for smoothing edges)
- 1 1/4″ brad nails
- Wood stain in your preferred tones (I mixed two stains for a weathered look)
- Stencil material or pre-made stencils sized for 3.5″ squares; you can make stencils with a cutter or use adhesive stencil sheets
Tools used:
- Miter saw (for accurate small cuts)
- Nail gun (brad nailer) or small hammer and nails
- Sander or sanding block
How to Make Mini Wooden Christmas Sign Ornaments
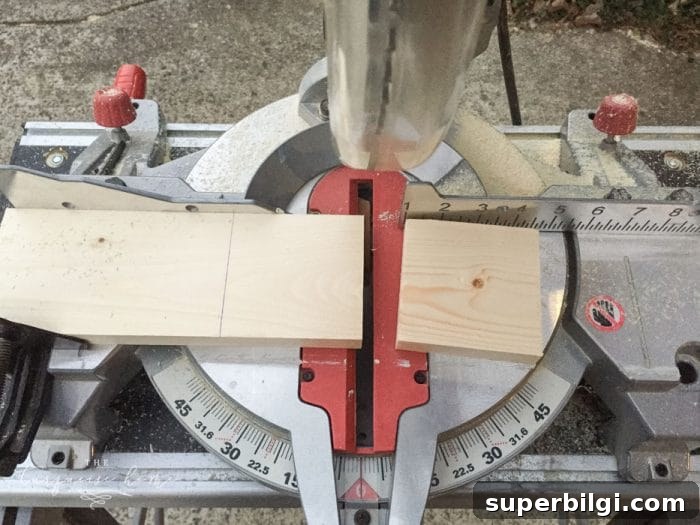
Step 1. Cut all the boards.
Cut the 1×4 board into 3.5″ squares to form the sign faces. Since a 1×4 actually measures about 3.5″ wide, each cross-cut will produce a square piece. Cut the 1×2 boards into pieces that fit around the square face: two short pieces and two slightly longer pieces to form a little frame. I used scrap lumber and made nine ornaments with the pieces I had on hand.
Step 2. Stain the wood pieces.
Choose a stain that matches your desired rustic tone. I blended two stains to get a weathered, warm brown—mixing stains can produce a richer, layered color. Apply stain, wipe off the excess, and let the pieces dry thoroughly before handling.
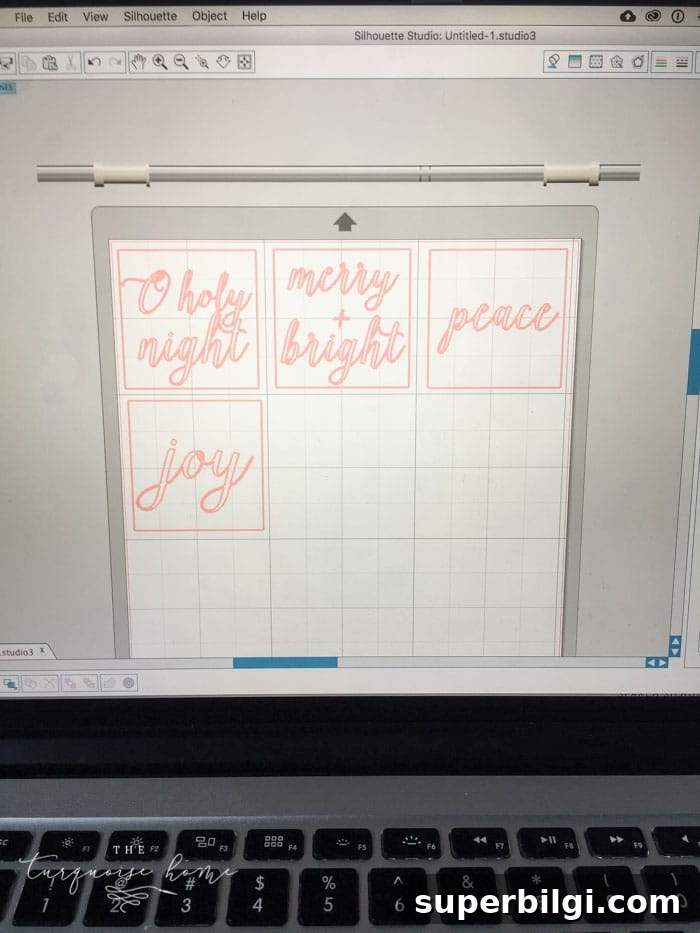
Step 3. Prepare your stencils.
While the stain dries, cut stencils from contact paper or stencil material, or use pre-made tiny phrase stencils. Classic Christmas words and short phrases work best on small signs: think “Joy,” “Noel,” “Merry,” or a two-word phrase that fits neatly in a 3.5″ square.
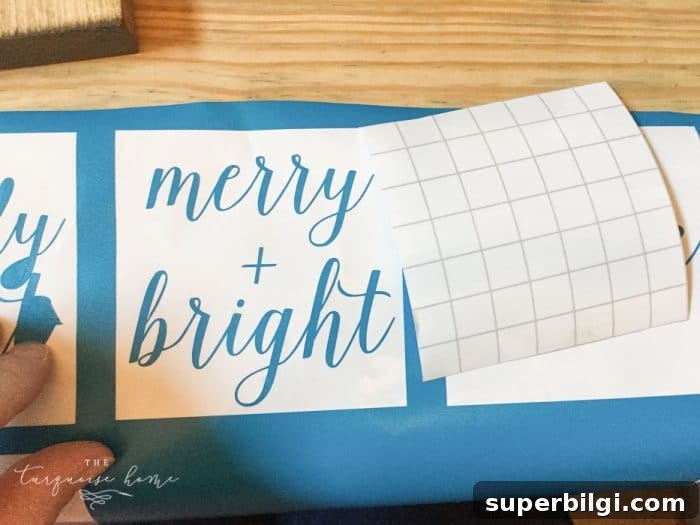
Step 4. Apply the stencil and paint.
Use transfer paper or simply press the stencil down firmly to ensure clean edges. Dab chalk paint or acrylic paint lightly with a foam sponge for a slightly distressed, hand-painted look. Work in thin layers to avoid bleeding under the stencil, and allow paint to dry between coats.
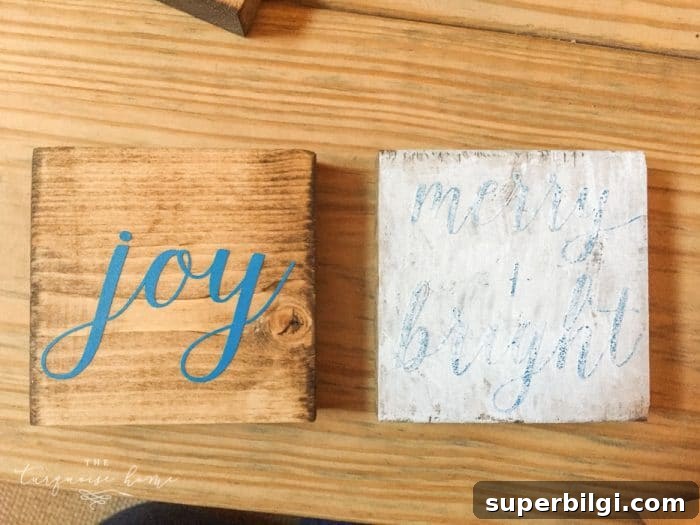
Step 5. Remove the stencil and refine the lettering.
Carefully peel the stencil away once the paint is dry. If needed, touch up any small imperfections with a fine brush for crisp edges and clear lettering.
Step 6. Attach the side frame pieces.
Flip the 1×2 strips on their sides to give the ornament more depth, then attach them around the square face with 1 1/4″ brad nails or wood glue and small nails. A brad nailer makes this step quick and keeps the pieces flush against the face.
Step 7. Add a hanger.
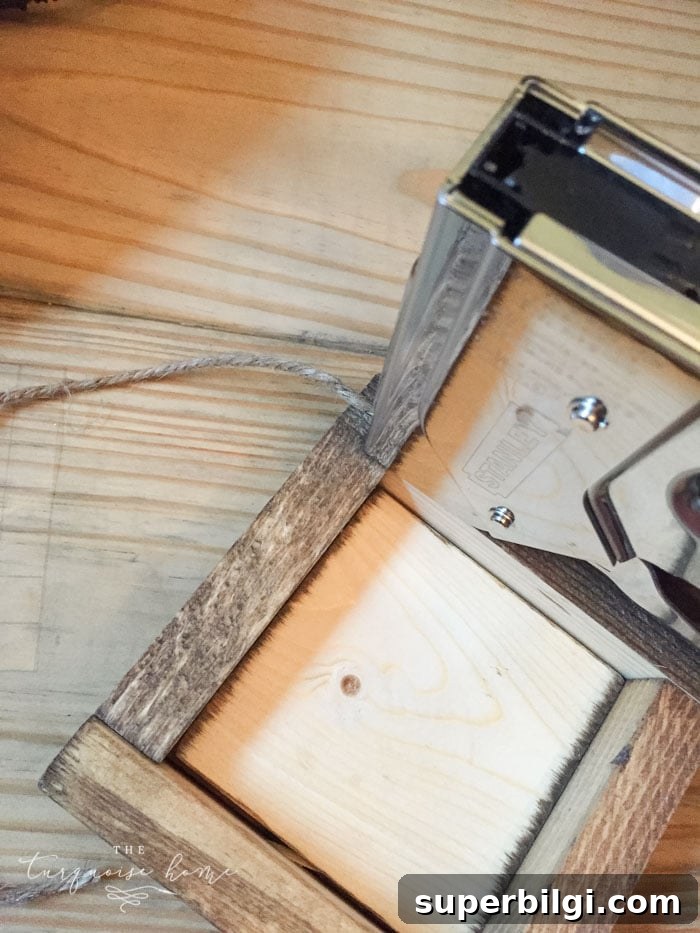
Staple or glue a loop of twine or thin ribbon to the back of each ornament. Choose a neutral twine for a rustic look or a colored ribbon to match your tree decor.
These tiny signs turned out adorable and make charming, affordable ornaments or thoughtful handmade gifts. They’re perfect for crafting parties, using up scrap wood, or creating a coordinated set of personalized decorations.
More project ideas you’ll love:
- String art Christmas stocking holders
- DIY twig Christmas tree ornaments
- 25 creative DIY Christmas gift ideas