
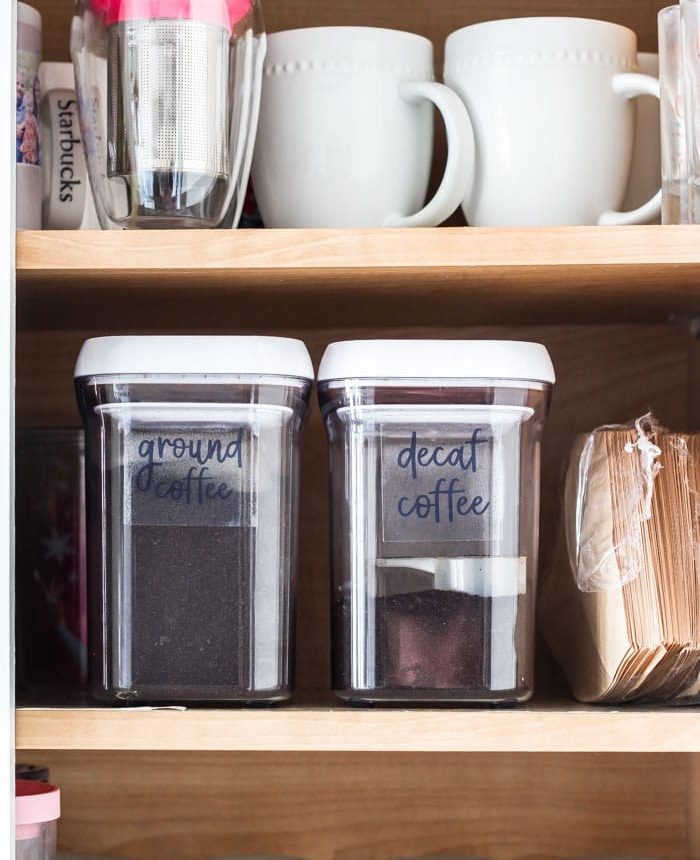
Learn how to create DIY pantry labels using a Silhouette machine or a standard printer and clear self-adhesive sticker paper — or use store-bought labels if you prefer.
Over the last couple of days I reorganized both our refrigerator and pantry. I’m really happy with the clear bins I bought that group similar items together. Now I can instantly see what we have, organized by food type — which already makes meal prep easier.
However, a clear bin full of rice and pasta doesn’t tell me how long those supplies have been there. Why? Because I don’t live alone, and I have a short memory when it comes to small details. Labels solve that problem: they help everyone in the household know where things belong and how long items will last.
Welcome to Day 19 of the 30 Days to Less of a Hot Mess Challenge — a series focused on decluttering, reorganizing, and building a home that actually works for your family. If this is your first time, you may want to start at the beginning. Some links in this post may be affiliate links used for convenience.
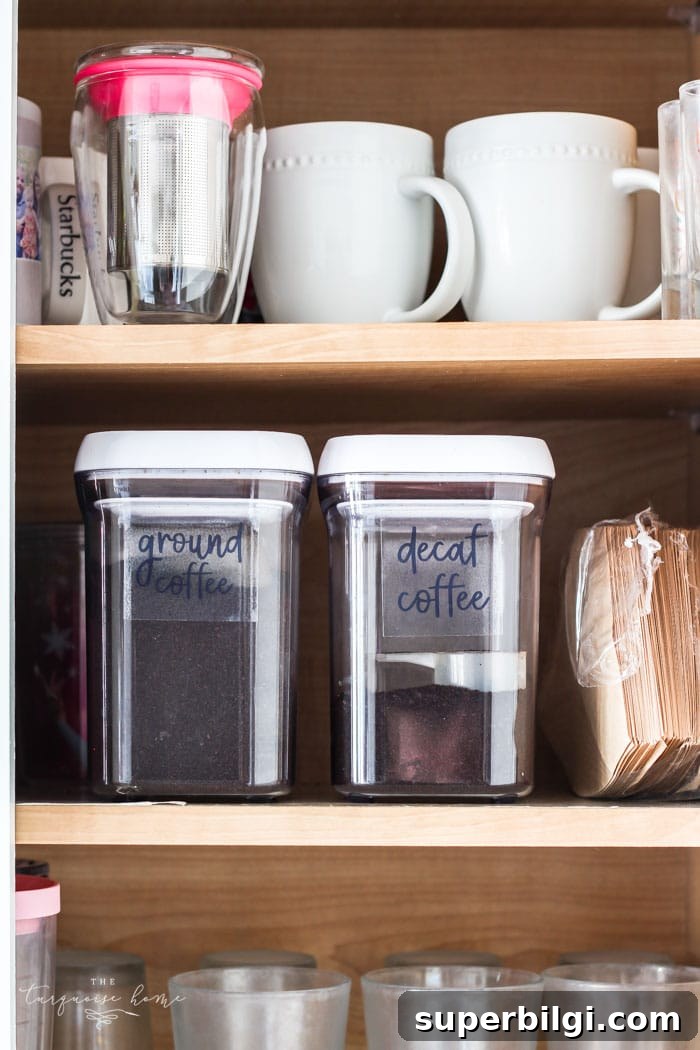
My solution was simple: label everything. Labels make it easier for everyone to find items quickly and keep the system working long-term. I don’t own a commercial label maker yet, so I create my own using free printables or by designing labels in an editing program.
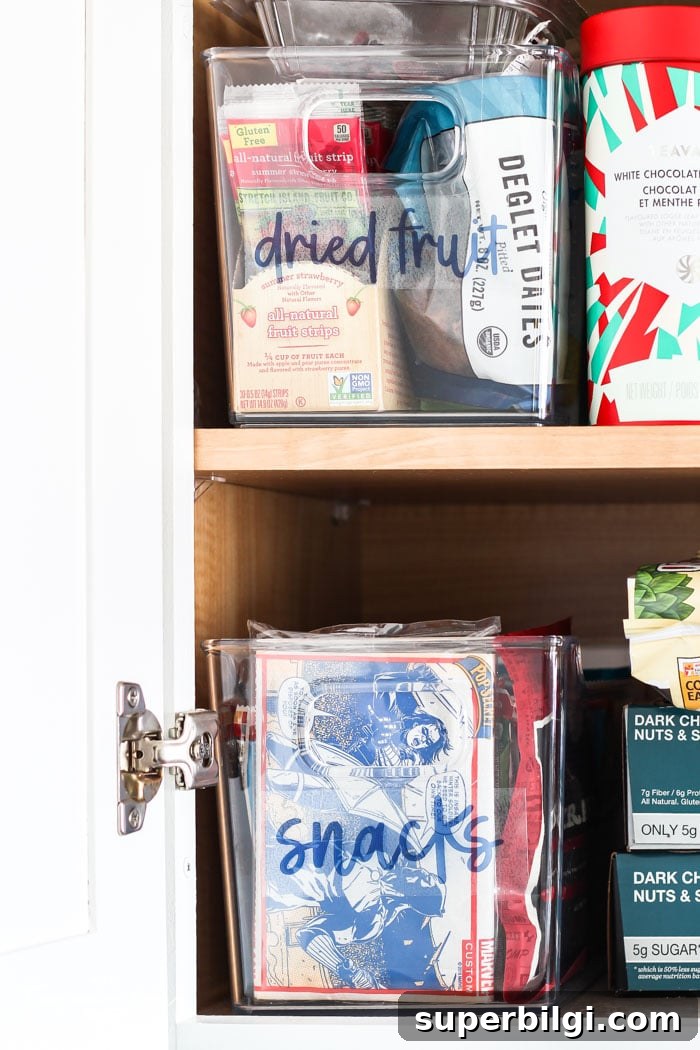
You may have seen pretty printable pantry labels around Pinterest — the kind with handwritten fonts and soft colors. They’re beautiful and widely available, but I needed labels that were more functional for bin systems: words like “snacks,” “baking,” and “canned goods” rather than single-item labels.
I used that style as inspiration, but customized the labels with the words I needed. Here’s what I used and how I made them.
To make your own DIY pantry labels you will need
- An image or editing program such as PicMonkey or Photoshop
- A printer (inkjet recommended for color)
- Clear sticker paper — I used Silhouette brand clear sticker paper because it prints well and cuts cleanly. It works with and without a Silhouette machine.
- A script or handwritten-style font for the look you want
- Scissors or a paper trimmer for straight edges
How to create your pantry labels
1. Choose a font that matches the style you like. I used a handwritten-looking script to echo the printable designs I admired. Install the font on your computer so it’s available in your editing software.
2. Walk through your pantry and make a list of the labels you need. Measure or estimate the space available on each bin so the text will fit comfortably.
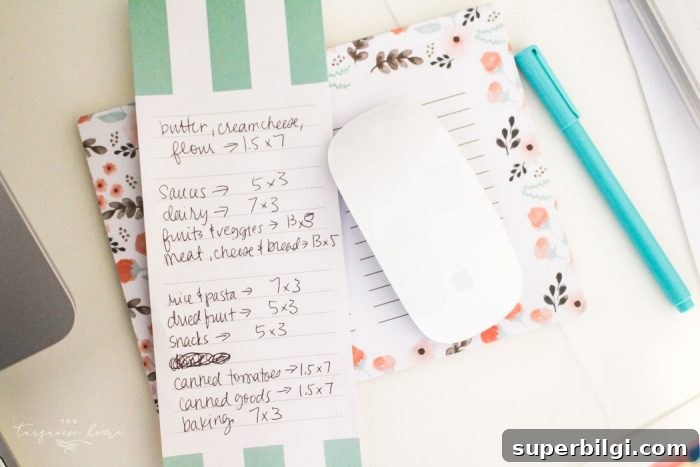
3. Design your labels in the editing program. Photoshop allows precise sizing, which is helpful if you measured your bins. If you use a simpler editor like PicMonkey, work on an 8.5 x 11 template and eyeball the layout, or print a draft on plain paper first to test fit and scale.
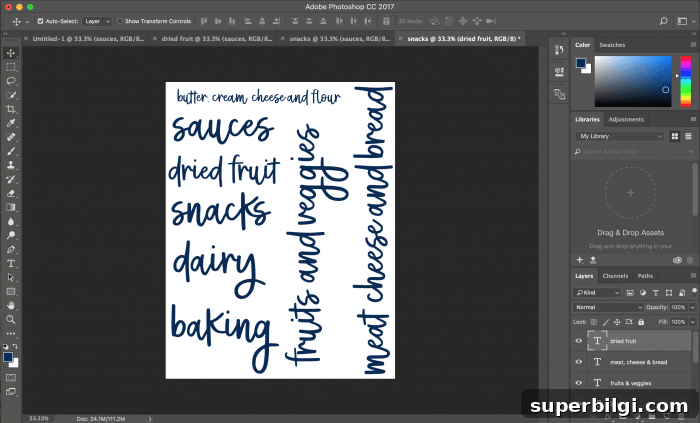
4. Print the labels on your sticker paper using the highest-quality printer setting to ensure crisp text and color. If you use colored ink, allow the sheet to dry for 15 minutes before cutting to avoid smearing.
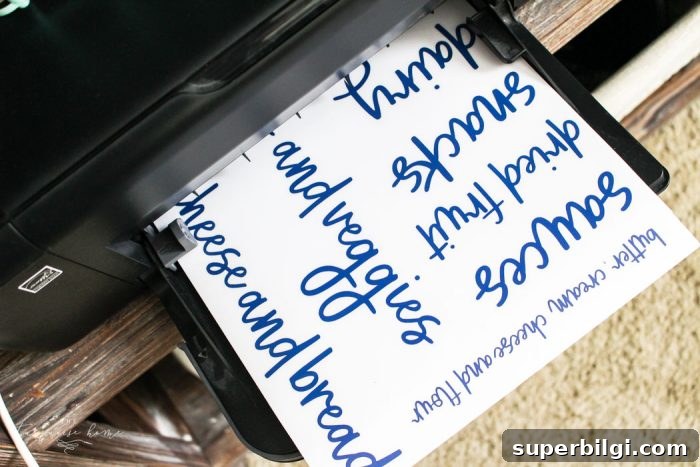
Tip: Do a test print on plain copy paper and cut that sample first. That helps ensure size, spacing, and layout are correct before using your sticker paper.
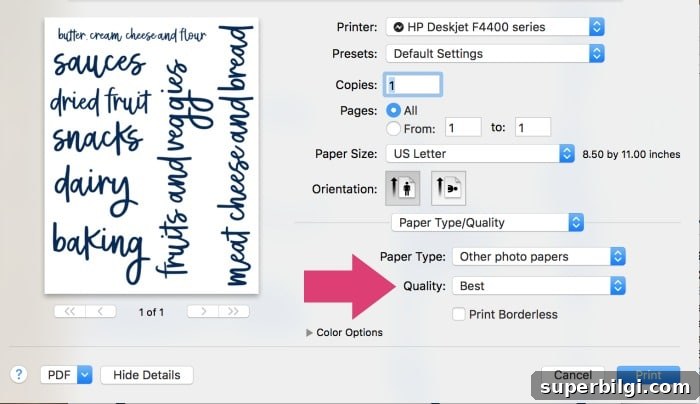
Important: Test and trim on plain paper first so you don’t waste sticker sheets.
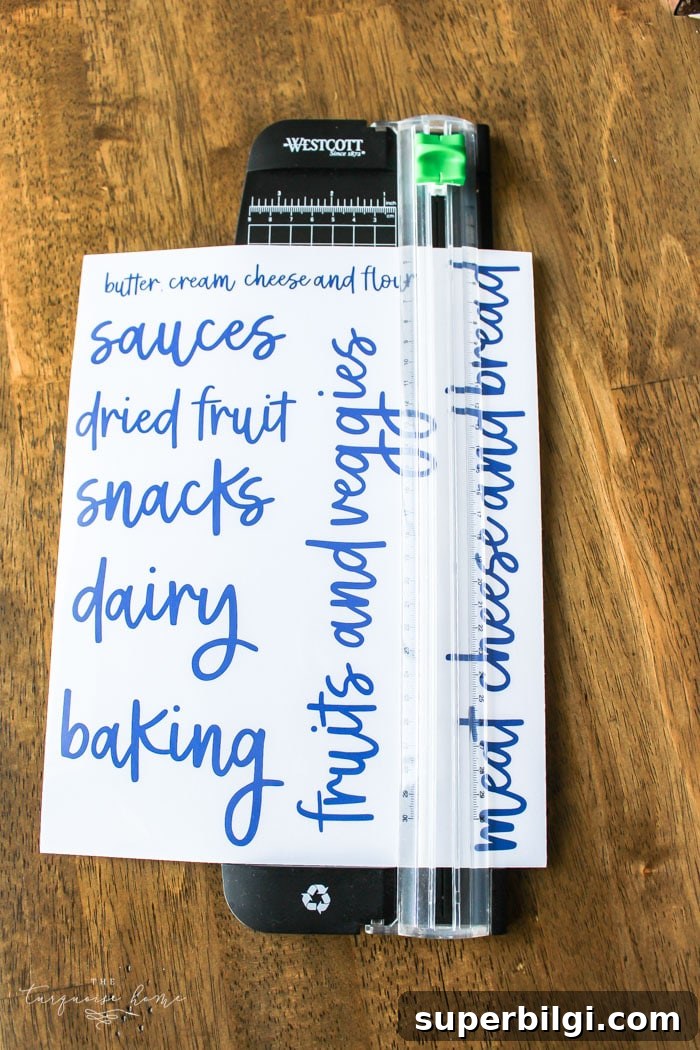
5. Cut your labels. I used a paper trimmer for straight edges. Since the sticker paper is clear, any excess border is subtle, but trim the sides evenly if visible edges bother you.
6. Apply the labels to your bins. I was delighted with the result — the labels gave my system clarity and helped everyone find items faster. Labeling also made packing lunches simpler because everything has a clear place.
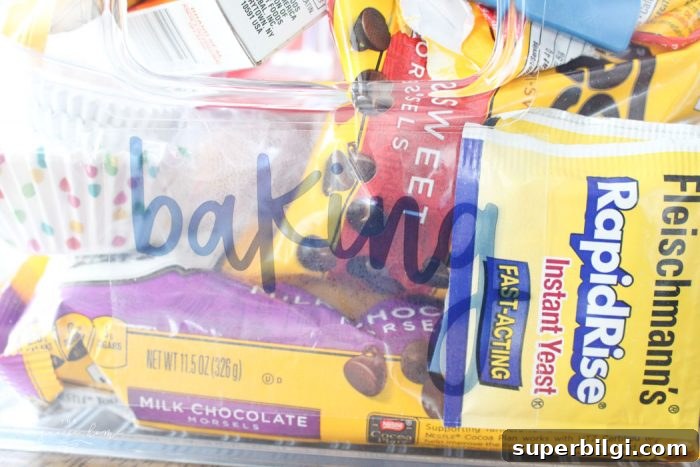
If custom design feels intimidating, plenty of free printable labels online will suit a bin system — search printable pantry labels on Google or Pinterest for ready-made options.
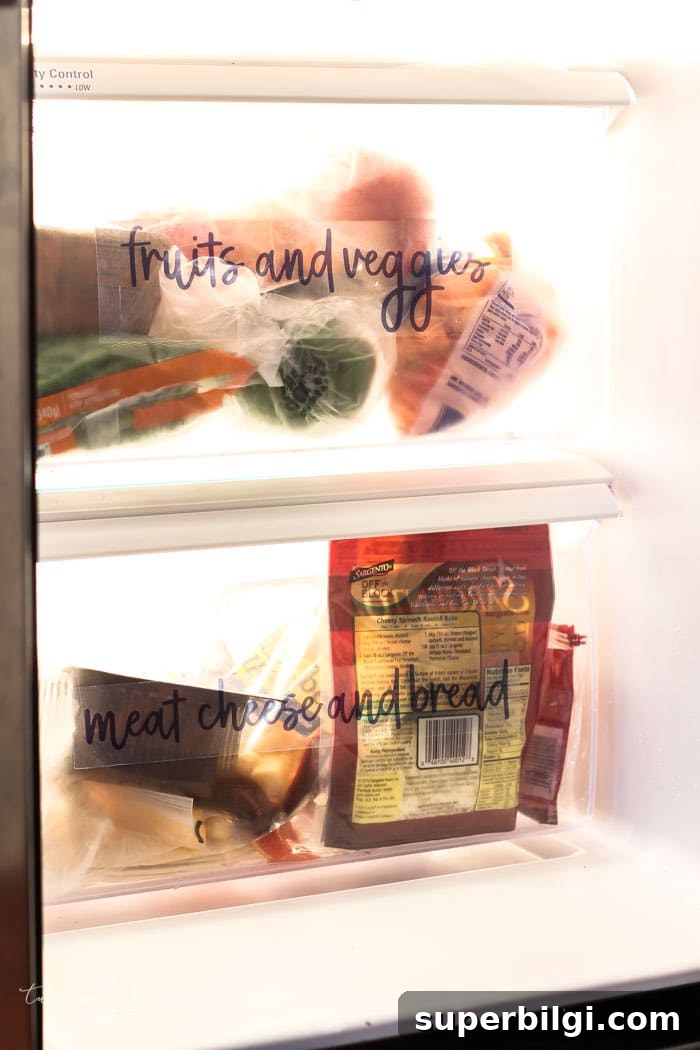
I also labeled refrigerator drawers so guests and family members can quickly find items. For example, I keep meat, cheese, and bread in the bottom drawer — something that surprises visitors until they see the labels.
More label ideas
Beyond pantry and fridge labels, two other label options I love are especially practical for families:
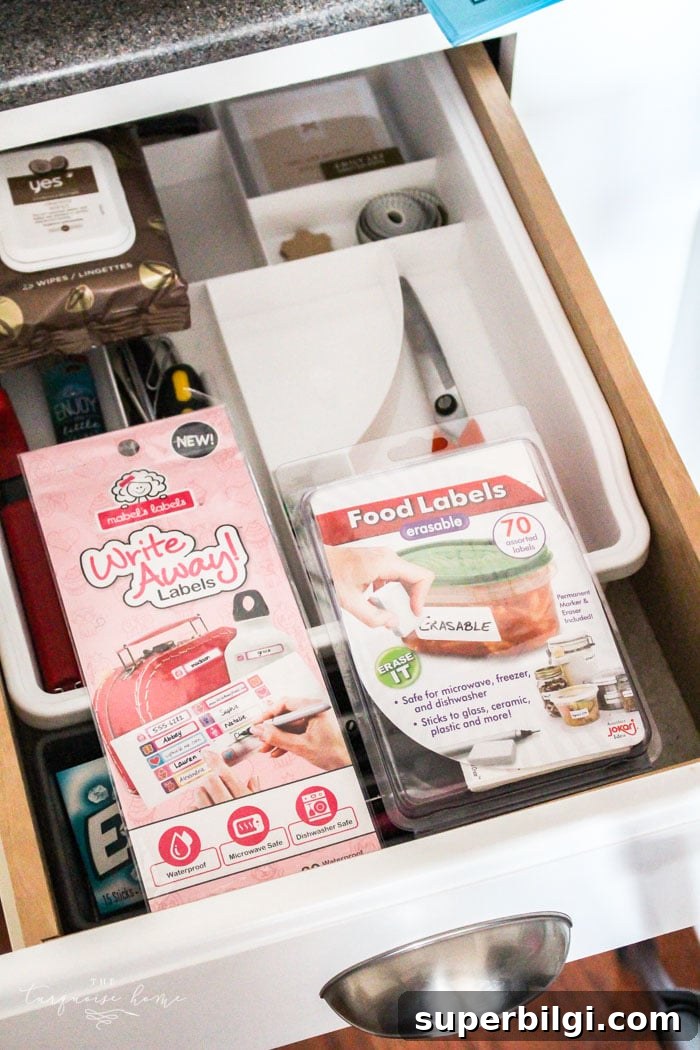
Write-Away labels — Great for labeling kids’ cups, lunch boxes, and personal items. They withstand many dishwasher cycles and stay put all year.
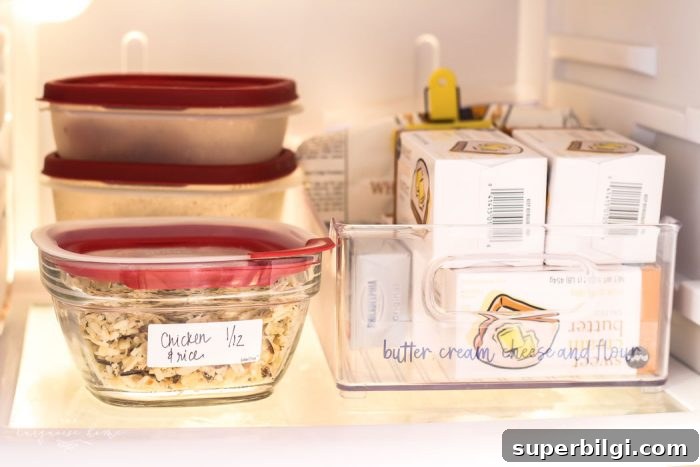
Erasable food labels — Perfect for marking dates on leftovers. They’re dishwasher safe and include an eraser, which helps reduce food waste by making it easy to see what’s fresh.
Have fun labeling! Start in the kitchen and label anything that helps your household know what goes where. Small, clear labels make a big difference in keeping your home organized.
The Messy Work: Label anything in your home that would be helpful for all family members so everyone knows what belongs where. I’m planning to label many more areas in our house — and I’m enjoying the results already.
In the mess with you, Laura











