
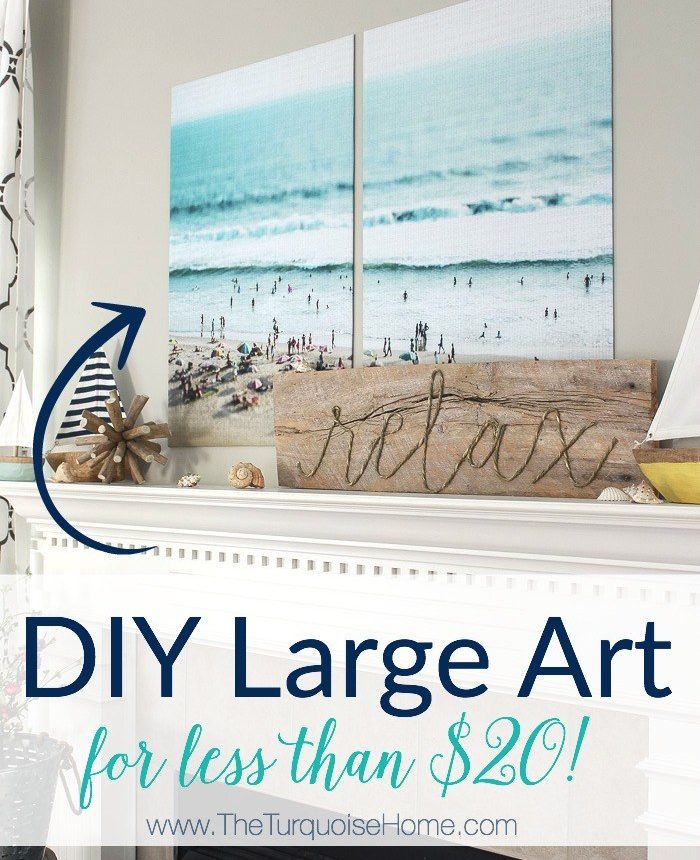
These color engineer prints are an affordable way to create striking large wall art. My print cost under $12, and I love the result and the price!
When I started planning my summer mantel this year, I knew I wanted a big splash of color to be the focal point. I had some DIY abstract pieces I could have used, but they were more vertical than I wanted. I wanted a wide, horizontal statement piece without spending a lot.
I looked through my beach photos from past vacations, but nothing felt right. Printing a personal photo large enough to fill the space would have been expensive once framing was factored in. As a DIYer I could have built a frame, but I wanted a simpler, lower-cost solution.
This post contains affiliate links for convenience. See my full disclosure policy.
Then I remembered a post about split photo wall art and realized an engineer print split across panels would be perfect. I discovered engineering prints are commonly available in black and white up to 36″ x 48″, but after a little digging I learned color engineering prints are also an option for only a few dollars more.
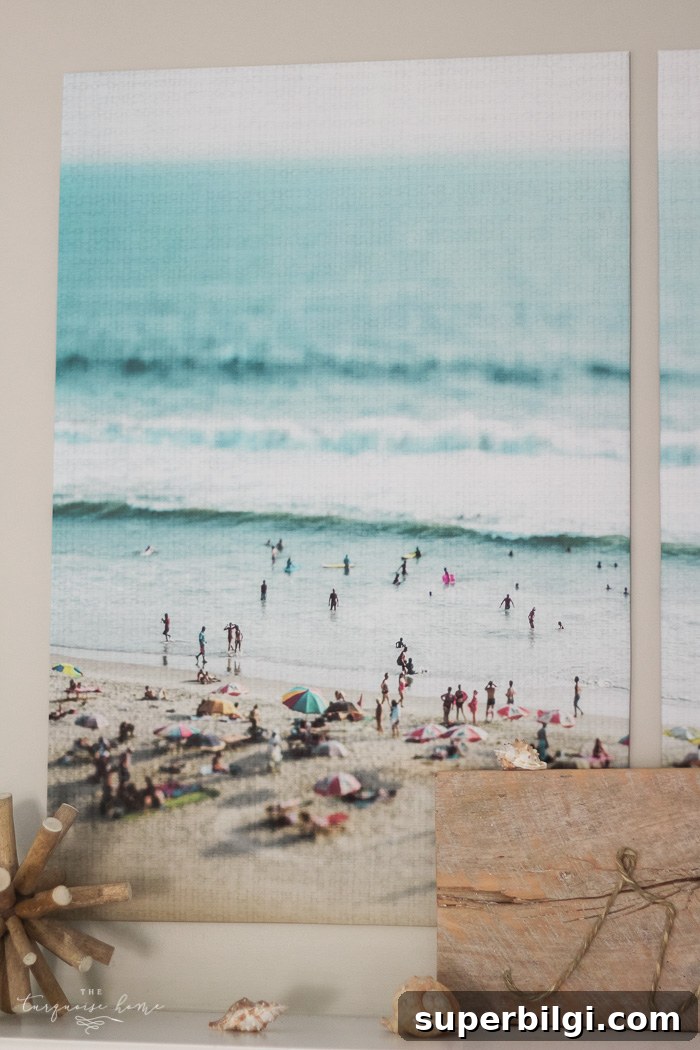
I couldn’t find a photo of my own that felt right at that scale, so I bought a downloadable colorful beach scene from an online marketplace. I downloaded the high-resolution image and ordered a 36″ x 48″ color engineer print from a local print shop with next-day pickup. The wide format and vibrant color made it exactly what I wanted for my mantel.
To mount the print without an expensive frame, I bought two foam boards slightly smaller than the printed sheet so the paper could wrap around the edges. Wrapping the print around foam board gives a clean, gallery-like look while keeping the cost and weight down.
What You’ll Need to Make Large Color Engineer Prints
- Large color engineer print (I ordered a 36″ x 48″ color engineer print; use a high-resolution image for the best results)
- 2 foam boards sized to fit the split print (I used 20″ x 30″ foam boards)
- Sharp scissors or a craft knife
- Double-sided tape or strong adhesive tape
- Command strips or other picture hanging hardware (optional)
That’s it—simple materials and minimal tools.
How to Make DIY Engineer Prints
The process is straightforward and fast. Here’s how I created my large wall decor step-by-step.
1. Prepare a clean, flat workspace
Use a large table or clean floor. The engineer print is on thin paper and can easily pick up dirt or moisture, so work on a dry, clean surface.
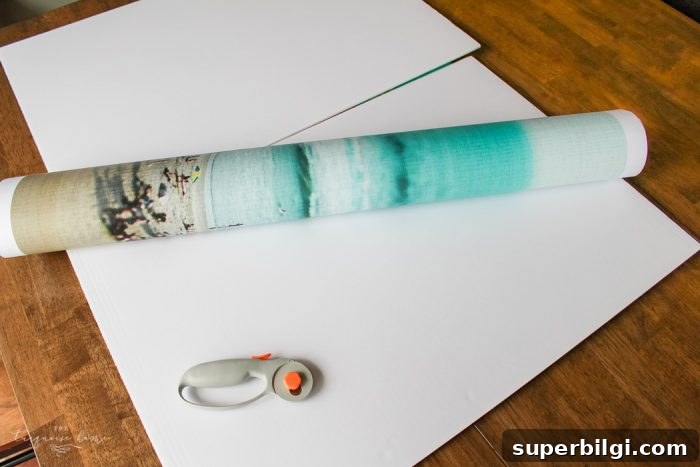
2. Unroll and inspect the print
Lay the engineer print face up and smooth it gently. Check the image alignment and edges so you know where to split it for two panels.
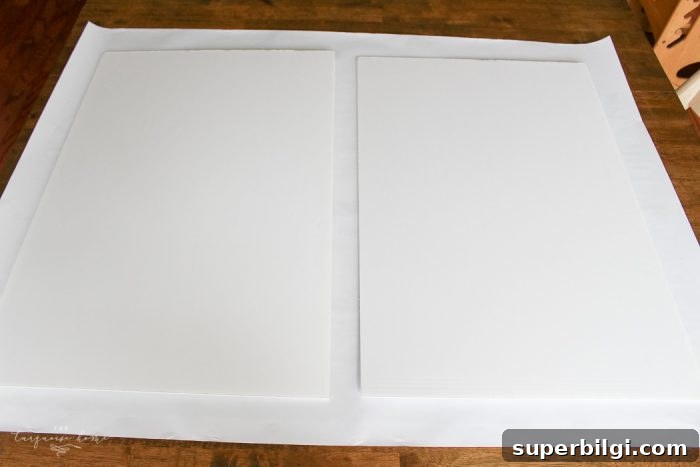
3. Cut the print and size the panels
Cut the print down the middle so you have two equal sections. Position each foam board under a section, leaving about an inch gap from the center cut so the panels align cleanly on the wall. Mark and trim any excess paper so you have a 1–2 inch border around each foam board for wrapping.
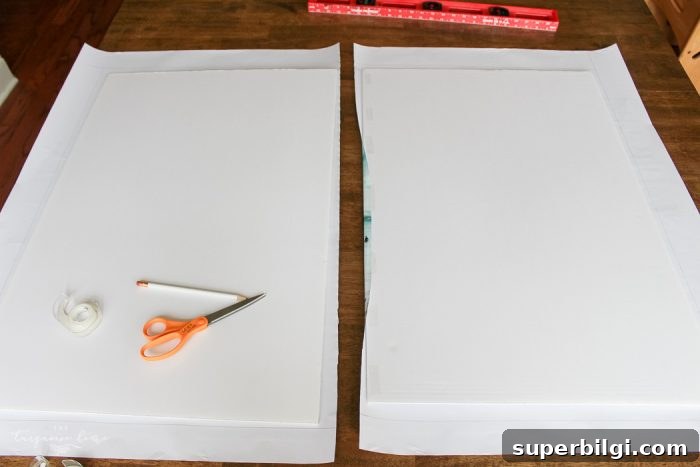
4. Attach the print to the foam board
Apply double-sided tape to the back edges of the print, starting at the center of the long inside edge and working outward. Fold and press the paper flaps to the back of the foam board so the front is smooth and taut. Trim any excess and make sure the corners are neat.
5. Hang and enjoy
Add Command strips or your preferred hanging hardware to the backs of the panels and place them on the wall. Adjust the spacing to get the split-image effect just right.
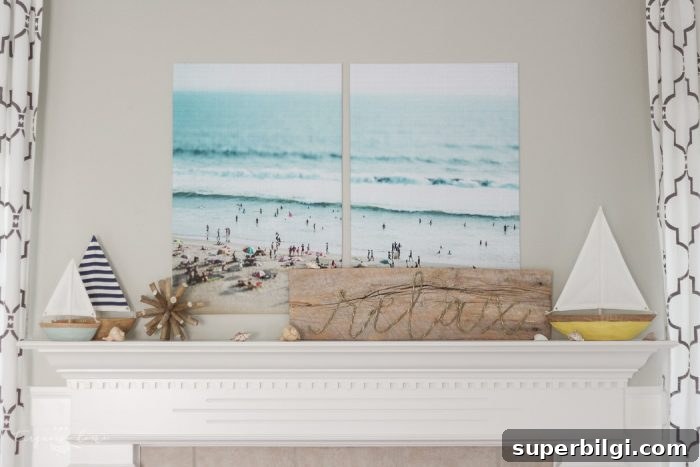
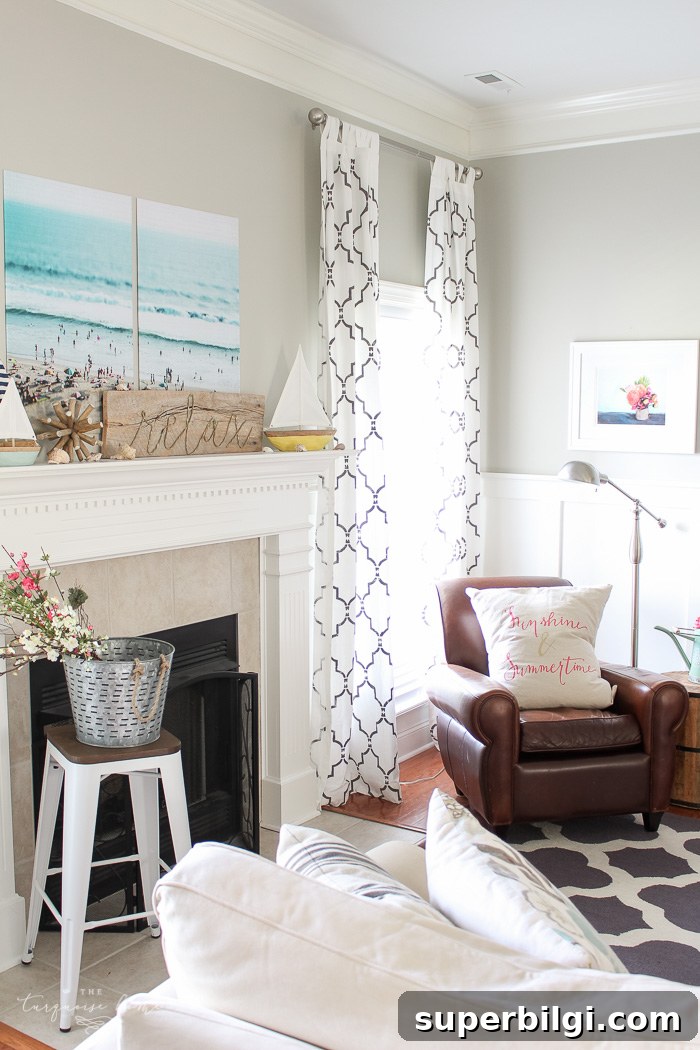
The final result was a vibrant, large-scale piece of art for under $20. It looks polished on the mantel, and from a distance you’d never guess it’s simply a printed sheet wrapped around foam board. I plan to reuse the foam boards seasonally or move the panels to another room later—there’s no reason to discard good materials.
What image would you choose to print and display as a budget-friendly statement piece?
More Posts You Will Love:
- The Best Summer Decorating Ideas
- How to Plant Flowers in a Pot, Planter or Container
- 15+ Large Wall Decor Ideas
- My Summer Lake Mantel
- My Lazy Summer Decor











