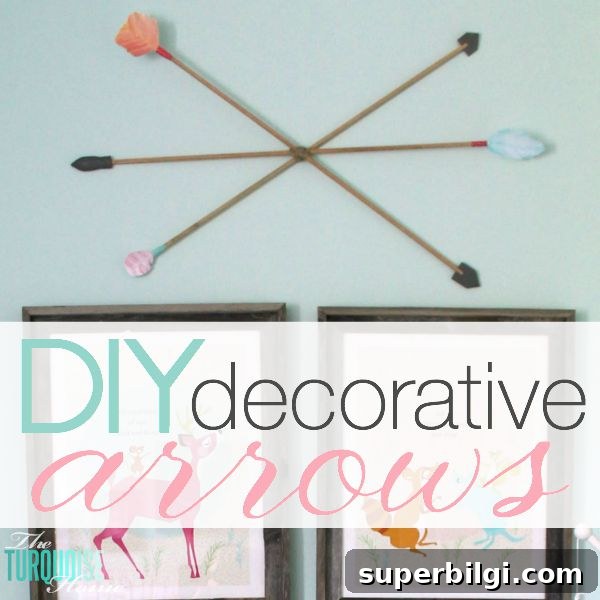
Create these easy, budget-friendly DIY decorative arrows using simple supplies you likely already have at home.
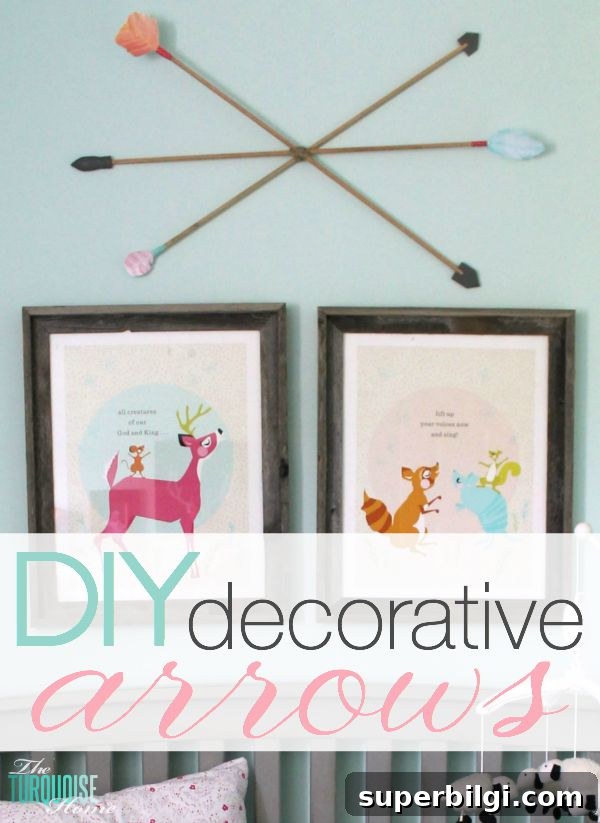
The final project from my Girl’s Woodland Nursery reveal is a set of handmade decorative arrows that I absolutely love. They were the finishing touch that completed the room. I almost bought ready-made arrows but decided to make my own after discovering watercolor feather printables from We Lived Happily Ever After. With a few dowel rods and basic craft supplies, these arrows came together quickly and affordably.
What you’ll need:
Gather these basic materials before you start:
- dowel rods (I used 5/16″ rods, originally 36″ long, cut down to 24″)
- paint stirrer sticks or thin wooden tongue depressors for the arrowheads
- sharp craft knife (X‑Acto) and cutting mat
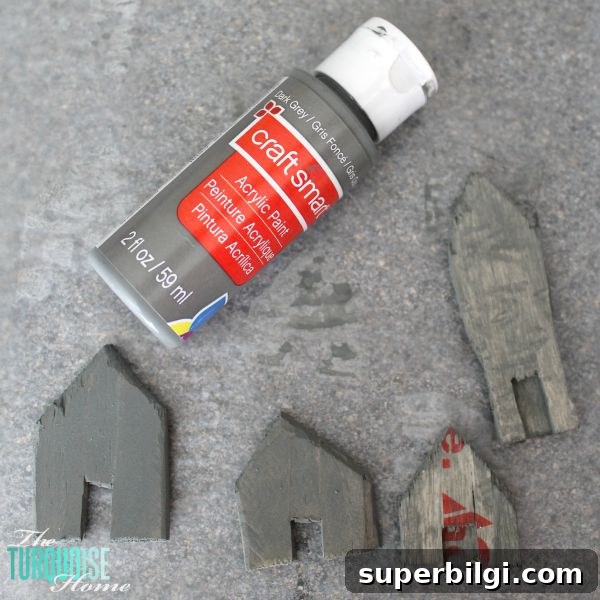
- gray craft paint and a small paintbrush
- white cardstock and a color printer for feather printables
- washi tape or decorative tape to attach feathers
- wood glue or strong craft glue, wood putty, sandpaper
Instructions:
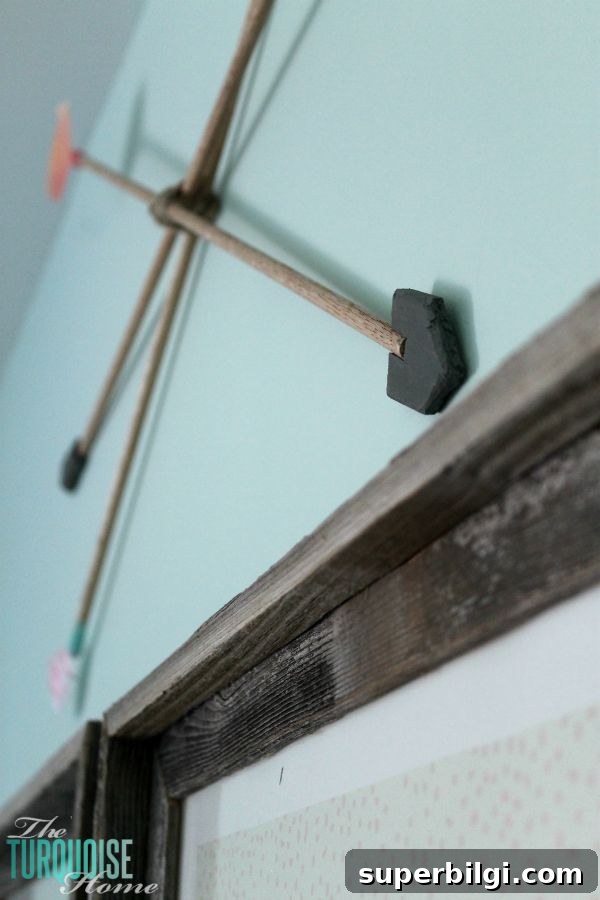
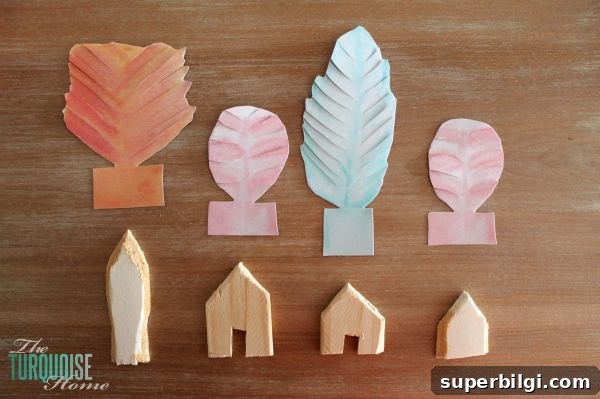
1. Prepare the arrowheads: Use paint stirrer sticks to carve the arrowheads with an X‑Acto knife. If you have one thick stirrer stick, it can yield two arrowheads but will take more effort to cut. For thinner sticks, glue two pieces together for added thickness and strength. After gluing, smooth the joint with wood putty and sand until it looks like a single piece.
2. Shape and sand: Carefully trim the edges to form pointed arrowheads and, if desired, notch the rear ends to simulate fletching attachment points. Sand all surfaces lightly so paint adheres evenly and the pieces are smooth to the touch.
3. Paint the arrowheads: Apply gray craft paint in thin, even coats. Allow each coat to dry before adding another to avoid drips. One or two coats should give good coverage depending on the paint and the wood’s porosity.
4. Attach the heads to the dowels: Once the paint is fully dry, glue the arrowheads to the dowel rods. Make sure each head is centered and straight. Clamp or hold in place until the glue sets for the strongest bond.
5. Print and prepare feathers: Print watercolor feather templates onto heavy white cardstock. Cut the feathers out carefully, then add small slits along each feather’s edge and gently fan them to give a more realistic, textured look.
6. Secure the feathers: Position the cardstock feathers where the fletching would be on a real arrow. Use washi tape to attach the feathers to the dowel, wrapping the tape neatly around the shaft. The tape acts as both decoration and reinforcement. Trim any excess paper or tape for a clean finish.
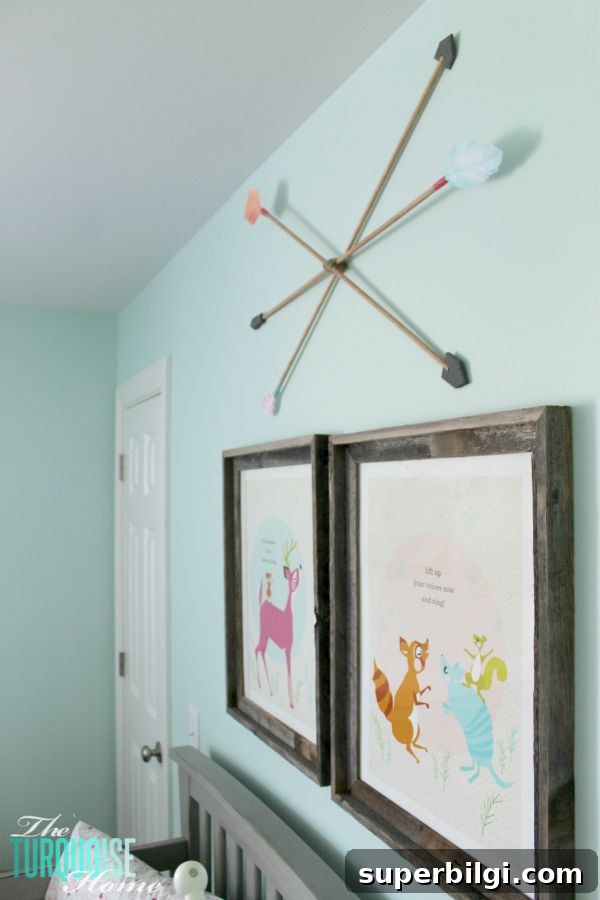
7. Group and hang: Tie three arrows together with jute or twine and hang them as a cluster over a crib or on a nursery wall. Anchor the bundle to a secure nail and tie it so the arrows won’t fall; for peace of mind, make sure the attachment point is outside of the crib area and installed firmly.
These decorative arrows are a charming, low-cost accent for a girl’s woodland nursery or any boho-inspired room. They cost only a few dollars to make and allow plenty of customization — change paint colors, use different feather prints, or add metallic tape for a modern twist. With basic tools and a little patience, you can create a set that looks polished and handmade at the same time.