
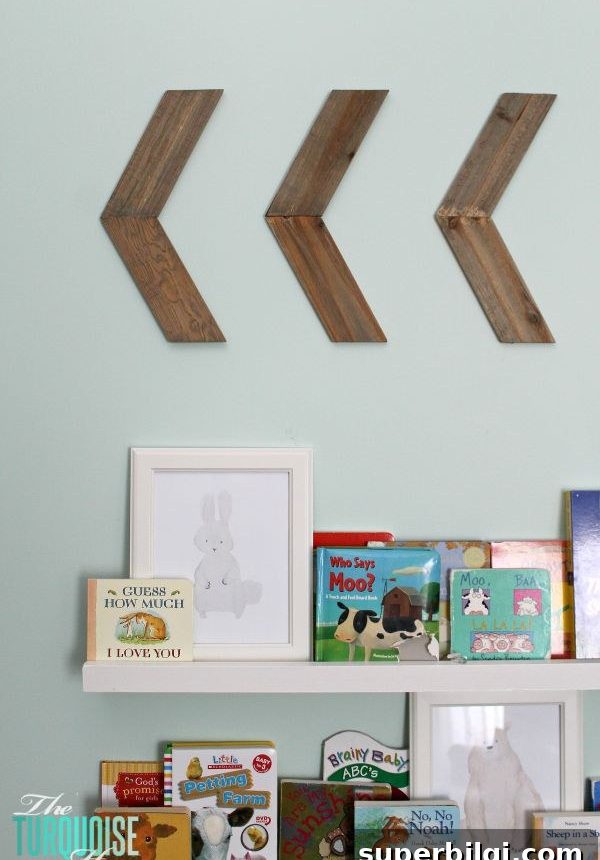
Making these DIY chevron arrows is simple, stylish, and a perfect quick solution to fill a large empty wall.
This is one of those projects I love because it’s fast, low-stress, and attractive. If you want an easy DIY wall decor idea that doesn’t require power tools or a big investment, these chevron arrows are ideal. They work especially well above nursery shelves or in any room that needs a little texture and movement on the wall.
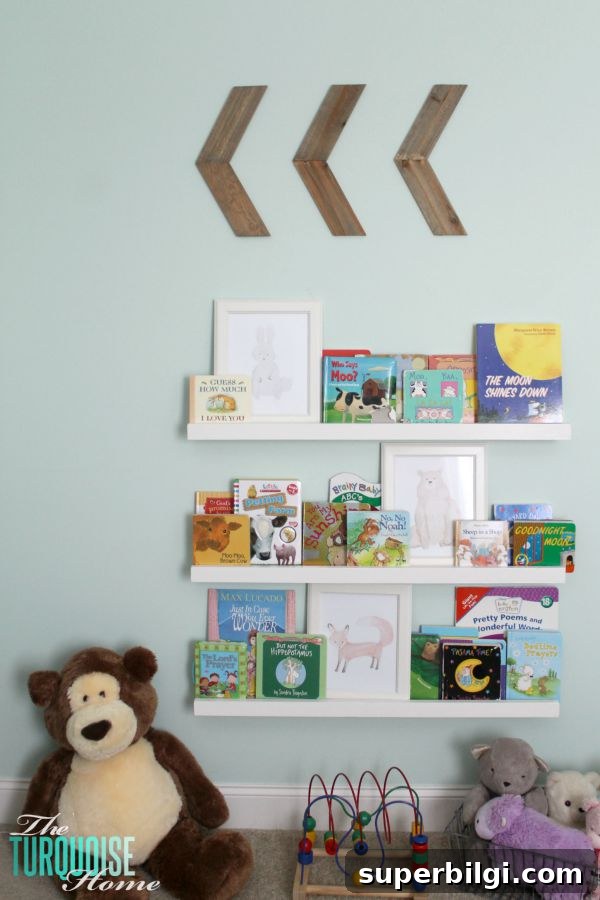
I wanted something playful to go above the baby’s nursery book shelves but didn’t want another framed print. After browsing craft store shelves I found pre-made wooden arrows in the unfinished wood section. They were inexpensive on their own—around $5 each—and with a coupon the total cost for several arrows came to about $11–$12. That made it a budget-friendly option for nursery wall decor.
Materials and tools you need: the pre-made wooden chevron arrows, wood stain (I used a gray wax stain to bring out gray tones), a foam brush, a lint-free cloth for wiping stain, and removable picture hanging hardware such as Command picture hanging strips. No saws, no drills, no fuss.
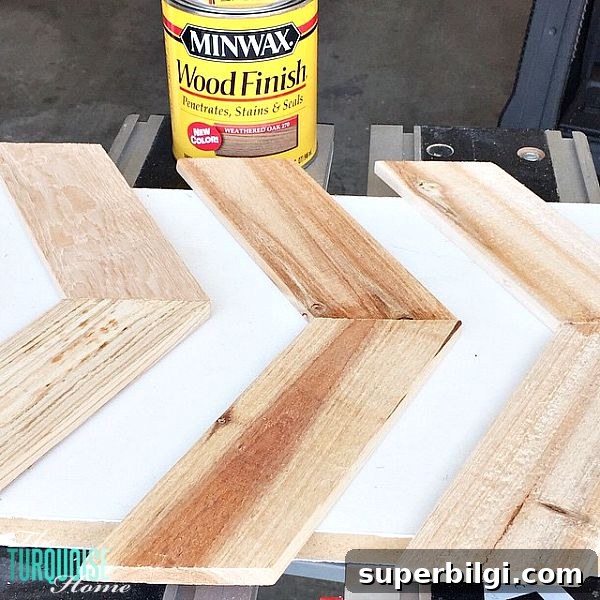
Staining the arrows was the easiest part. I brushed on a gray wax stain with a foam brush, left it for about five minutes, then wiped off the excess with a clean cloth to highlight the wood grain and emphasize the gray tones. Using a wax or gel stain gives a soft, slightly weathered finish that suits a nursery or casual living space. If you prefer a more rustic or darker look, you can choose a different stain color or add a second coat, but one coat provided the subtle, modern finish I wanted.
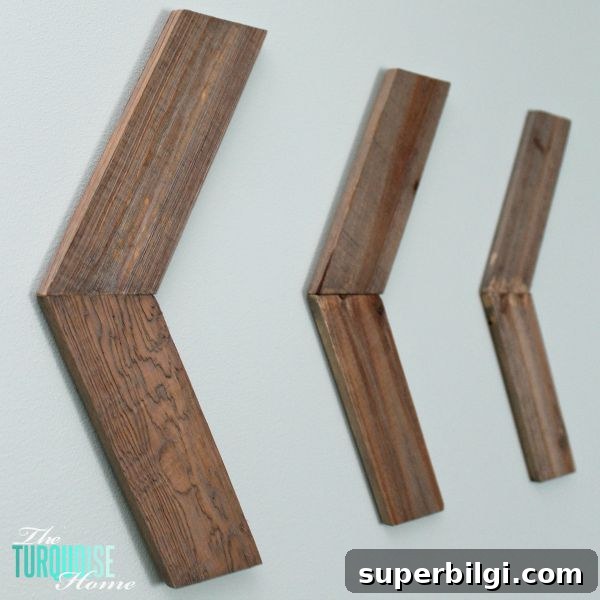
Because the arrows were already shaped and sanded, the job was mostly staining and hanging. For a non-permanent installation I used small removable picture hanging strips. They hold well for lightweight wood pieces and make it simple to reposition or remove the arrows later without damaging the wall. If you prefer a more permanent mounting, small nails or finishing hardware are also options, but the Command-style strips are perfect for renters or for people who like to change things up often.
Design tips and placement ideas:
- Placement: Arrange a row above shelves or a crib to draw the eye horizontally. You can also position three arrows vertically for a playful column effect.
- Spacing: Even spacing between arrows keeps the look cohesive. Measure lightly with a pencil and use a level to keep the line straight.
- Finish variations: For a lighter feel, use a whitewash or dilute stain. For contrast, paint the chevrons in a soft pastel that complements your nursery palette.
- Mix and match: Combine chevron arrows with framed art or floating shelves to build texture and dimension on the wall.
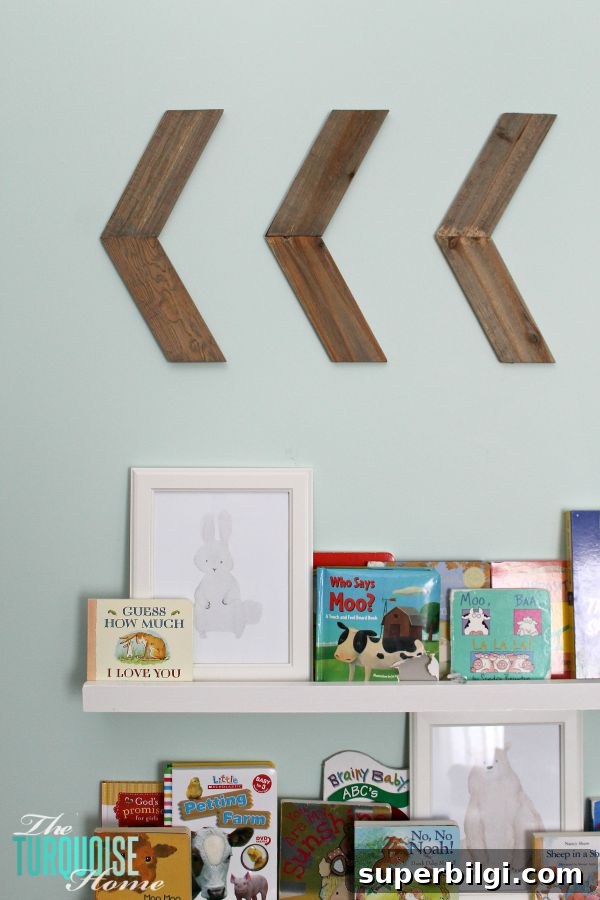
Overall, this simple chevron arrow project is quick, inexpensive, and effective for adding visual interest to a nursery or any large empty wall. No power tools are necessary, and the entire process—from shopping to staining to hanging—can be completed in an afternoon. If you like easy wall decor ideas that make a big impact, this one is definitely worth trying.
What do you think—totally doable, right?
More Posts You Will Love:
- DIY Decorative Arrows
- Large DIY Wall Decor Ideas
- A Guide to Wall Trim and Wall Molding Ideas











