
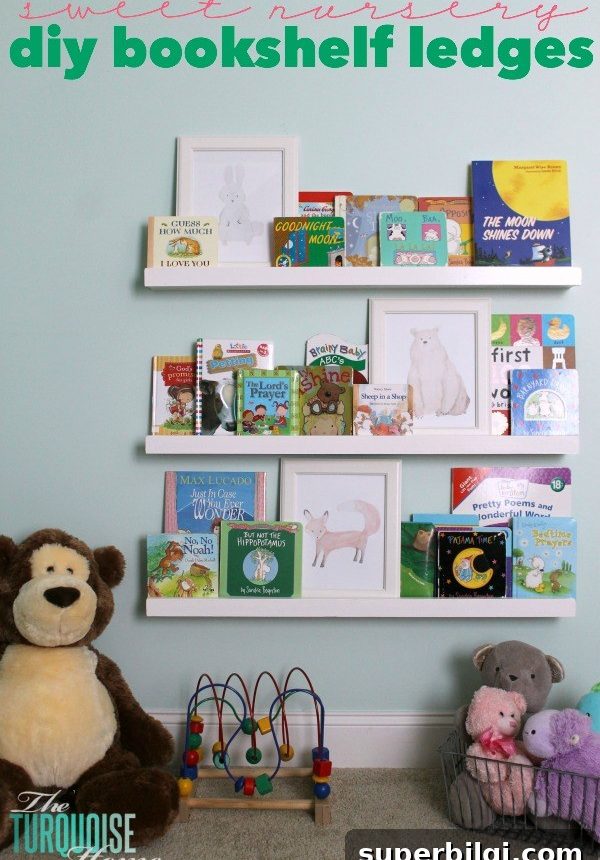
Simple DIY nursery bookshelf ledges you can build with a few basic supplies and tools—perfect for making bedtime stories more inviting.
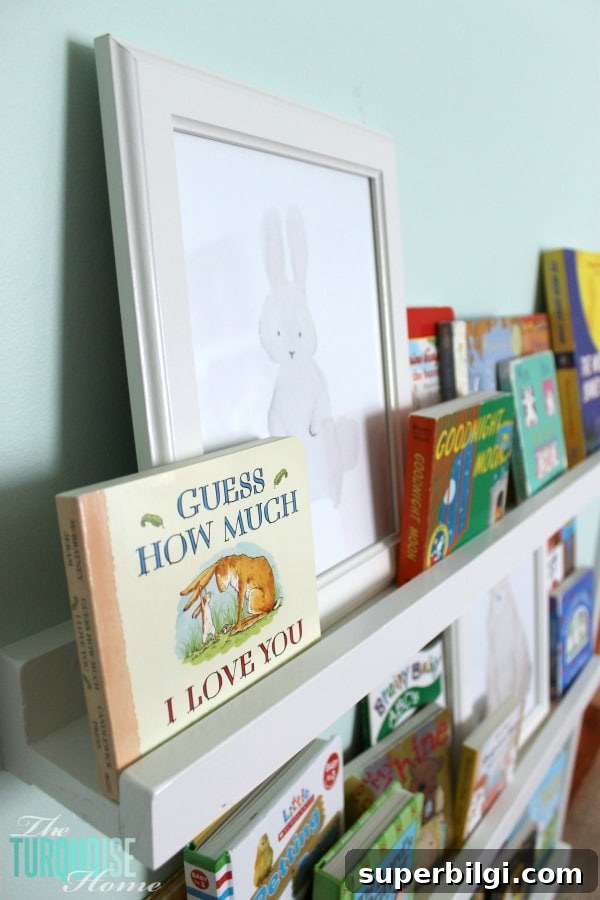
I finally finished these easy bookshelf ledges for Baby G’s room and wondered why I waited so long. They were quick to build, inexpensive, and they make a big visual and practical impact. These ledges are ideal for displaying picture books on an empty wall in a nursery, kids’ bedroom, or playroom, and they encourage children to pick up books because the covers face forward and are easy to see.
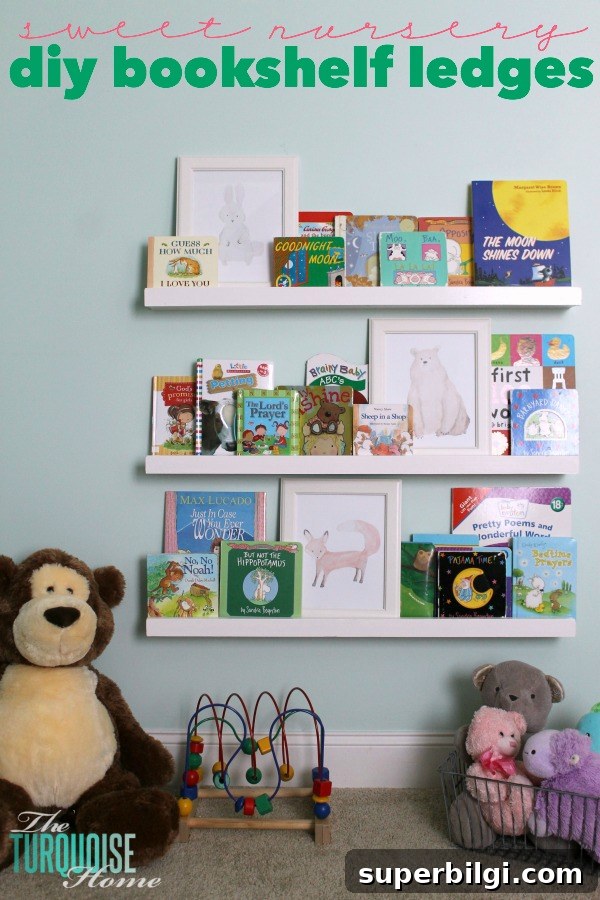
Because the books are displayed face-out, my older daughter already asks for stories more often. She can see the books at a glance instead of having them tucked away on a traditional bookshelf, which makes reading more accessible and fun.
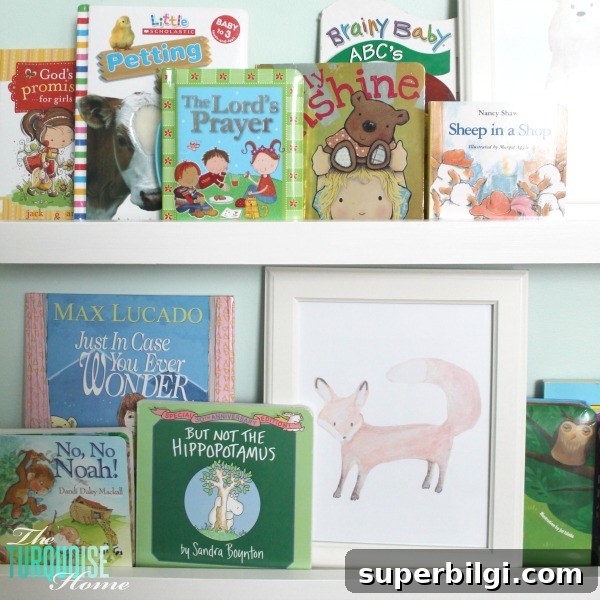
I followed the general idea of the “Ten Dollar Ledges” plan, but used 1×3 boards instead of 1×4. They’re called $10 ledges because an 8-foot ledge can be very inexpensive; my 3-foot ledges cost even less—more like “under $5” each for materials, depending on your wood choice.
Here’s a clear, step-by-step guide to building and installing these nursery bookshelf ledges.
Supplies You’ll Need for DIY Bookshelves:
1. 1×2 boards to the length you want (I bought enough to make three 3-foot ledges)
2. 1×3 boards to the length you want (also enough for three 3-foot ledges)
3. Miter saw or circular saw (the store will often cut boards for you)
4. Pocket hole jig (optional, useful for concealed screws)
5. Drill and drill bits
6. Wood glue
7. Sander and/or sandpaper
8. Screws (2″ recommended for wall attachment)
9. Paint (I used a semi-gloss white)
10. Paint brush or roller
11. Wood putty or spackling to fill holes
12. Level and stud finder
How to Build the DIY Nursery Bookshelf Ledges
1. Cut your boards to the desired length. I bought 6-foot boards and cut them in half to make 3-foot ledges. If you don’t have a saw, most hardware stores will make these cuts for you for a small fee.
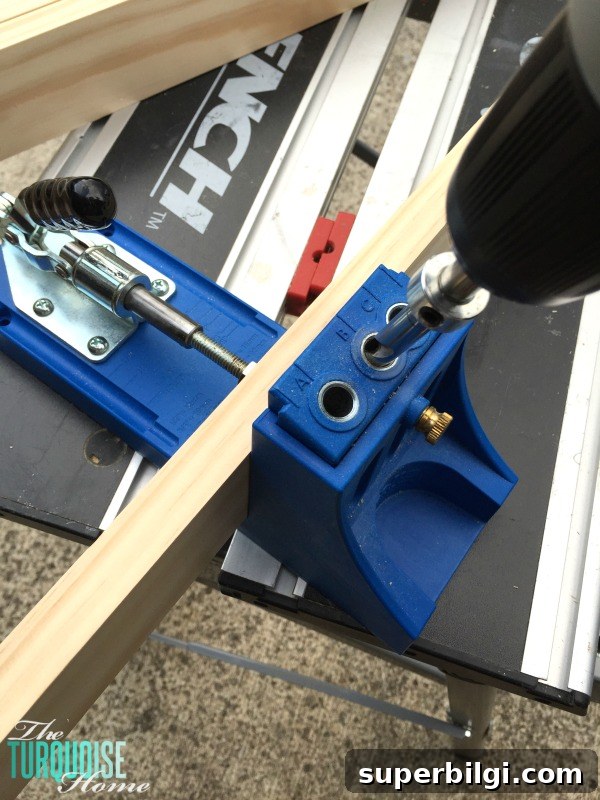
2. Prepare the boards for joining. I drilled three pocket holes along one 1×3 board so I could attach a second 1×3 to form the back of the ledge. If you don’t have a pocket hole jig, you can use clamps and countersunk screws, but pocket holes make for a cleaner joint.
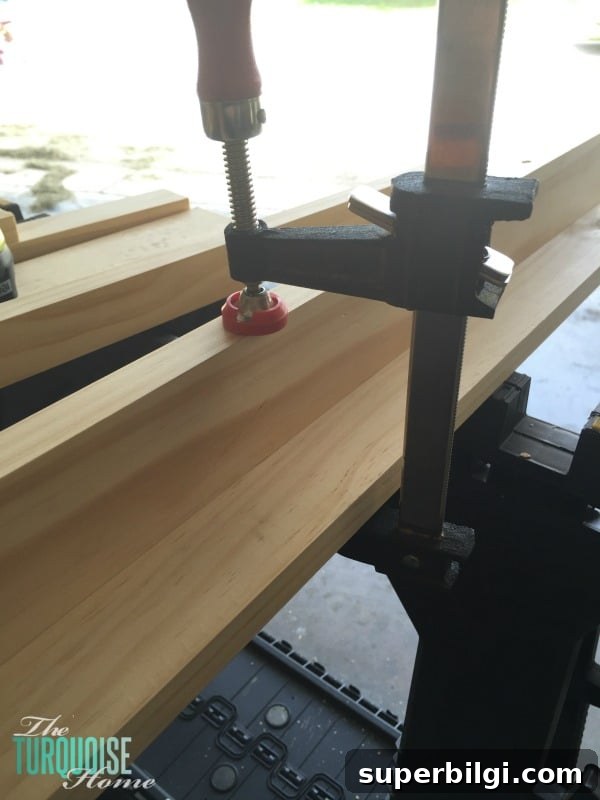
3. Clamp the boards together, apply a bead of wood glue between joints, and drive screws through the pocket holes to secure the pieces. Repeat this process to attach the 1×2 piece that forms the front lip of the ledge. The combination of glue plus screws creates a strong, stable shelf that will hold picture books.
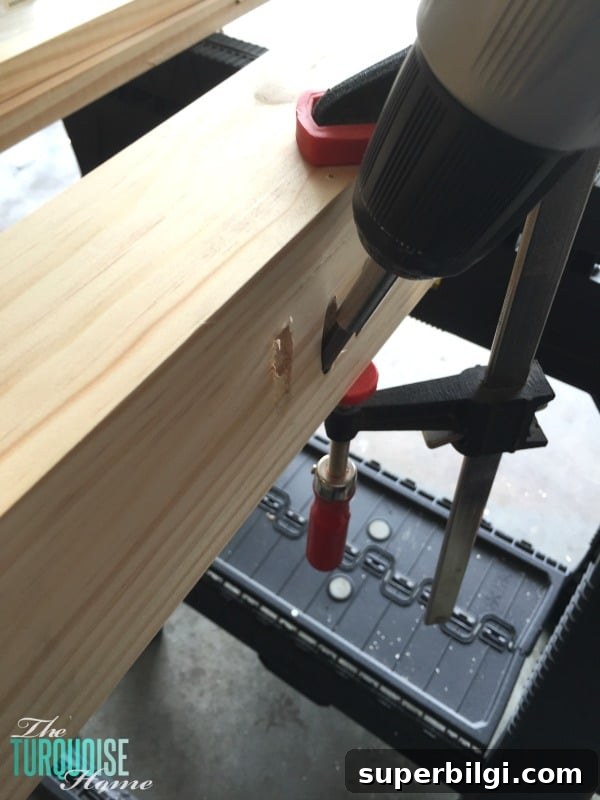
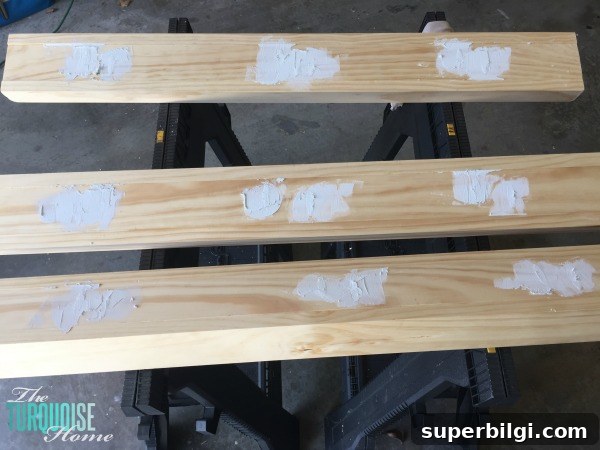
4. Fill pocket holes and any visible screw heads with wood putty or spackling, then let it dry. You can leave the holes if they won’t be visible, but I preferred a smooth underside since the ledges sit low enough that little ones might see them while playing on the floor.
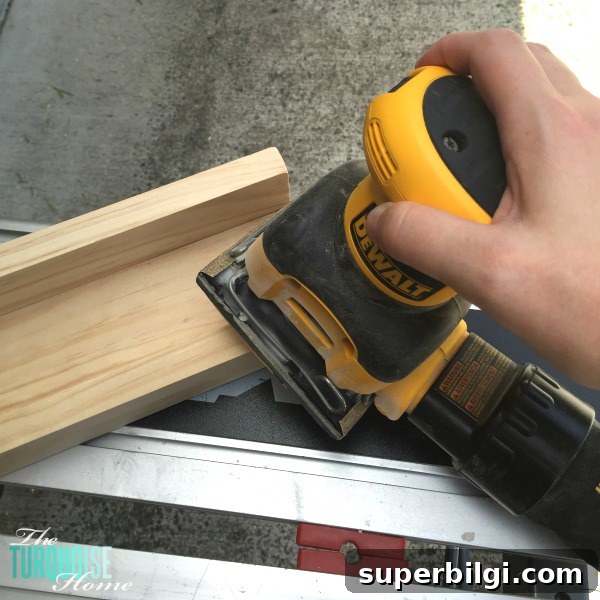
5. Sand the entire ledge and round the front corners slightly for safety—no one wants sharp edges in a nursery. After sanding, clean off the dust and prepare for paint.
6. Paint the ledges in your chosen color. I used a semi-gloss white that included primer, and applied three thin coats for full coverage. If you prefer, use an initial coat of primer followed by two coats of paint. Allow each coat to dry thoroughly between applications.
How to Install the Ledges
There are several hanging methods for these ledges. In a nursery where the shelves may be bumped or used as a support by a toddler, I recommend securing them directly to wall studs for maximum strength. Alternatives include a French cleat or heavy-duty hanging hardware, but direct-screwing into studs provides the sturdiest result.
Use a stud finder to locate studs, then mark their positions on the wall and on the back of each ledge. Pre-drill pilot holes through the ledge at those marks to make driving the screws easier and to prevent splitting. A level is essential—check that each ledge is perfectly horizontal before drilling all the way in.
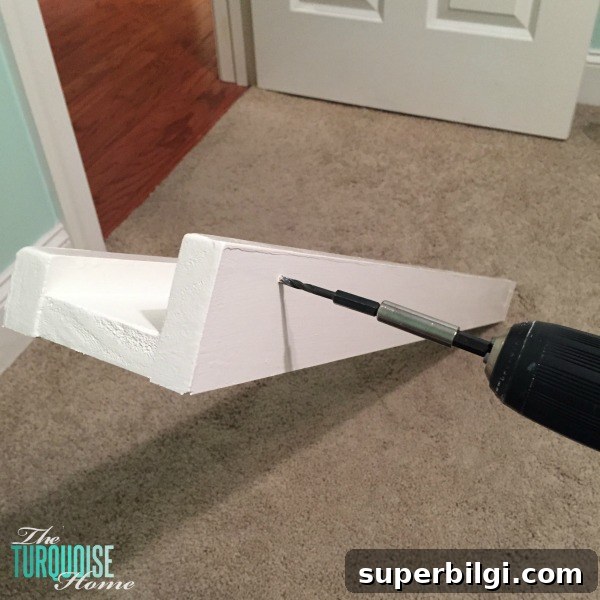
I used 2″ screws and countersunk them so I could fill and paint over the heads for a seamless finish. If you’re working alone, use a book or a scrap of wood as a spacer to hold the ledge at the correct distance from the wall while you fasten it in place.
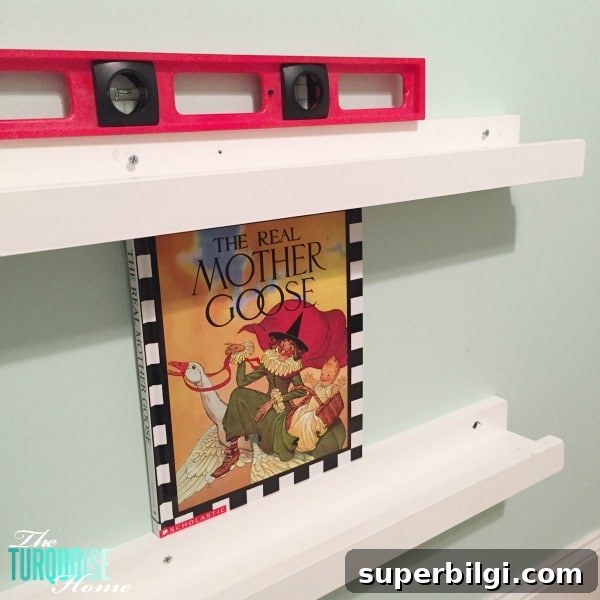
After installing the screws, fill the screw heads with wood putty, let it dry, sand smooth, and touch up with paint. That final step gives the ledges a clean, professional appearance.
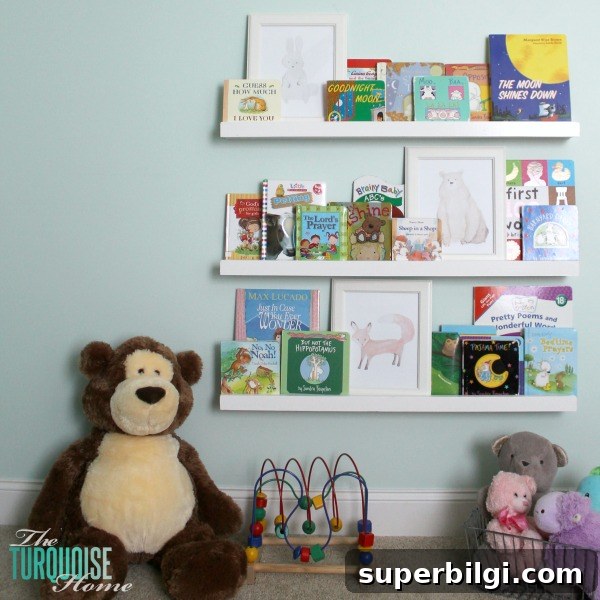
Finally, fill the ledges with picture books and enjoy. The finished shelves not only fill an empty wall but also make books easy to reach for little hands. I love how they transformed the nursery—functional, affordable, and visually charming.
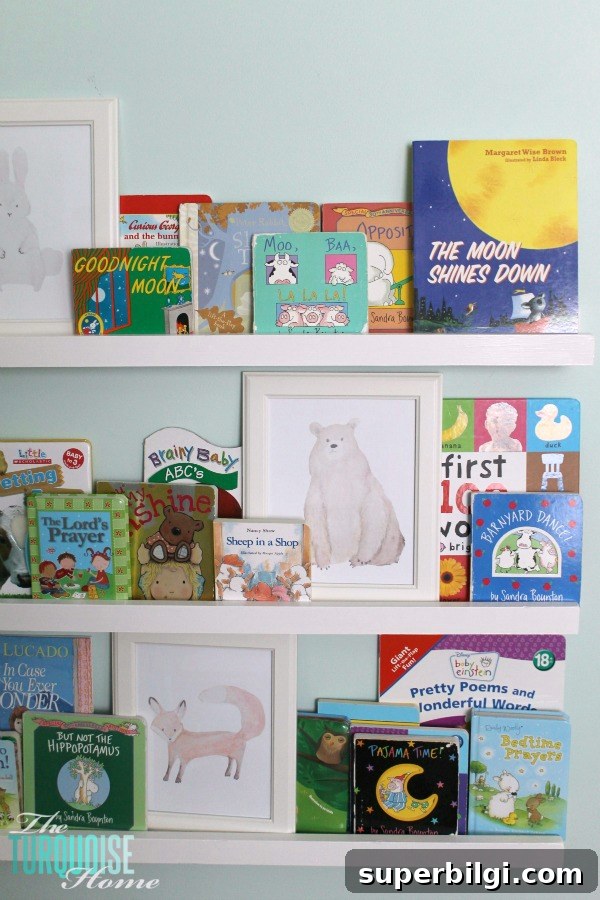
Decor elements shown: small watercolor prints in simple frames and lightweight décor items work well above and around the ledges without overwhelming the display. The result is a sweet woodland-inspired nursery wall that’s both pretty and practical.
This project wraps up most of the DIY work for Baby G’s nursery, and I’m thrilled with the result. The ledges are durable, attractive, and invite reading every day.
Explore other projects from a Baby Girl’s Woodland Nursery for more DIY inspiration, including room decor and shelving ideas.
MORE POSTS YOU WILL LOVE:
- Simple Formulas for Styling Bookshelf Decor
- DIY Closet Shelves {beginner tutorial}
- DIY Farmhouse Shelves for less than $40











