
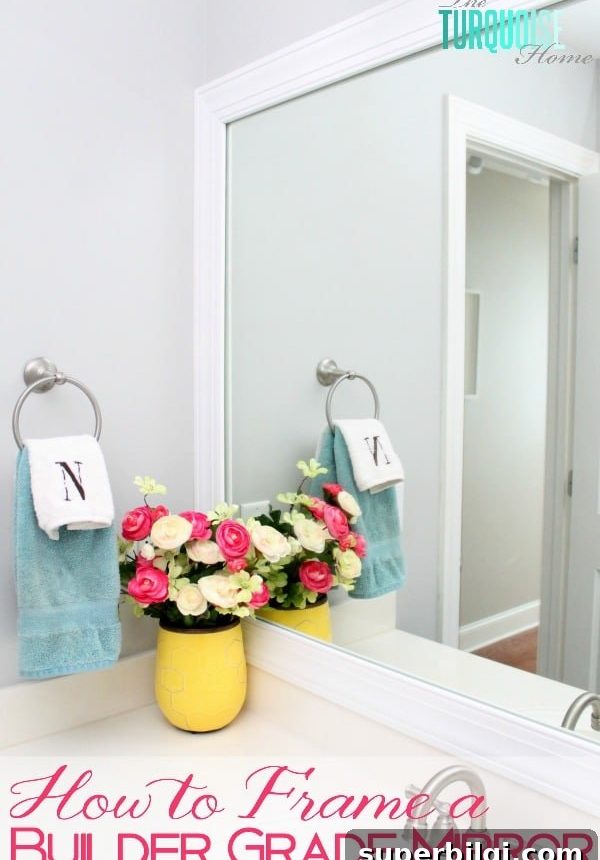
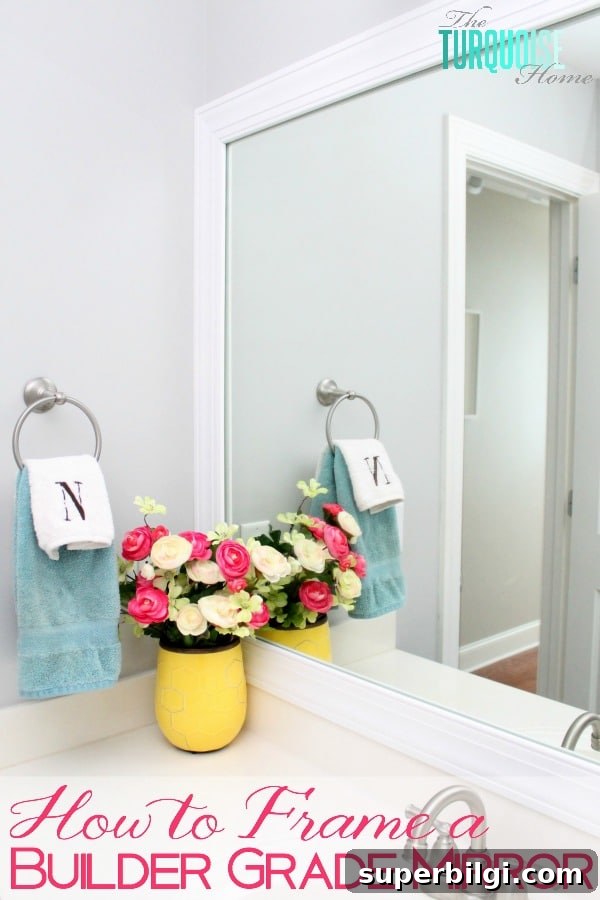
Turn a builder‑grade mirror into a custom showpiece with this simple DIY mirror frame—under $20 and about 2 hours of work.
Hello! I finally finished a small project that sat on my to‑do list for years: framing a plain bathroom mirror. The weather was perfect for working in the garage and my kids were happily entertained, so I wrapped it up quickly. This is an easy upgrade that makes a big visual difference.
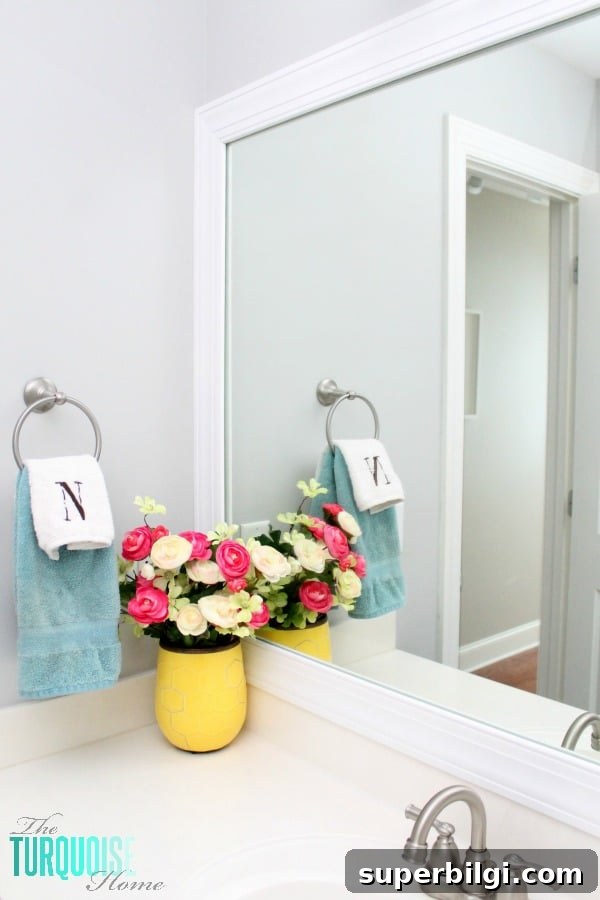
This project is straightforward and widely used by DIYers, but if you haven’t tried it yet, it’s a fast, affordable way to upgrade a builder‑grade mirror. I prefer a framed mirror over the plain, clipped‑to‑the‑wall style—this small change feels more finished and intentional.
This post contains affiliate links for convenience.
Tools and materials for a DIY mirror frame
- Interior trim molding (enough to cover the mirror perimeter)
- Miter saw or hand saw with a miter box
- Wood glue
- Duck tape or painter’s tape
- Spray paint (color of your choice)
- Chisel
- Hammer
- Optional: pocket hole jig, clamps, command strips or adhesive for mounting
How to frame a mirror
Step 1. Measure the mirror perimeter
Measure each edge of the mirror carefully. Decide whether you want the frame to sit entirely on top of the mirror or to overlap the edges slightly. If the mirror runs wall to wall, you’ll likely need the frame to sit on top of the mirror surface, so plan for that when measuring.
Step 2. Choose your trim molding
Select interior trim that matches the style you want—simple, ornate, thick, or thin. The back of the molding should be flat so it sits flush against the mirror. Molding is inexpensive and available in many profiles at hardware stores.
Step 3. Cut the pieces to length and miter the corners
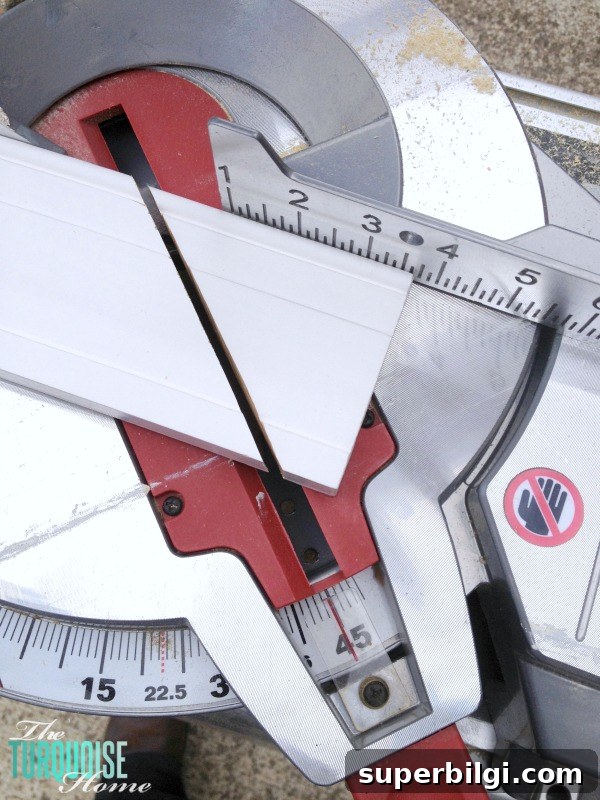
Measure and mark each board for the four sides of the frame. Cut the ends at 45° so the corners will form clean miters. A miter saw makes this quick, but a hand saw and miter box will work well for one‑off projects.
Step 4. Mark where the mirror clips sit
If the mirror is held by metal clips, you need to avoid those spots so the frame sits flush. Lightly mark each clip location on the back of the trim. A quick trick is to rub a bit of chalk or colored pencil on the clips, press the trim in place, and note where the transfer appears.
Step 5. Notch the trim to clear the clips
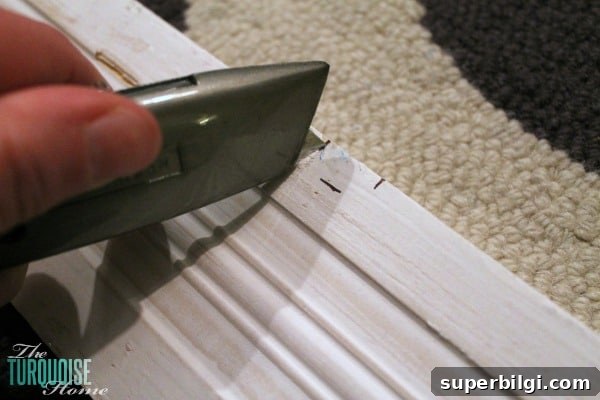
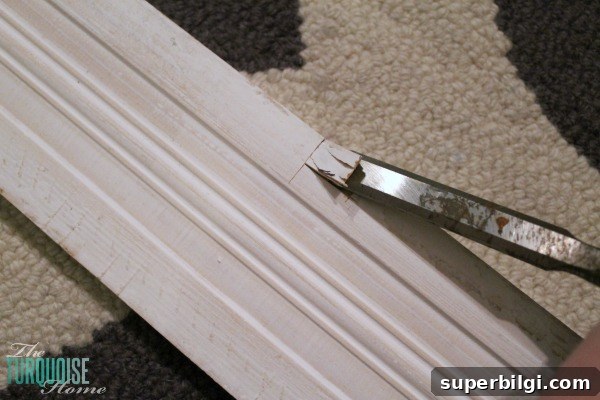
Score the marked area on the back of each board with a sharp utility knife, then use a chisel and hammer to remove the wood for a small recess. Make the notch slightly larger than the clip so the trim sits flat against the mirror without pressing on the hardware.
Step 6. Join the corners
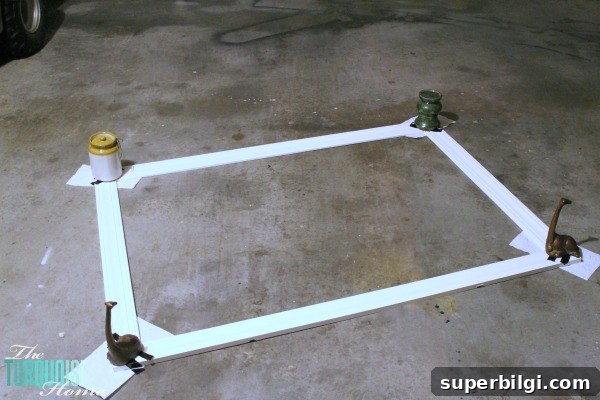
There are several ways to join the corners: adhesive and clamps, pocket screws, or even small finish nails. In my case, I used wood glue and duck tape as temporary clamps overnight. If you have clamps, use them and add some weights to ensure the corners are tight and flush while the glue dries. Thin trim may not accept pocket screws well, so adhesive is often the most reliable option.
Step 7. Paint the frame
Spray paint provides a smooth, even finish and dries quickly. Paint the back edge first (since it may reflect in the mirror) and then the front. Allow the paint to dry fully before installing the frame. Choose a color that complements your bathroom—white for a fresh look or a bold hue for contrast.
When installing, be mindful of tight wall clearances. If the mirror fills the wall width, make the frame slightly narrower so you can fit it in without forcing. If your frame must be forced into place, avoid permanent adhesives; instead consider removable mounting options like heavy‑duty command strips so future removal is easy.
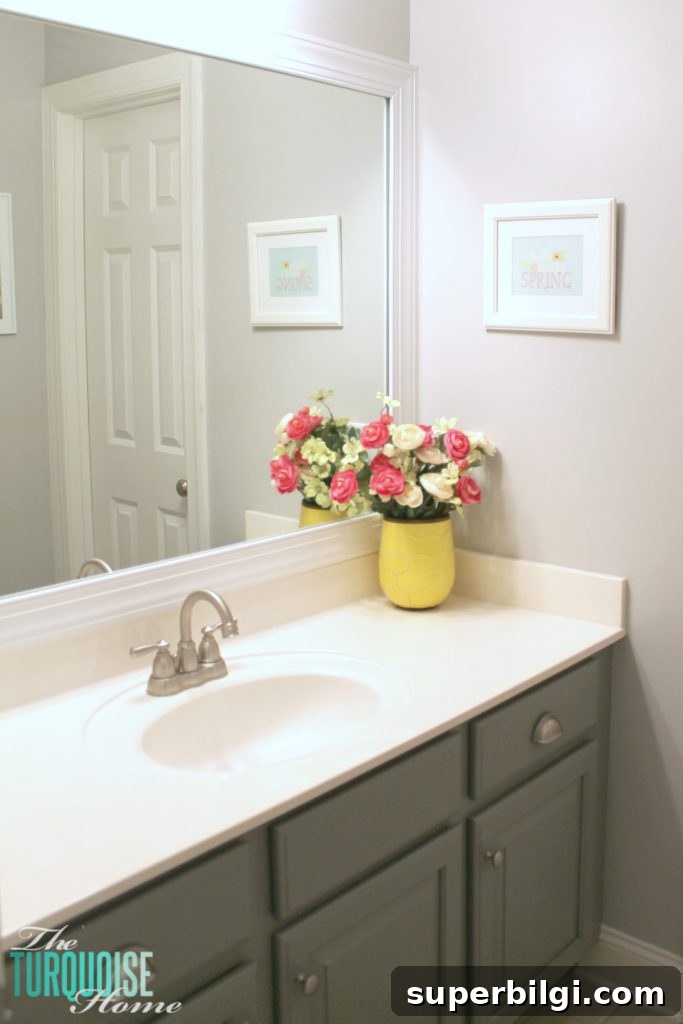
Thinking of repainting cabinets too? A painted finish can completely transform a space.
Have you ever framed a mirror? If not, give it a try—it’s an inexpensive project with a dramatic payoff. It’s perfect for renters who want a non‑permanent upgrade or homeowners looking to add a custom touch.
More posts you might enjoy:
- 5 Must‑Have Tools for the DIYer
- DIY Frame for a TV
- DIY Picture Frame Molding











