
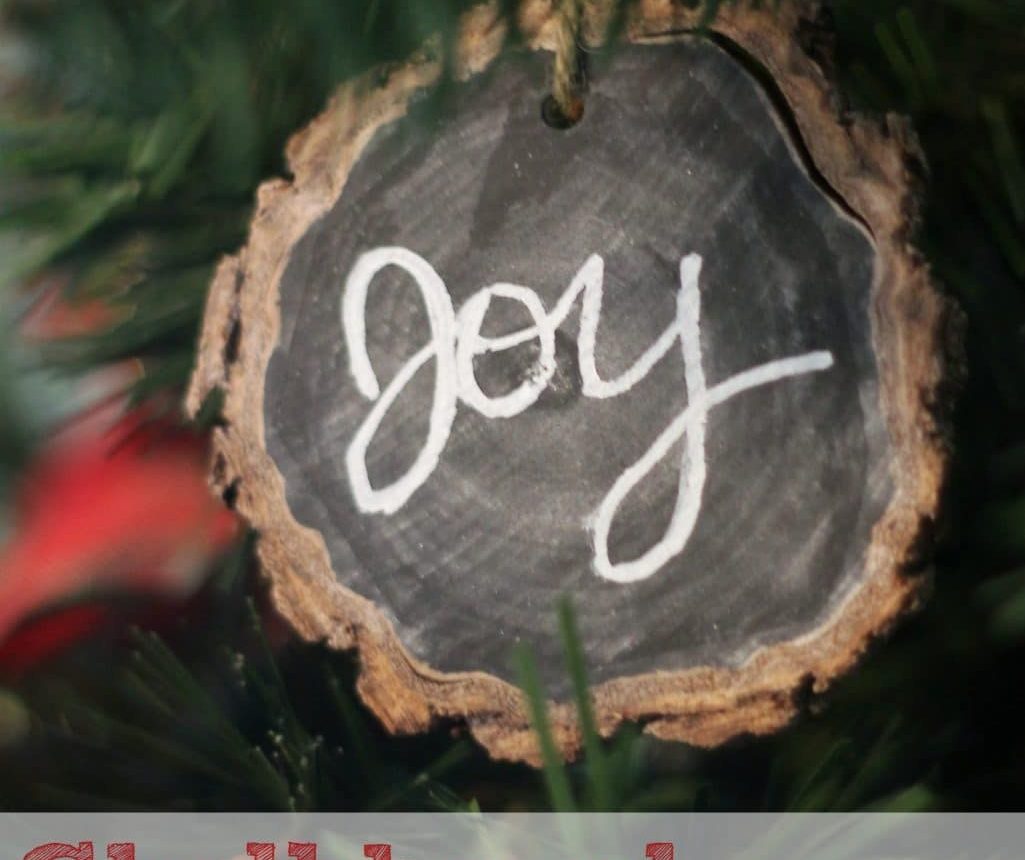
Wood slice chalkboard ornaments are fun and simple to make. They work beautifully as tree ornaments, gift tags, place card holders, and more.
I finally carved out some time for a little last-minute crafting and decorating. I’ve wanted to make these wood-slice ornaments since Thanksgiving but didn’t get to them until the days right before Christmas. Once I started, they came together quickly and were so satisfying to finish.
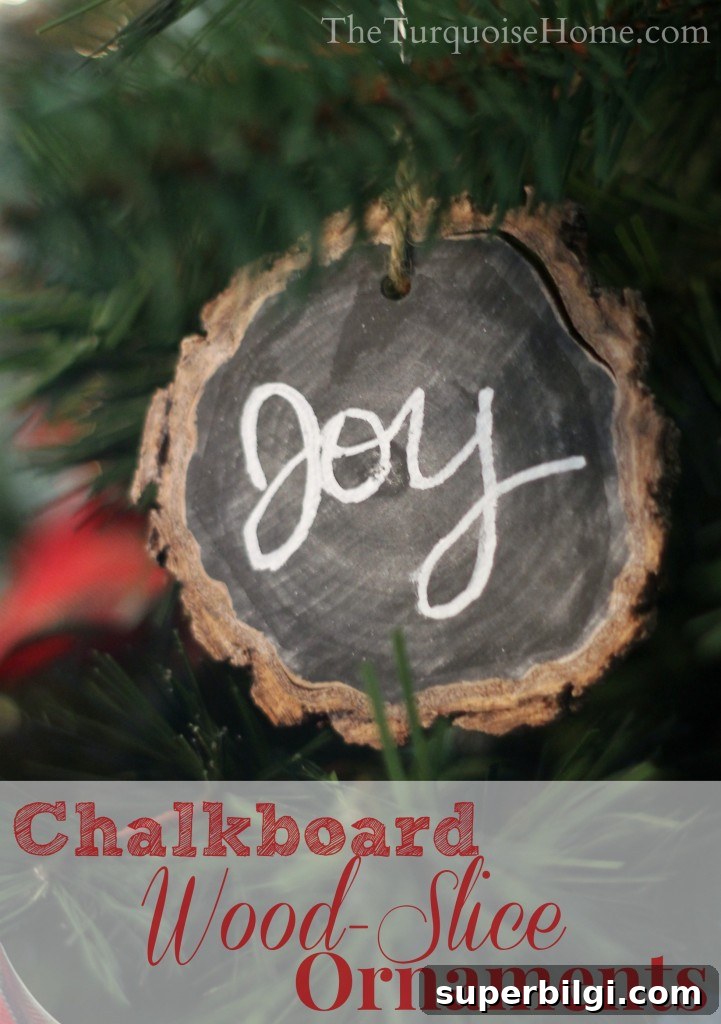
Last year I rescued a log from my parents’ wood pile at Thanksgiving and cut it into rustic wood slices. I drilled holes in the tops, strung them with twine, and hung them as simple rustic ornaments. This time I added a layer of chalkboard paint to the face of each slice and wrote festive words and phrases with a chalk marker. The marker makes lettering easy and neat—and might earn a permanent spot on my favorite-gift list next year.
Supplies You Will Need for Wood Slice Chalkboard Ornaments
- Wood slices (either cut from a log or store-bought)
- Drill (to make a hole near the top, if your slices aren’t pre-drilled)
- Twine or thin ribbon for hanging
- Chalkboard paint
- Small craft paint brush
- Chalk marker for writing
- Regular chalk (for “seasoning” the painted surface)
Steps for Making a Wood Slice Chalkboard Ornament
Below are simple, practical steps to create charming chalkboard wood-slice ornaments. The first two steps only apply if you are making your own wood slices rather than using pre-cut pieces.
Step 1 — Cut the log into slices (optional). If you’re cutting your own, use a miter saw or a band saw and take safety precautions. Slice the log into pieces about 1/4″ to 1/2″ thick depending on how rustic or substantial you want the ornament to feel.
Step 2 — Drill a hole for hanging (optional). Drill a small hole near the top of each slice so you can thread twine or ribbon through it later. If you buy pre-drilled slices, you can skip this step.
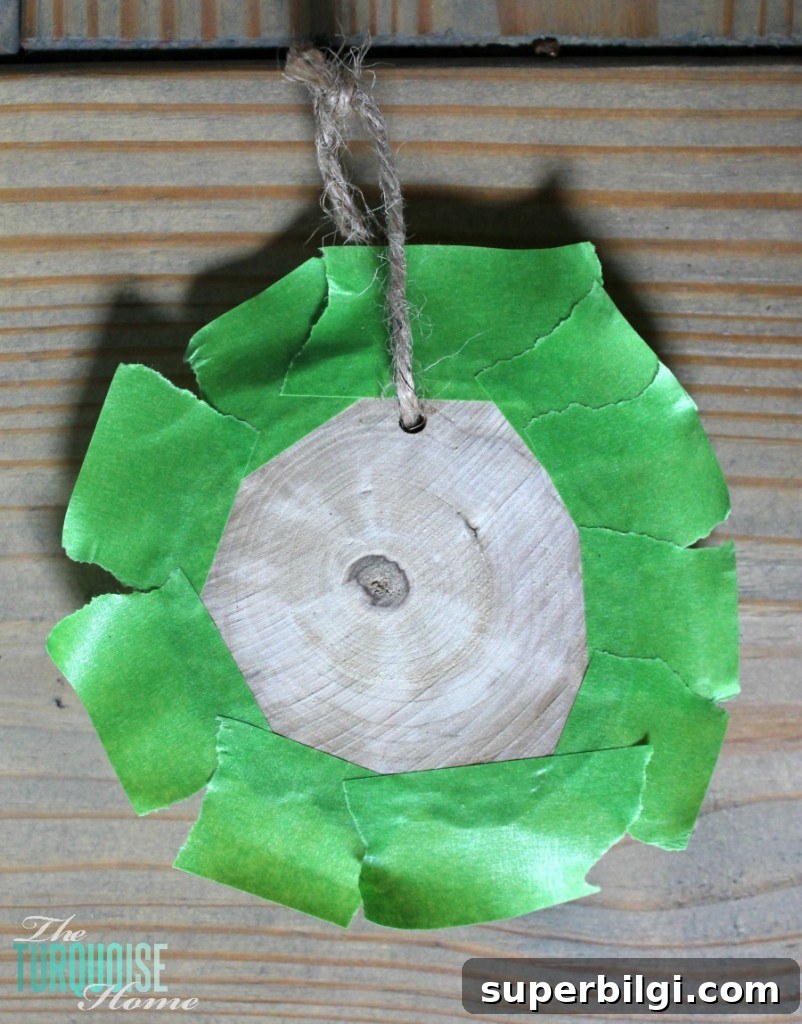
Step 3 — Paint the face with chalkboard paint. Apply chalkboard paint to the flat face of each slice using a small craft brush. You can mask the edges with tape for a very clean line, but I found that freehand painting the face produced a more organic, rustic look. Slightly uneven edges enhance the handmade charm.
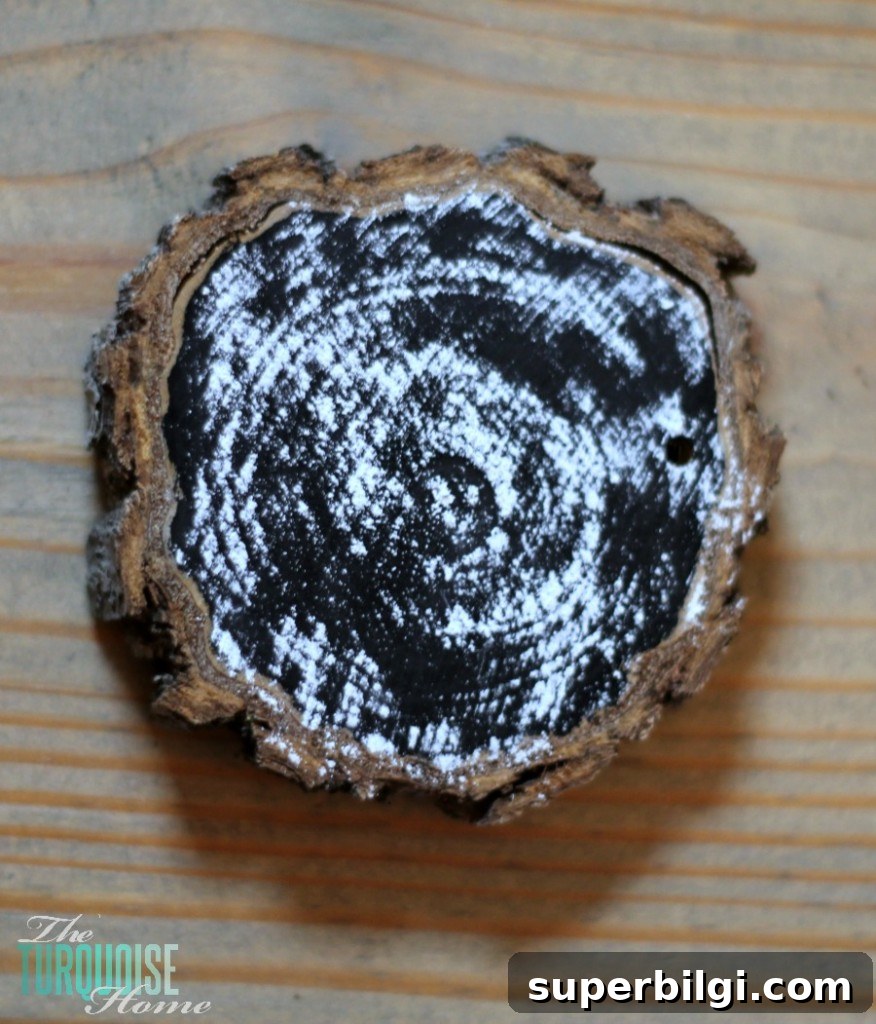
Step 4 — Season the chalkboard surface. Once the paint is fully dry, rub regular chalk across the painted area and then wipe it off with a dry paper towel. This “seasons” the chalkboard surface and helps prevent permanent ghosting from the marker.
Step 5 — Write and decorate with a chalk marker. Use a chalk marker to write names, short greetings, dates, or simple doodles. The marker gives crisp, clean lines and looks polished on the rustic wood. After the ink dries, thread twine or ribbon through the hole and tie a loop for hanging.
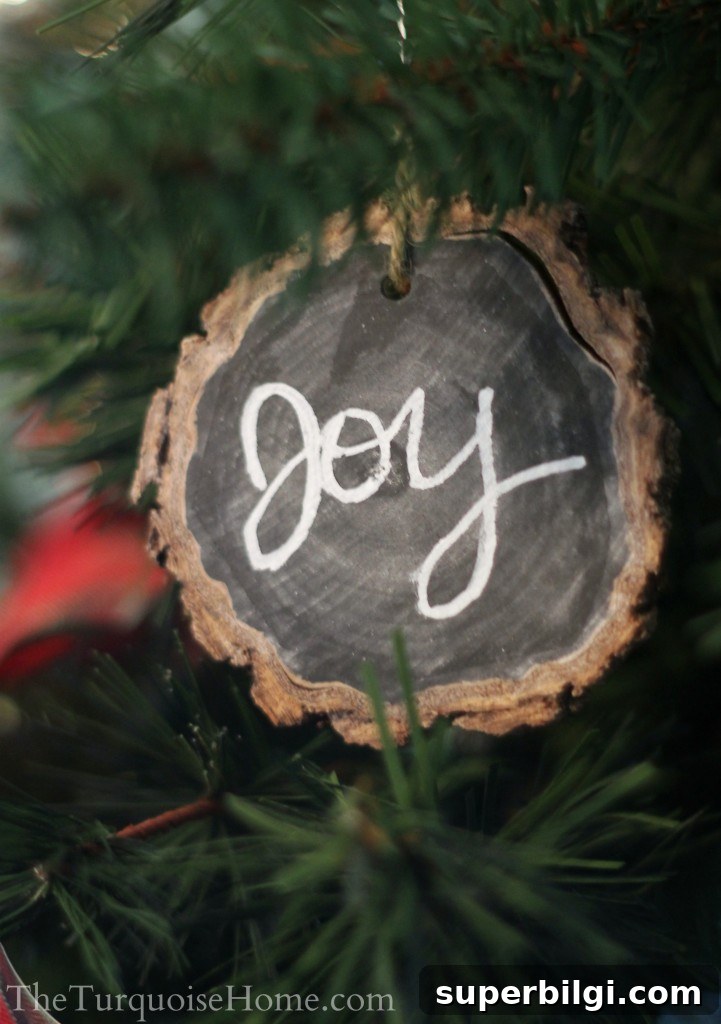
These ornaments are wonderfully versatile. They make thoughtful gift accents, easy place cards for holiday tables, or personalized keepsakes for friends and family. If you’re short on time right before the holiday, they’re still quick enough to make a few as last-minute touches while you finish wrapping presents.
More DIY Christmas Ornaments
- DIY Wood Finial Ornament
- DIY Twig Christmas Tree Ornament
- DIY Mason Jar “Snow Globe” Ornament
- Mini Wooden Christmas Sign Ornaments
- DIY Paper-covered Ornaments
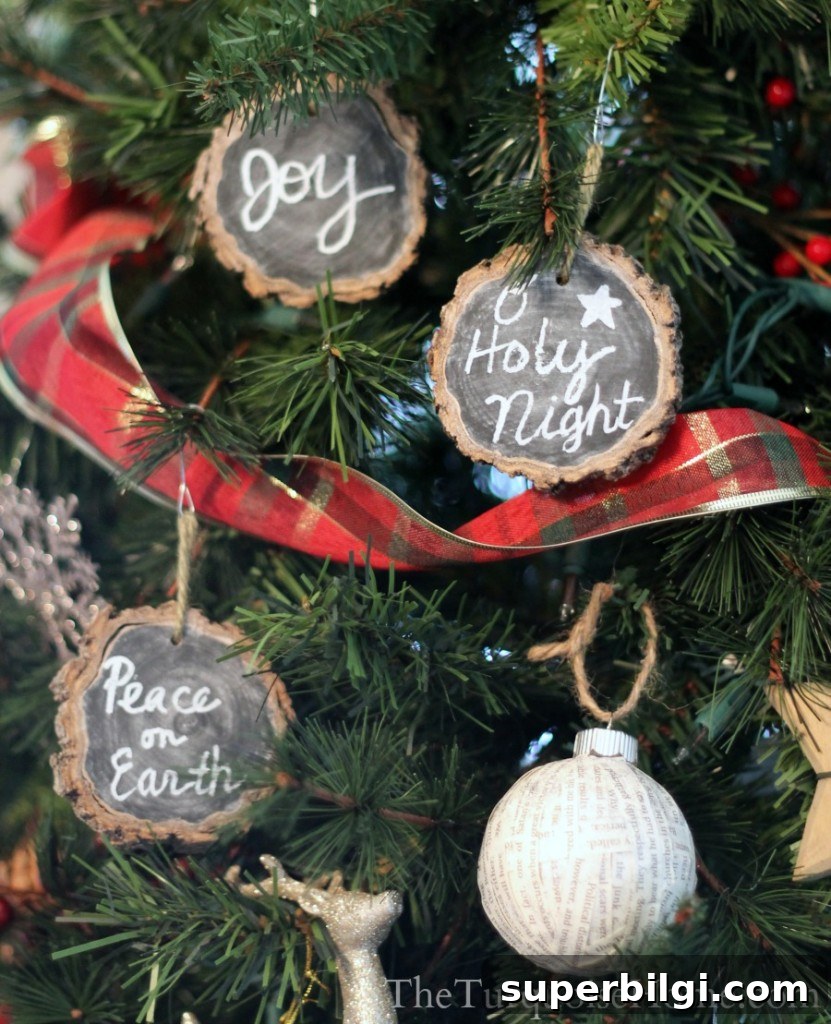
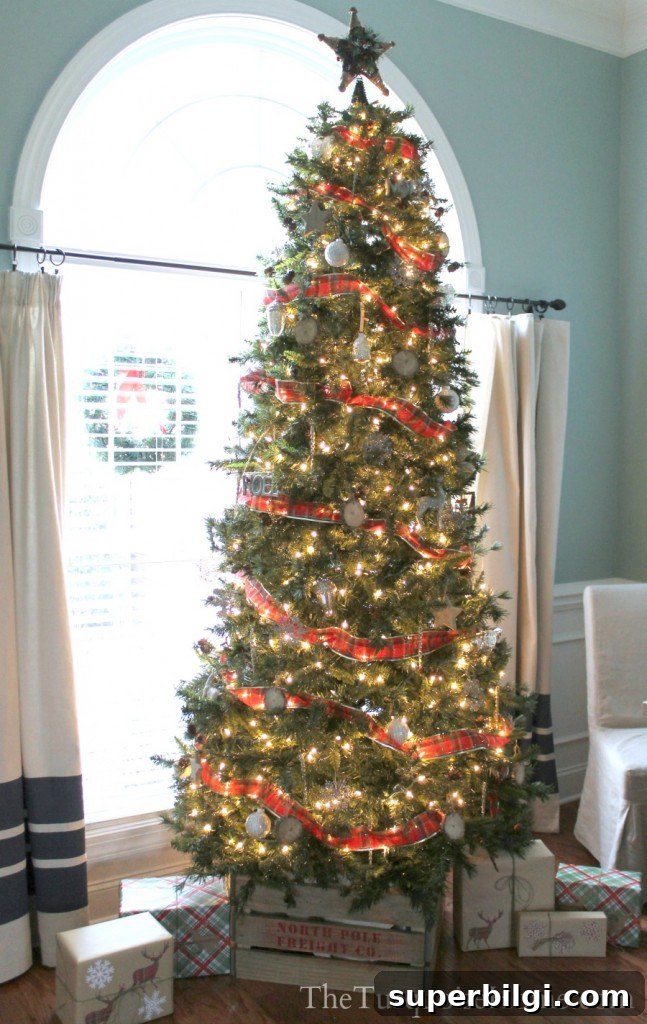
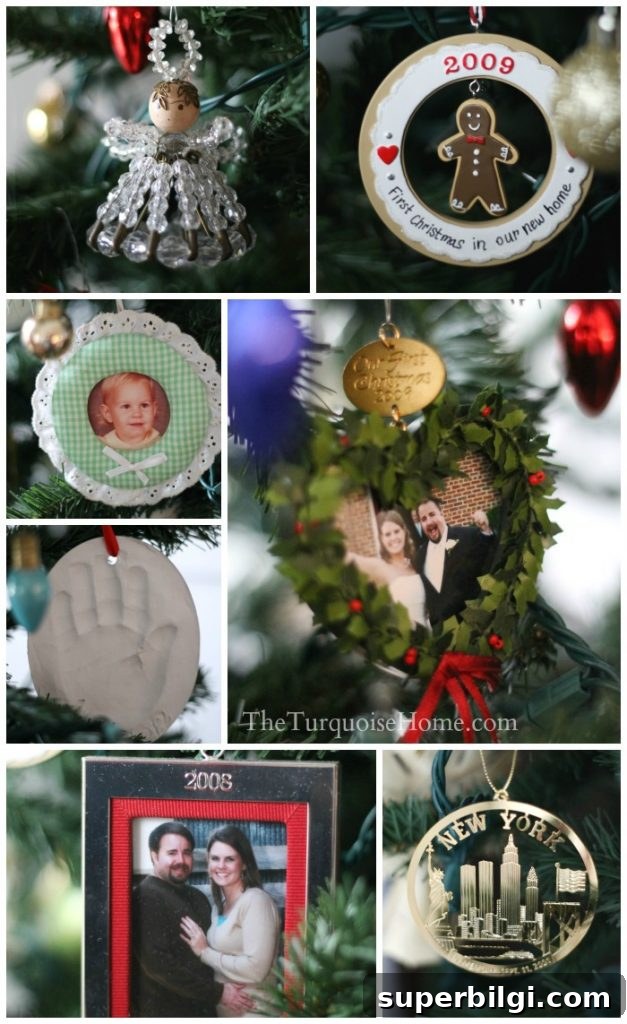
While I was photographing these, I also captured shots of a few other ornaments on my larger tree. I tend to collect mercury-glass baubles and sentimental pieces—things that carry memories. Some ornaments were store-bought after Christmas sales, and others were gifts or handmade keepsakes that remind me of family and special moments.
Sentimental ornaments are my favorite because each one tells a story. I photographed a few favorites: a cross-stitched Noel ornament, a whimsical bead angel made by my grandmother, and a handprint ornament we made when my daughter was two. Those small handmade treasures are the ones I treasure most.
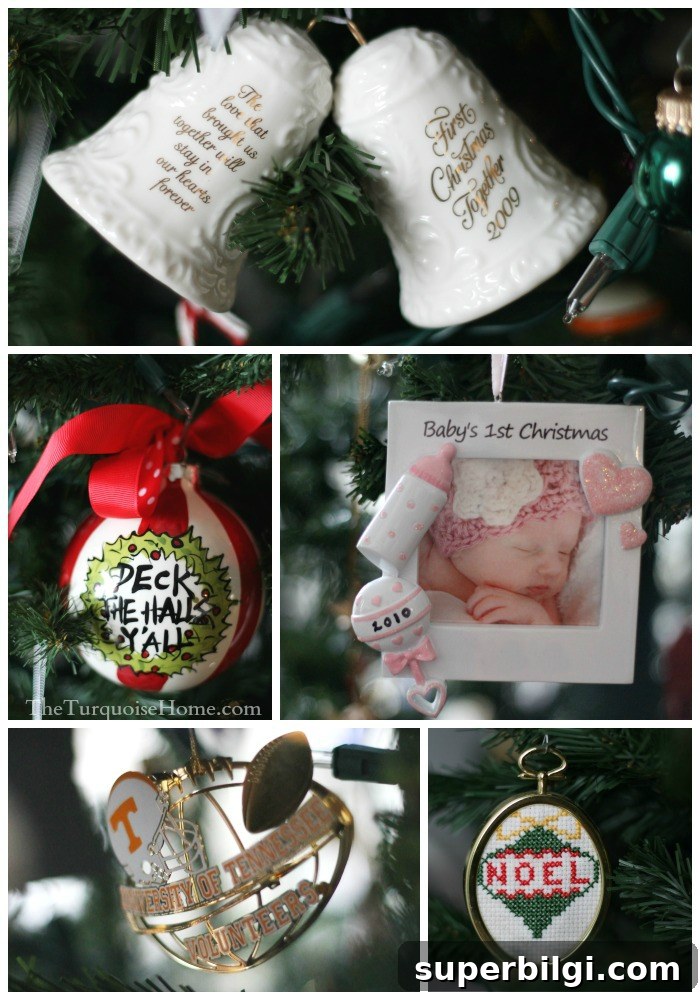
A special heirloom for me is a little bead angel my grandmother made when I was young. It’s made from safety pins and beads, and now that Grammy has passed away, it’s an especially precious keepsake. These personal ornaments are what make holiday decorating so meaningful: hanging each one brings back the memory of who gave it or how it was made.
Do you collect sentimental ornaments? Is there one you always hang first?
Merry Christmas! Wishing you a restful, joyful season filled with memories and simple crafts that bring warmth to your home.
More posts you might enjoy:
- DIY Wood Finial Ornament
- DIY Twig Christmas Tree Ornament
- DIY Mason Jar “Snow Globe” Ornament
- Mini Wooden Christmas Sign Ornaments
- DIY Paper-covered Ornaments











