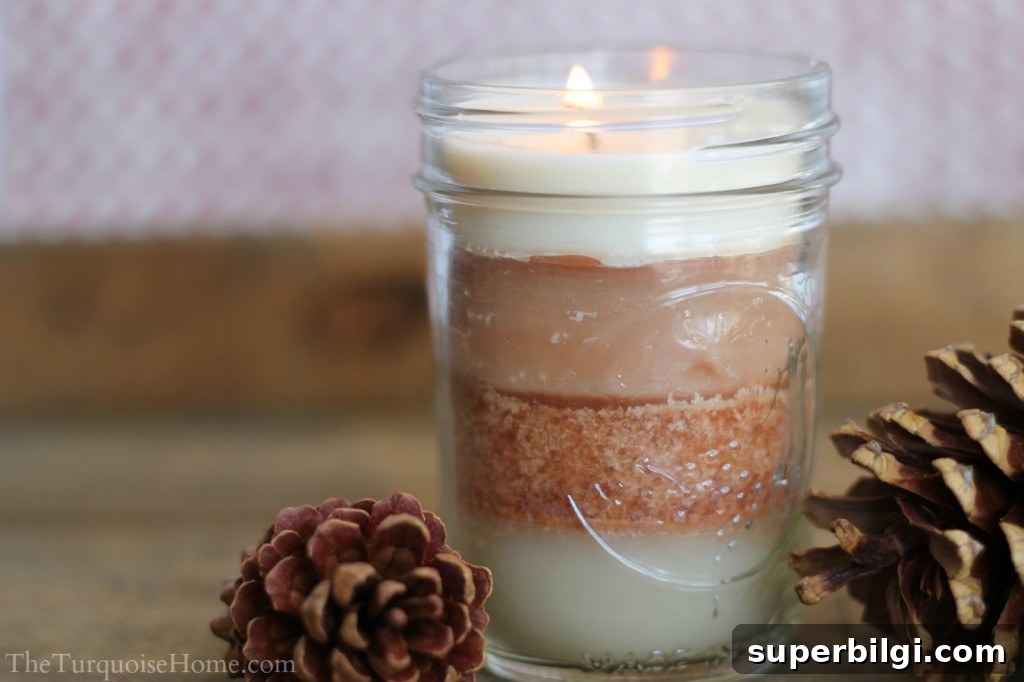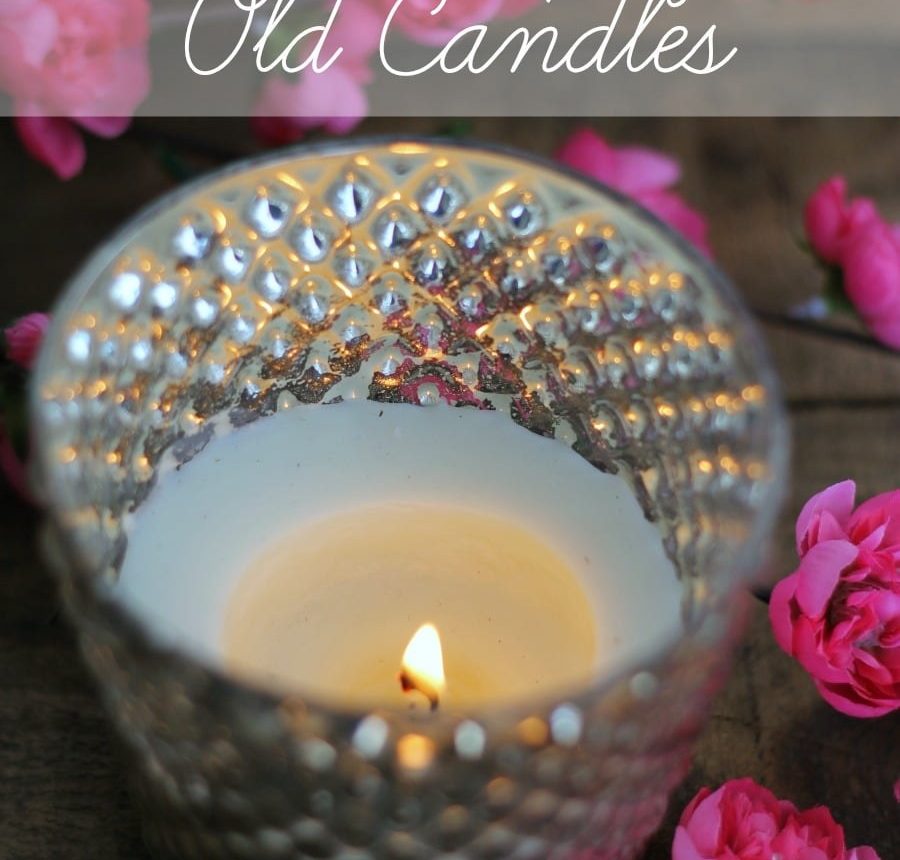
Don’t toss your spent candles—upcycle them. With a pretty container, a few basic supplies, and a little time, you can turn leftover wax into a fresh, handcrafted candle that makes a thoughtful gift.
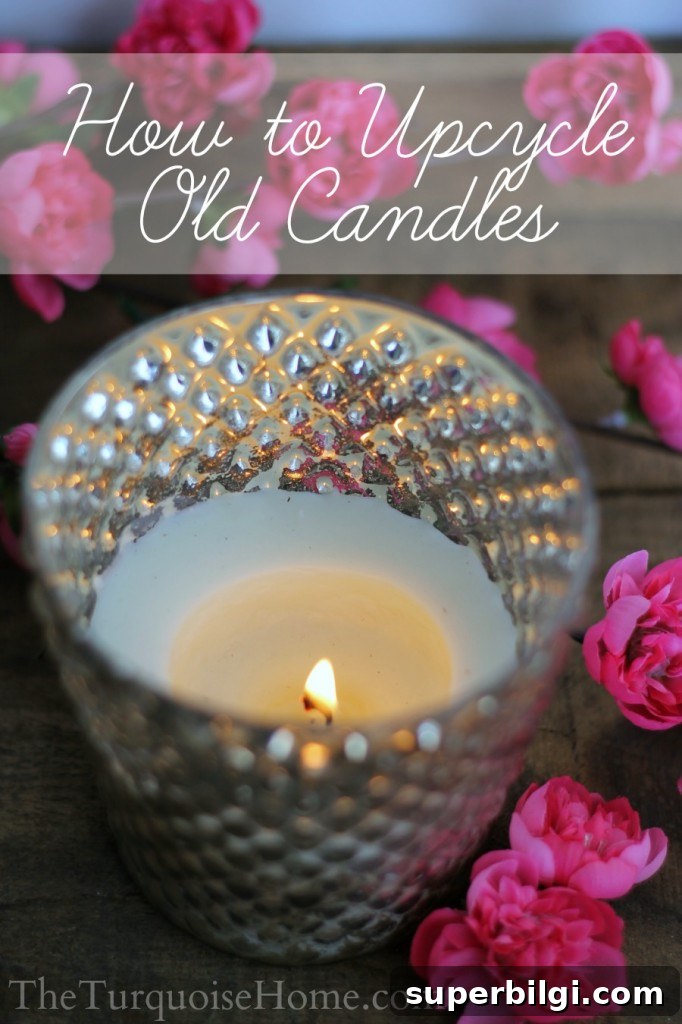
I always admire the displays and fragrances at Anthropologie—the combination of citrus, floral notes, and cozy scents is irresistible. One of my favorite purchases (and gifts I’ve received) is the Capri Blue Volcano candle. It smells amazing, but candles like that can be expensive, so when only a little wax remains I save the jar instead of throwing it away.
If you have jars with leftover wax, don’t let them go to waste. Soy and many other candle waxes are easy to melt down and reuse. Upcycling old candle wax is simple, economical, and eco-friendly. Below I explain the materials, steps, and a few tips so you can make beautiful, scented candles from what you already have.
How to Reuse Candle Wax
You’ll need:
1. Wick and metal tabs (to secure the wick)
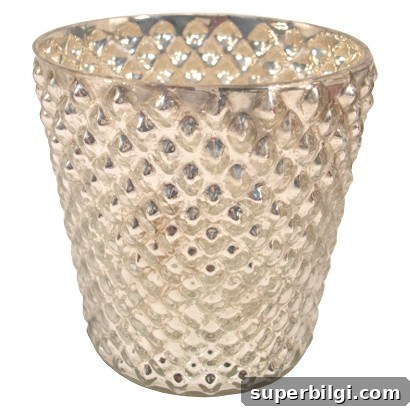
2. A new candle holder or jar of your choice (mercury glass or a mason jar are popular)
3. A double boiler or a makeshift double boiler using a heatproof bowl over a saucepan
4. A pen, skewer, or chopstick to hold the wick centered while the wax sets
What to do with Old Candles
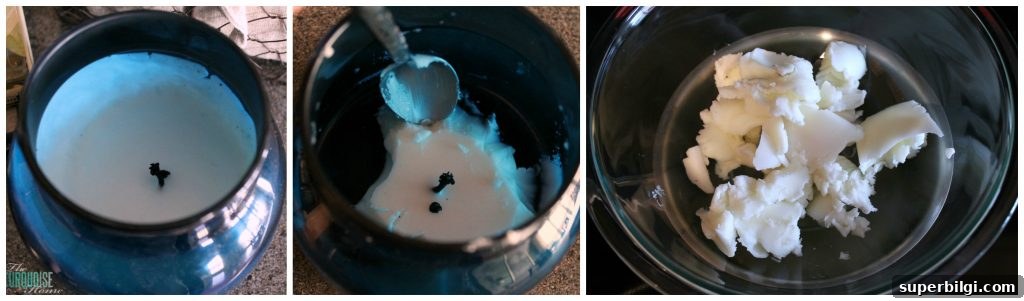
Step 1 — Remove the remaining wax: Use a spoon to scoop out chunks of wax and place them in your double boiler. For soy wax or similar soft waxes, this is usually easy. Make sure you remove any loose burnt pieces, debris, or the old wick remnants so the new candle burns cleanly.
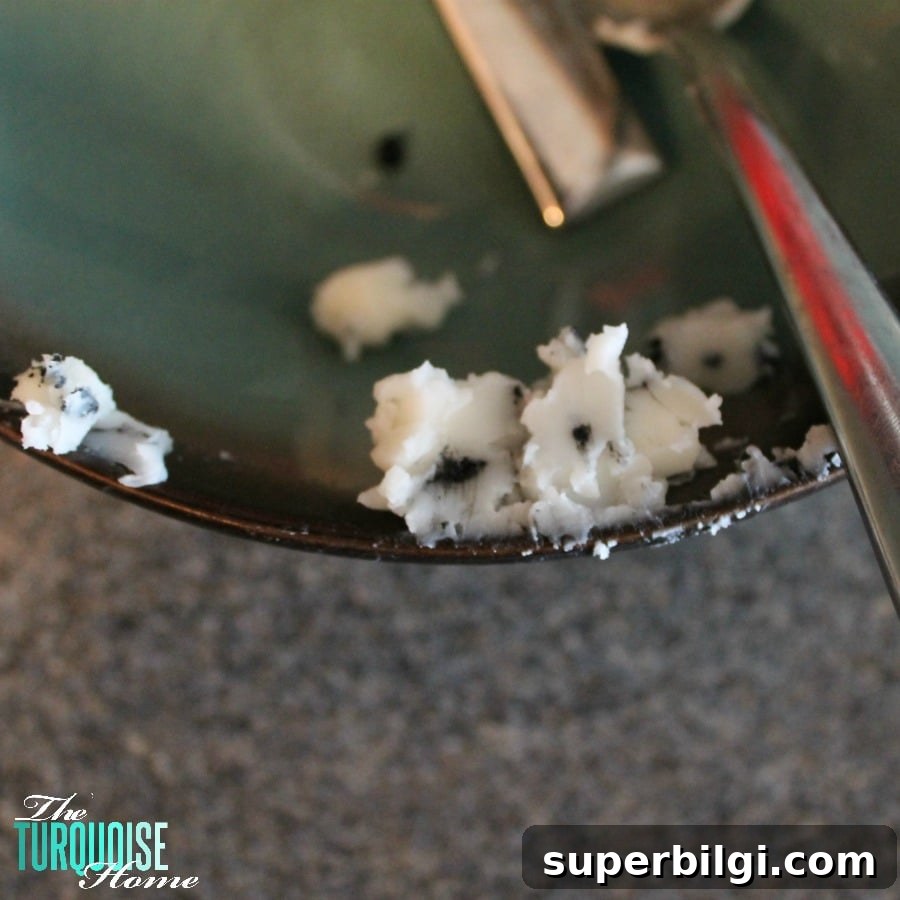
Step 2 — Melt the wax safely: Place the bowl or upper pot over simmering water and allow the wax to melt slowly. Keep heat low and avoid direct high heat—use gentle simmering so the wax melts evenly. Stir occasionally and watch for any residue that shouldn’t be included in the pour.

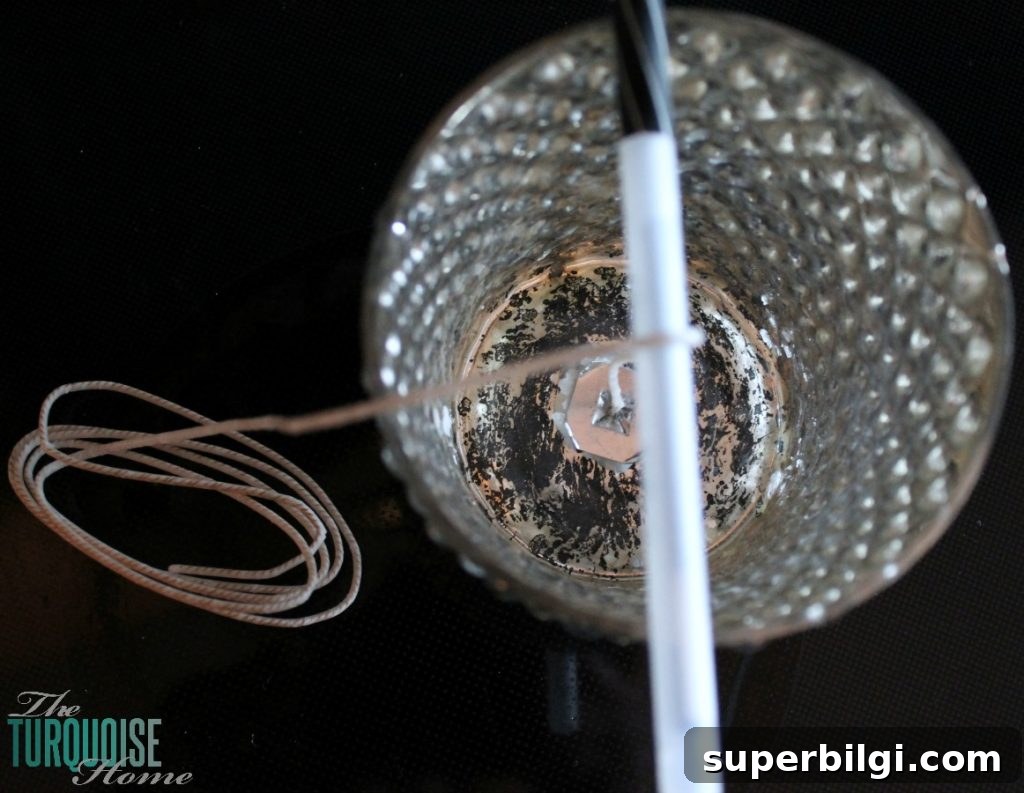
Step 3 — Prepare the new container: Place the metal tab on the base of your wick and press it into the bottom of the holder. You can melt a little wax into the base first and stick the tab into it to secure the wick. Then center the wick and wrap the top around a pen or skewer to keep it straight while the wax sets.
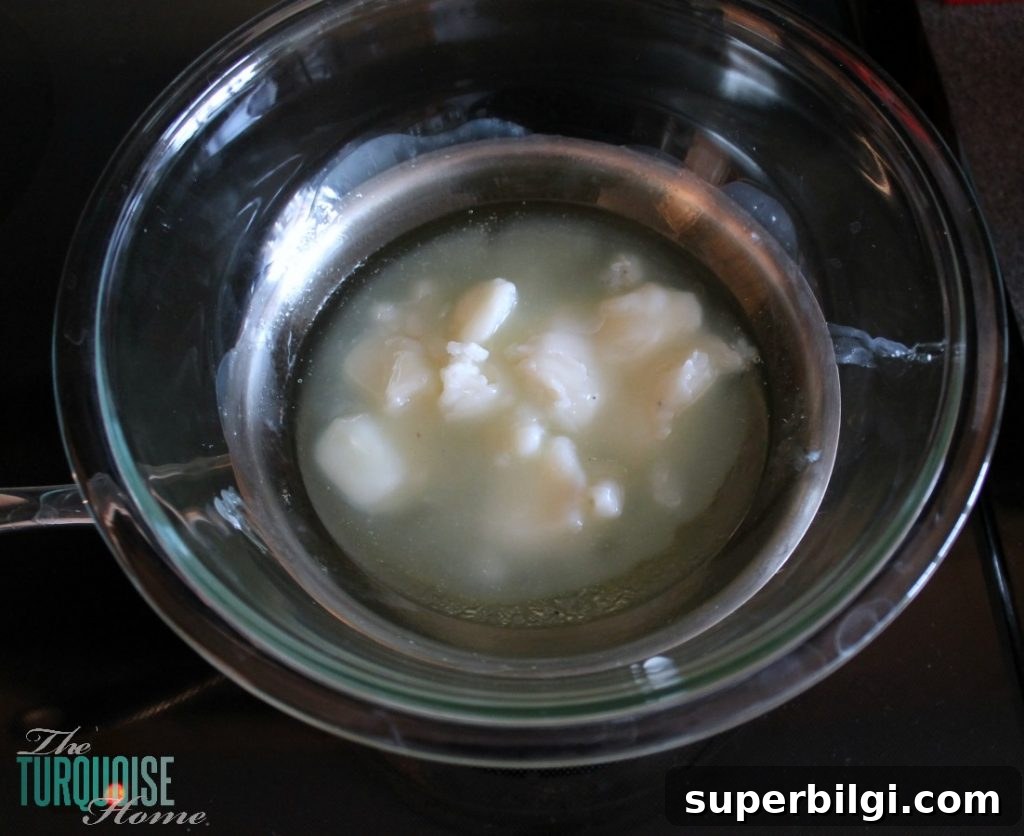
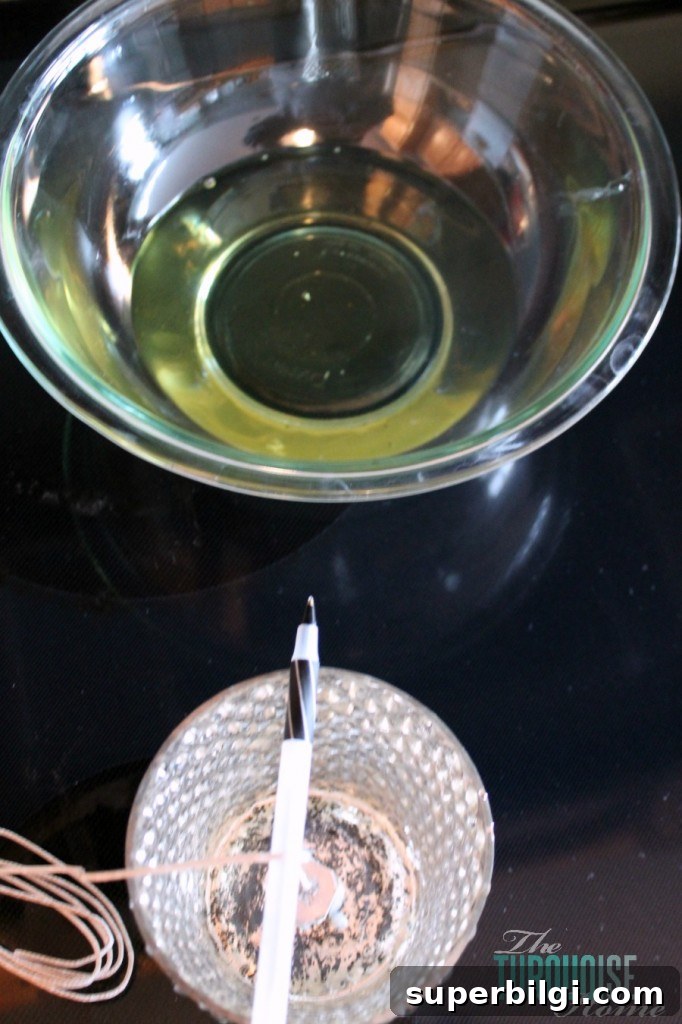
Step 4 — Pour the wax: Once the wax is fully melted and any impurities are removed, carefully pour it into the prepared holder. Keep the wick centered and steady while filling. Pour slowly to avoid splashing or introducing air bubbles.
Step 5 — Allow to set: Let the candle cool and harden completely, which can take several hours depending on the size of the container. Trim the wick to about 1/4 inch before lighting. If the surface sinks slightly as it cools, you can top off with a small additional pour of melted wax to achieve a smooth finish.
Safety tips and best practices: Never leave melting wax unattended. Use a designated heatproof setup, keep children and pets away from the work area, and avoid overheating the wax. For the best burn and to prevent tunneling, let the first burn last long enough for the wax to melt uniformly to the jar’s edge—this helps create an even burn for future use.
Gift ideas and scent mixing: Combine leftover scents from similar wax types—spiced pumpkin with vanilla, for example—to create interesting blended fragrances. Small mason jars or decorative holders make charming gifts for friends, neighbors, or teachers. Personalize the label or tie a tag on with a ribbon for a finished touch.
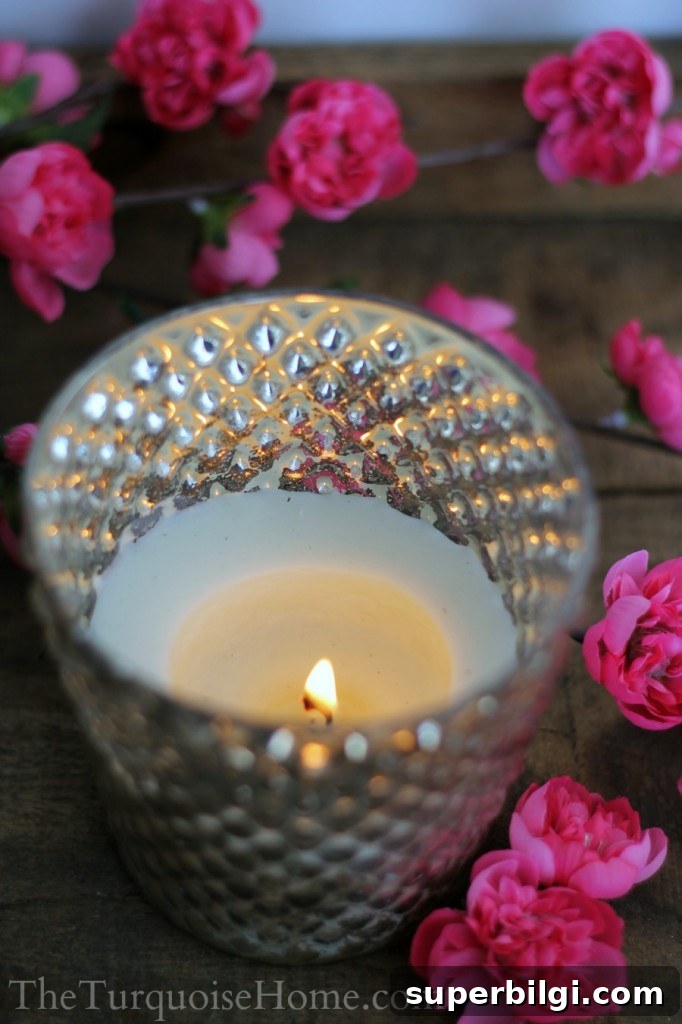
Upcycling old candles is a simple way to reduce waste, save money, and enjoy custom scents for longer. Whether you transform a favorite jar into a new decorative candle or create several small votives as gifts, this DIY project is practical and rewarding. Do you save used candles for projects like this, or is this your first time trying an upcycle?