DIY Easy Pleated Curtains with Pleater Tape
This simple, inexpensive pleater tape will turn your DIY curtains into beautiful, custom pleated curtains quickly and with minimal fuss.
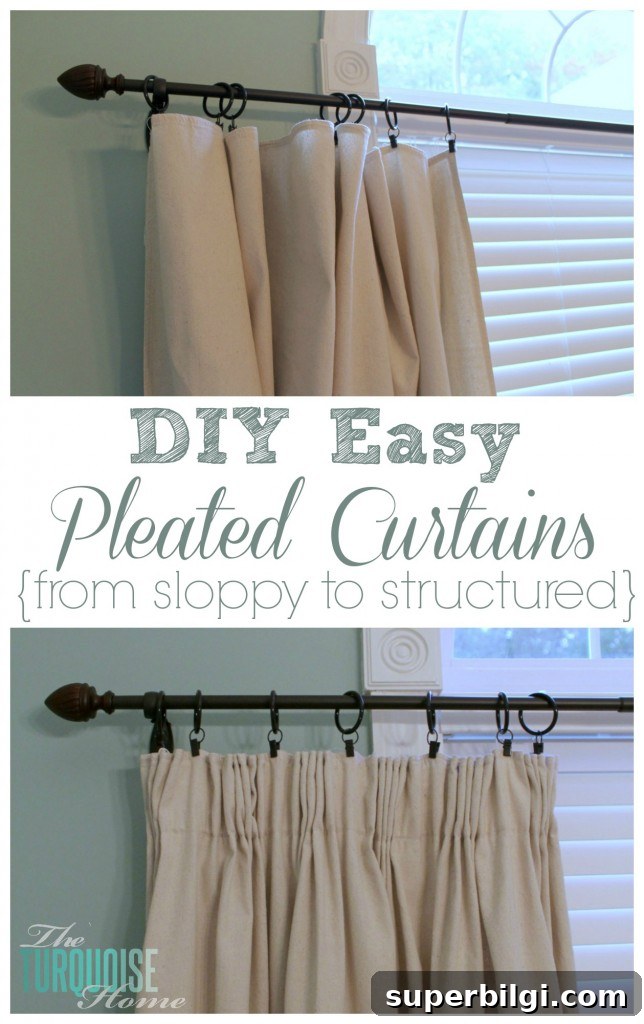
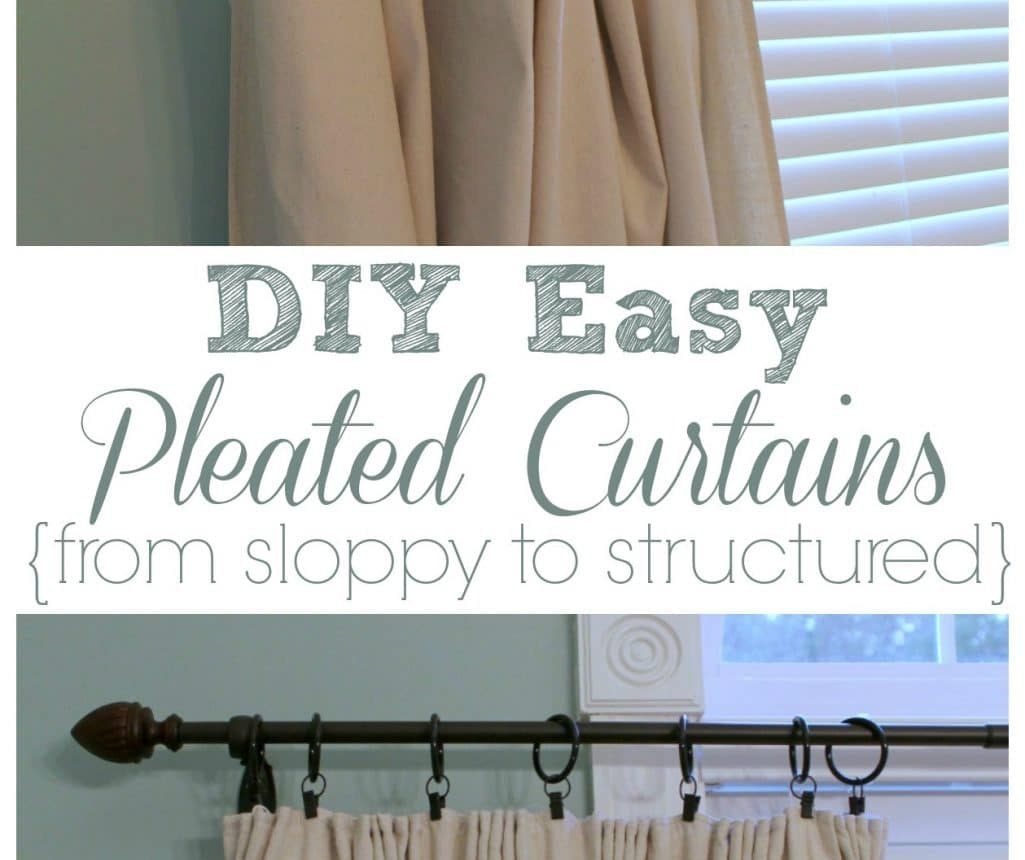
After making my drop cloth curtains, I wanted a bit more structure along the top edge. Canvas drop cloths are sturdy but can be a little floppy for clip rings, so I decided to add pleats for a neater finish and a more tailored look. I hadn’t used pleater tape before, but I’d heard good things about how quickly it creates neat folds without complex sewing.
Pleater tape is a narrow fabric tape that you sew along the top of a curtain. It contains channels for cords, so when you pull the cords the fabric forms uniform pleats. I picked mine up at Joann’s for about $1–$2 per yard, which makes it an affordable upgrade for any DIY curtain project.
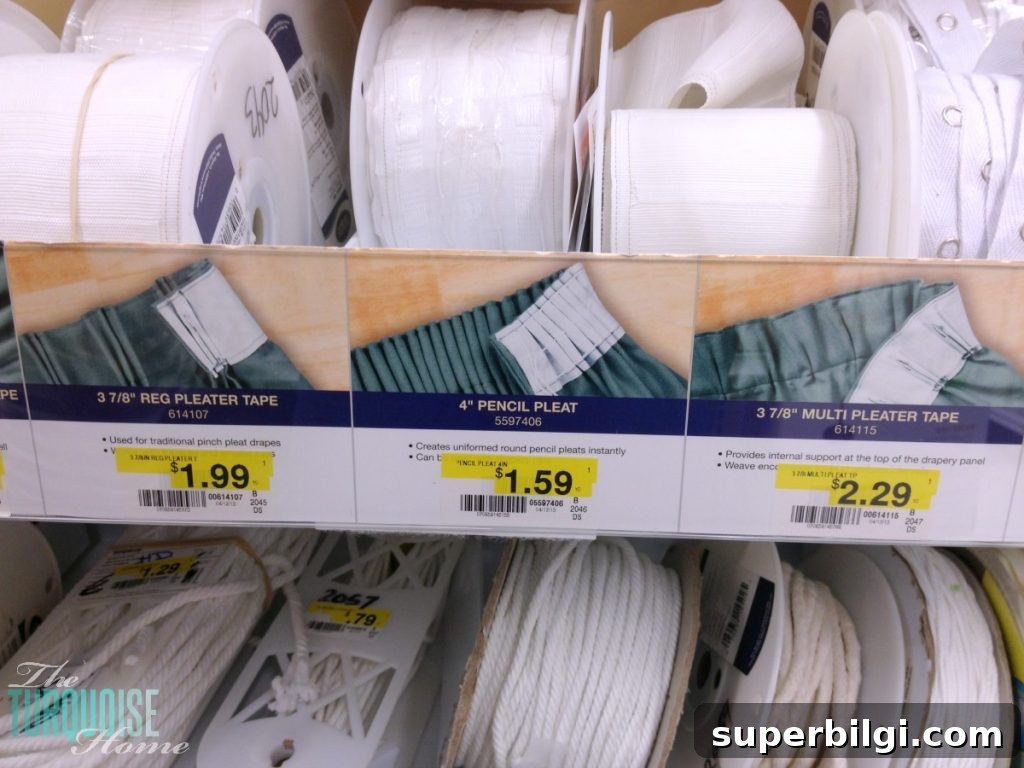
How I installed pleater tape — step by step:
- Lay the tape across the top of the curtain, just below the top hem, and pin it in place. Make sure the tape does not overlap the existing hem so the curtain will hang properly.
- Trim any excess tape at the ends so it matches the width of your curtain panel.
- Secure the ends of the cords that run through the tape before sewing; I tied the cords to keep them from slipping. This prevents them from disappearing into the channels while you work.
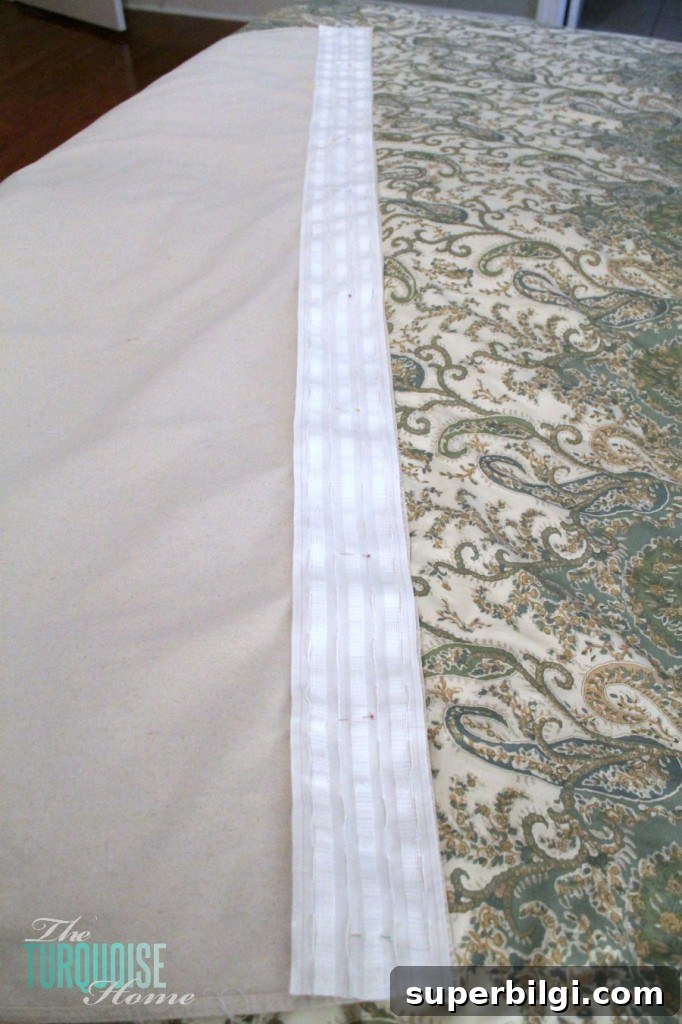
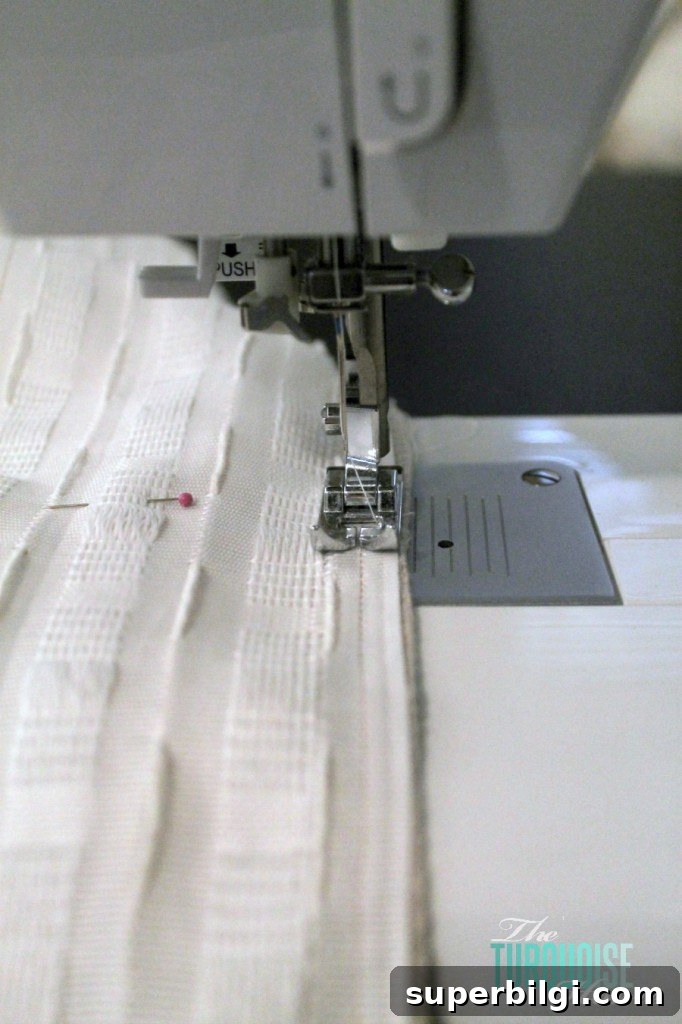
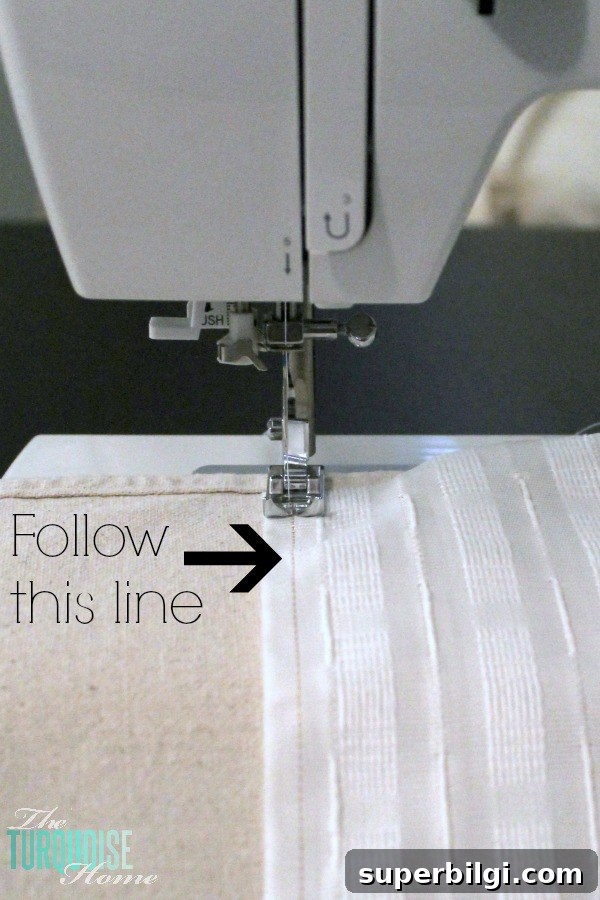
With the cords secured, sew the pleater tape to the curtain along the top and bottom stitching lines that run along the tape. Those lines act as guides to keep your stitches straight. I aimed for straight stitching but didn’t stress over perfection — a slightly imperfect line still looks great once the curtain is hanging.
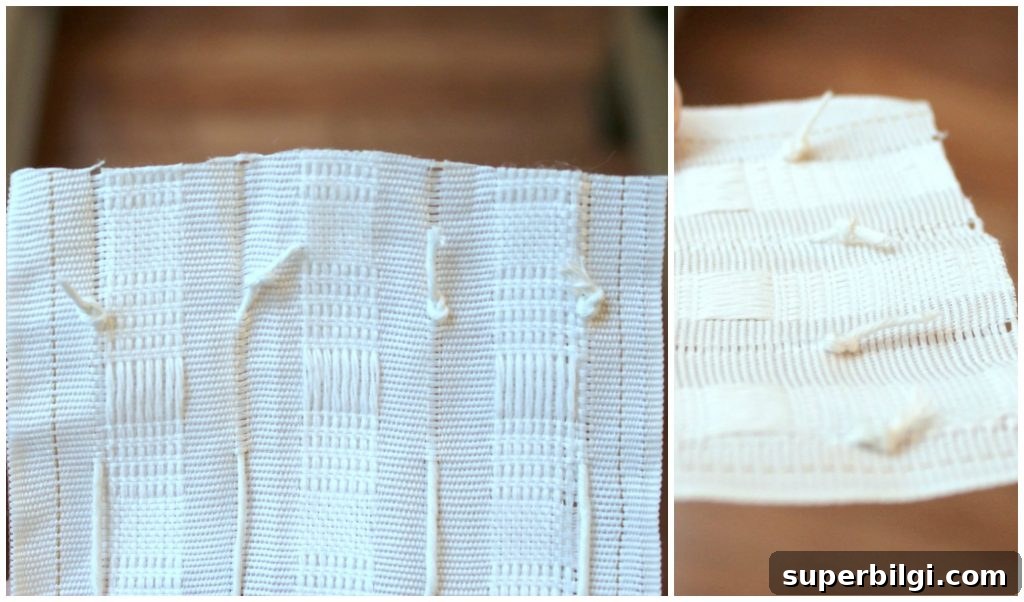
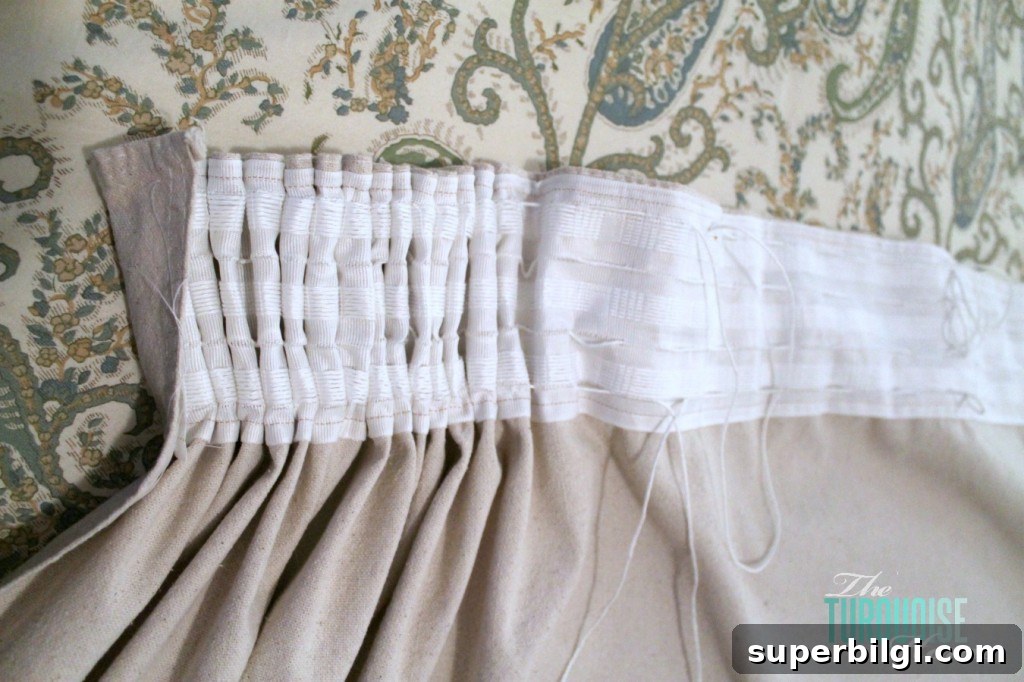
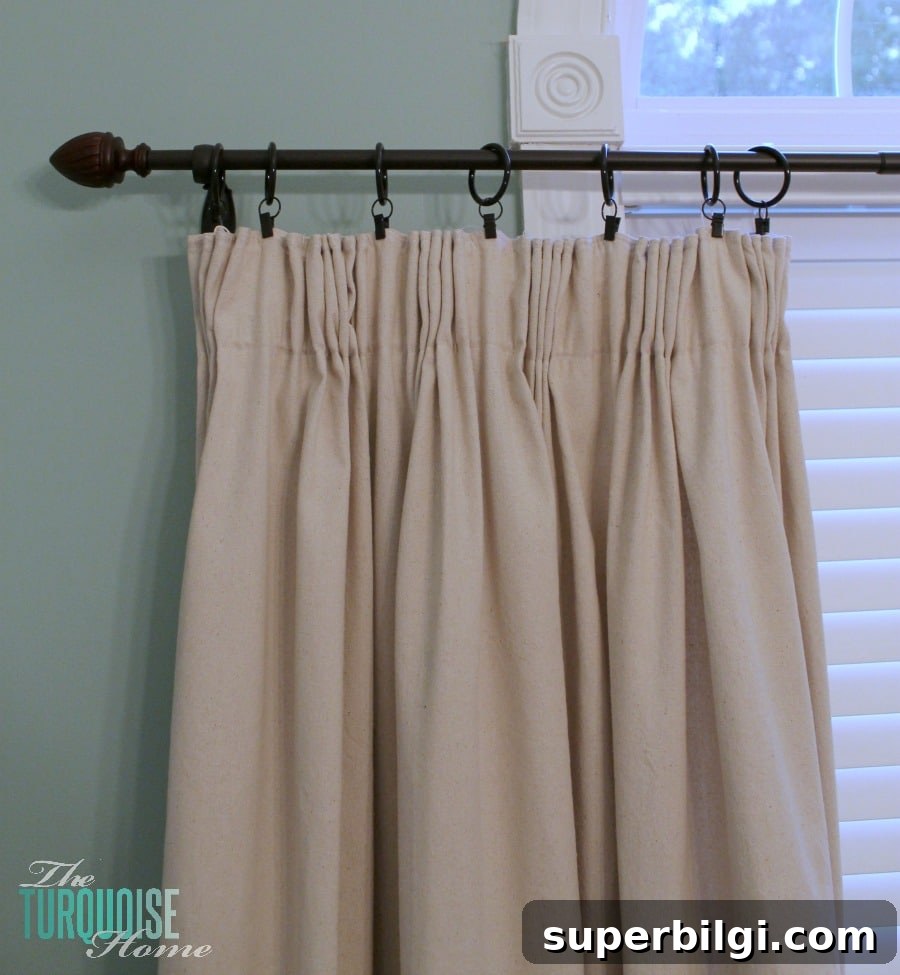
After sewing, start pulling the cords through the channels in the tape. My tape had four cords, so I pulled each one sequentially from one end to the other. As you pull, the fabric will bunch into pleats. At first it may look overly gathered, but you can adjust the pleat size and spacing by easing the fabric along the tape until you achieve your preferred look.
I played with the cord tension and redistributed the fabric until the pleating felt balanced and visually pleasing. Once satisfied, secure the cord ends so the pleats stay in place. You can tie or knot them, or stitch them down through the tape to keep everything fixed.
Finally, hang your curtain with your preferred hardware — curtain rings with clips worked well for me. I discovered there are slightly different styles of pleater tape; one bin at the store would have produced the exact narrower pleats I settled on, but the version I used still looked fantastic once adjusted. The result is a tailored, classic curtain header that elevates even a simple drop cloth panel.
Why use pleater tape?
- It creates a structured, professional-looking curtain header without advanced sewing techniques.
- It works well on medium- to heavyweight fabrics like canvas drop cloths.
- It’s affordable and quick to install—an easy upgrade for DIY window treatments.
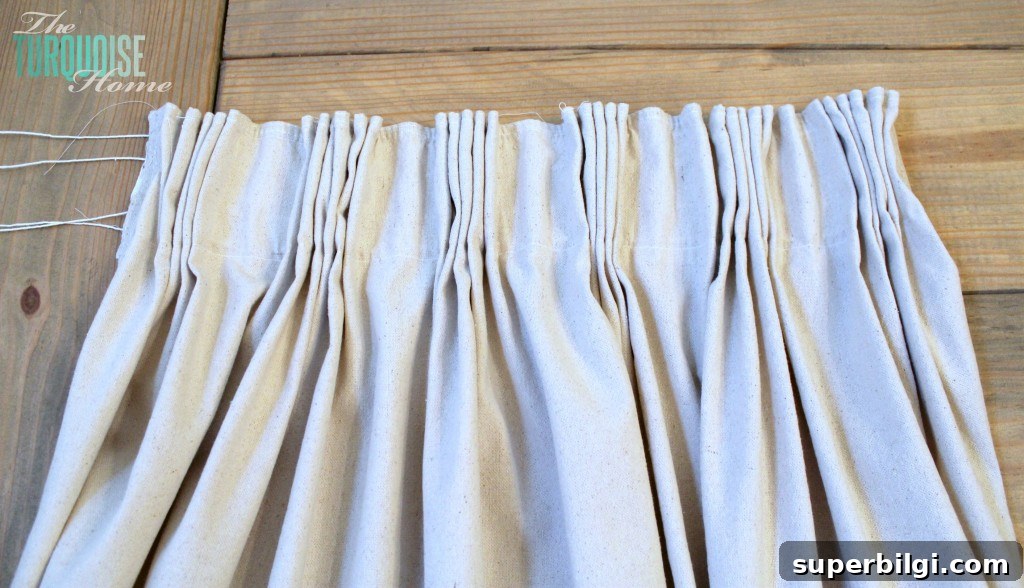
I absolutely love the new look. It’s not perfectly formal or rigid, but that slight imperfection is exactly what I wanted—a relaxed, handmade look with the polish that pleats add. If you’re new to pleater tape, don’t worry about absolute precision; small adjustments after pulling the cords will give you a curtain that hangs beautifully.
Have you tried pleater tape before? If you’re an experienced seamstress, feel free to share tips in the comments—there’s always more to learn. For anyone tackling their first curtain project, pleater tape is an easy, effective technique to achieve a custom, finished look.
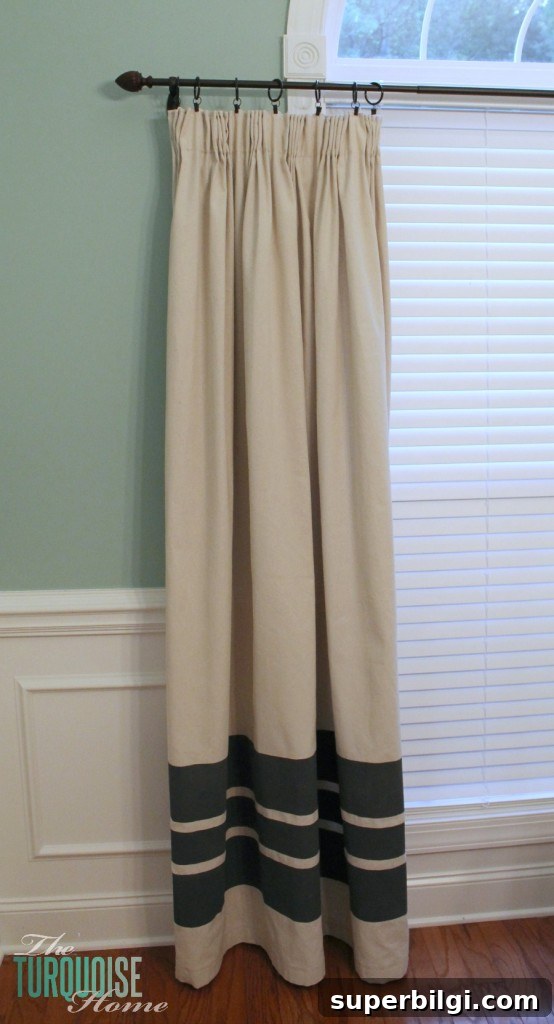
Simple, fast, and budget-friendly—pleater tape is a small addition that makes a big difference in the finished appearance of DIY curtains.