
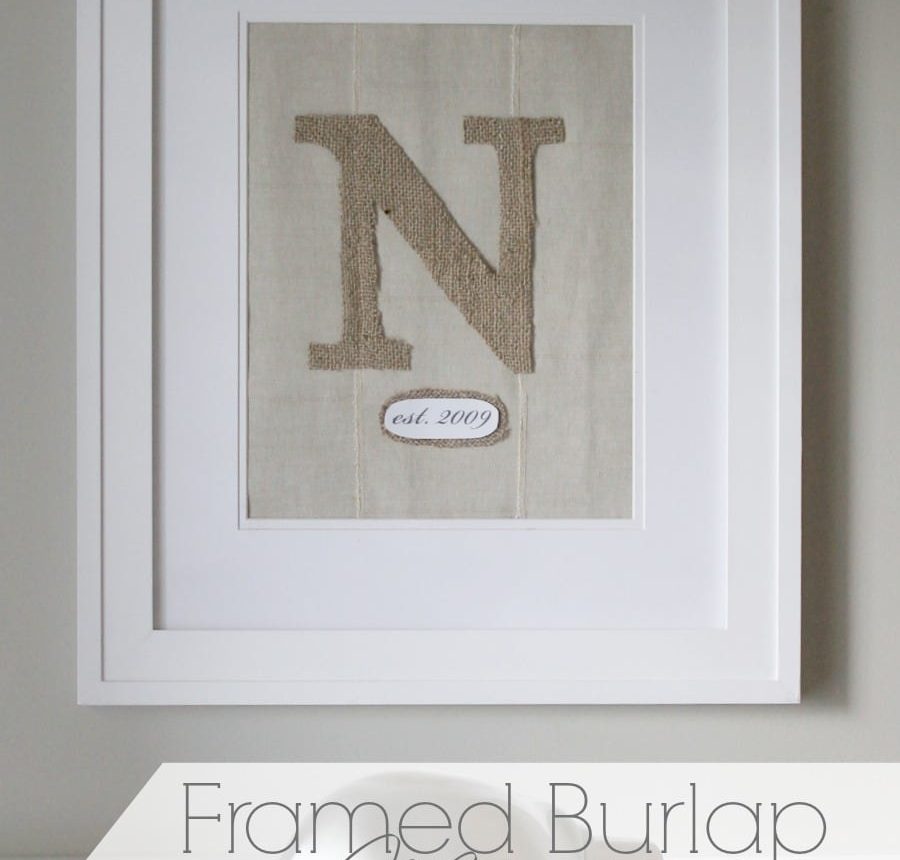
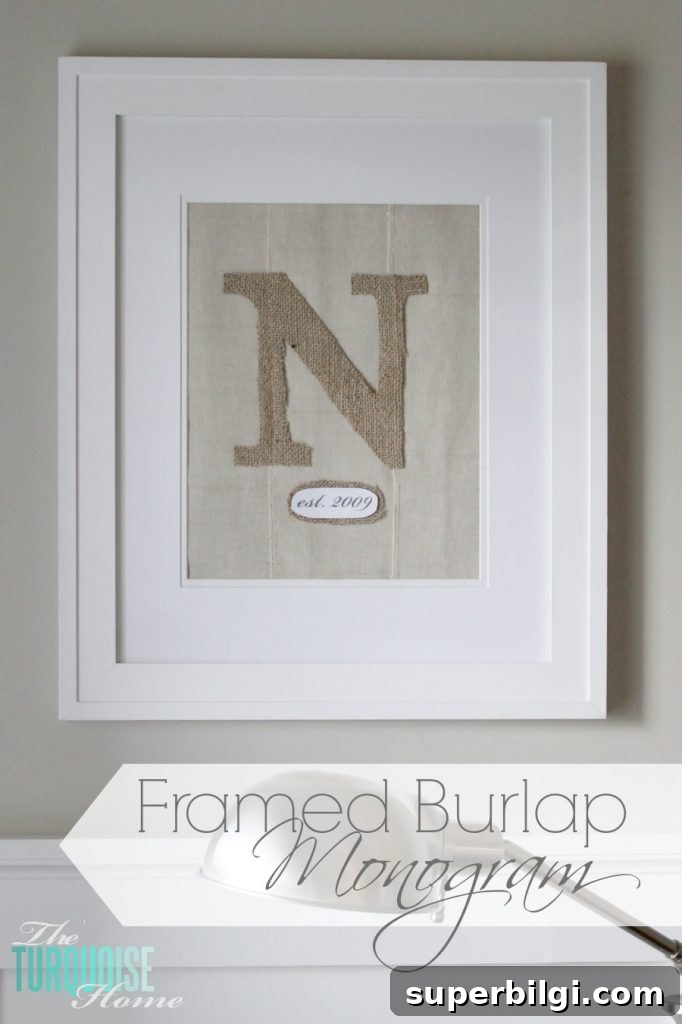
If you’ve been following along for a while, you may have noticed a small change in my reading corner. I created a framed burlap monogram from leftover fabric scraps, so it cost me nothing. I love projects that are pretty, simple, and budget-friendly — don’t you?
Burlap is one of my favorite materials for seasonal decor, especially for fall. I’ve used it on a fall bunting and in other spots around the house. Its tactile, rustic texture works well throughout the year and adds warmth to any space.
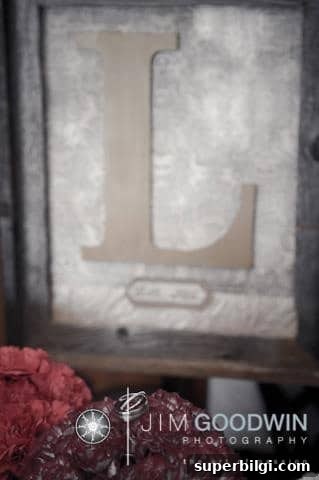
I’ve had an inspiration photo saved on my phone for ages. I first spotted it in someone’s wedding images and tucked it away as a reference. The original may not even be burlap, but I had burlap on hand and liked the look, so burlap it became.
This week I finally made my own version. It only took about 30 minutes from start to finish, making it a quick and satisfying DIY — perfect for a weekend afternoon.
I needed something to fill an empty frame in the corner of my living room. The frame had been holding a Summer Bouquet print by Mai Autumn, but now that the season has changed I wanted something more neutral and seasonal. A framed burlap monogram was the ideal solution.
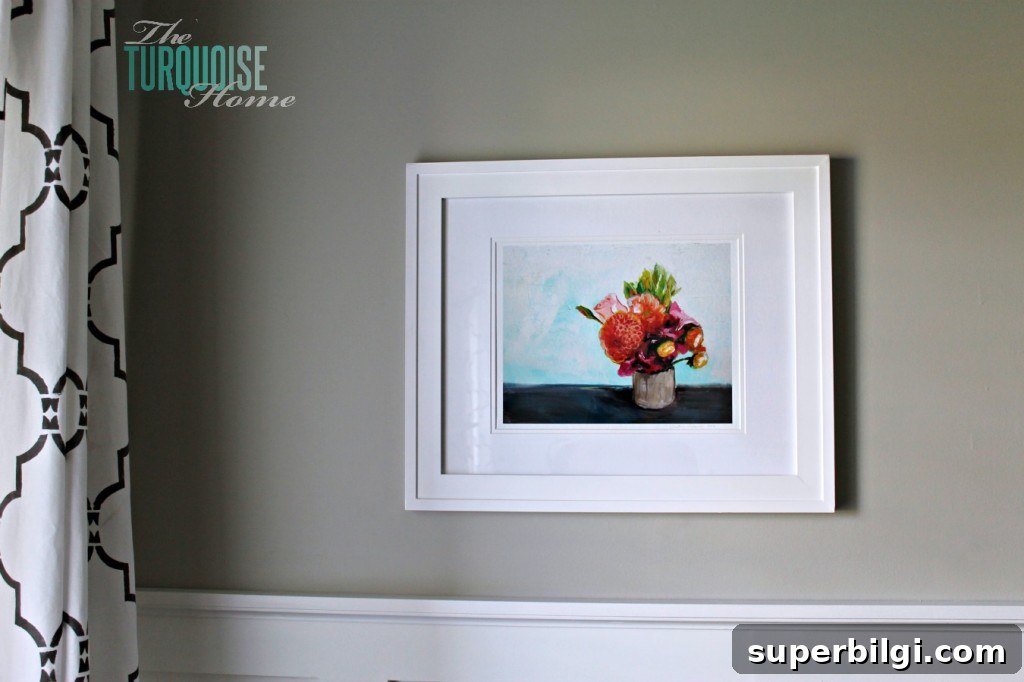
(Update: I eventually moved the Summer Bouquet to my office and now keep the monogram in that frame almost year-round.)
Tools You Need for a Framed Burlap Monogram
- Burlap — a scrap or a small piece is enough
- Fabric scraps for the backing or to layer under the burlap
- Cardstock or heavy paper for a template
- A computer and printer to make the letter template
- A frame in the size you prefer (mine is an 11×14 with an 8×10 mat)
That’s all you need. I used a burlap sample from a conference swag bag and some leftover curtain fabric from an IKEA project — never toss small fabric scraps, they’re perfect for crafts.
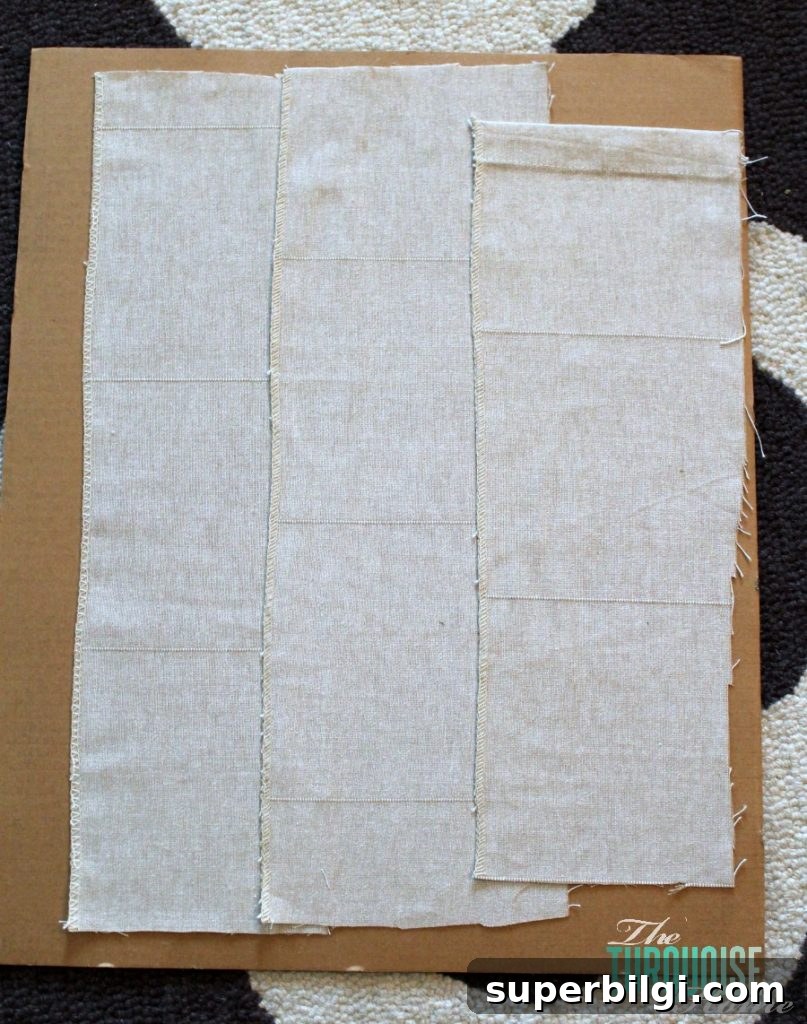
I didn’t have a single scrap wide enough to cover the whole mat, so I layered several pieces. The layered textures add visual interest and depth, and I secured them with double-sided tape for a clean, no-sew finish.
Next, I printed a simple letter on cardstock to use as a sturdy template. I chose an N in Times New Roman because it was available and readable — bold or thicker typefaces work well if you want a stronger silhouette. I trimmed the printed letter slightly wider than the original print so the burlap cutout would feel substantial.
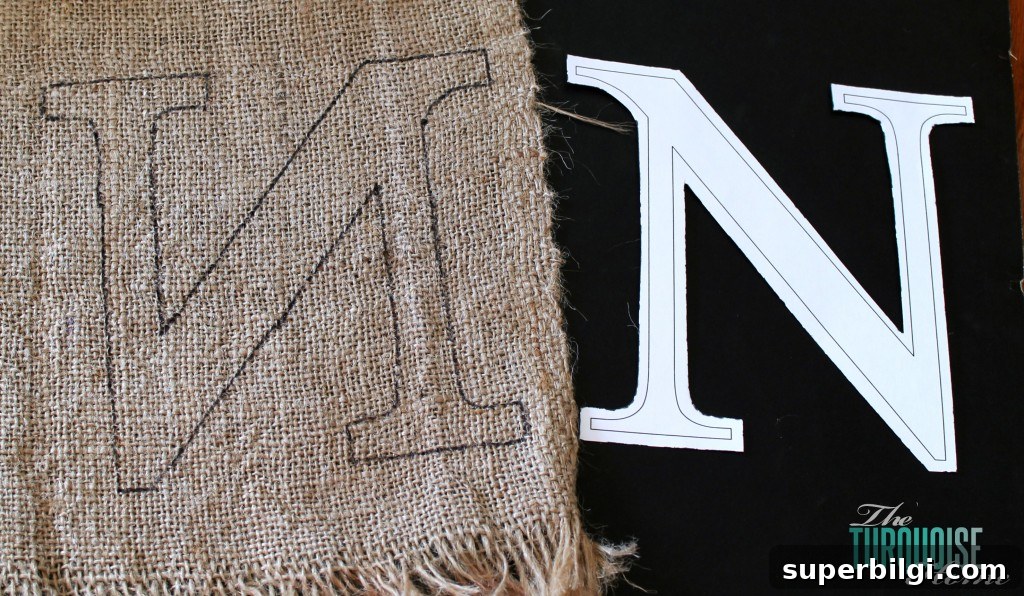
I traced the template onto the burlap and cut the letter out carefully. Then I attached the burlap letter to the layered fabric backing using double-sided tape. Using tape rather than glue keeps the piece removable and easily changed later — great for seasonal swaps or fresh updates.
Inspired by the original image, I added a small “est. 2009” plaque beneath the monogram. I printed the text on cardstock in a script font I like, cut it into an oval, and mounted it on a slightly larger burlap oval before taping it under the monogram. The edges are a bit rustic and imperfect, which fits the handmade vibe.
If you prefer a vintage look for the small plaque, consider tea-staining white cardstock or using cream cardstock if you have it on hand. I skipped staining because I was short on time, and from a normal viewing distance it looks fine.
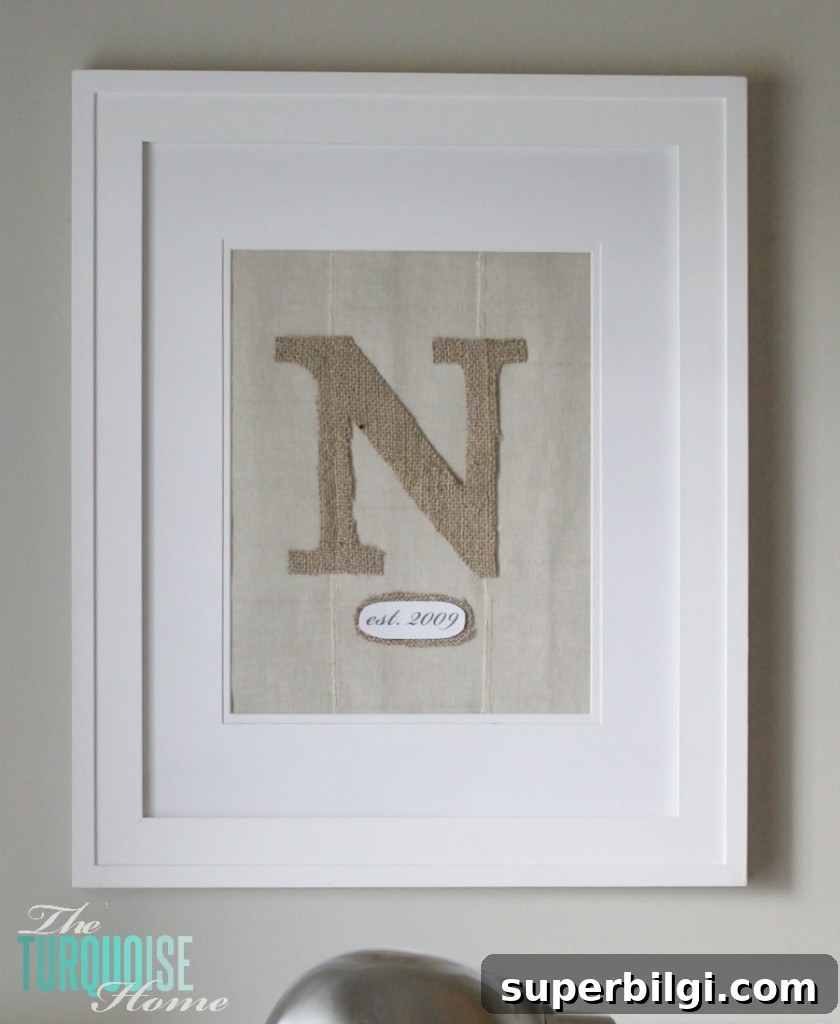
Finally, reassemble the frame and hang it. The burlap monogram complements my fall mantel and reading nook nicely. It’s an easy, personalized DIY that adds rustic charm without taking much time or money.
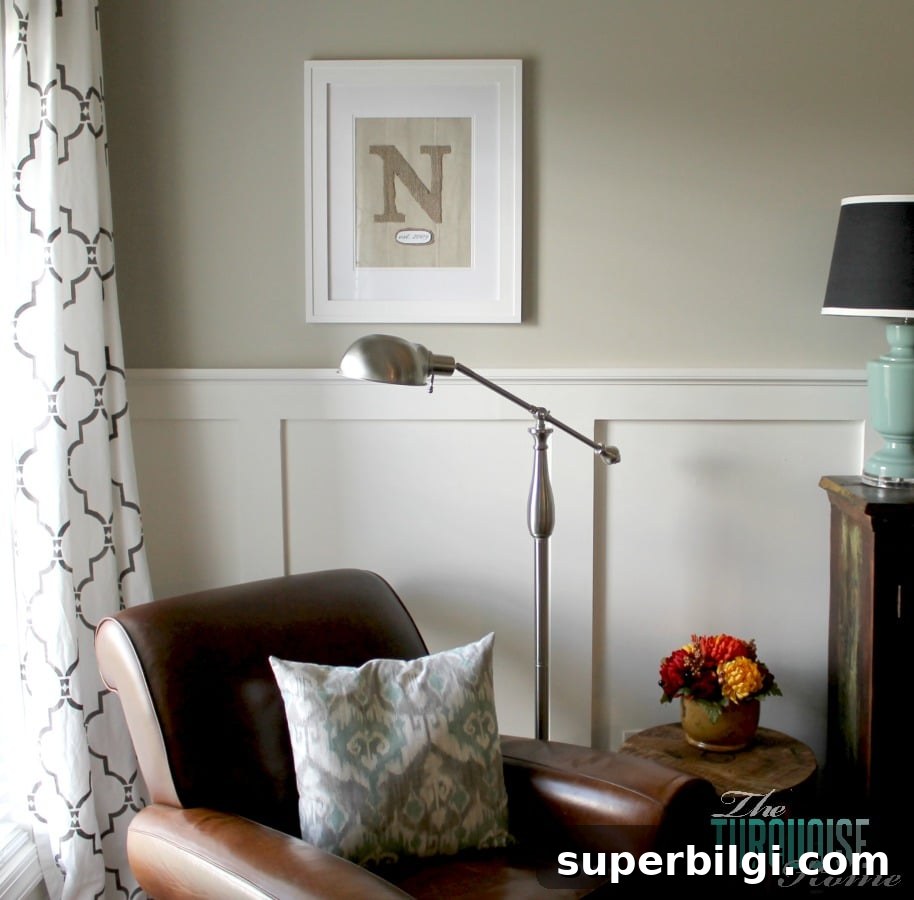
Tips for a polished result: trim edges with sharp scissors, use heavyweight tape to prevent shifting, and experiment with fonts and layering to match your decor. This DIY framed burlap monogram is a great accent for living rooms, entryways, or bedrooms — and it’s easy to personalize for holidays or gifts.
Wishing you a wonderful weekend and happy crafting!
More Posts You Will Love:
- Quick Tip: How to Keep Canvas or Burlap from Fraying
- DIY Gold, Pink and Burlap Accessory Holder
- DIY Canvas Unicorn Craft











