
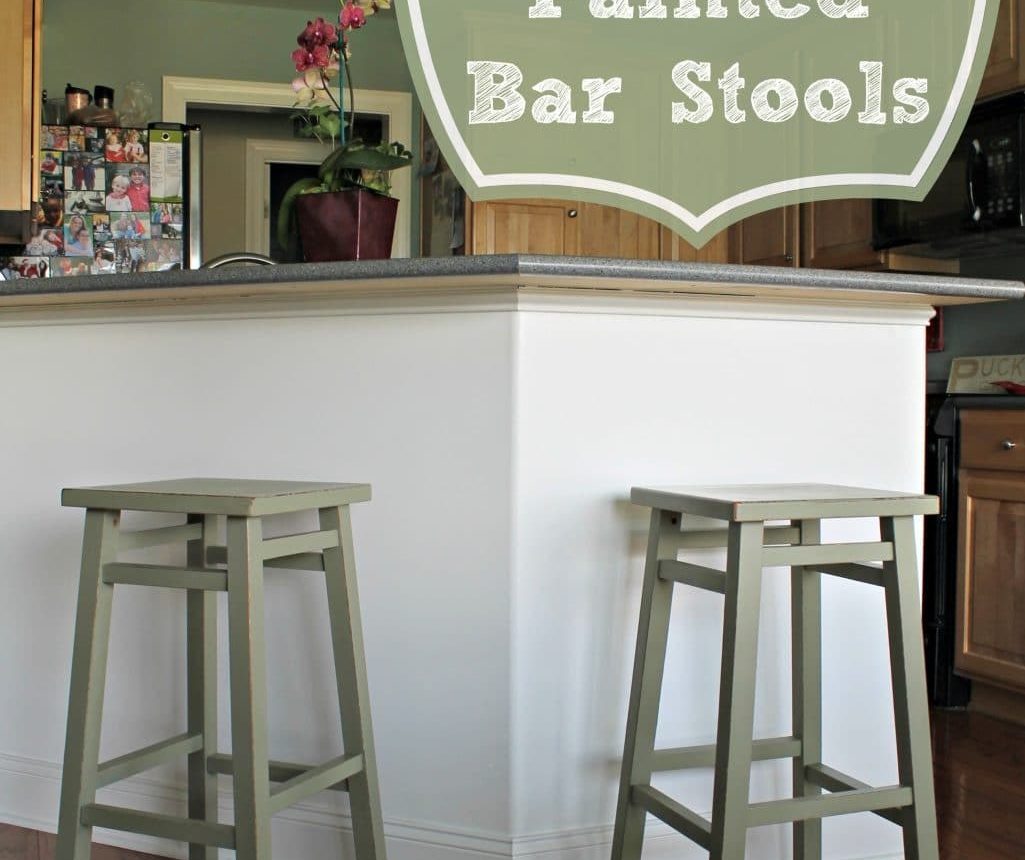
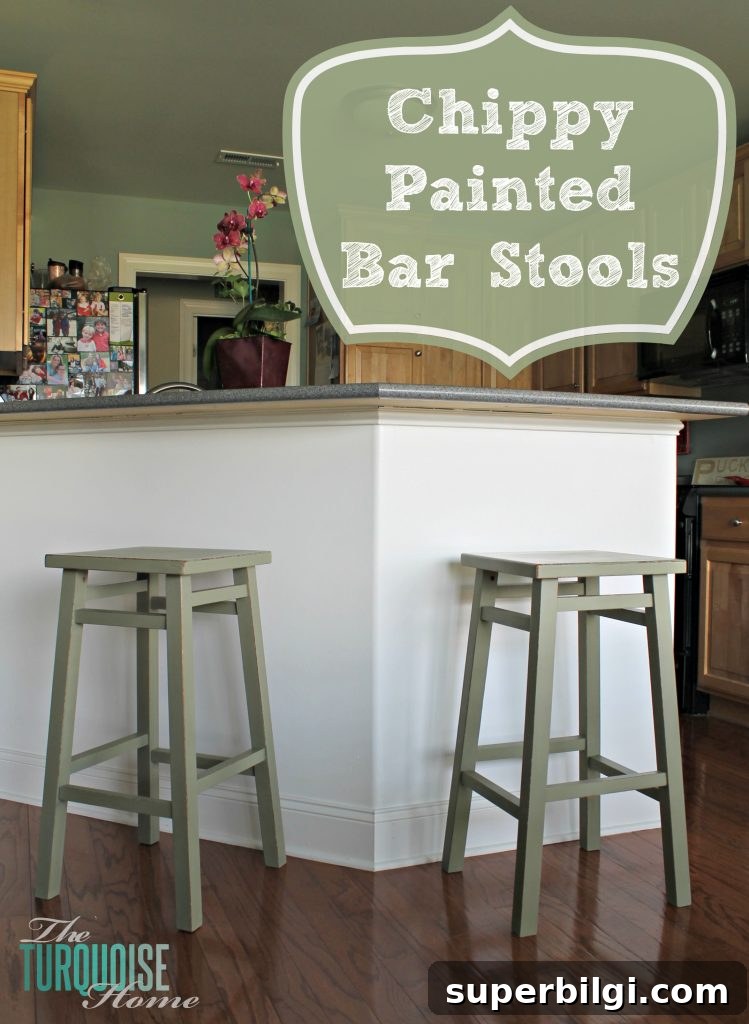
A couple of weeks ago I mentioned on Facebook that I’d finally bought Annie Sloan Chalk Paint for the first time. I’d never used ASCP before, so I was excited (and a little nervous) to give it a try. I initially planned to use it on a chewed-up dresser I found on Craigslist, but I decided to test the paint first on a smaller project: my kitchen bar stools.
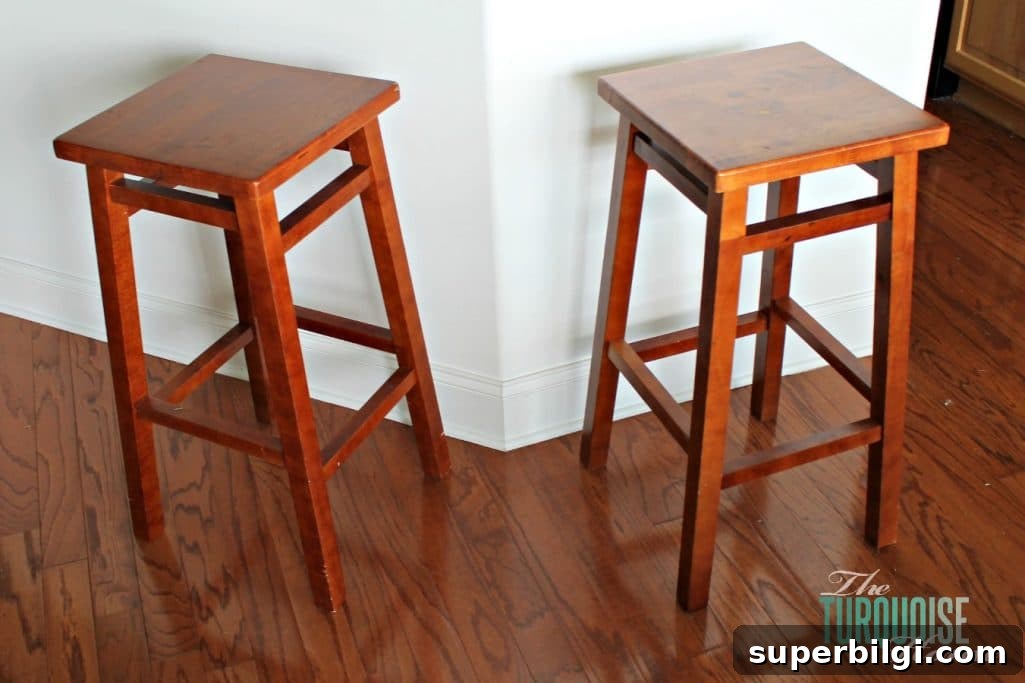
The stools had been given to me by a friend while we were all clearing out closets as part of a mini Project Simplify. They matched the floor color exactly, which made them disappear visually. I’d been hunting for inexpensive, simple bar stools, but when these landed on my doorstep, I decided to transform them so they would stand out instead of blending in.
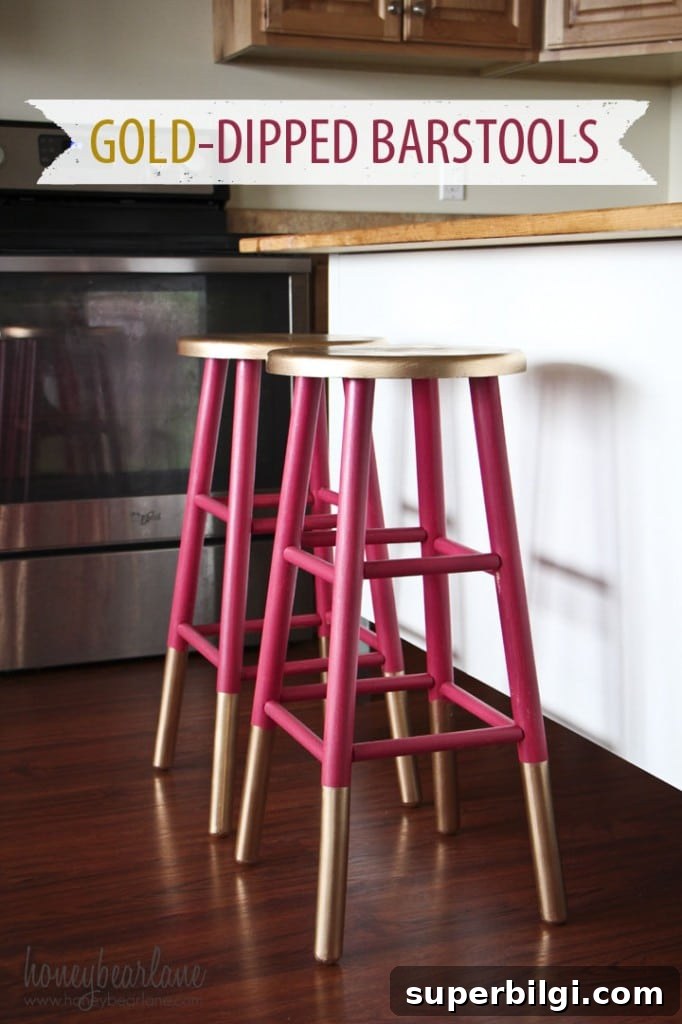
I’ve pinned plenty of bar-stool ideas to my kitchen board on Pinterest, and two particular styles inspired me: gold-dipped stools and vintage industrial designs. Those images helped me decide on a painted, slightly distressed finish rather than a full makeover or upholstery.

Using the stools as my trial project turned out to be a great move. They gave me a chance to learn how Annie Sloan Chalk Paint behaves and to refine my technique before tackling the dresser. Here’s what I learned from the process and how I approached the job.
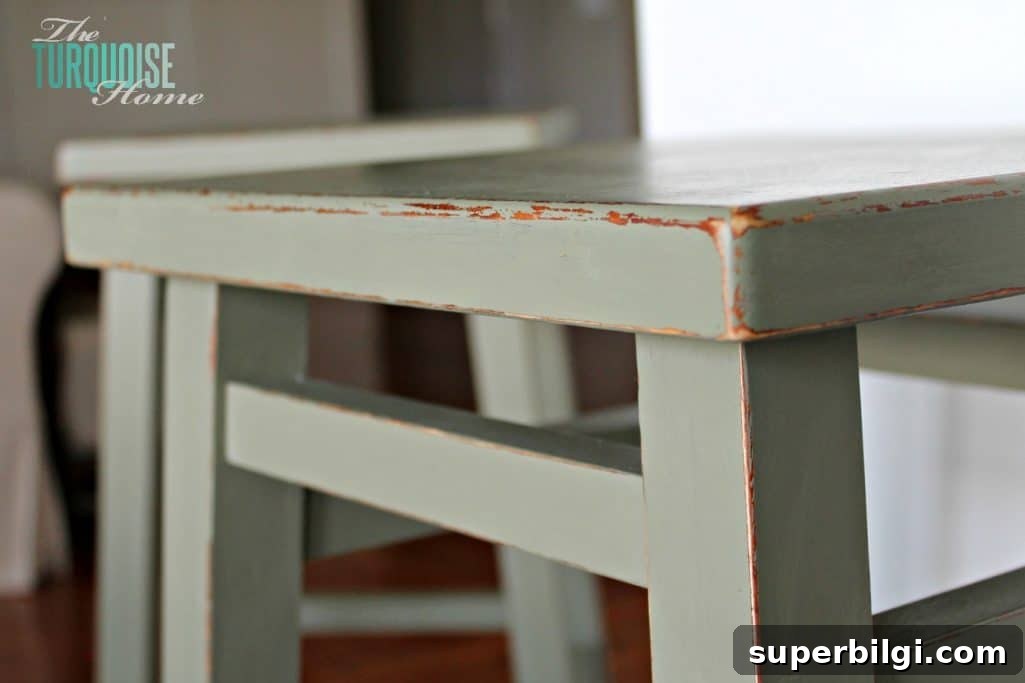
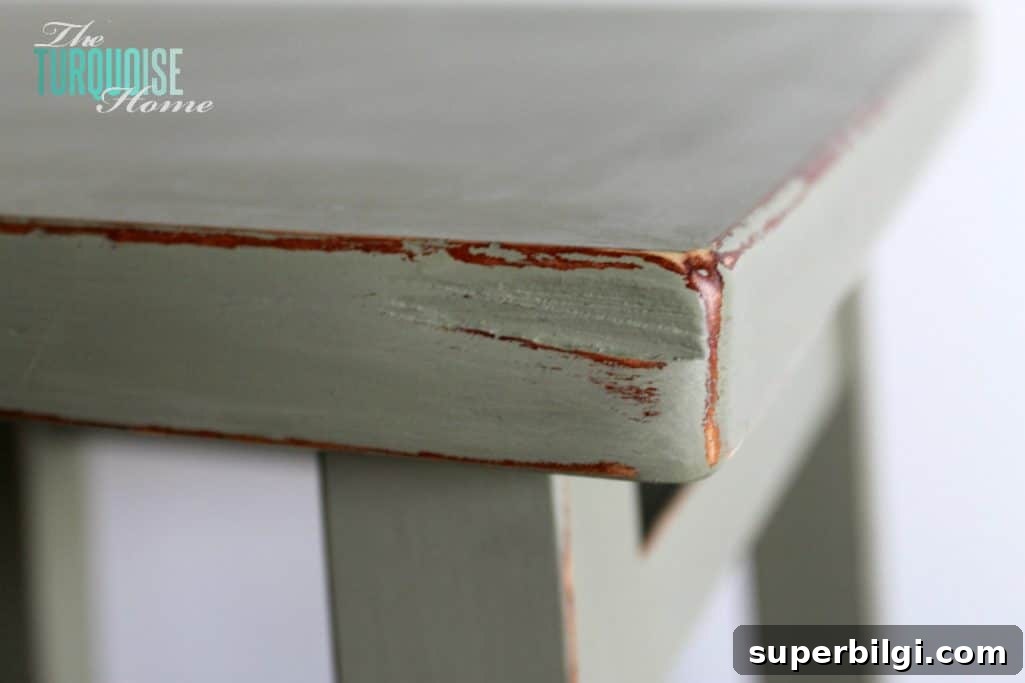
I applied two fairly thick coats of chalk paint. The first coat didn’t seem to cover everything, so I added a second, which ended up being a bit heavy. After that I read that waxing first and then distressing can reduce the amount of chalky dust and make distressing easier. I tried that method: I applied wax, then sanded through both the wax and the paint to create the distressed areas. I probably used too much sandpaper and removed more paint than I intended, so the final distressing is more subtle than I originally planned.
After distressing, I applied another layer of wax and then buffed the stools to a soft sheen. The waxing and buffing took time, but I prefer this finish to using primer. While chalk paint is often promoted for minimal prep work, the wax step is important and essentially replaces priming for this finish. Waxing feels more creative and forgiving than a primer-and-topcoat routine.
Overall, I’m very happy with the result. The stools now contrast nicely with the floor and add color and interest to the kitchen. The shade I chose is Annie Sloan’s Chateau Gray, which reads as an olive-green tone—exactly what I wanted to complement my kitchen palette. I’ll explain more about why I picked this color when I share the dresser project.
A few practical takeaways from this small furniture makeover:
- Start small when trying a new product so you can refine your technique before a larger piece.
- Two coats of chalk paint can be enough, but apply thin, even coats to avoid a heavy, brushy look.
- Waxing before distressing can change how the paint sands and the way the final surface feels; test on an inconspicuous spot first.
- After distressing, re-wax and buff to seal and protect the surface while achieving a softer sheen than varnish or polyurethane.
I still plan to make a few changes to the dresser based on what I learned painting the stools. And I’m hoping to find a third stool so I’ll have a matching set—when I find it, I’ll paint it to match the others.
What have you painted with chalk paint? Do you have any tips to share from your own projects? What’s your favorite chalk paint color?











