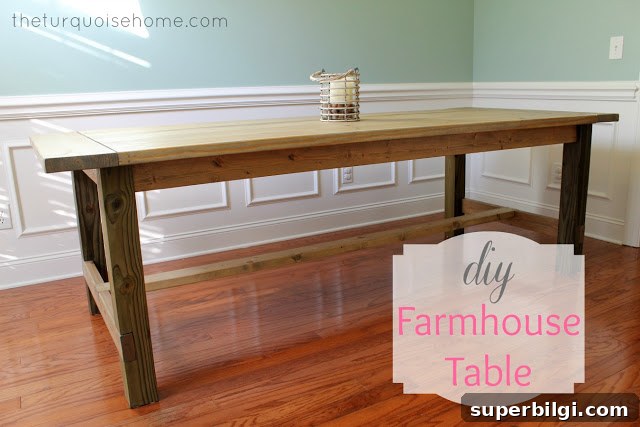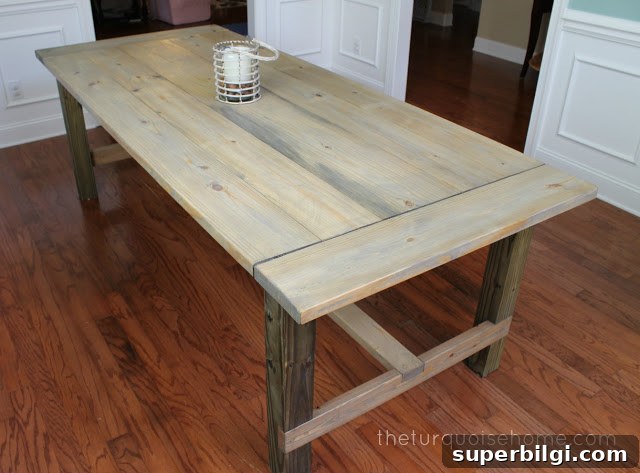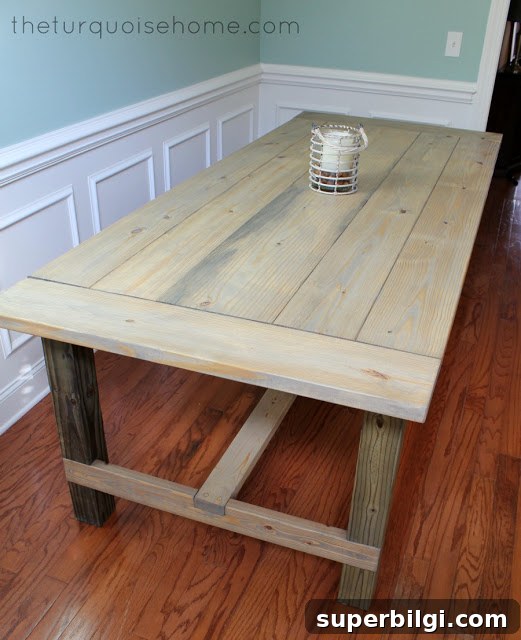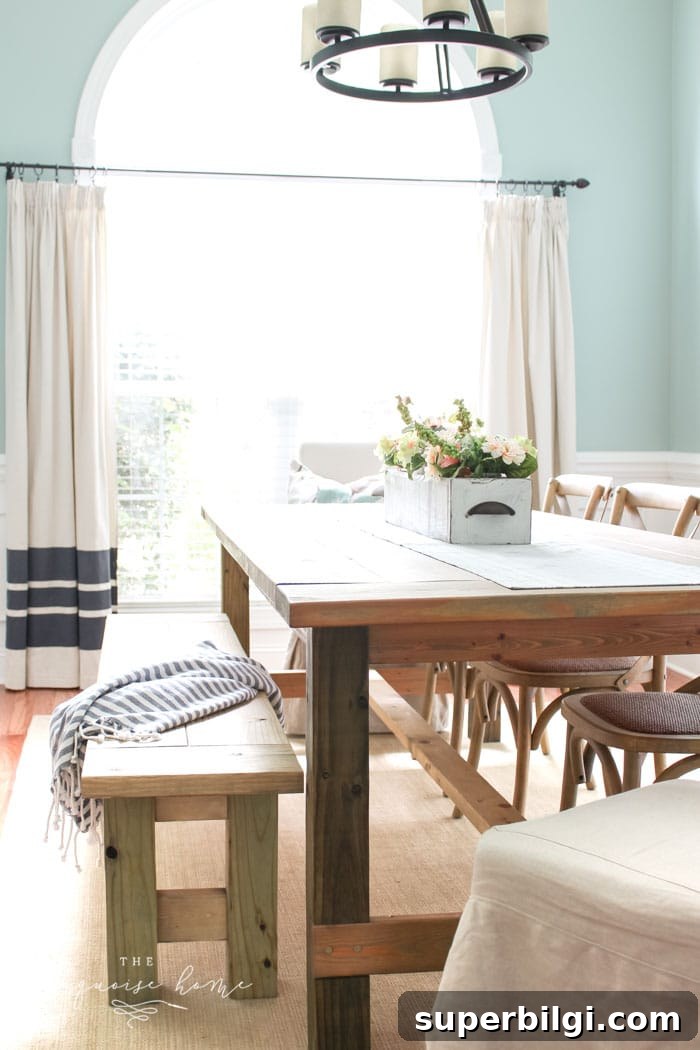
This large DIY farmhouse table seats 8+ and brings beautiful rustic charm to your home for less than $100. Using a Kreg Jig makes this big project much easier.
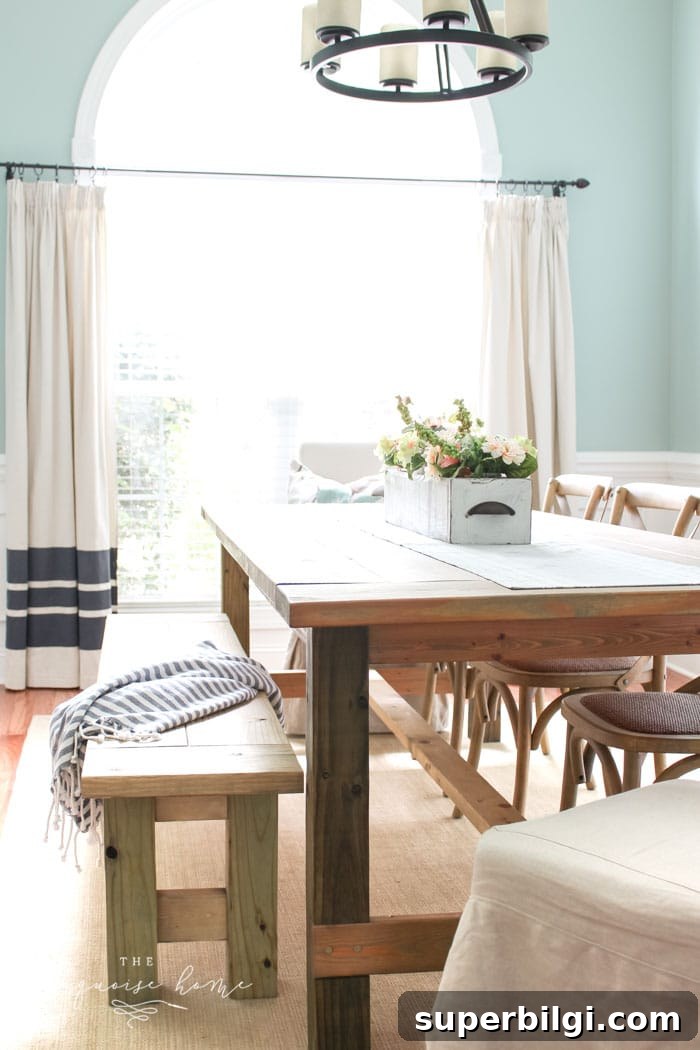
I’m thrilled to share my DIY farmhouse table project. I absolutely love how it turned out. This was my first major build using a Kreg Jig, and I’m really proud of the result. I learned a few lessons along the way and would change a couple of details next time, but overall I’m so happy to finally have a sturdy, roomy dining table.
I had wanted a rustic trestle-style table but couldn’t justify the $1,000+ price tag. With the holidays approaching and family visiting, we needed a table that would seat our guests. I found an updated, simpler set of plans and decided to give it a try — and I built the table for under $100 in materials.
A Kreg Jig is a game changer for this kind of project. If you plan to do more woodworking — shelves, benches, tables — the pocket-hole method speeds up assembly and strengthens joints. I found that investing in a Kreg Jig paid off quickly: it simplified pocket-hole joinery and made assembly much more precise.
RELATED: How to Build a Farmhouse Bench
Tools Needed to Build a DIY Farmhouse Table
- Drill
- Kreg Jig (for pocket-hole joinery)
- Circular saw
- Miter saw (optional but helpful for straight cuts)
- Orbital sander or sheet sander
- Drill bit set
- Tape measure
- Level
- Speed square
- Pencil
- Safety glasses
Supplies Needed to Build a DIY Farmhouse Table
I followed an updated pocket-hole plan that simplifies construction while keeping the farmhouse look. I made a few adjustments to the original dimensions to create a larger table, so below is the list I used. If you prefer a smaller table, you can reduce quantities or board lengths to match the original pattern.
- 4 – 2×4 @ 8 feet (aprons and stretcher board)
- 1 – 4×4 @ 10 feet (legs — I used a treated post; it affected finish adherence but worked structurally)
- 4 – 2×8 @ 8 feet (table top boards — I used 8′ boards to extend the length compared with shorter plans)
- 1 – 2×8 @ 8 feet (breadboard end)
- 1 – 2×12 @ 8 feet (center top board — I used a 2×12 and slightly widened the table)
- 3″ wood screws
- 2-1/2″ pocket-hole screws (for Kreg Jig joinery)
Overall, the build was straightforward and took about a week of working during nap times and evenings. I lengthened the table by 11 inches and widened it by a couple of inches to better fit our space and the number of guests we host. Those changes were simple adjustments to the original plan and gave me a table that comfortably seats eight.
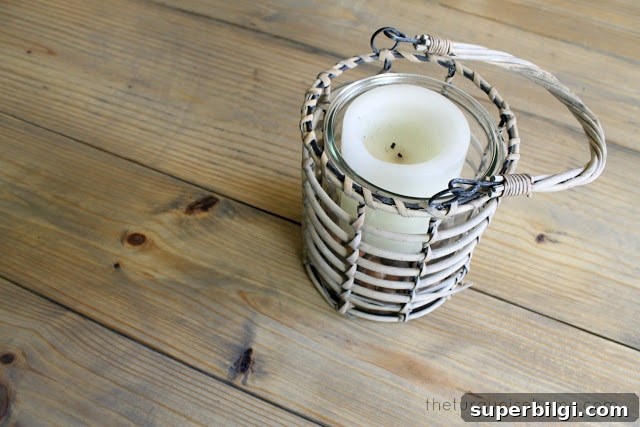
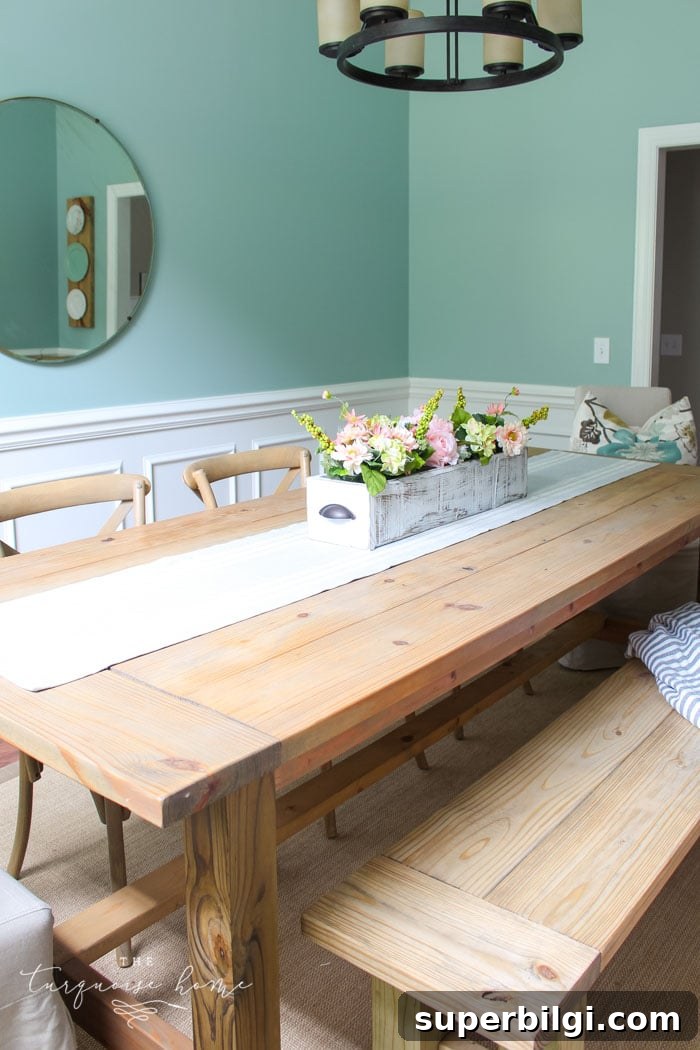
For finishing, I tried a weathered oak-style stain. When staining and sanding, always sand in the direction of the wood grain to avoid streaking — that was one of my key lessons. Take your time sanding between coats, remove dust thoroughly, and apply the stain evenly for the best result.
The finished table is large, sturdy, and versatile. It functions as our dining table for big family meals and, on quieter days, doubles as a workspace and craft table. I love being able to spread out projects or use it as a desk. The farmhouse style adds warm, rustic charm to the room and feels handmade and personal.
If you’re considering this project, start with clear plans, ensure accurate cuts, and take your time on assembly and finishing. A Kreg Jig makes alignment and joinery much easier, and the pocket-hole method gives clean, strong connections. With a bit of planning and basic tools, you can build a beautiful farmhouse table that seats a crowd without spending a fortune.
I’m really happy with how this table came together. It was a rewarding build and a practical addition to our home. What do you think of the finished project?
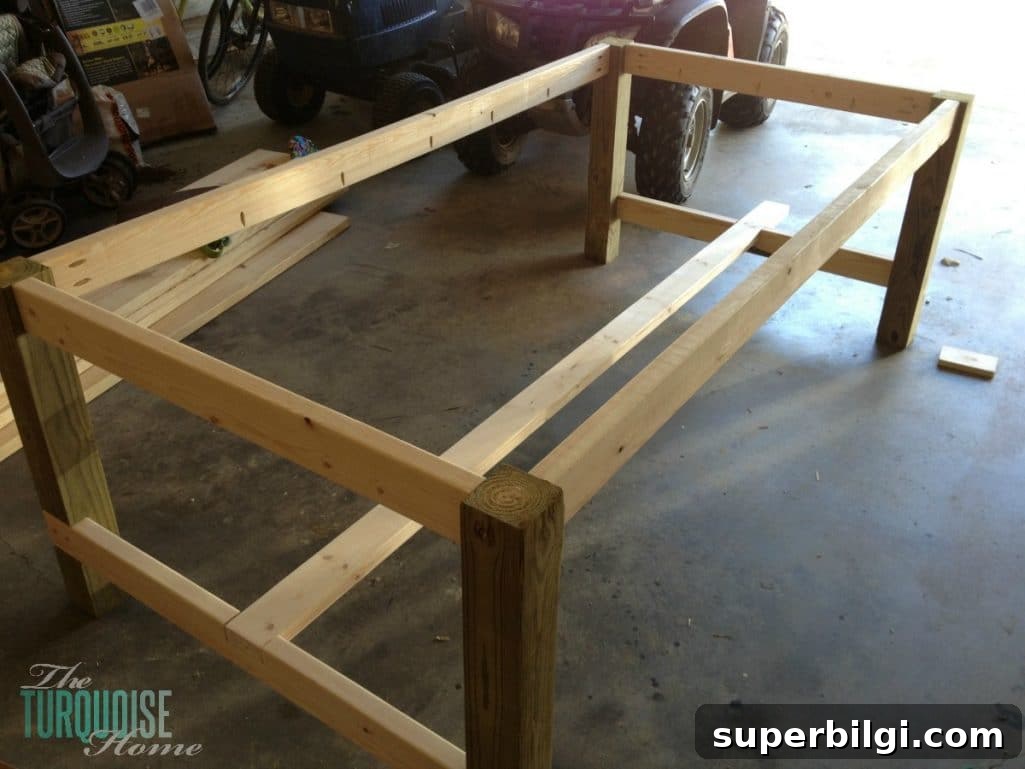
Earlier photos from this project, taken before I improved my photography: