
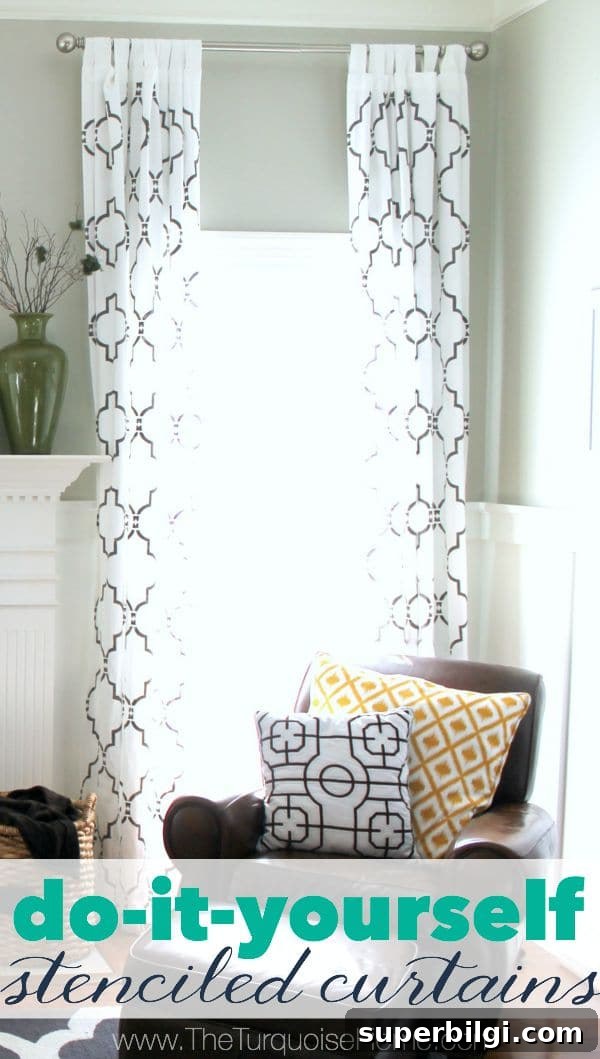
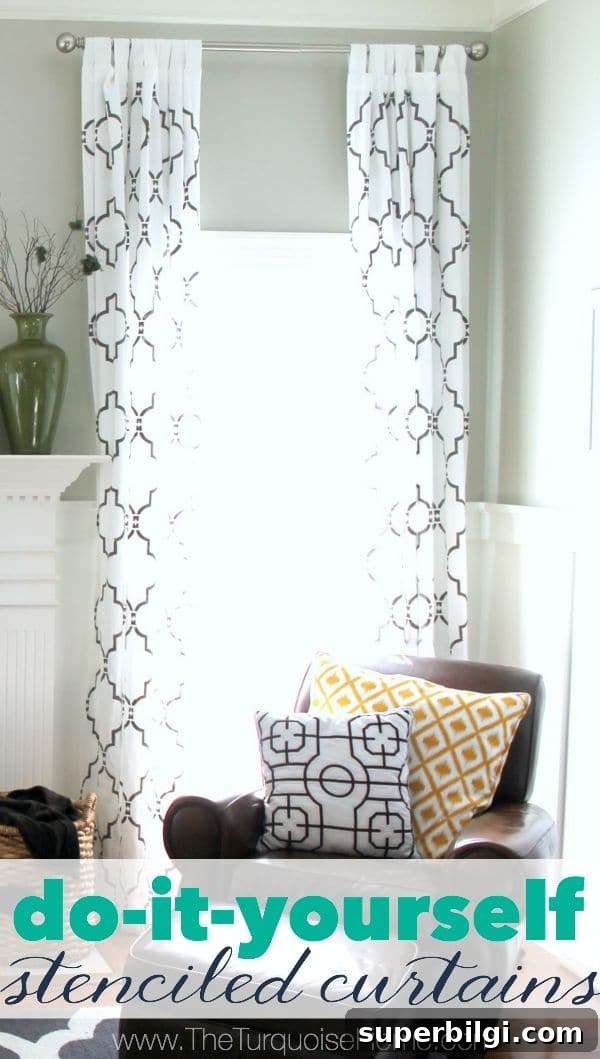
Learn how to make your own drapes! Finding curtains you love can be challenging. Create custom curtains by making DIY stenciled curtains yourself.
Hi there! I’ve been slowly working on this project for almost a month, and I’m excited to share the process for making stenciled curtains you’ll love.
This post contains affiliate links for your convenience. See my full disclosure policy.
I searched for the perfect curtains for my living room for a long time. With 12-foot ceilings, purchasing ready-made long panels was expensive, so I decided to buy plain, affordable curtains and stencil them myself to get the exact look I wanted.
I chose a popular budget curtain and then hunted for the right stencil. I’d been eyeing Moroccan trellis patterns for months and wanted a stencil I could also use on a future wall project, so I selected a Marrakech-style trellis stencil to work on both curtains and walls.
What You Will Need to Stencil Curtains:
- Approximately 8 oz. of craft paint per panel
- Fabric medium to mix with the paint
- Curtains – clean and ironed; choose a light, natural fabric for best results
- Stencil – a large allover trellis or geometric stencil works well
- Foam stencil daubers for controlled application
- Large drop cloth or old sheet to protect your floor
DIY Stenciled Curtains: How To
Here’s a clear, step-by-step guide to stenciling your own curtains, with tips to avoid common mistakes.
1. Select and Mix the Paint
I used craft acrylic paint mixed with fabric medium to ensure the paint flexes and adheres to the fabric without becoming stiff. Fabric soaks up paint, so expect to use more than you think. For my greige shade I mixed several colors until I reached the right tone, and I recommend writing the exact formula down so you can reproduce it if you need more.
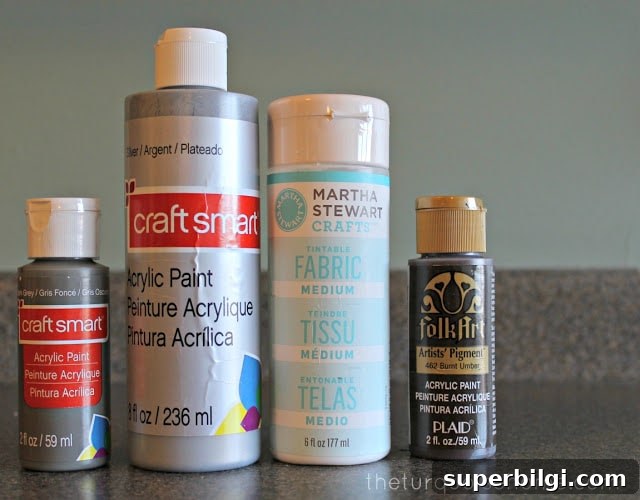
Sample formula I used:
2 oz. gray
1 oz. silver
1/2 oz. burnt umber
3 oz. fabric medium
That mixture covered nearly a whole panel, but in total I needed about 8 oz. of mixed paint per curtain panel because the fabric soaks up a lot of color. I had to buy extra paint to finish the first panel, so plan accordingly.
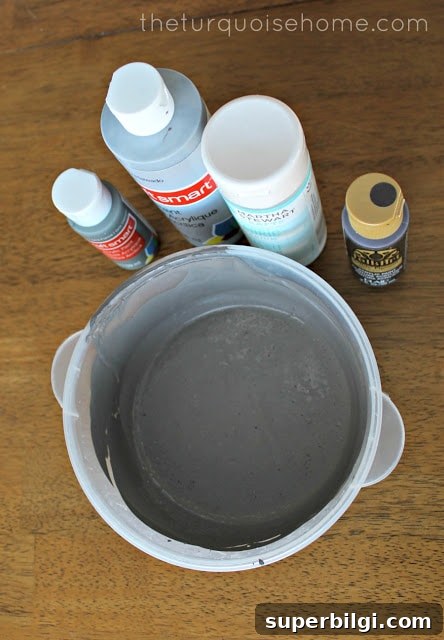
The final color dried into a warm greige—more brown than it looked when wet—and it turned out exactly as I hoped.
2. Prepare Your Workspace
Set up a large, flat area where you can lay a full curtain panel out. I cleared a section of my living room so I could stencil in the evenings after my child went to bed. Cover the floor with a drop cloth or an old sheet to prevent paint splatters. A canvas drop cloth is better than a lightweight sheet because it stays put and won’t shift while you work.
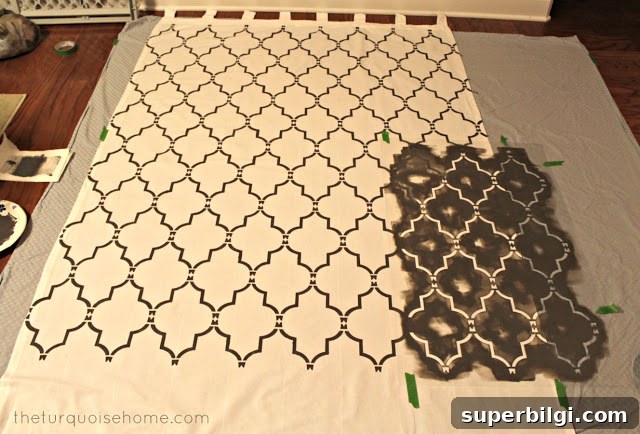
3. Stencil the Curtains One Section at a Time
Position the stencil carefully over the curtain, starting at the top to ensure the pattern is straight across the width. Use foam stencil daubers with a light amount of paint and apply using an up-and-down dabbing motion rather than brushing side to side. This reduces paint bleed under the stencil and creates cleaner edges.
Allow the paint to dry before lifting the stencil and aligning it with the next section. Repeat the process until the entire panel is covered. Keeping the pattern straight can be tricky—seams on the curtain can serve as helpful guides. Take your time and check alignment often.
Stenciling a panel took about an hour of active work, but be prepared to kneel or move around a lot; a soft pad or mat will help protect your knees.
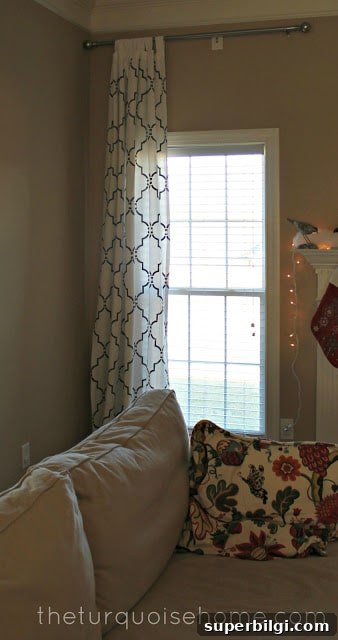
I’m thrilled with how the first panel turned out and can’t wait to finish the rest. Once I bought more paint, finishing the remaining panels was straightforward. I plan to reveal the full set alongside my seasonal mantel, but the stenciled design already adds a custom, high-end look to the space.
Update: These stenciled curtains remained one of the most asked-about projects in my home for years. They were a popular DIY and a favorite of mine.

Have you ever stenciled fabric or furniture? If not, what pattern would you try first? Stenciling is an affordable way to create customized window treatments that reflect your personal style without the high cost of custom drapery.
More posts you may enjoy:
- DIY Photo Transfer To Wood (Step-by-Step Tutorial)
- Easy DIY Throw Pillow
- How to Add Curtain Trim Tape for a Custom Look











