
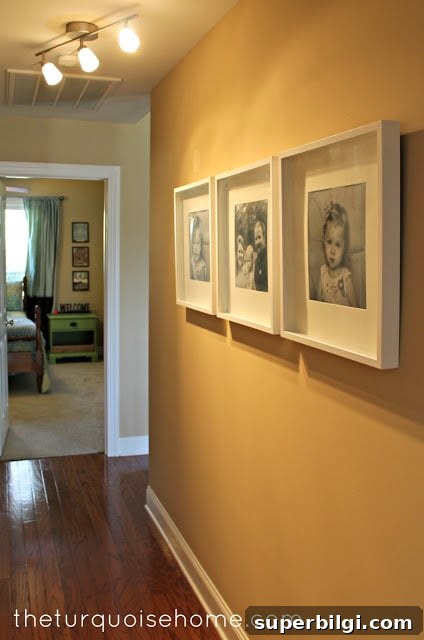
Use IKEA Ribba frames to personalize a long hallway or any lengthy wall in your home—these frames create a simple, gallery-like display.
I’m slowly making our house feel more like home by adding personal touches to the walls. I don’t have everything finished, but I’m working one space at a time. This week I focused on the narrow hallway that connects three bedrooms and a bathroom—an ideal spot for a high-impact display.
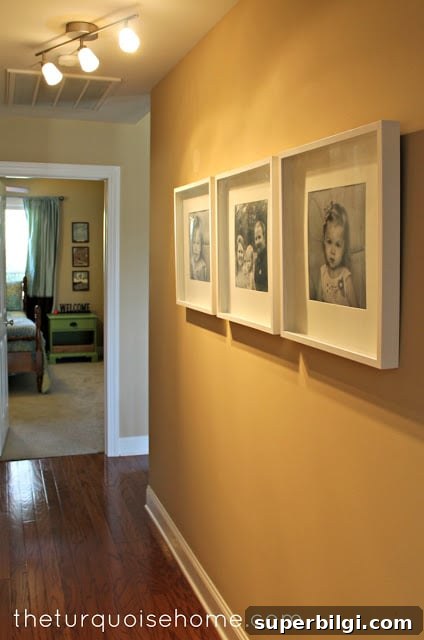
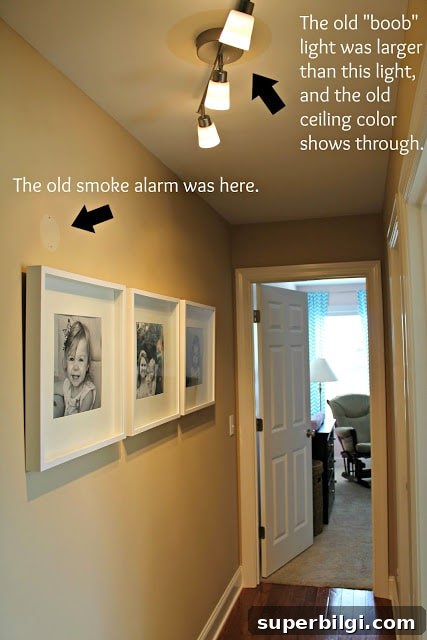
On a recent trip to IKEA I picked up three square Ribba frames and a Basisk track lighting kit to update this small stretch of wall. Instead of using many small frames like I did in my last house, I chose larger, square frames for a bold, cohesive look in this long, narrow space. The Ribba frames are affordable and create a gallery-style effect without a lot of fuss.
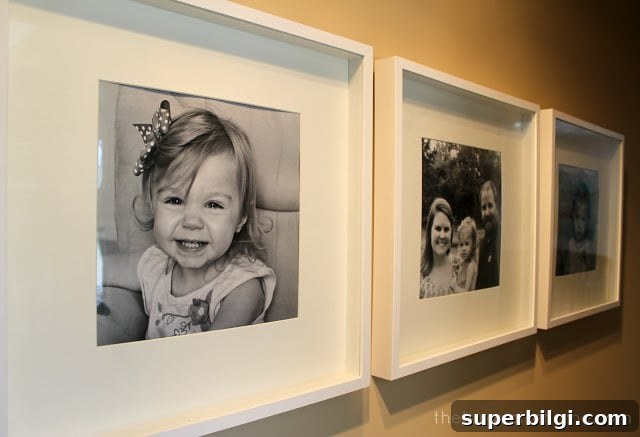
Finding the right photo size for these square frames was a small challenge. The 12×12 print size worked perfectly, and I purchased the photos at Costco. (Update: I now order 12×12 prints from Shutterfly.) Using a consistent size across all frames gives the arrangement a clean, gallery-like appearance.
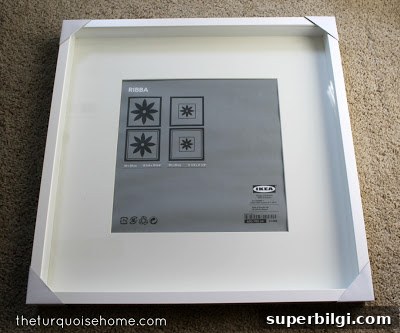
Before hanging the frames, I found an excellent tutorial by Kelly at View Along the Way that made the process much easier. The Ribba frames can be tricky to hang straight, and Kelly’s “how to get IKEA Ribba frames to behave” post explains a reliable hack using a short screw and a paint stirrer to secure the frame hook. That simple trick saved me a lot of time and frustration.
As I worked on the wall, I uncovered older paint colors in a few places—behind the smoke alarm and near a ceiling fixture—which was a fun little surprise. We also removed the builder-grade light and found yet another older shade. Those discoveries have nudged me to finally choose a new, cohesive paint color for the main living areas in our open floor plan.
I’ll be picking a fresh paint color soon, and this hallway project gave me extra motivation to get that done. (Update: We later shared the paint color we chose for the living room and hallways.)
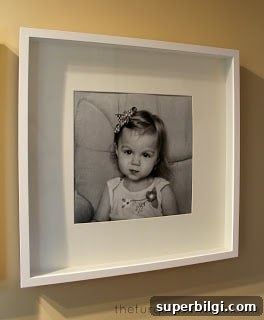
This was my first time using IKEA Ribba frames and I’m impressed. They’re a budget-friendly way to create a striking focal point and they feel high-end when grouped together. The Basisk track lighting kit also made a big difference. It had to be mounted slightly off-center to make room for the smoke alarm, but angling the lights provides the right illumination for the framed photos and eliminates another unattractive, builder-grade ceiling light.
If you’re planning a similar update, here are a few practical tips based on my experience:
- Choose a single photo size that fits your frames—consistency makes the layout read as a gallery wall.
- Use the Ribba frame hanging hack (short screw and paint stirrer) to get the frames to hang straight and stay level.
- Consider track lighting to highlight the artwork and replace dated ceiling fixtures for a cleaner look.
- Expect to uncover previous paint colors when you remove fixtures—treat it as a chance to pick a fresh, cohesive color for the whole open space.
Overall, this project was an easy, affordable way to add personality and polish to an otherwise plain hallway. I’ll definitely use Ribba frames again to create gallery-style displays in other rooms.
More Posts You Will Love:
- DIY Frame for a Frame TV
- DIY Picture Frame Moulding
- How to Frame a Canvas (for Cheap!)











