
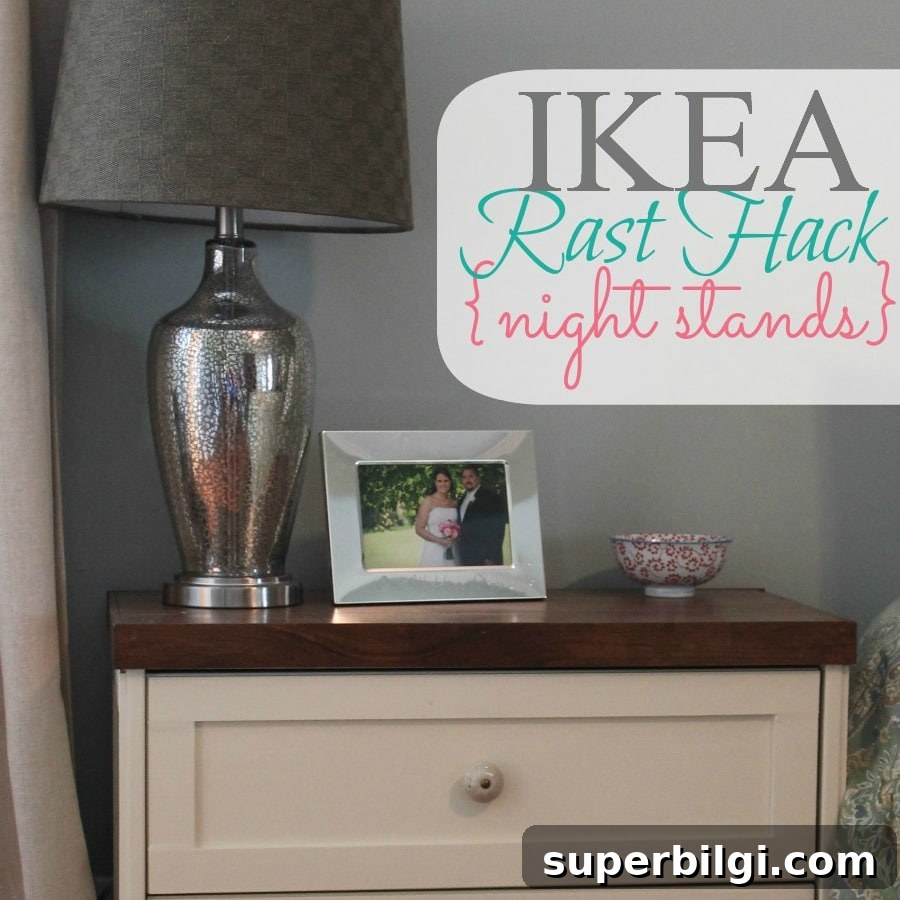
This IKEA nightstand hack is an easy, affordable way to transform a simple dresser into a custom nightstand that suits your home.
I finished my new bedside tables and I absolutely love them. I wanted matching bedside tables for our new bedroom but didn’t want to spend a lot, so I turned an IKEA Rast dresser into custom nightstands. The Rast is basic, solid wood, and a perfect blank canvas for a creative makeover.
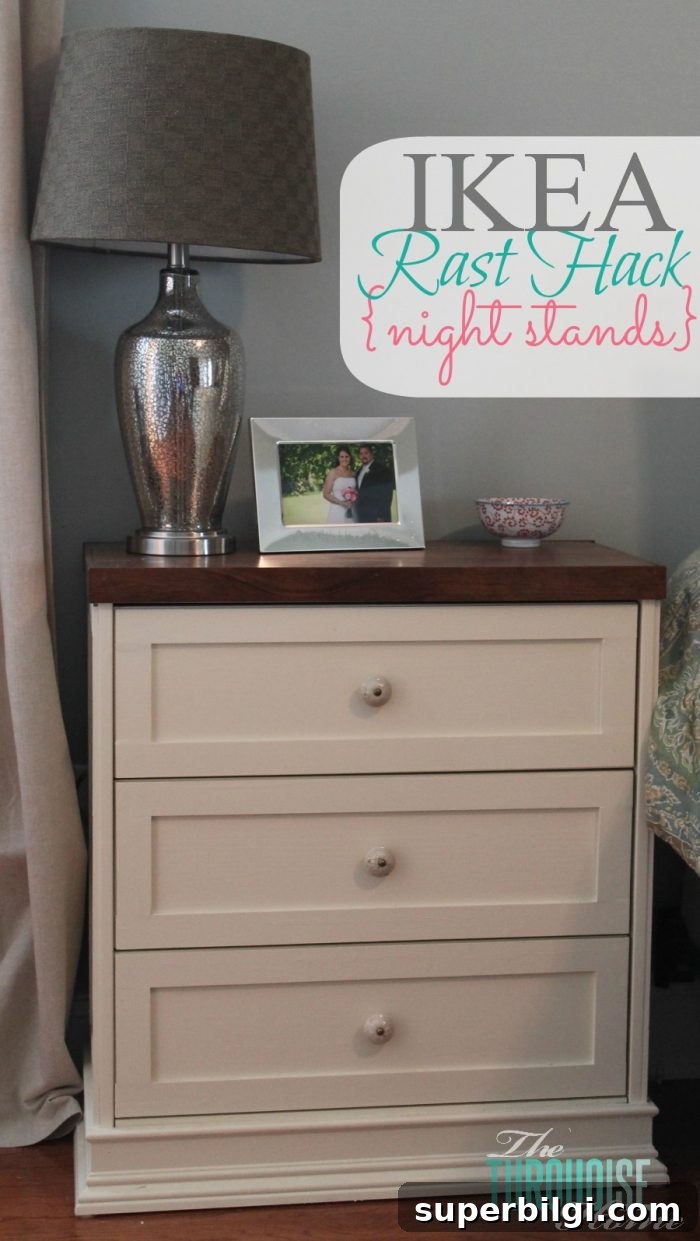
This was my first woodworking project and it sparked a new passion for making my own furniture and decor. It was rewarding though it took a few days from start to finish. The new bedroom is big enough for two nightstands, so I made both to create a balanced, symmetrical look. Having drawers to hide clutter has made the space feel more polished and functional.
The Rast dresser is an economical starting point for hacks like this. Its simple form and solid wood construction make it easy to alter—adding trim, a raised base, and a finished top turns it into something that looks custom-made.
Tools and Materials Needed for an IKEA Rast Hack Nightstand
- Miter saw
- Nail gun (or finish nails and hammer)
- Putty knife
- Wood putty
- Sandpaper (various grits)
- 1 — 1×4 board for the dresser top
- 1 — 1×6 board the width of the dresser
- About 40 feet of decorative lattice per dresser (if making two, get ~75 feet)
- Drawer pulls or knobs
- Wood stain for the top
- Paint for the body (and Floetrol additive to reduce brush marks, optional)
- Clear protective finish such as Polycrylic
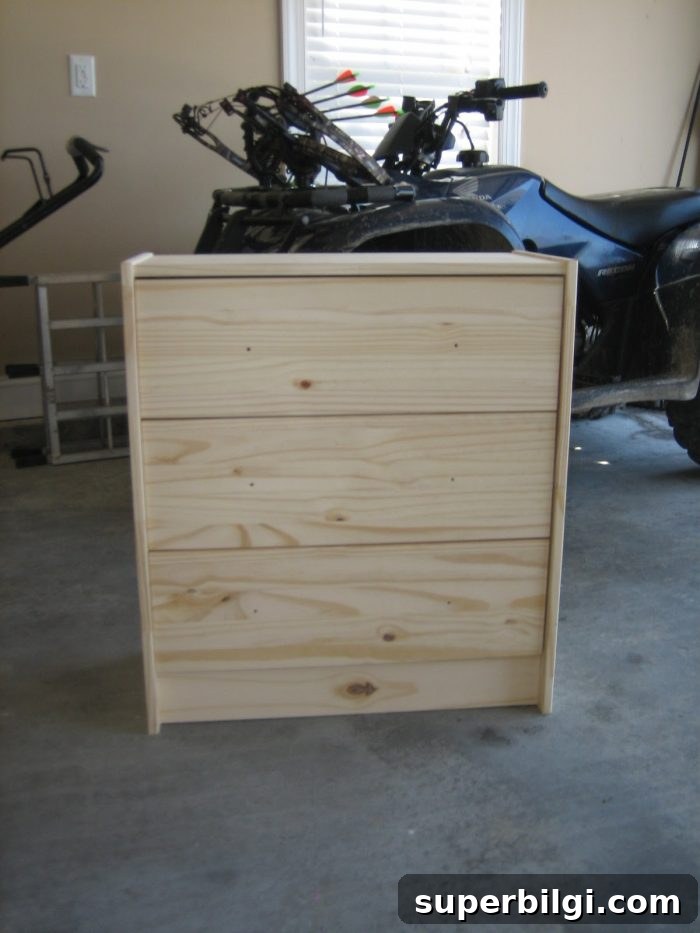
The Rast is plain out of the box but sturdy. It’s a great base for a DIY nightstand because you can easily add detail and dimension without rebuilding the whole piece.
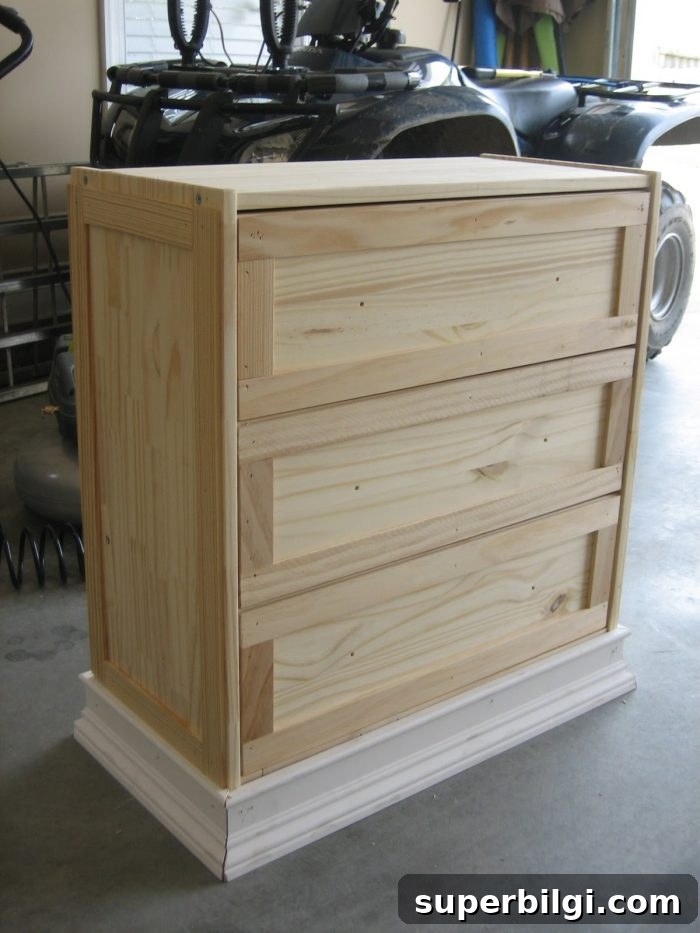
My first step was to build up the base so the molding and trim would have a solid surface to attach to. I added a frame of 1x4s and used lattice behind it to build up the skirt. That gave the dresser a higher, furniture-like profile.
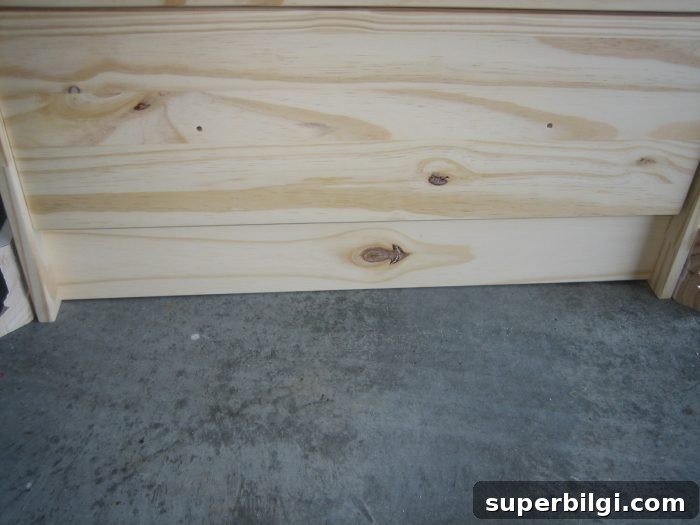
With the base built up, I cut base molding and lattice to trim around the drawers and sides. I used a miter saw for precise angles and a nail gun to secure the pieces quickly. Fitting the top components—two 1x6s plus a 1×4—gave the dresser a tray-like top that I could stain separately.
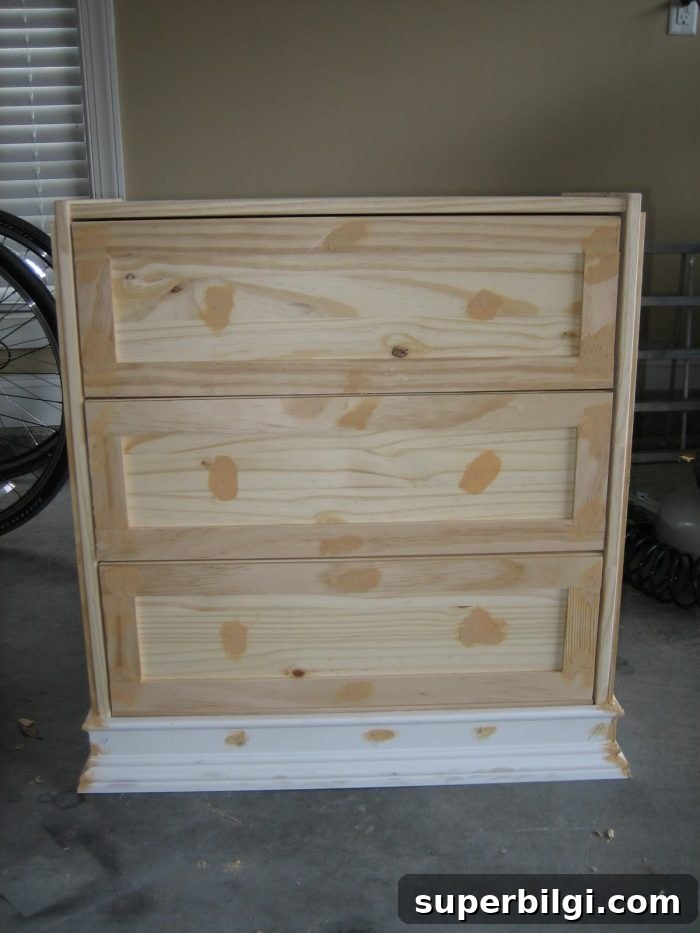
After assembly I filled nail holes and seams with wood putty, sanded smooth, and applied paint. I used two coats of paint and added Floetrol to the paint to minimize brush strokes for a smoother, more professional finish. I chose a warm antique white for the body.
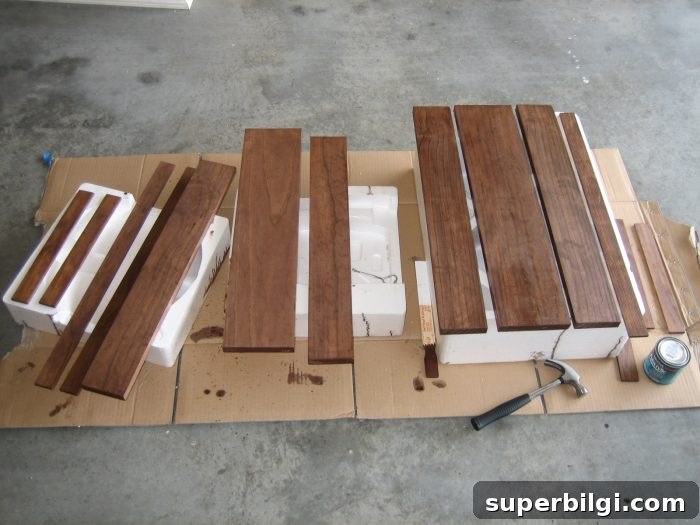
For the top, I pre-stained the pieces before attaching them. I assembled the top tray and used stained lattice to trim the edge for a finished look. Finally, I protected the stained top with a clear coat for durability.
Before the makeover, the Rast looked like a simple, inexpensive dresser.
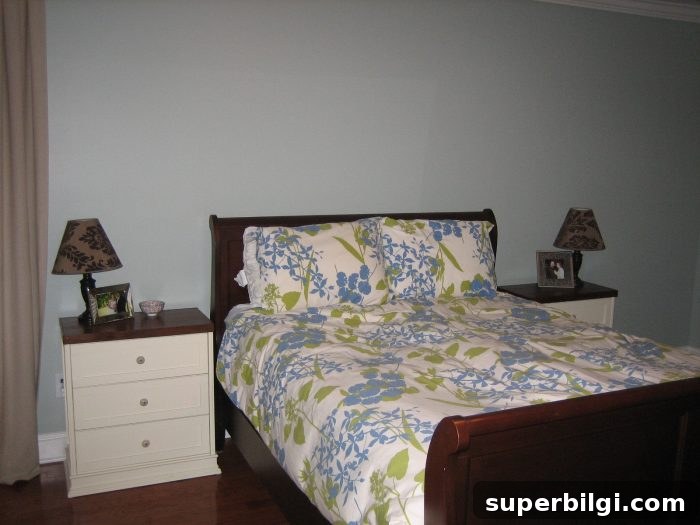
After the changes—added base, trim, painted body, and stained top—the piece looks like a custom bedside table.
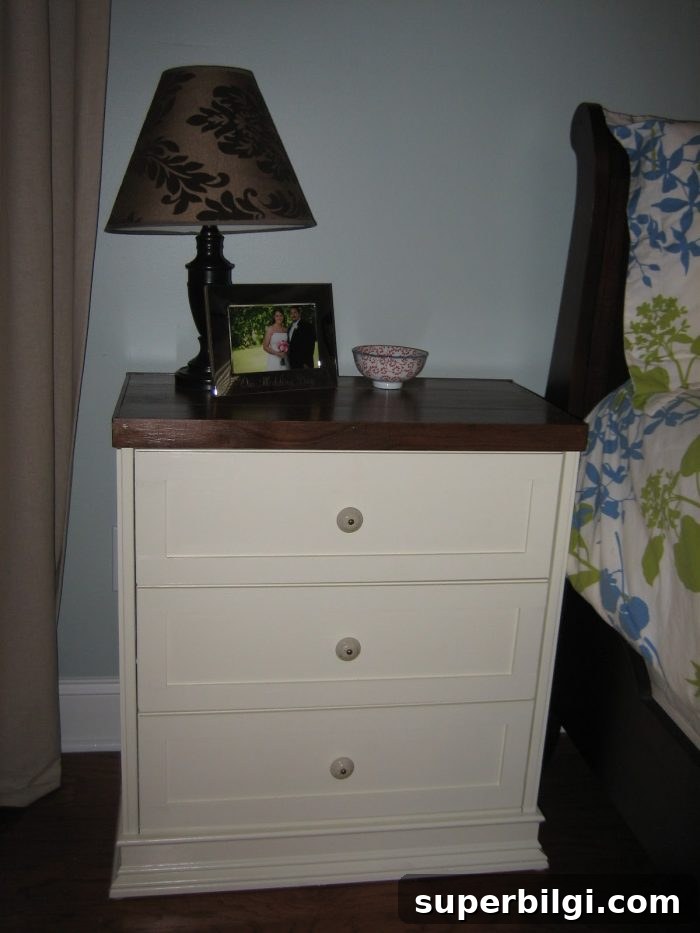
I love how these turned out—simple materials, thoughtful details, and a lot of satisfaction from doing it myself.
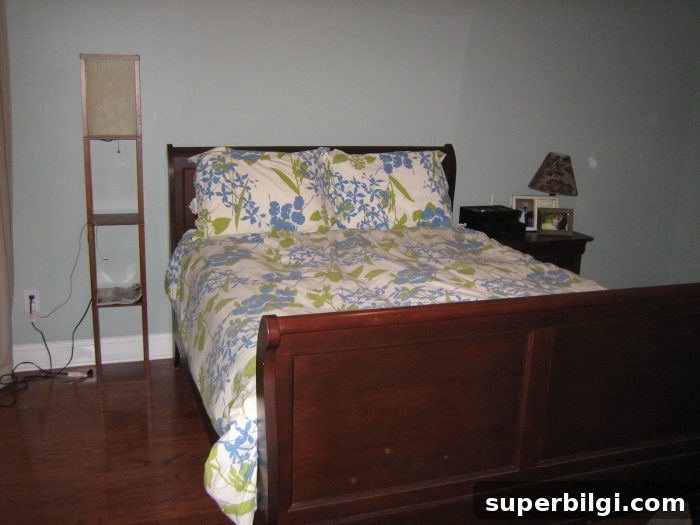
Next on my list: new lamps, a fresh duvet cover, art above the bed, and a few finishing touches to complete the master bedroom. This project proved that an affordable dresser can be elevated into a custom-looking nightstand with a little planning and elbow grease.
What do you think of my first project?
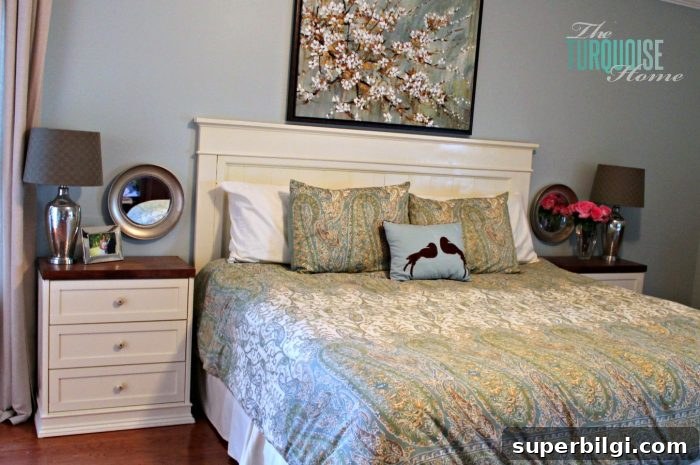
See the completed bedside setup in my master bedroom update gallery and use this project as inspiration for your own Rast hack or furniture makeover.
More posts you might enjoy:
- A’s Room: Hot Pink Nightstand Makeover
- 7 Must-Have Nightstand Decor Ideas
- Bedroom and Office Inspiration with a Nautical Theme
- How to Make a Headboard: 13 Beautiful DIY Headboard Ideas
- How to Start a Room Makeover











