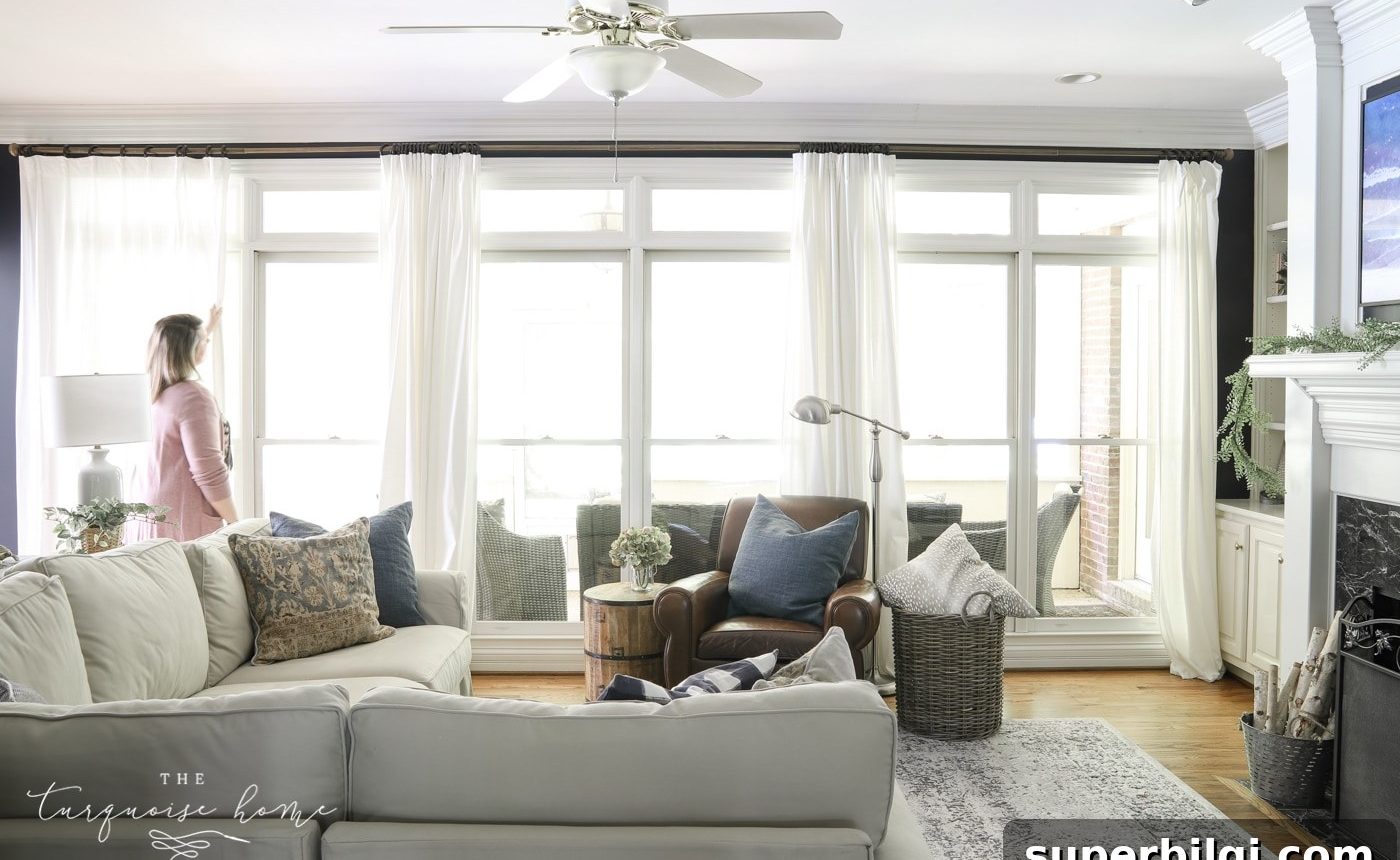
Do you have a long wall of windows and need an affordable curtain-rod solution? Here’s how I made an extra-long curtain rod for under $200.
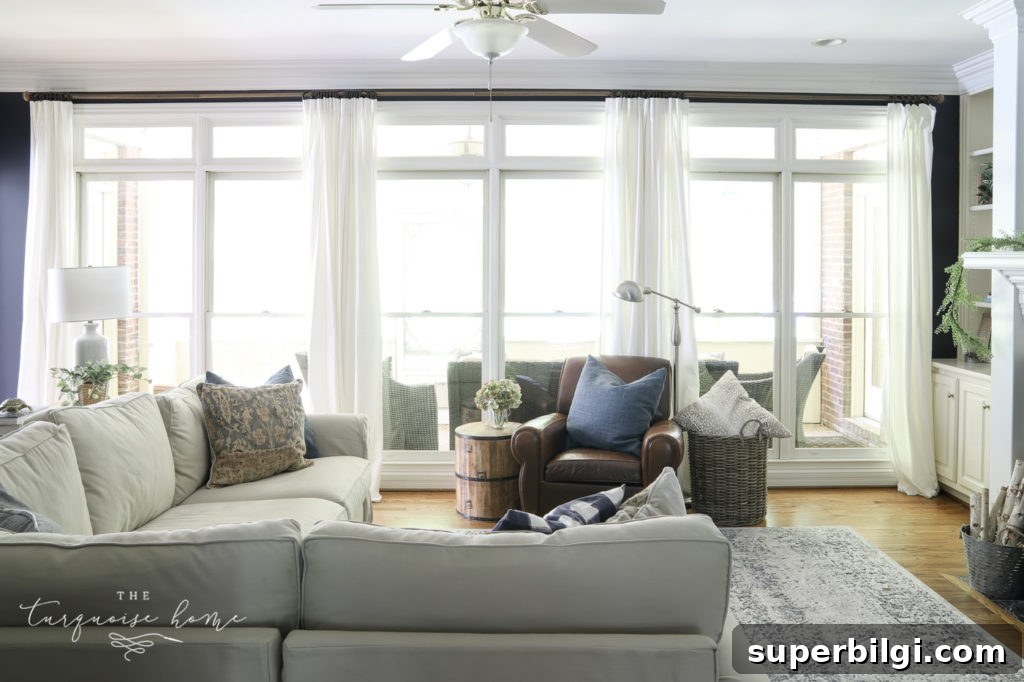
I was planning a living room makeover and struggled to design inexpensive window treatments for a whole wall of windows — 222 inches of glass in total. The room has a screened porch outside, which already limits light, so I wanted to maximize daylight and remove the heavy feel that the original wood blinds added. Curtains offered the texture and softness the wall needed, so I chose solid white panels to pair with Hale Navy walls for a classic navy-and-white look.
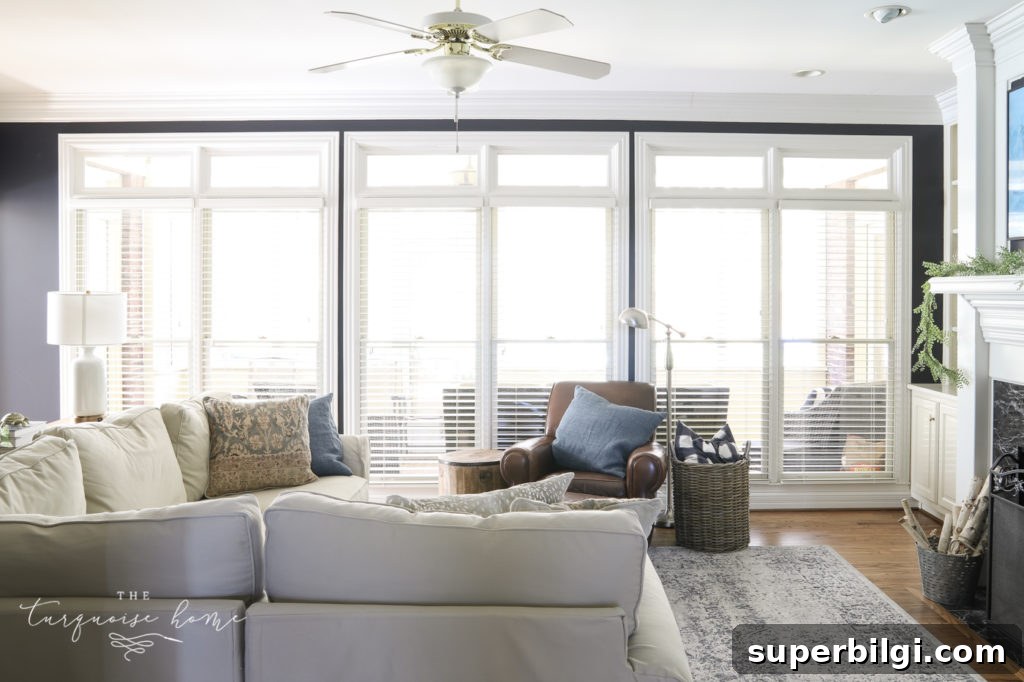
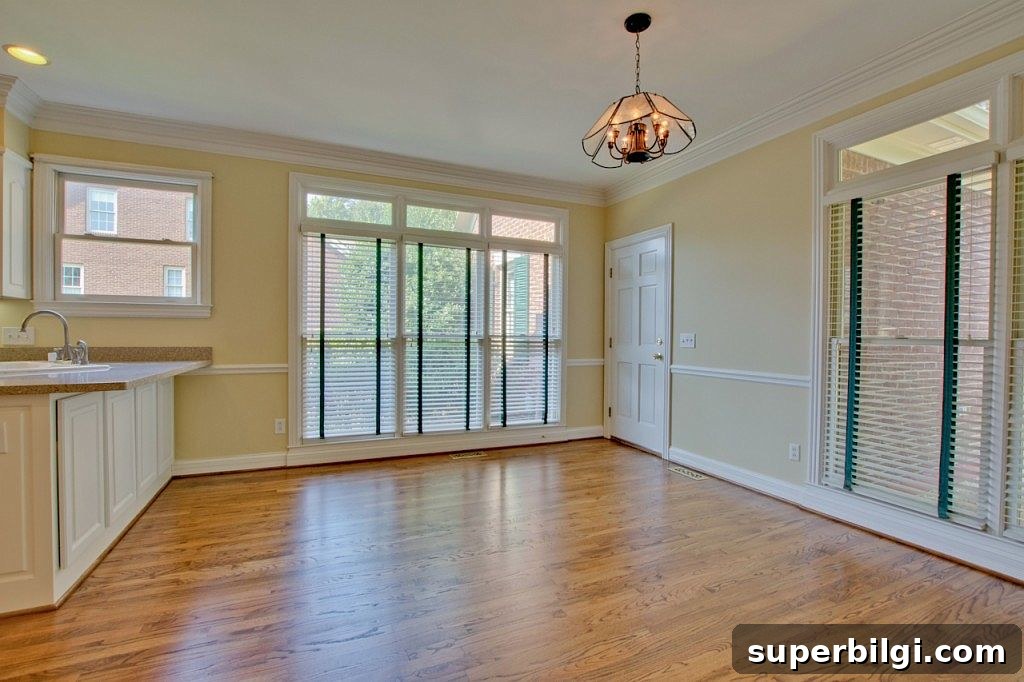
The existing blinds fit the kitchen windows too, but they had an outdated hunter-green cloth tape that I didn’t want to keep. Replacing those made sense, but my main challenge was the living room: a continuous span of windows with only 1.5 inches between each opening. Buying a single, custom rod that long was out of budget, and most extenders I found were expensive. So I designed a simple, budget-friendly DIY approach that looks polished and works well.
Materials and Costs
- Three extendable wooden curtain rods (each 66″–120″) — purchased on sale for a total of about $100
- Three sets of white drapery panels (IKEA Ritva style, roughly $30 per pair) — needed three sets
- Curtain rings or hooks — I chose higher-quality rings that added about $60 to the project
- Electrical tape for joining rod sections and basic mounting hardware
There are cheaper rod options like electrical conduit, galvanized pipe, wooden dowels or tension rods, and those will absolutely work if you don’t need decorative finials or prefer to paint. I wanted substantial wooden rods with matching finials and a clean finish, so I kept to ready-made extendable rods to avoid painting or heavy modification.
Solution for Making an Extra-Long Curtain Rod
My wall has three sets of two windows, each window set measuring exactly 73 inches wide. A 66″–120″ extendable rod covers each pair perfectly. Because the windows are separated by only 1.5 inches, I couldn’t simply install three independent rods without creating awkward gaps or visible hardware. The solution was to join the three rods together to create the appearance of one continuous rod while mounting brackets over the narrow gaps between windows.
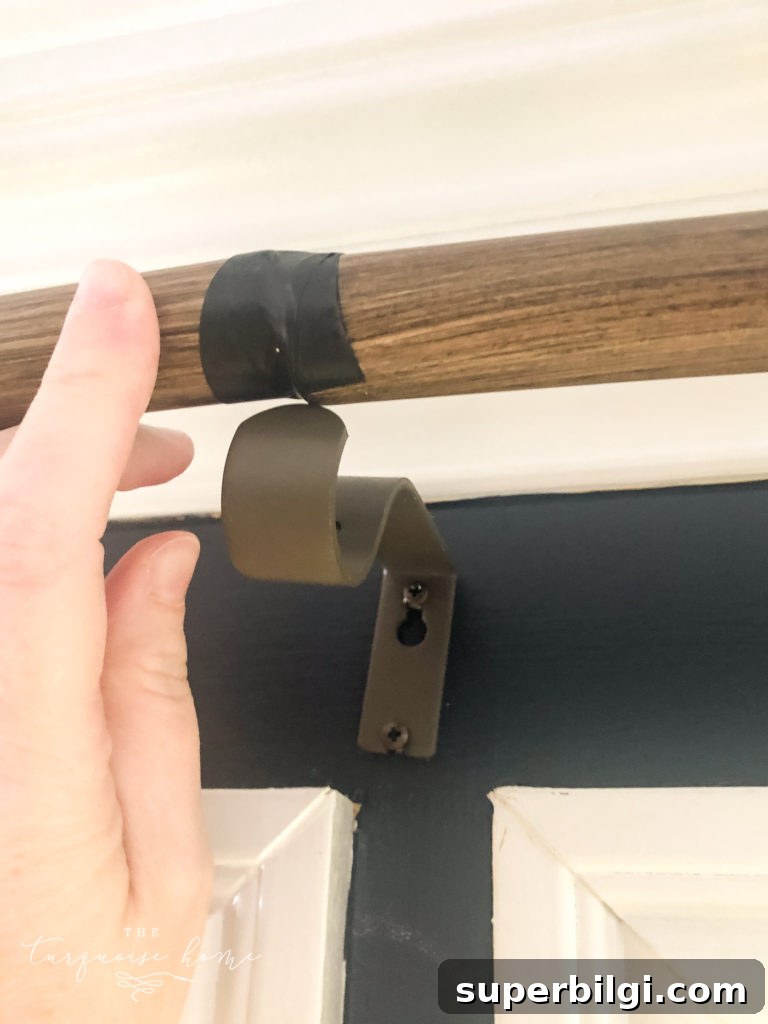
To join the rods I simply overlapped the ends and secured them with electrical tape, then set the joined sections into the brackets. The brackets and the curtain hardware hide the taped joints, and the result reads as one continuous rod across the entire span. This low-tech fix is strong enough when the rods are supported well by brackets and, if you prefer, you can reinforce the joints with a short interior sleeve or a small screw through the overlapping section.
Installation Tips
- Place brackets over the narrow spaces between windows so joints and tape sit behind the curtain panels.
- Mount brackets into studs when possible; if not, use appropriate wall anchors for the weight of your rods and curtains.
- Hang the rod higher and wider than the window frame to make the windows feel larger and to let more light in when curtains are open.
- If you’re using curtain rings, add small curtain hooks to the panels for easier movement and a cleaner drape.
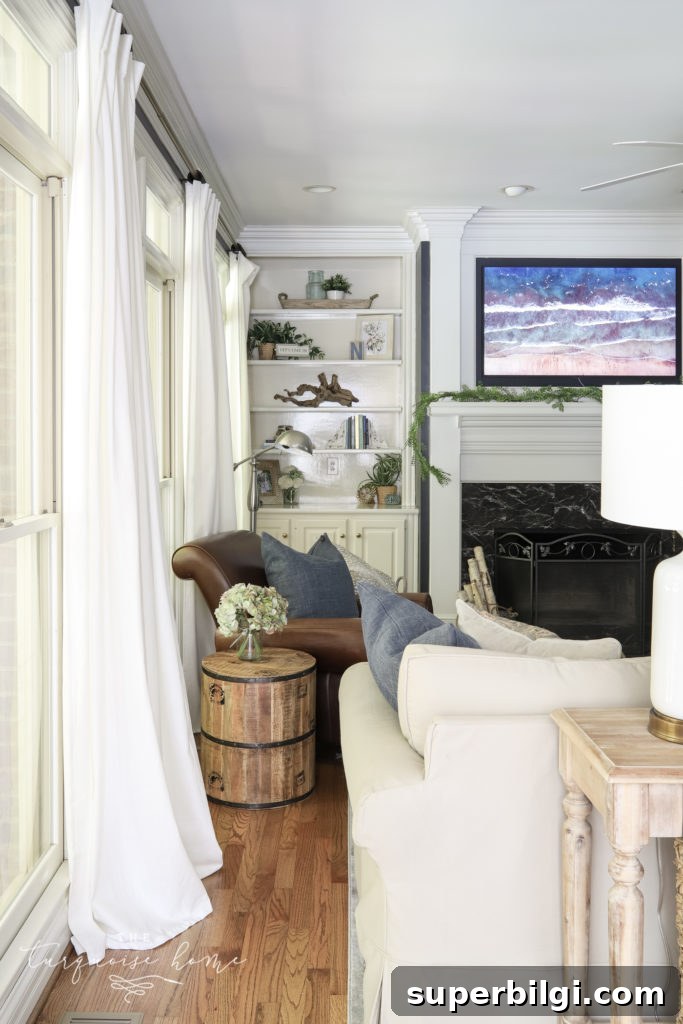
- Tuck panels into the short gaps between windows so the fabric looks continuous and softens the hard lines of the wall.
I chose white panels for contrast with the navy walls — the curtains add texture without blocking daylight because I hung them on rings that allow light to filter through when panels are open. The whole project stayed under $200: three rods on sale, three sets of economical drapery panels, and the rings I selected to finish the look. If you choose less expensive rings or DIY rods, you can reduce that cost even further.
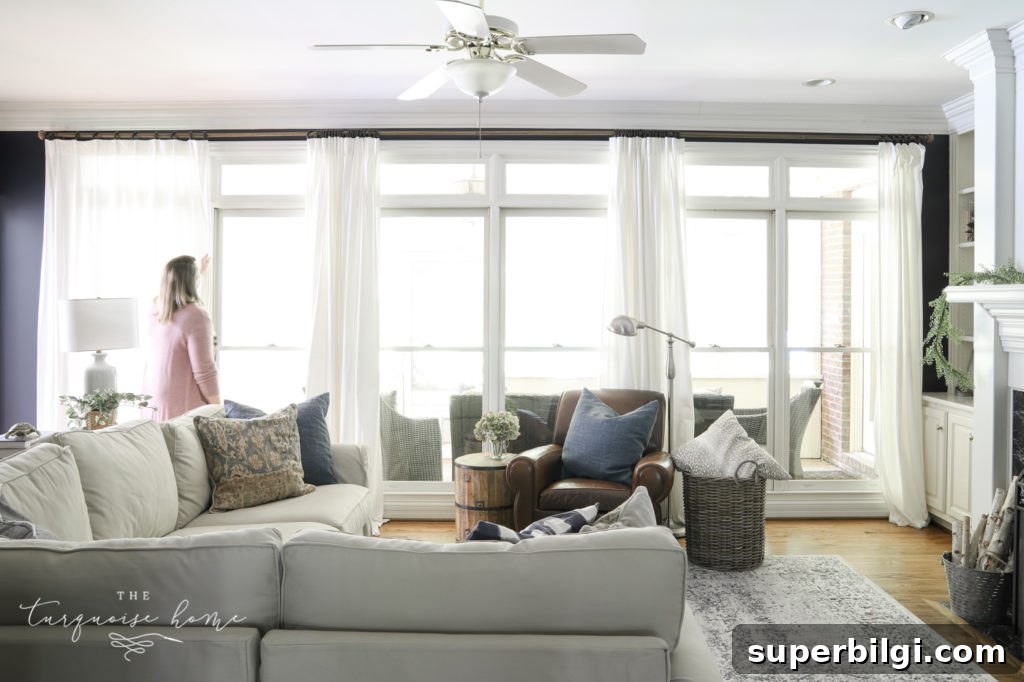
I love how this semi-DIY solution turned out: the continuous-looking rods bring cohesion to the wall, the white curtains add softness and brightness, and the room feels more intentional and welcoming. The taped joints are completely concealed by the brackets and the fabric, and the result is elegant without a custom price tag.
Are you team blinds, team curtains, or both? If you have a long window wall and are considering a similar approach, these simple steps should make the installation straightforward and budget-friendly.
More posts you might enjoy:
- How To Hang Curtains: Easy Steps and Tips
- Cozy Navy Living Room Reveal
- The Best Living Room Paint Colors
- How to Decorate a Coffee Table