
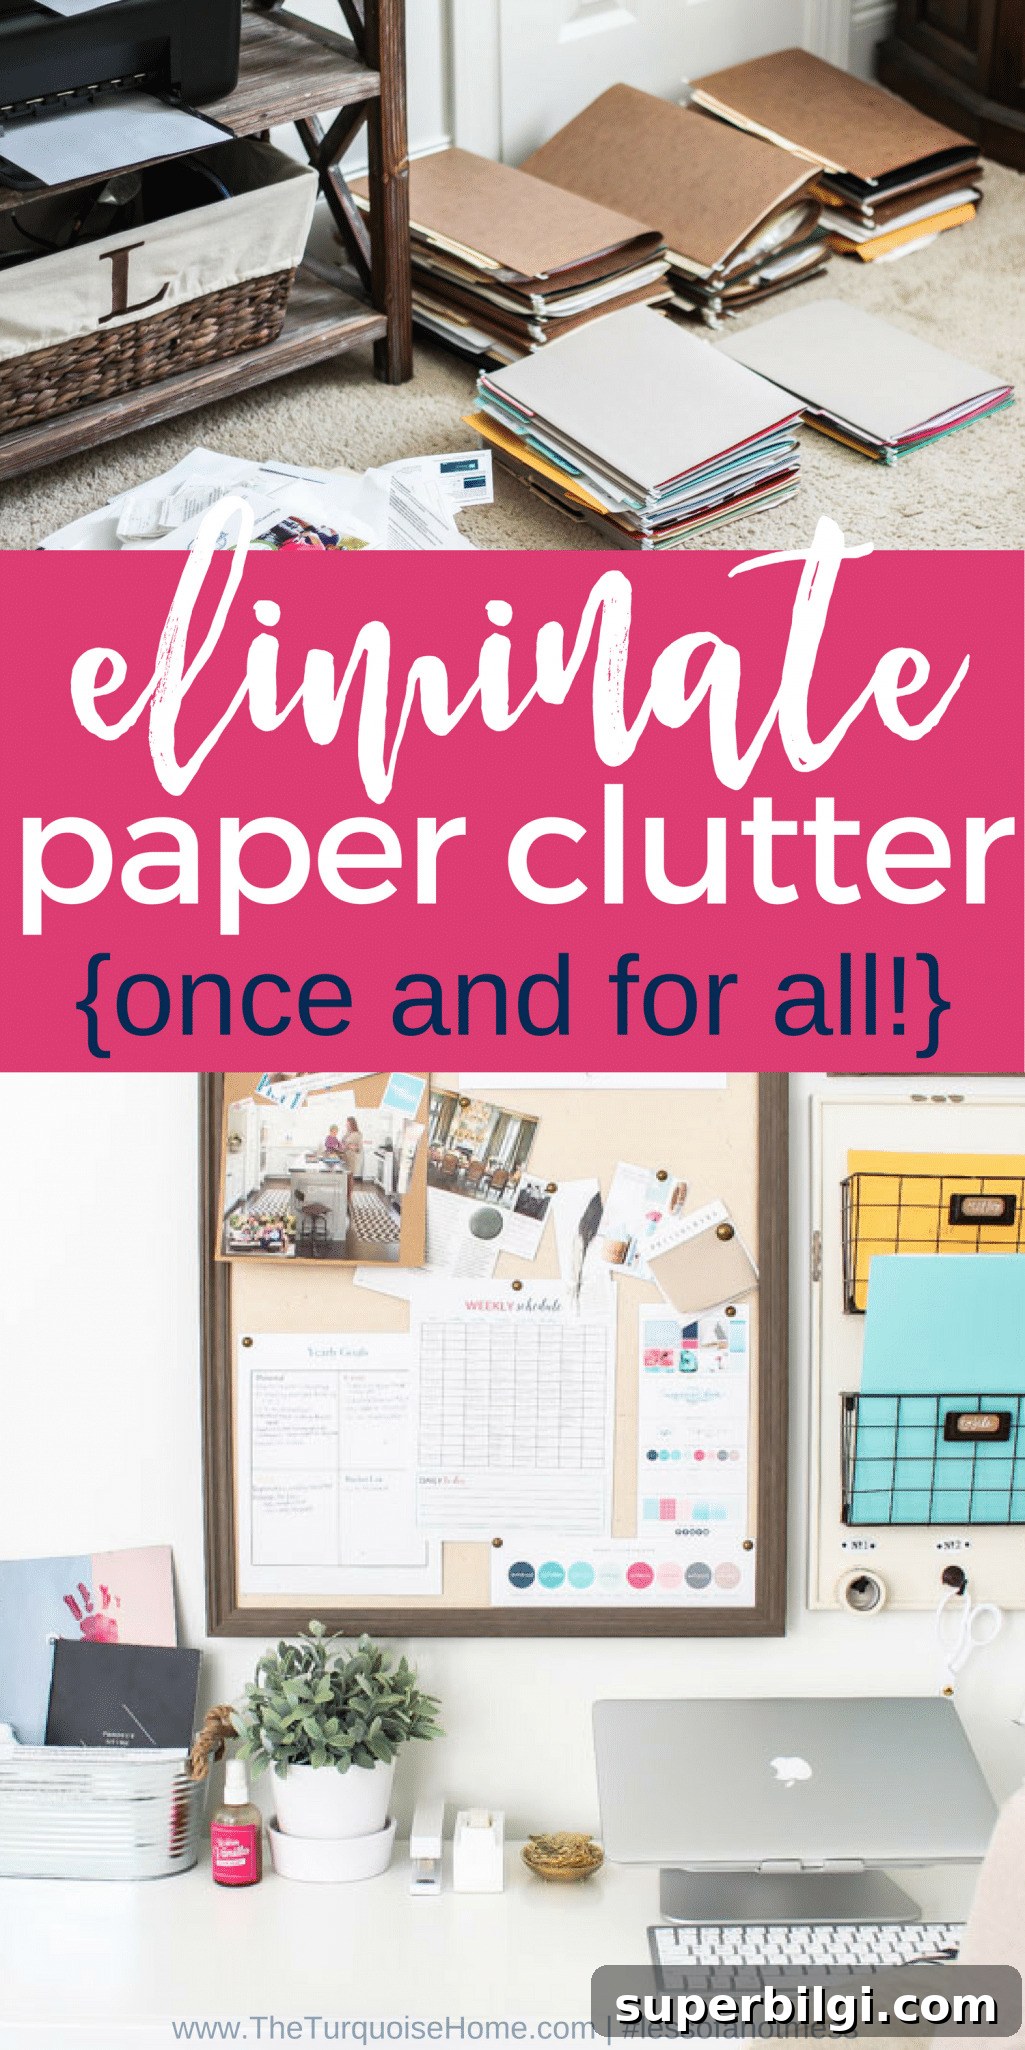
Welcome to Day 9 of the 30 Days to Less of a Hot Mess Challenge! Today we focus on paper clutter: sorting, simplifying and creating a system so paper no longer takes over your home. If you’re new to the challenge, start at the beginning and work forward. This post includes practical tips and tools to make paper management simple and sustainable.
I began tackling paper clutter months ago and kept thinking this would be the toughest part of the declutter process. I started reading The Life-Changing Magic of Tidying Up and realized I needed to approach paper differently. For a long time I tried to sort papers while they were still tucked away in drawers and folders—and that made the task feel impossible.
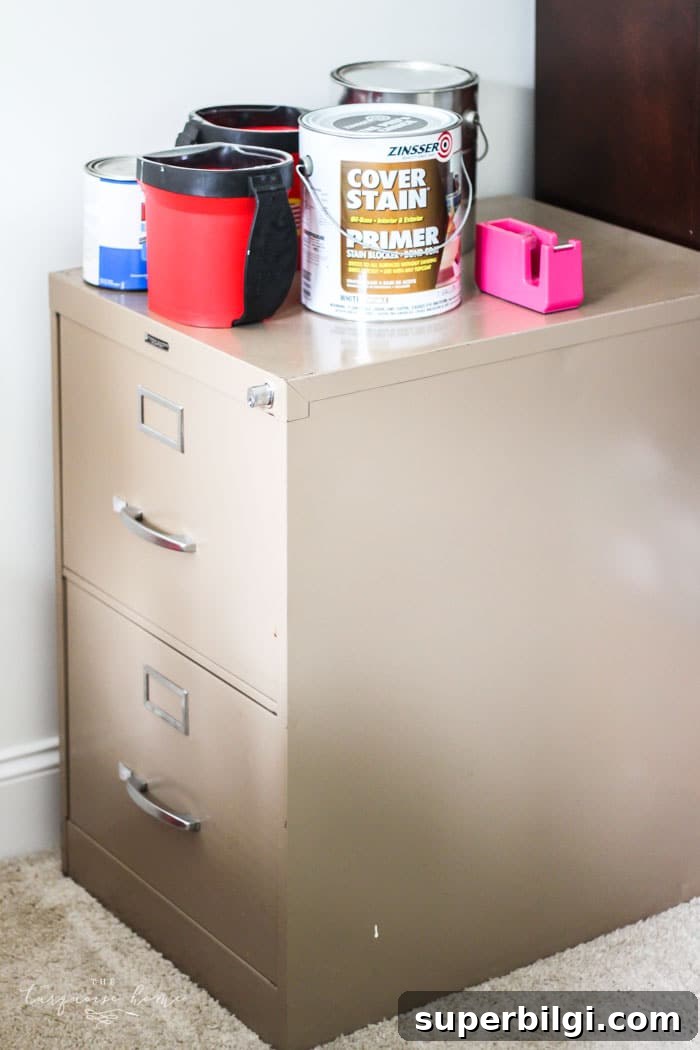
My long-term goal was to replace an old brown filing cabinet that came with my husband when we married. It had served us well, but it always felt heavy and dated. One drawer had most of the important papers; the other held printer paper, ink and envelopes. I wanted more attractive, functional desk storage and finally upgraded to a desk with filing-base storage. That change motivated me to actually deal with the papers once and for all.
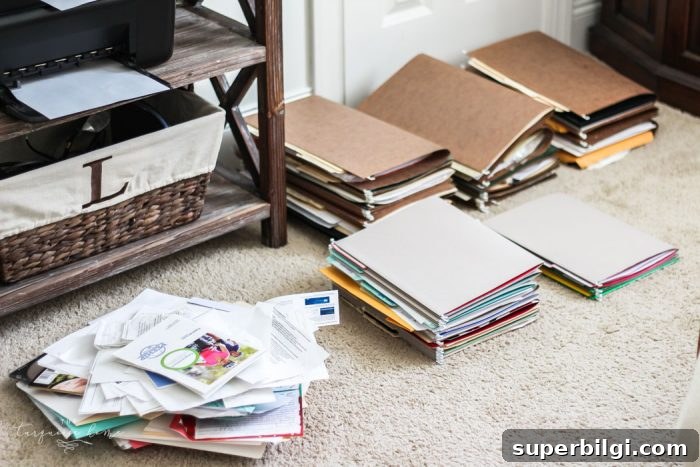
Finally, I followed the book’s advice: I pulled everything out. Seeing all the papers in one place gave me perspective and made decision-making possible.
A few helpful supplies to have on hand:
- Inbox or open bin for incoming paper
- File folders
- Hanging file system
- Pen for noting action items
- Paper shredder for sensitive documents
Rule #1 to Get Rid of Paper Clutter For Good: Pull Them All Together in ONE place!
Gather every loose paper from every room—kitchen counters, laundry room, bedrooms, kids’ rooms, bathrooms, car—everywhere. Bring all of it to one central sorting space so you can see the full amount and make quick decisions.
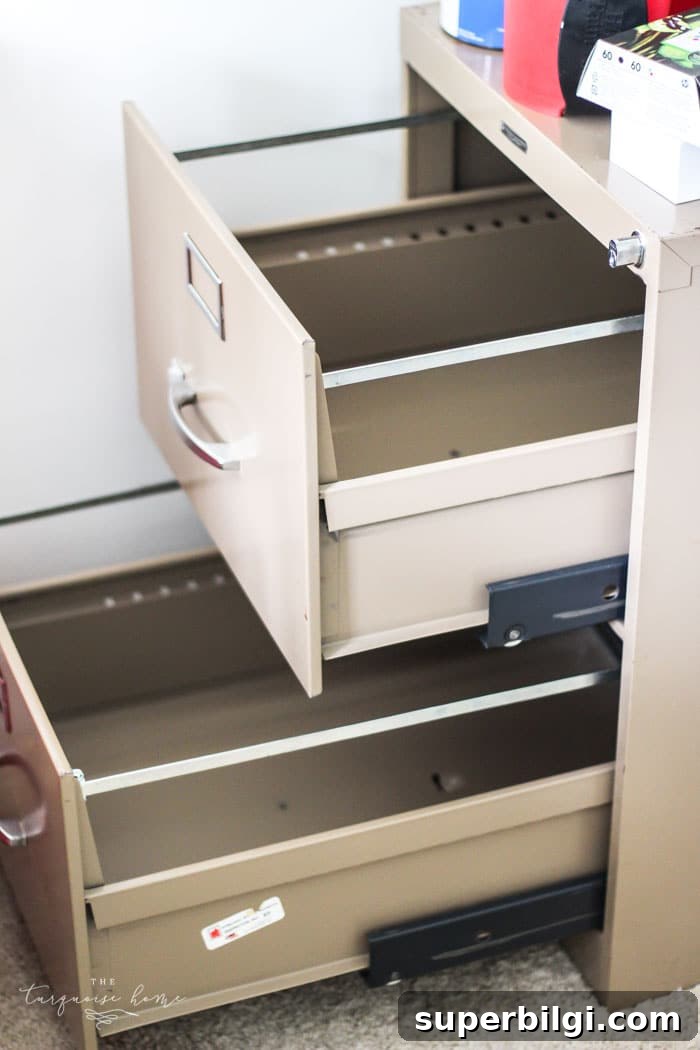
Clear out filing drawers and collect the piles that live around the house. Once everything is together, sort quickly into four piles:
- Keep (essential documents)
- To do (action items that require follow-up)
- To shred (sensitive documents)
- Trash (non-essential receipts, flyers, junk)
Be ruthless with what you keep. I found that most of my papers belonged in the shred or trash piles. Keep a planner nearby so anything placed in the “to do” pile is recorded immediately—otherwise those items can languish and defeat the purpose of sorting.
Marie Kondo’s guidance for papers is strict: keep almost nothing. While I didn’t discard everything she recommends, adopting a similar mindset helped me dramatically reduce what I keep. For example, I no longer keep dozens of owner’s manuals in binders; instead I keep only a few essential manuals together in a single magazine file.
Paper management is usually a process, not a single-day fix. If your stacks feel overwhelming, schedule focused time—an afternoon, a long weekend, or a few dedicated sessions—to get through the bulk. Organization takes time, and it’s okay to work at a manageable pace.
Here are some examples of what I discarded:
- Tax returns older than seven years
- Maintenance records from a house we sold years ago
- Old medical bills and receipts that had long been paid
- Random receipts and junk paperwork
Note of caution: I’m not an accountant or attorney. If a professional has advised you to keep certain records for legal or financial reasons, follow that guidance.
After sorting, I organized the remaining papers into a few simple folder categories:
- Keep Long Term: mortgage and loan closures, select financial documents, marriage and birth certificates, passports, social security cards
- Art: my children’s important artwork stored so it won’t crease
- Medical: small folders with each family member’s essential medical records
- House: current home maintenance records and HOA paperwork
- School: recent school papers and important school-related documents
Rule #2 to Get Rid of Paper Clutter For Good: Only 1 Drop Spot
The second key rule is to have a single, consistent drop spot for incoming paper. When paper arrives—mail, school forms, invoices—place it in that one location. Multiple drop zones create confusion and endless piles.
I used to let papers land everywhere: counters, a junk drawer, the office desk and even a dresser. I would shove everything into a box when company arrived and that box would disappear into a closet for months. Now I have one open bin on my desk where mail and action papers go. That openness keeps the papers visible and forces me to deal with them instead of ignoring them.
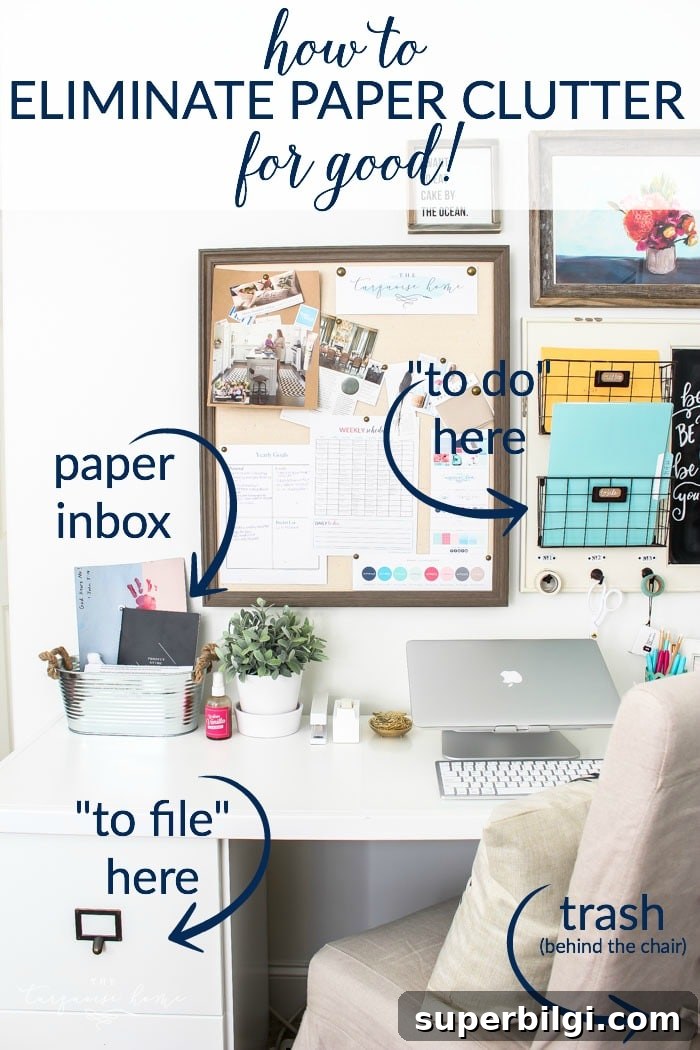
Decide what you will do with items in that drop spot: immediately file, note and add to your planner, or place in a short-term “to do” folder that you commit to handling on a weekly basis. A weekly tidy-up appointment to process that bin will keep your system running smoothly.
I’m thrilled to have paper under control and a plan for new incoming items. Tomorrow I’ll share everything I did to organize my desk and office—I’m excited to show the final reveal!
The Messy Work: Either begin sorting your papers now or schedule a dedicated time on your calendar. You don’t need 12 months like I did—start small and be consistent.
In the mess with you, Laura
MORE POSTS YOU WILL LOVE:
- January Reset Home Ideas: 25 Simple Tasks You Can Do After Christmas
- Daily Simplified Planner Review & Favorite Hack
- How to Organize Christmas Decorations
- How to Organize a House With No Storage
- Under the Bathroom Sink Storage
- How to Organize a Linen Closet
- How to Declutter Your Home in 5 Simple Steps
- Bedside Cord Organization Ideas
- Maximizing Closet Space with IKEA Pax Closet System