
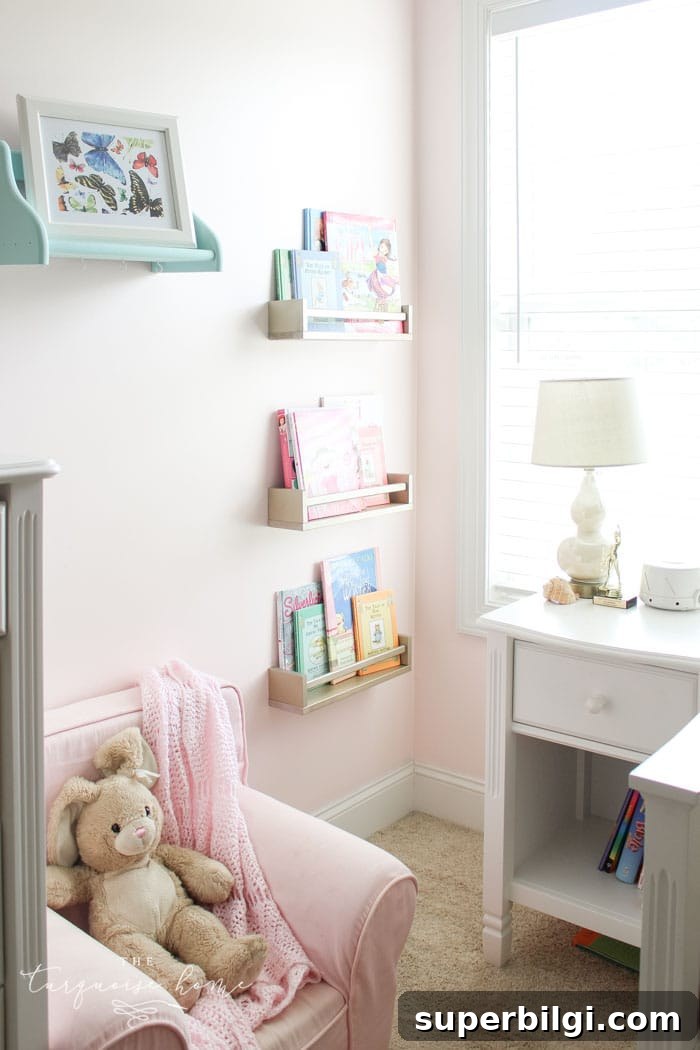
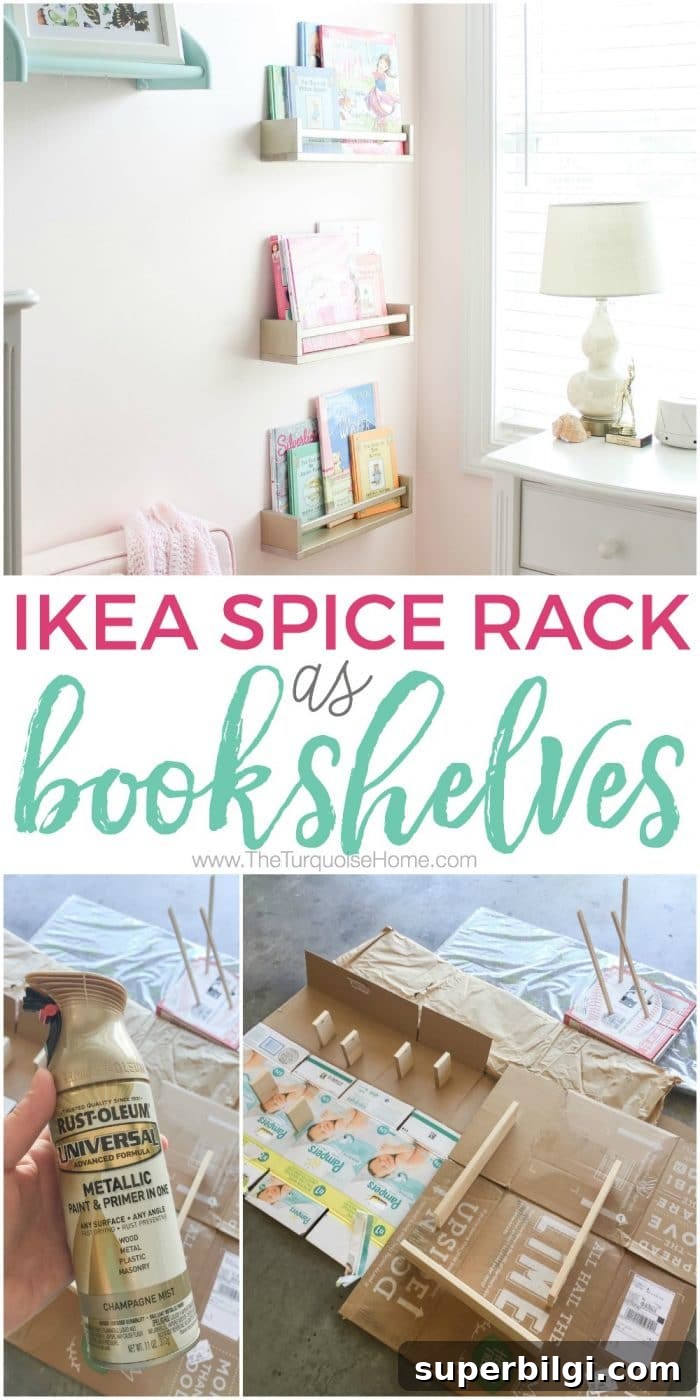
These Ikea spice racks make fantastic, budget-friendly bookshelves. They assemble in minutes, can be painted any color, and usually cost under $5 each.
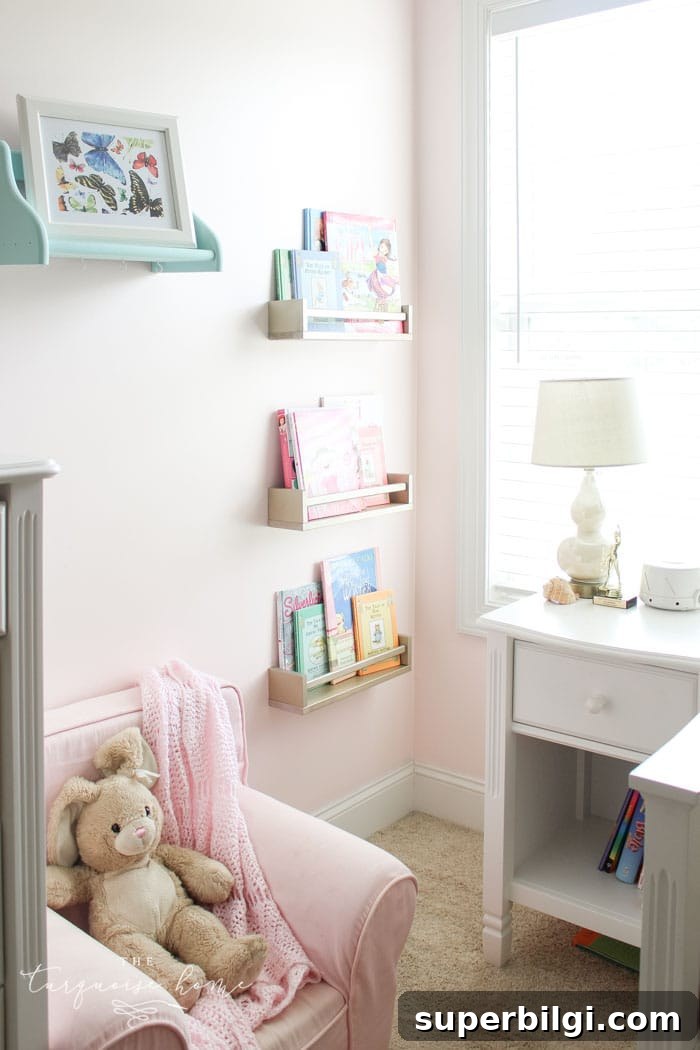
A few years back, turning the BEKVÄM spice racks into small wall shelves was a huge trend. I remember looking for them everywhere when my oldest was a baby and coming up empty-handed — people were buying them up fast. Recently, I finally found a few on an IKEA run, bought three, and they patiently waited in my craft closet for a year before I actually used them. If you’re anything like me, small projects sometimes take time to get finished, but this one is easy and worth it.
I decided to use the racks in my daughter’s bedroom to build a little reading corner. The space was a small, narrow corner that needed function more than anything, and these shallow spice racks were the perfect size for holding picture books and small favorites.
This post contains affiliate links for your convenience. See my full disclosure policy.
What I did — a quick DIY overview
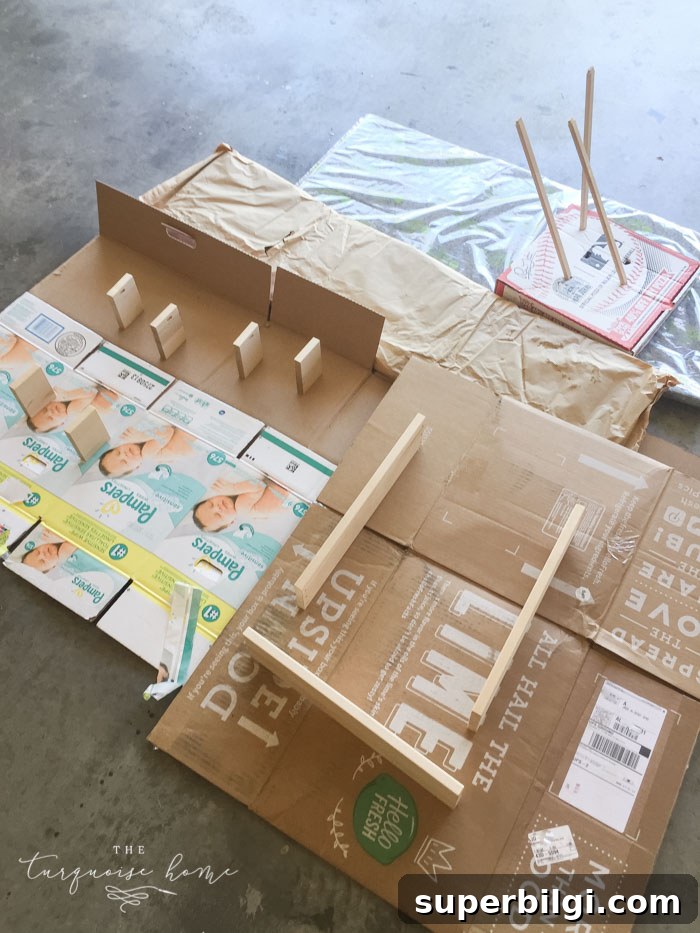
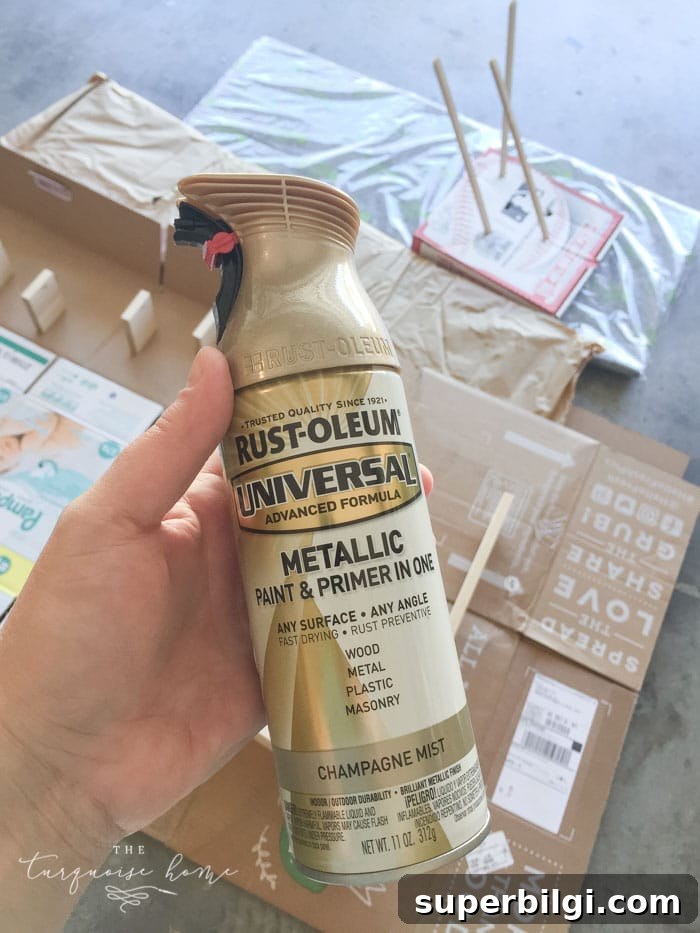
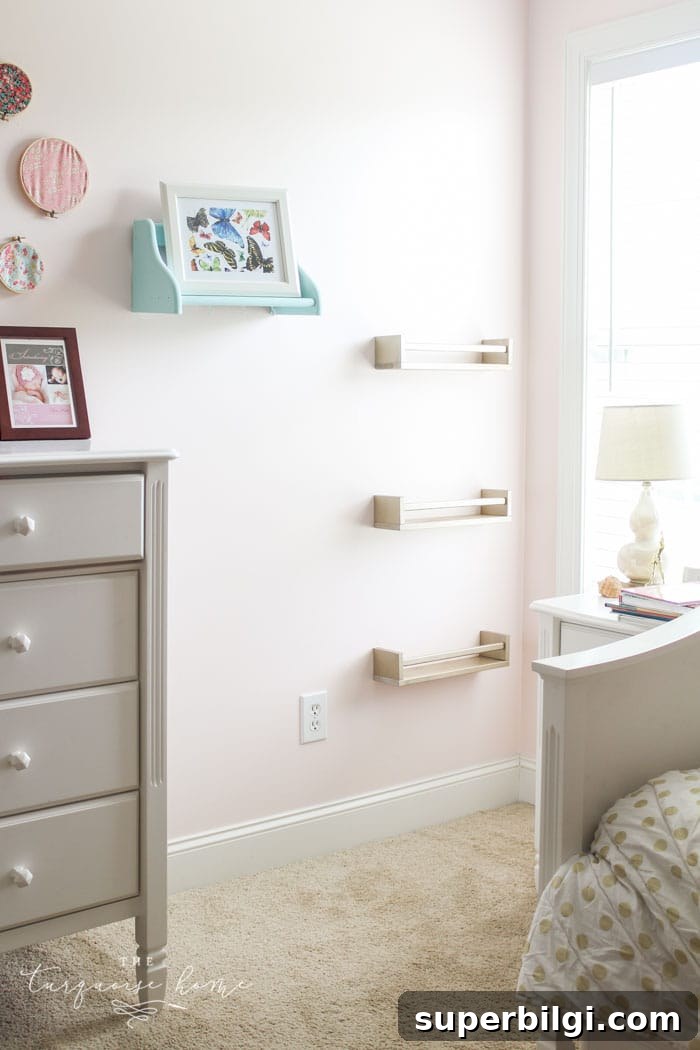
I disassembled each rack and laid the pieces out in the garage. Painting the individual parts before assembly gives the smoothest finish and avoids drips. I used three thin coats of Rust-Oleum Champagne Mist spray paint — the color matched my daughter’s room perfectly — and let everything dry between coats. Once dry, assembly took just minutes.
Tools and materials
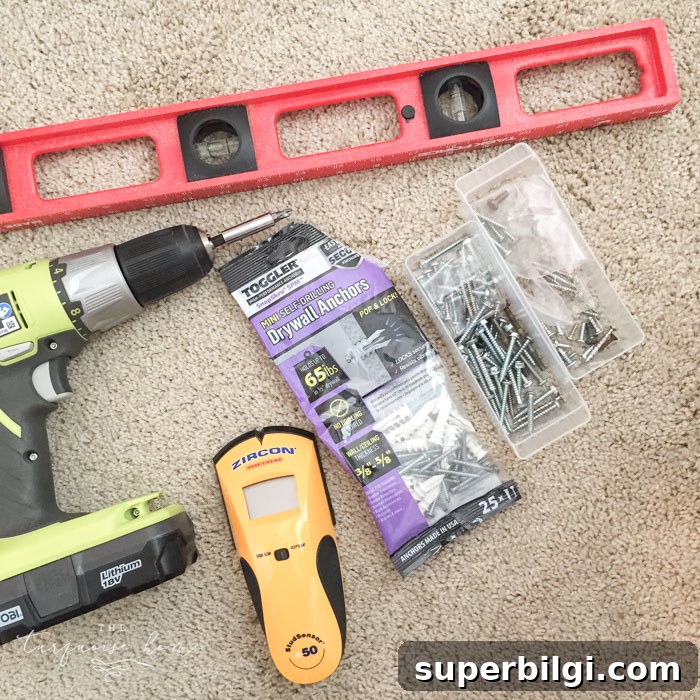
Basic household tools are all you need. I used:
- Three Ikea BEKVÄM spice racks
- Spray paint (three thin coats)
- Self-drilling drywall anchors or screws (depending on stud placement)
- Stud finder and a drill
- A level and a pencil for marking
Mounting tips
I used my stud finder first. When the stud landed directly in the spot I wanted the shelf, I opted for self-drilling drywall anchors on the other shelves so everything would sit where I wanted it. A simple tip that always helps: drill the screw into the wall at the exact point you want the shelf, remove the screw, then insert the anchor into that pilot hole and finally screw the screw into the anchor. That keeps the anchor placement precise.
Why these are a great choice
They’re inexpensive, shallow, and sturdy when mounted properly. For a child’s room they’re ideal for picture books and small board books within easy reach. Because each rack can be painted or stained, you can make them match any decor style — neutral, bright and playful, or elegant metallics like the Champagne Mist I used. They’re also compact, which makes them perfect for narrow corners that otherwise go unused.
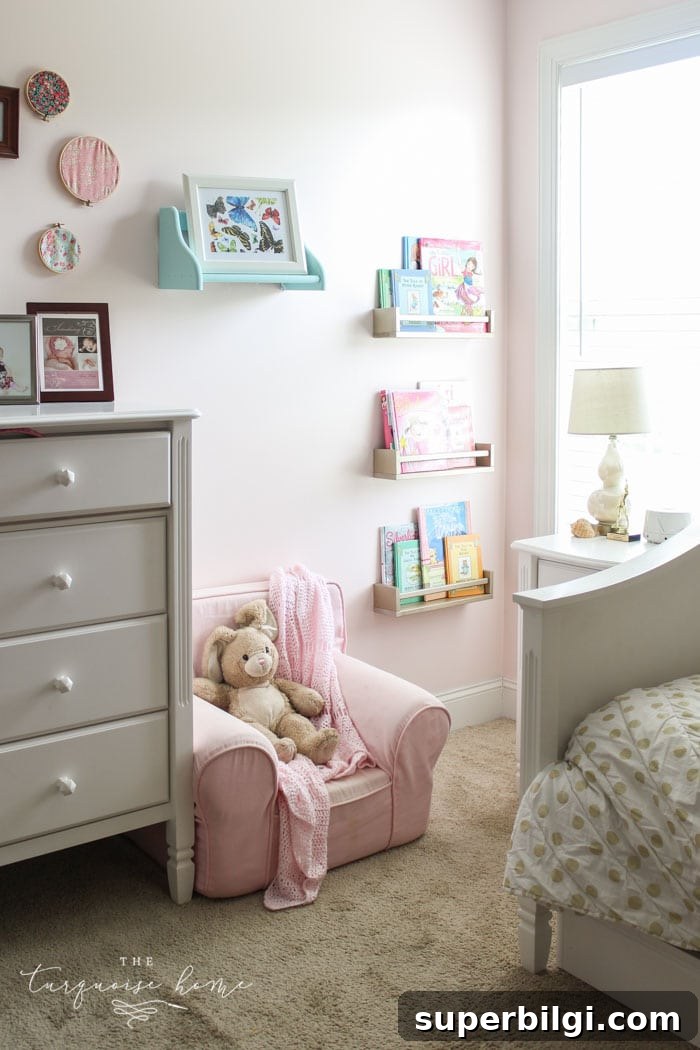
You can see a peek of the bedding that inspired the color choice — my daughter’s gold polka dot bedding coordinates nicely with the shelves. After we moved into a new home, these spice rack bookshelves came with us and were among the first items I rehung in the girls’ room. They sit right next to the bed now and make grabbing a bedtime story effortless.
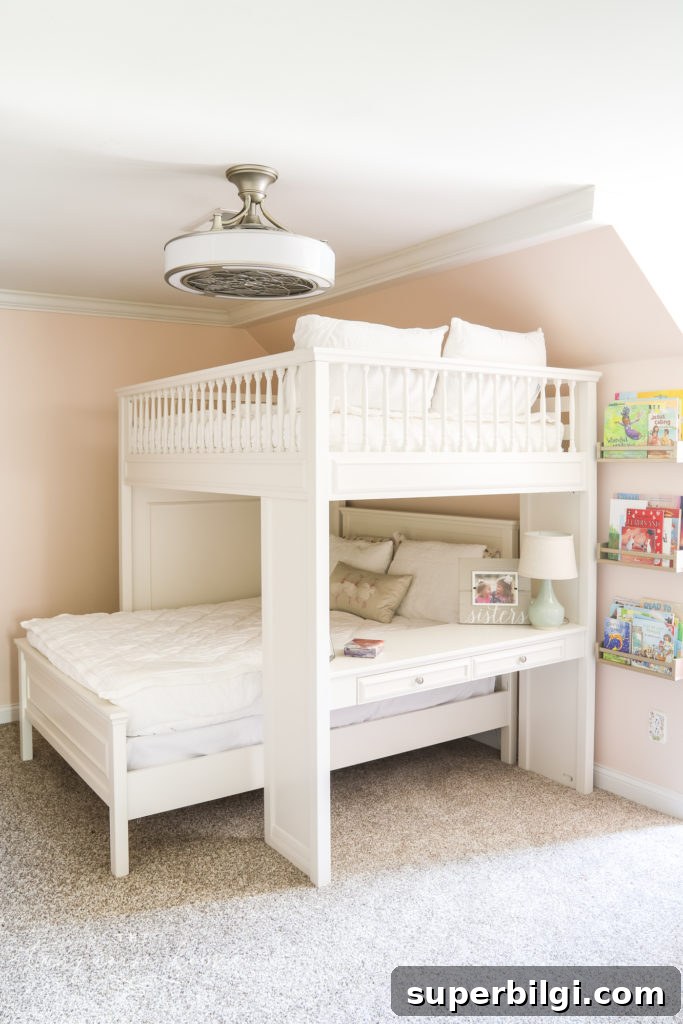
If you haven’t tried an IKEA spice rack hack yet, give it a shot. They’re inexpensive, versatile, and simple to install. Whether you’re creating a kids’ reading corner, an entryway display, or extra shelving in a small bathroom or craft room, these racks offer a fast, attractive solution for under $5 each.
MORE POSTS YOU WILL LOVE:
Check other DIY and decor projects on this site for more simple, budget-friendly ideas you can finish in an afternoon.