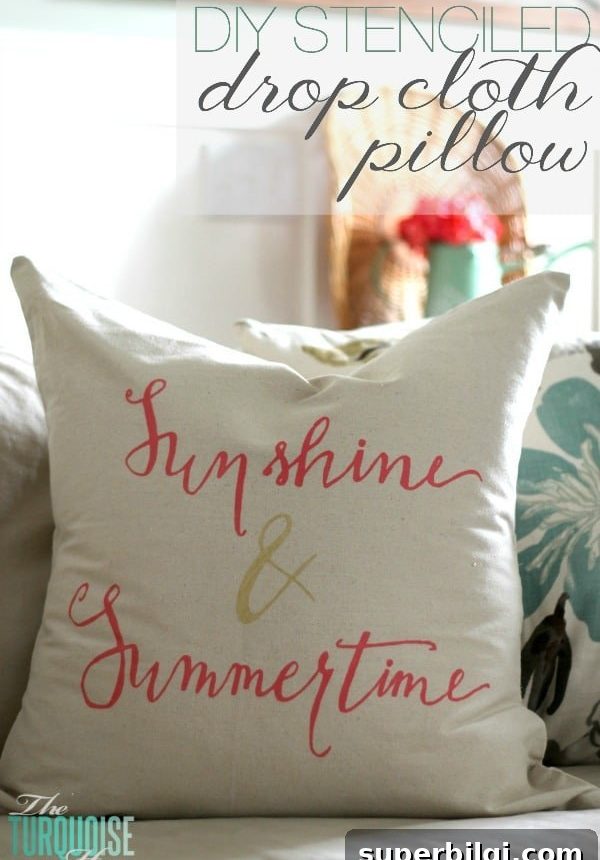
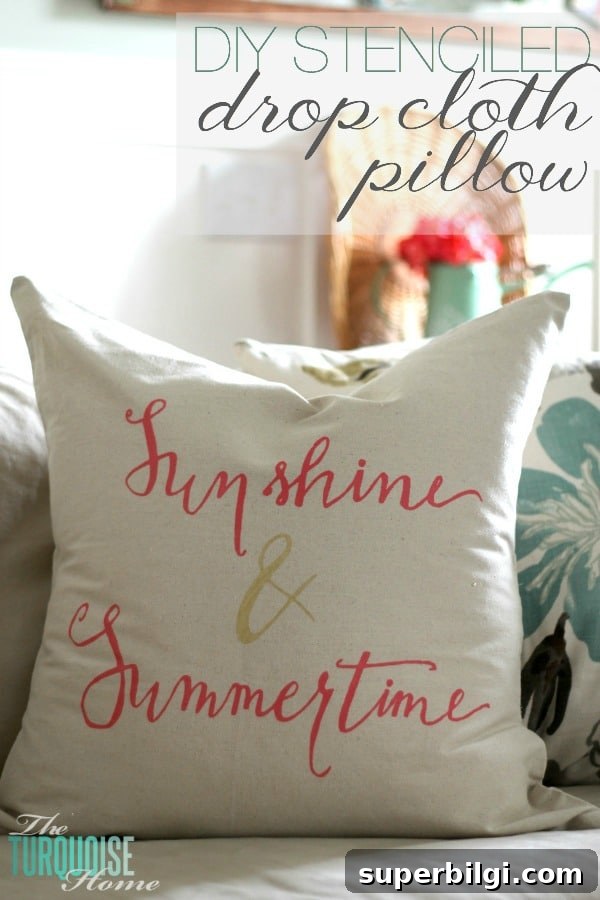
Learn how to make a charming DIY drop cloth pillow stenciled with my hand-lettered phrase: “Sunshine & Summertime.”
A few weeks ago I rushed home after church, fed my family, and headed out again for an event I’d been looking forward to for months. I don’t usually enjoy introductions and small talk, but this afternoon promised something different: a hand-lettering class.
I felt a mix of nerves and curiosity as I took my seat at the front of the room. The tables were set with flowers, pens, and supplies, and the atmosphere was friendly and focused. By the end of the class I was thrilled—hand lettering felt like a rediscovery of childhood doodles, finally taught in a way that made them beautiful.
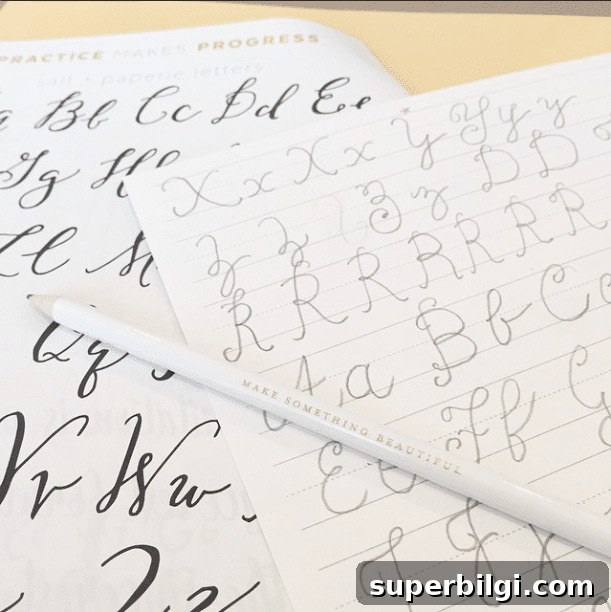
I spent an afternoon practicing a summery phrase and immediately wanted to incorporate it into my decor. Rather than framing the piece, I decided to stencil it onto a drop cloth pillow for a casual, handmade accent perfect for the couch.
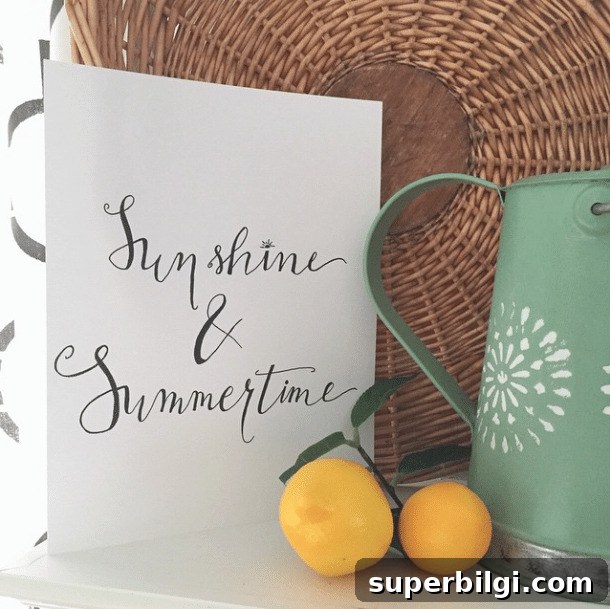
Stenciling is one of my favorite ways to add personality to textiles. Below is a clear, step-by-step tutorial so you can create your own stenciled drop cloth pillow using hand lettering or any design you prefer.
A DIY Stenciled Drop Cloth Pillow Tutorial
This project updates my previous stenciled drop cloth pillow tutorial with a fresh technique for turning a hand-lettered design into a stencil and applying it right on fabric. The result is a soft, vintage-style pillow with a personal touch—ideal for summer and casual living spaces.
This post mentions tools and supplies for convenience.
Supplies for Making a DIY Drop Cloth Pillow with Stencil
- Drop cloth fabric (available at home improvement stores)
- Needle and thread, or a sewing machine
- Stencil material (contact paper or stencil vinyl)
- Fabric paint and a foam brush or stencil brush
- Cutting machine such as Silhouette Cameo (optional for precise stencils)
- Transfer tape or application tape for moving the stencil onto fabric
1. Create Your Stencil
You can use a pre-made stencil or create your own from your hand-lettered design. I scanned my lettering and used it to create a cut file for a cutting machine. If you don’t have a cutter, you can trace and hand-cut a stencil from stencil film or contact paper.
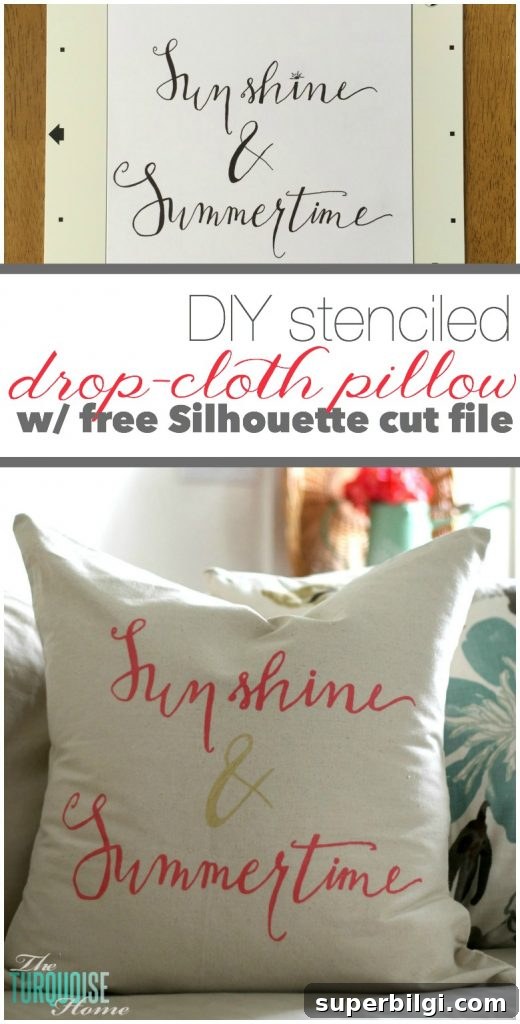
If you make a digital cut file, keep it sized to fit the area of the pillow you plan to stencil.
2. Cut the Stencil
Cut the stencil from contact paper or stencil vinyl. For a Silhouette machine, my reliable settings for contact paper were: blade 3, speed 8, thickness 3. Always test on a scrap first, as settings can vary by material and machine.
3. Cut the Drop Cloth Pieces for the Pillow
I used a simple envelope-style construction and a 26″ x 26″ pillow form. Cut three pieces from the drop cloth: one 26″ x 26″ (front), one 20″ x 26″ (back overlap), and one 16″ x 26″ (back overlap). Making the cover slightly smaller than the form gives the finished pillow a full, cushioned look.
4. Sew the Pillow
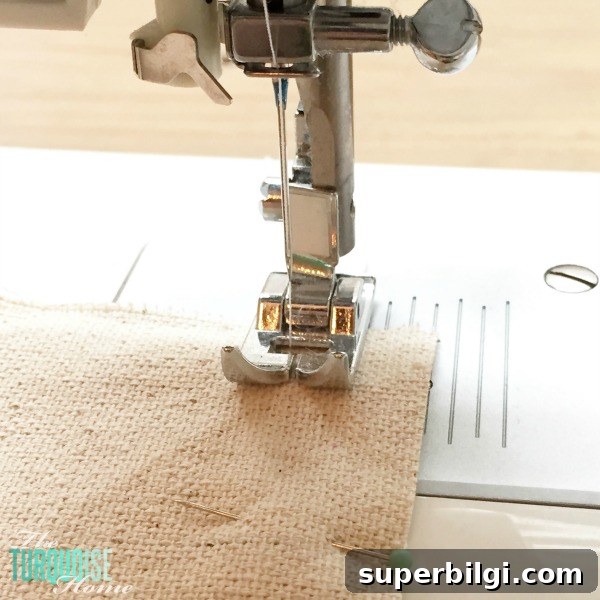
Layer the pieces with the wrong sides together, align the edges, and stitch around the perimeter, leaving an opening to insert the pillow form. Press seams if desired for a neater finish.
5. Apply the Stencil to the Pillow
Carefully place the stencil on the pillow front using transfer tape or application tape. Smooth out bubbles and ensure the stencil adheres well so paint won’t bleed under the edges.
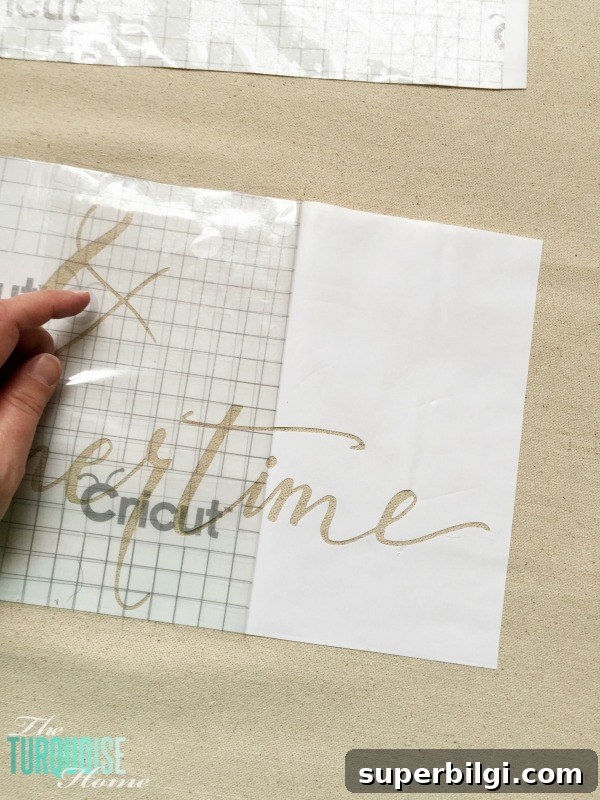
6. Paint the Design
Tip: Slide plastic or a protective layer between the fabric layers before painting to prevent bleed-through. Use a foam brush or stiff stencil brush and apply paint with a gentle up-and-down dabbing motion rather than brushing across the stencil. Use a light, built-up approach—think dry brushing—to avoid excess paint and crisp edges.
7. Remove the Stencil and Finish
When the paint is dry to the touch, carefully peel off the stencil and admire your work. Allow the painted surface to cure according to the paint manufacturer’s instructions before laundering or heavy use.
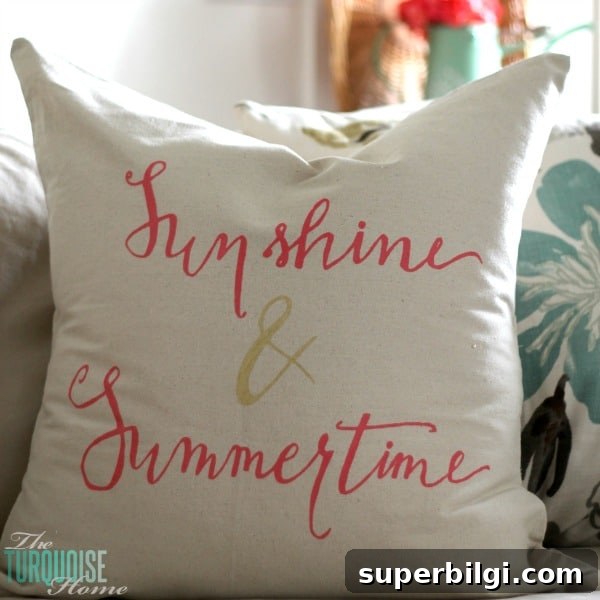
The finished pillow brings a warm, handmade accent to summer living areas. My “Sunshine & Summertime” pillow adds a soft pop of pink and gold and pairs nicely with seasonal mantel or sofa arrangements. Experiment with different color combinations and lettering styles to suit your decor.
If you enjoyed this project, try variations using other phrases, motifs, or repeat patterns. Drop cloth fabric gives a neutral, textured base that takes paint beautifully and wears well over time.
More Posts You Will Love:
- Cute Summer Dresses
- How to Choose and Style Sofa Pillows
- How High To Mount A TV (Guidelines & Tips)
- How High to Hang Pictures {Top Tips for the Best Placement}
- The Best Summer Decorating Ideas