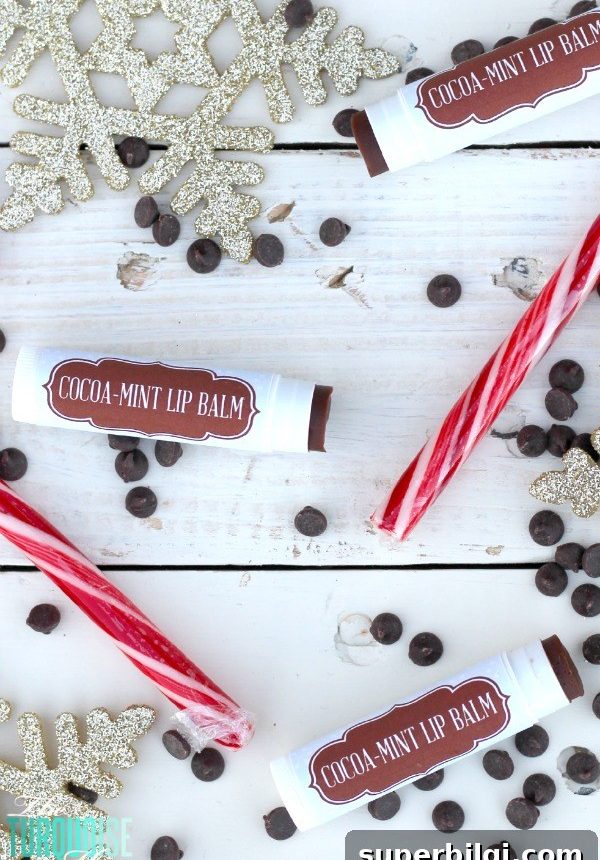
Learn how to make your own luxurious lip balm with peppermint essential oil and high-quality ingredients. This easy DIY makes a perfect winter treat and a thoughtful homemade gift.
Cold weather and harsh winds can quickly dry out your lips. A nourishing, homemade lip balm is an inexpensive way to protect and soothe them through the winter months. This cocoa-mint lip balm blends moisturizing butters and oils with a refreshing peppermint note for a smooth, comforting finish.
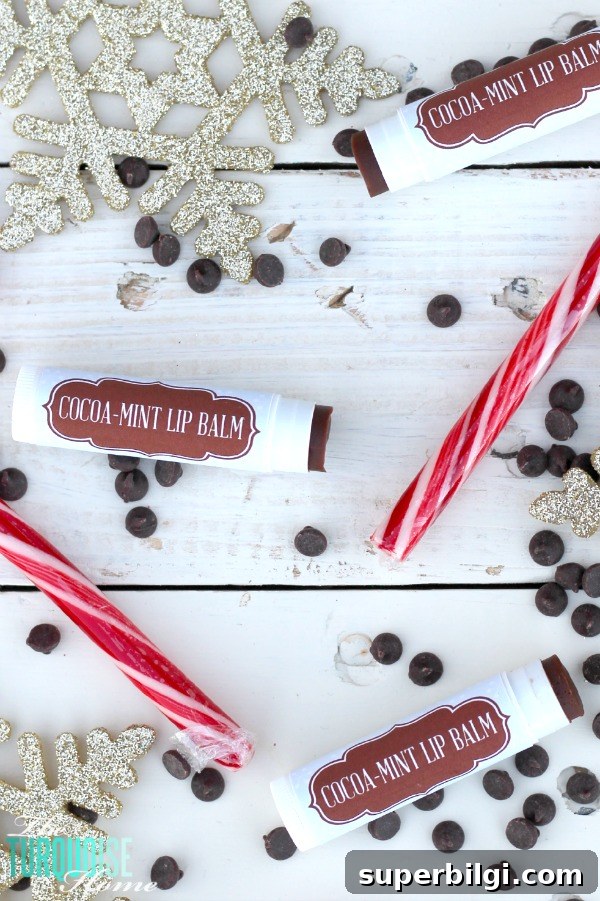
Confession: I’m a lip balm addict. I reach for it first thing in the morning and again at night. Once I discovered how simple and affordable it is to make my own, I started experimenting with flavors and textures—cinnamon-mint, lavender, lime & vanilla, and more. But the cocoa-mint version, inspired by a family recipe, quickly became my favorite for its rich, chocolatey scent and truly moisturizing feel.
For best results, use food-grade or cosmetic-grade ingredients and therapeutic-grade essential oils if you plan to apply the balm to your lips. Purchasing from trusted suppliers ensures purity and safety for lip products.
This article mentions that some ingredients are commonly available through health food stores and reputable online retailers. If you sell or gift these balms, label them clearly with ingredients for the recipient’s safety.
Supplies You’ll Need for DIY Luxurious Lip Balm
- 1 tablespoon beeswax pellets
- 1/8 cup fractionated coconut oil (or another light carrier oil)
- 1 tablespoon pure, unrefined cocoa butter
- 1/2 teaspoon raw honey
- 1 teaspoon cocoa powder (for color and scent)
- 1/8 teaspoon vitamin E oil
- 6 drops peppermint essential oil (adjust to preference)
- Empty lip balm containers or tubes (this batch makes about 8–12 tubes, depending on size)
Equipment Needed
- Double boiler or a heatproof bowl over a saucepan of simmering water
- Glass measuring cup or small pouring vessel (Pyrex works well)
- Small whisk or stirring utensil
- Optional: a lip balm filling tray to make filling multiple tubes easier
How to Make Cocoa-Mint Lip Balm
1. Gather your ingredients
Measure everything out before you start, so the process is smooth once the wax and butters are melted. Having your honey, vitamin E, cocoa powder, and essential oil ready to add will prevent separation and ensure even distribution.
2. Melt beeswax, cocoa butter and oil in a double boiler
Combine 1 tablespoon beeswax pellets, 1 tablespoon cocoa butter, and 1 tablespoon fractionated coconut oil in your double boiler. Heat gently over low to medium-low heat, stirring occasionally until fully melted and combined. Keep the temperature low to protect the beneficial properties of the oils and butters.
3. Add the remaining ingredients
Remove the melted mixture from heat and quickly whisk in 1/2 teaspoon raw honey, 1/8 teaspoon vitamin E oil, and 1 teaspoon cocoa powder. Whisk thoroughly so the honey and vitamin E disperse evenly. Working off the heat at this stage helps preserve the delicate components and prevents overheating the honey or essential oil.
4. Add the peppermint essential oil
Add 6 drops of peppermint essential oil and stir well. Taste and scent preferences vary; if you prefer a stronger mint presence, add one or two more drops, but be conservative—peppermint is potent and can be irritating in high concentrations on the lips.
5. Pour into lip balm containers
Pour the warm mixture into your lip balm tubes or containers. A glass measuring cup or a small spouted jug makes pouring easier and neater. Stir or swirl gently as you fill each container to maintain an even texture and to avoid the heavier ingredients sinking to the bottom. Work quickly before the mixture begins to set.
Allow the balms to cool and solidify completely before capping. Avoid touching the surface while cooling to preserve a smooth, glossy finish. If you notice any sinkage or bubbles, you can reheat the mixture slightly and top off the containers.
Printable Labels and Gift Tips
These balms make lovely, small gifts. Print labels on white sticker paper sized for your tubes, and include the ingredient list on each label so recipients know what’s inside. If you plan to give or sell balms, include any common allergen information (for example, beeswax or honey).
Store finished lip balms in a cool, dry place. If the weather is hot, keep them out of direct sunlight to prevent melting. Properly stored, homemade balms last several months; keep an eye on scent or texture changes as a sign to refresh your batch.
Enjoy your cocoa-mint lip balm! It’s an easy, satisfying DIY that hydrates lips and makes a thoughtful handmade gift for winter care.
Related DIY ideas you might enjoy:
- Homemade all-natural lip balm variations
- DIY lemon sugar scrub for soft skin
- Homemade all-natural body butter recipe