
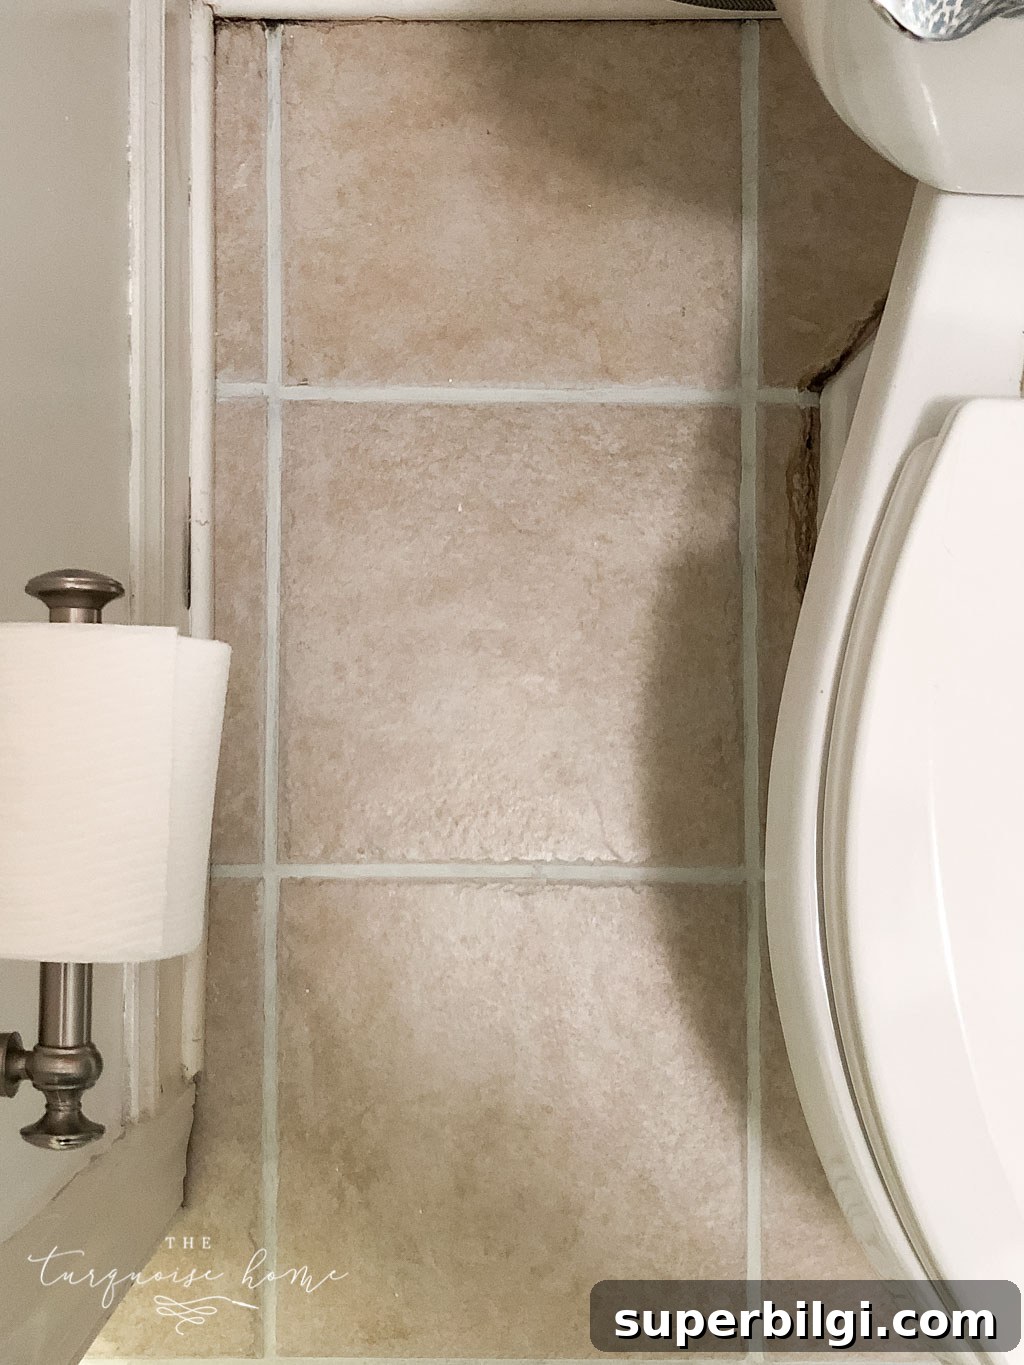
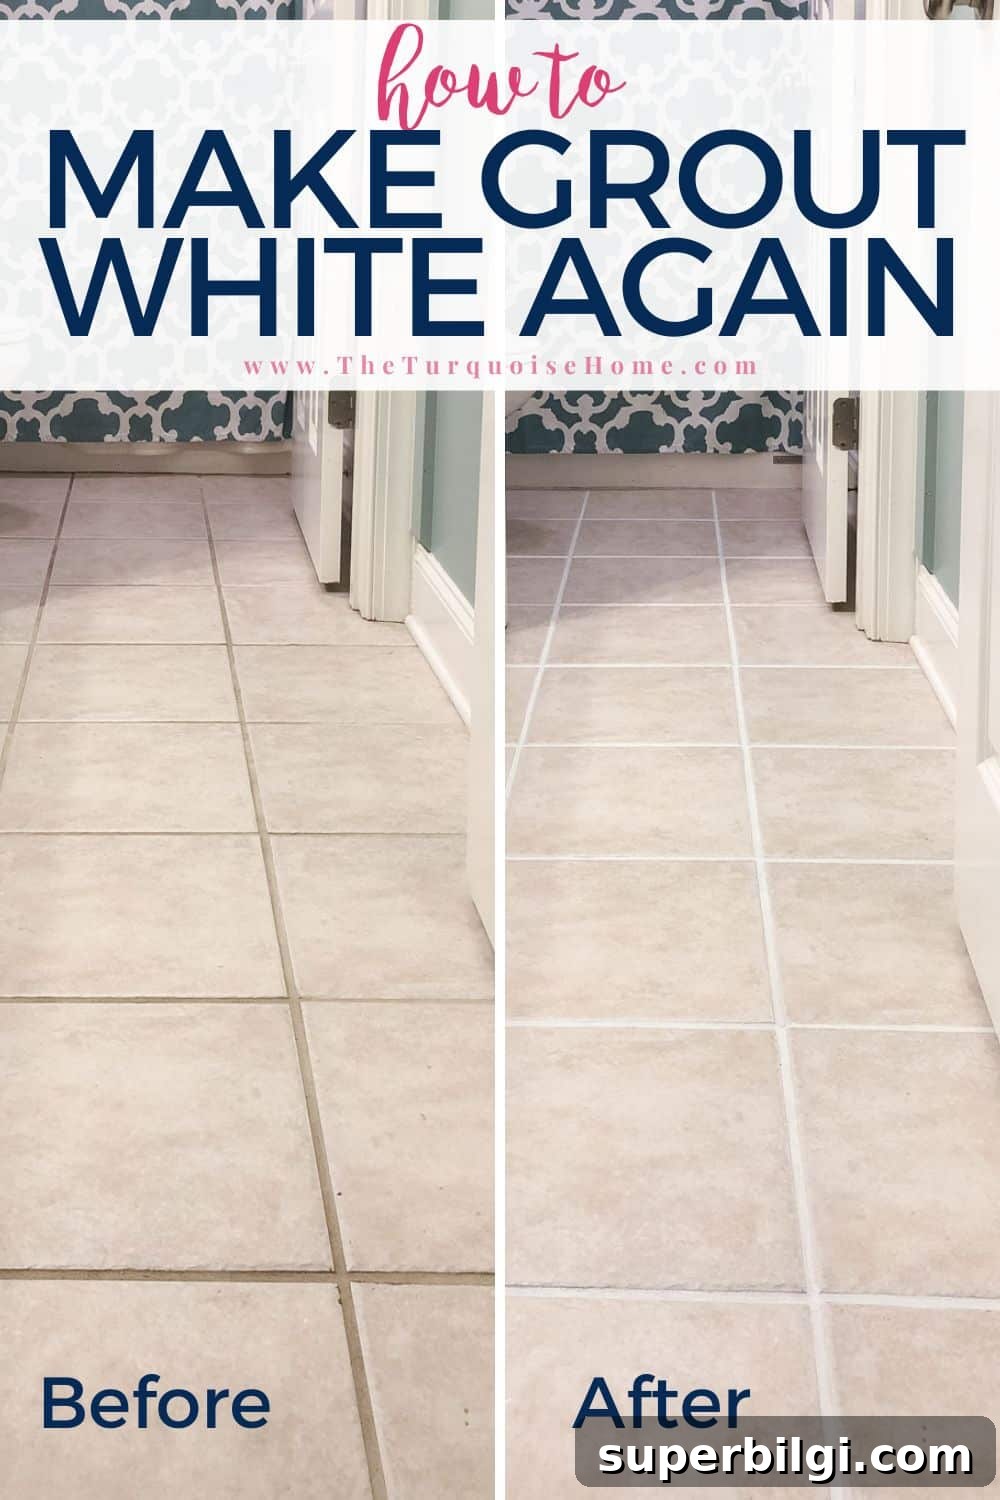
Refresh your bathroom or laundry room by bringing grout back to life. With an easy-to-use grout paint, you can make grout lines look like new—no more stained, dingy grout to distract from your tile.
Whether you want to restore grout to gray, beige, white, or even darken it, grout paint gives you the flexibility to choose the finish you want. I used a white shade for my small bathroom, and the difference was dramatic.
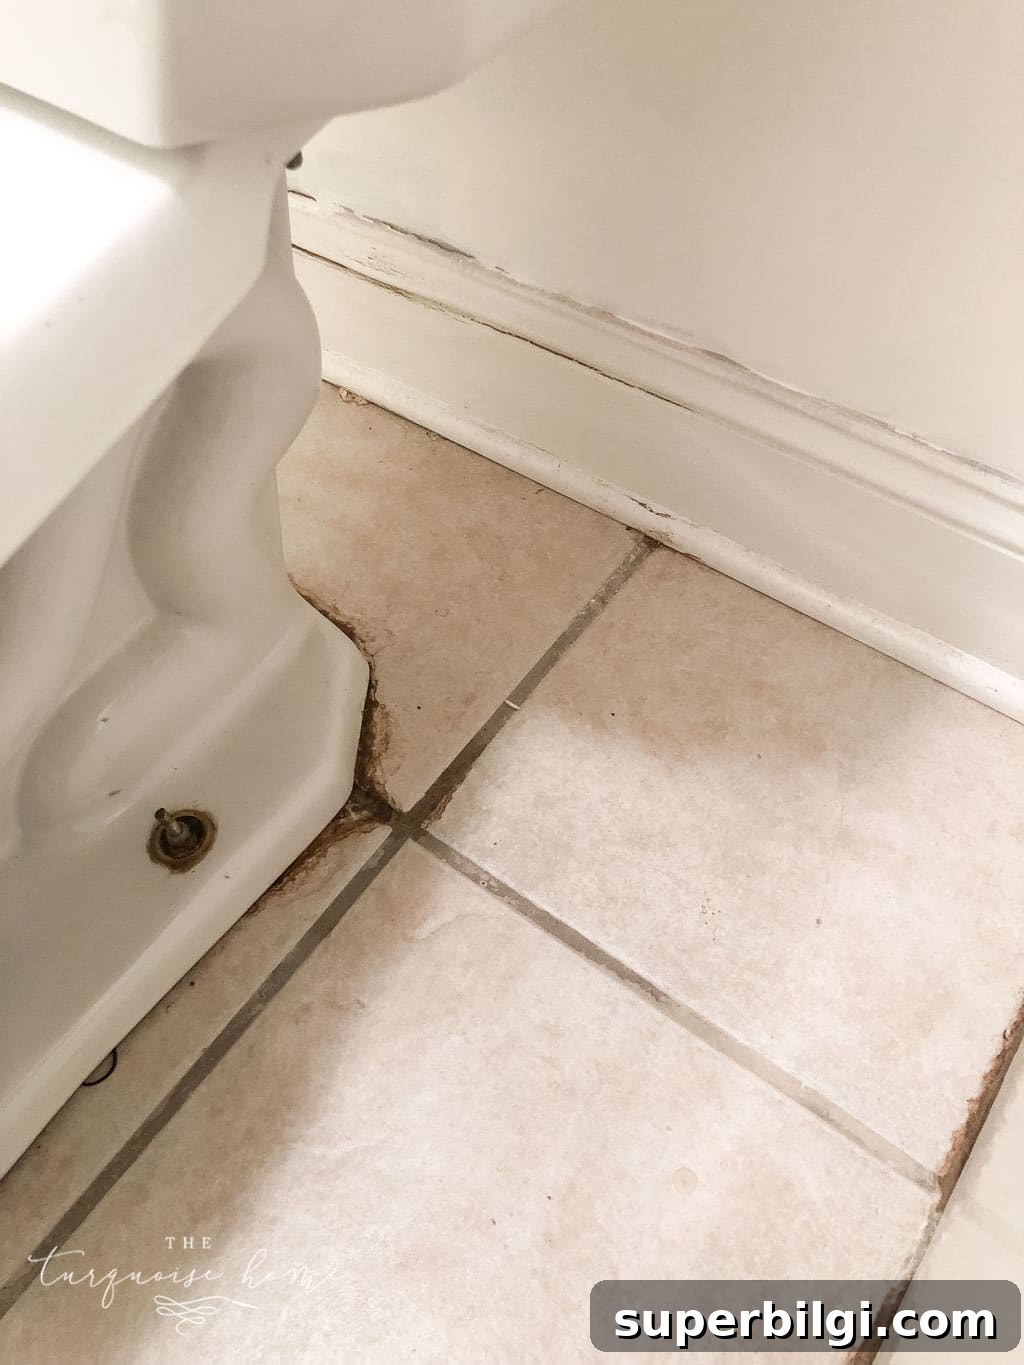
This project was surprisingly simple. I’d had a bottle of grout paint for a long time—meant for the laundry room because the grout there was badly discolored—but I finally got around to using it when I installed peel-and-stick vinyl floor tiles in the bathroom. The discoloration around the toilet and in other areas wouldn’t budge with scrubbing, so repainting the grout made sense.
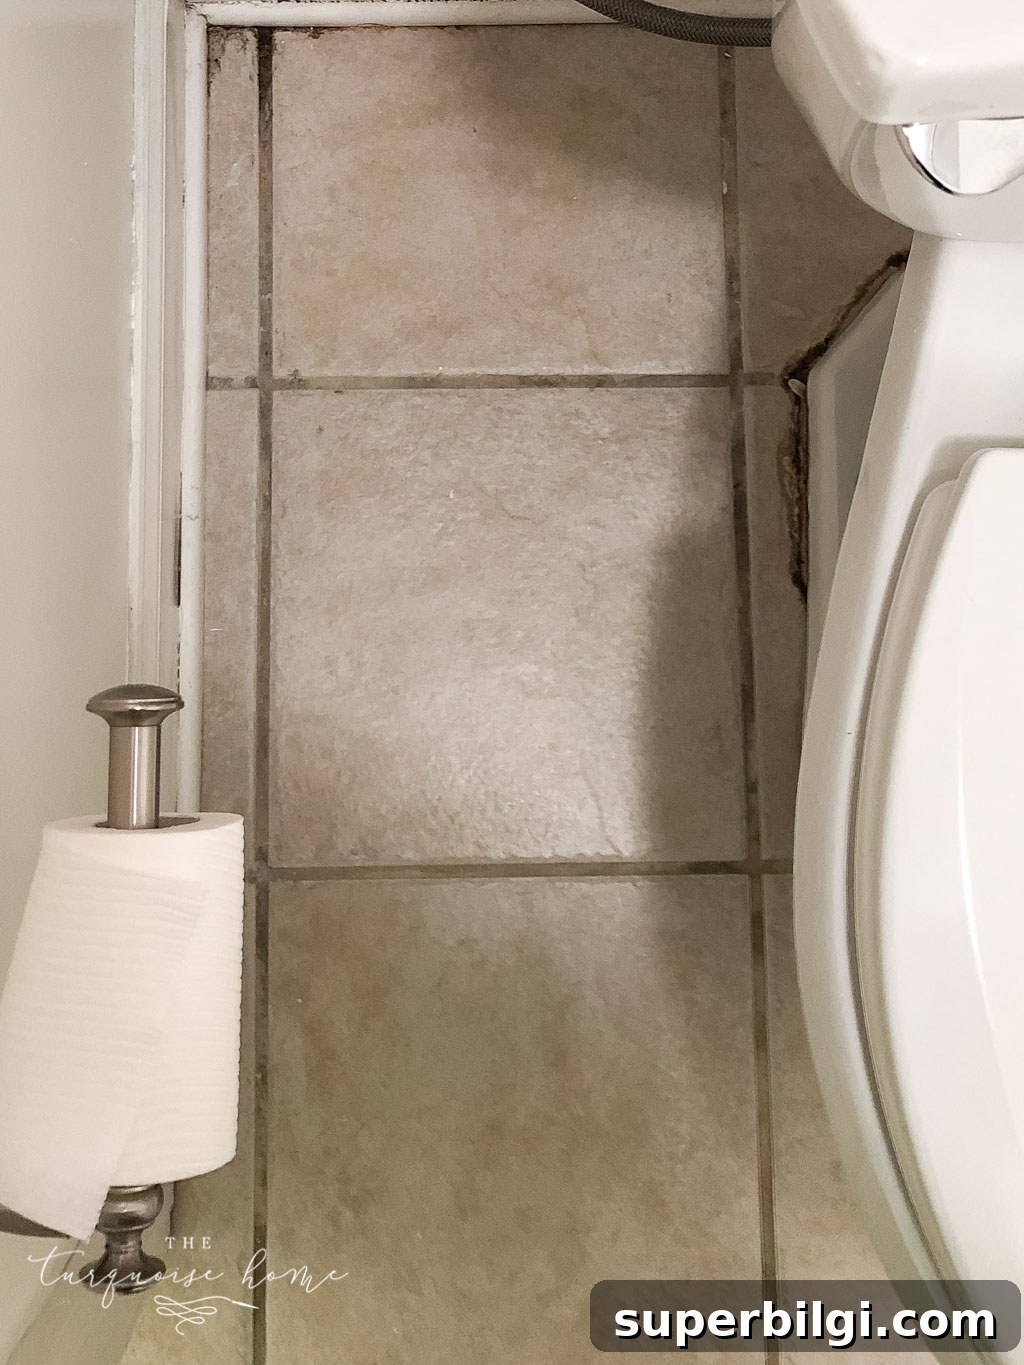
It was unpleasant to look at and stubborn to clean, so repainting the grout was the best route. The process was mostly painless, aside from my knees on the tile for a while.
This post contains affiliate links for your convenience. See my full disclosure policy.
Supplies You’ll Need to Paint Your Grout
- Grout renew or grout paint in the color you want (I used a soft “Snow White” so the result was white without being overly bright).
- Small stiff-bristle brush—a small craft brush or an old toothbrush works. A craft brush can be more precise and cuts down on cleanup.
- Rag or paper towel for wiping paint off the tile immediately after application.
- Degreasing cleaner to remove soap scum and dirt before painting (use whatever cleaner you already prefer for heavy cleaning).
Steps to Make Your Grout Look Like New
1. Clean the grout thoroughly.
Start by degreasing and cleaning the grout so the new product adheres properly. Apply your cleaner, let it sit briefly, then scrub with an old toothbrush or grout brush if needed. Wipe away residue and allow the grout to dry completely before painting.
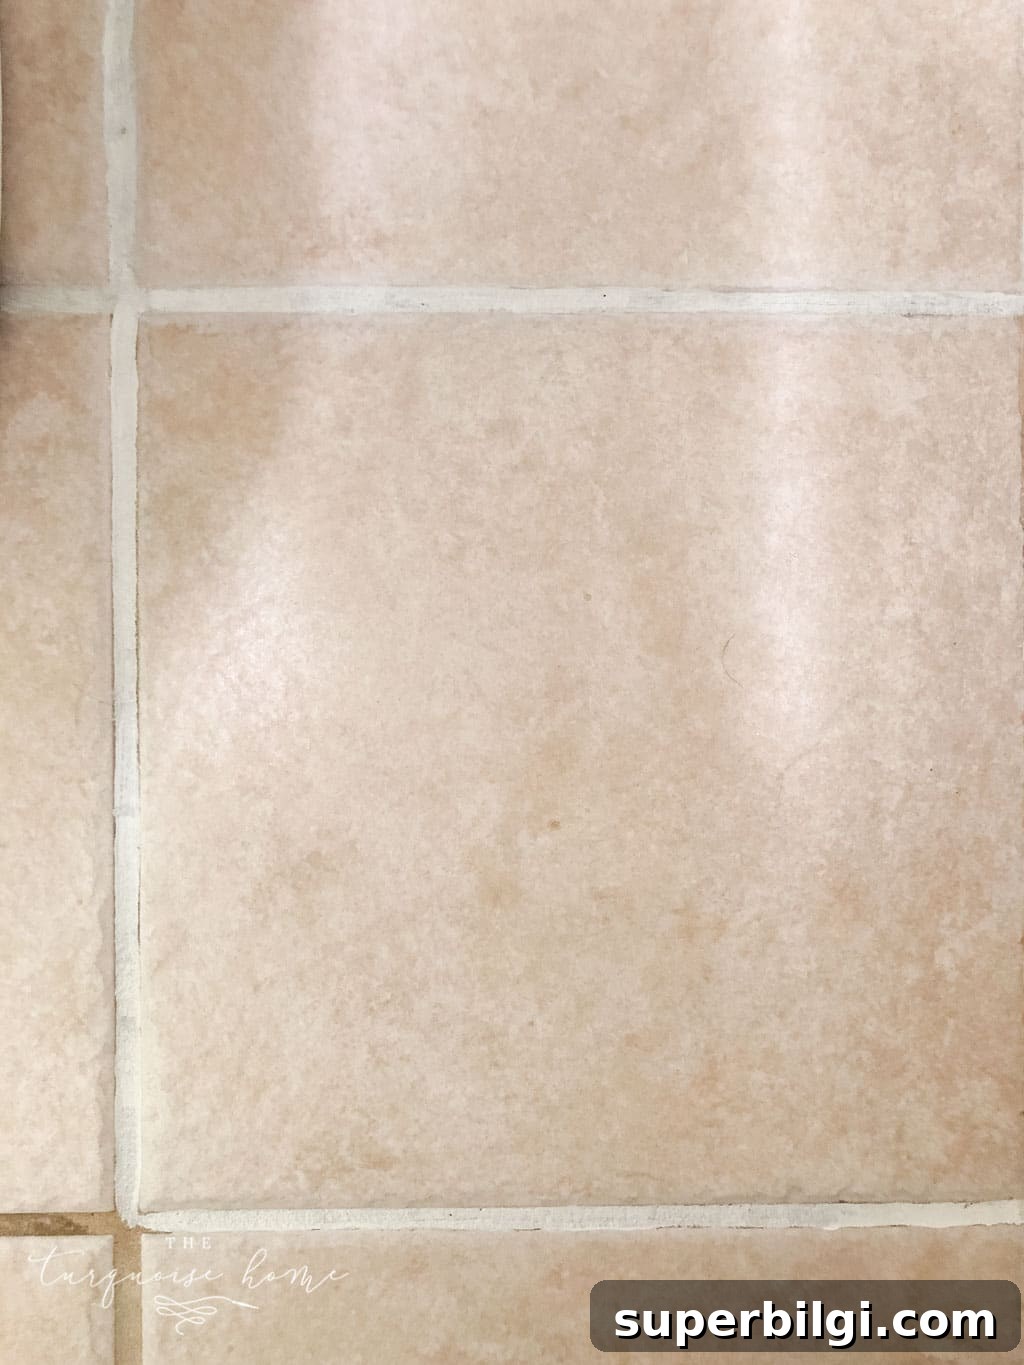
2. Apply the grout paint carefully.
Use your stiff-bristle craft brush or toothbrush to apply the grout product directly into the grout lines. Work one small section at a time so you can clean any excess from the tile right away. A narrow brush gives better control and reduces the time spent cleaning the tiles afterward. Choose a shade that complements your tile—neutral whites, beiges, grays, or darker tones are all options.
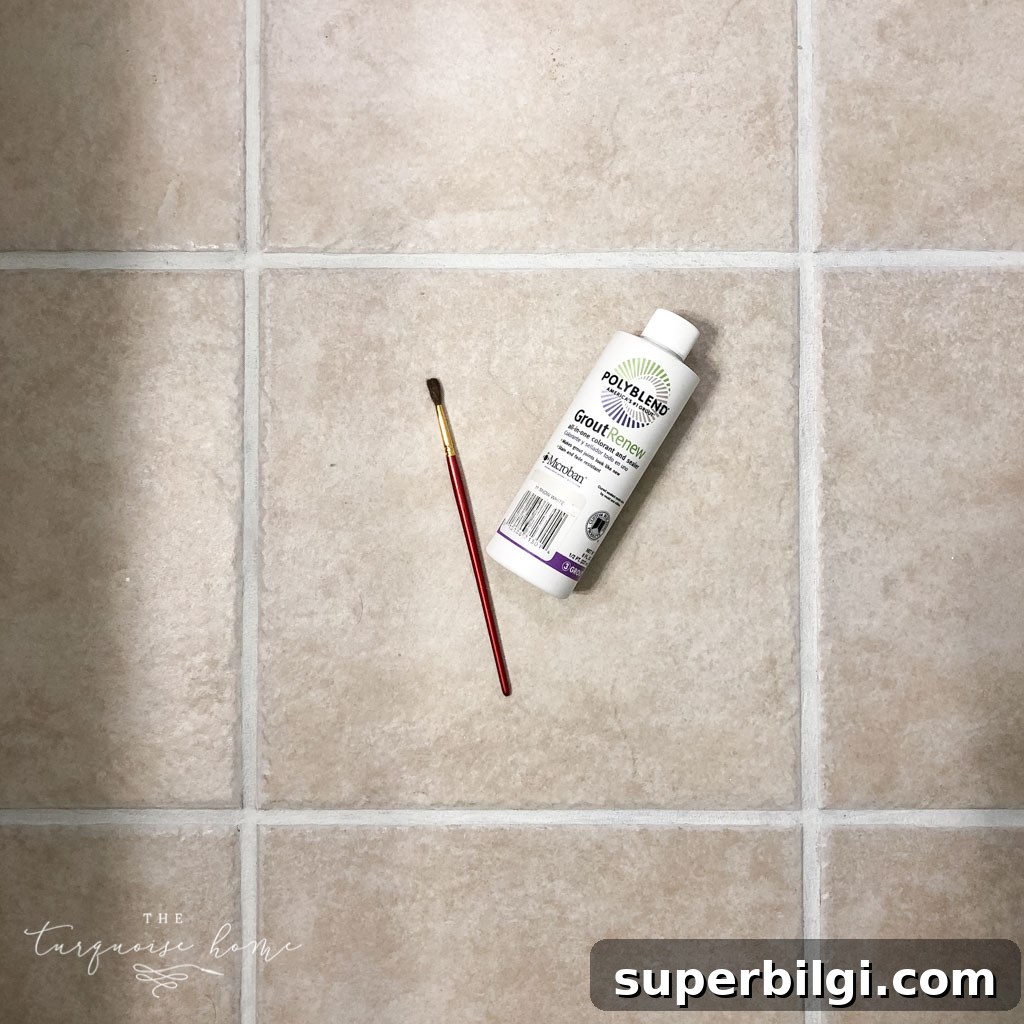
3. Wipe excess paint off the tiles immediately.
Keep a rag or paper towel handy and wipe tile surfaces shortly after applying the grout paint. I worked one tile at a time, rubbing the tile clean before moving on. This prevents dried paint on tile surfaces and keeps the job neat.
4. Allow proper drying time.
Follow the product instructions for drying times. My grout paint recommended 24 hours before using the room and 72 hours before getting it wet. I kept the bathroom mostly off-limits for a few days to ensure a full cure. For larger areas, you can section the space and work gradually.
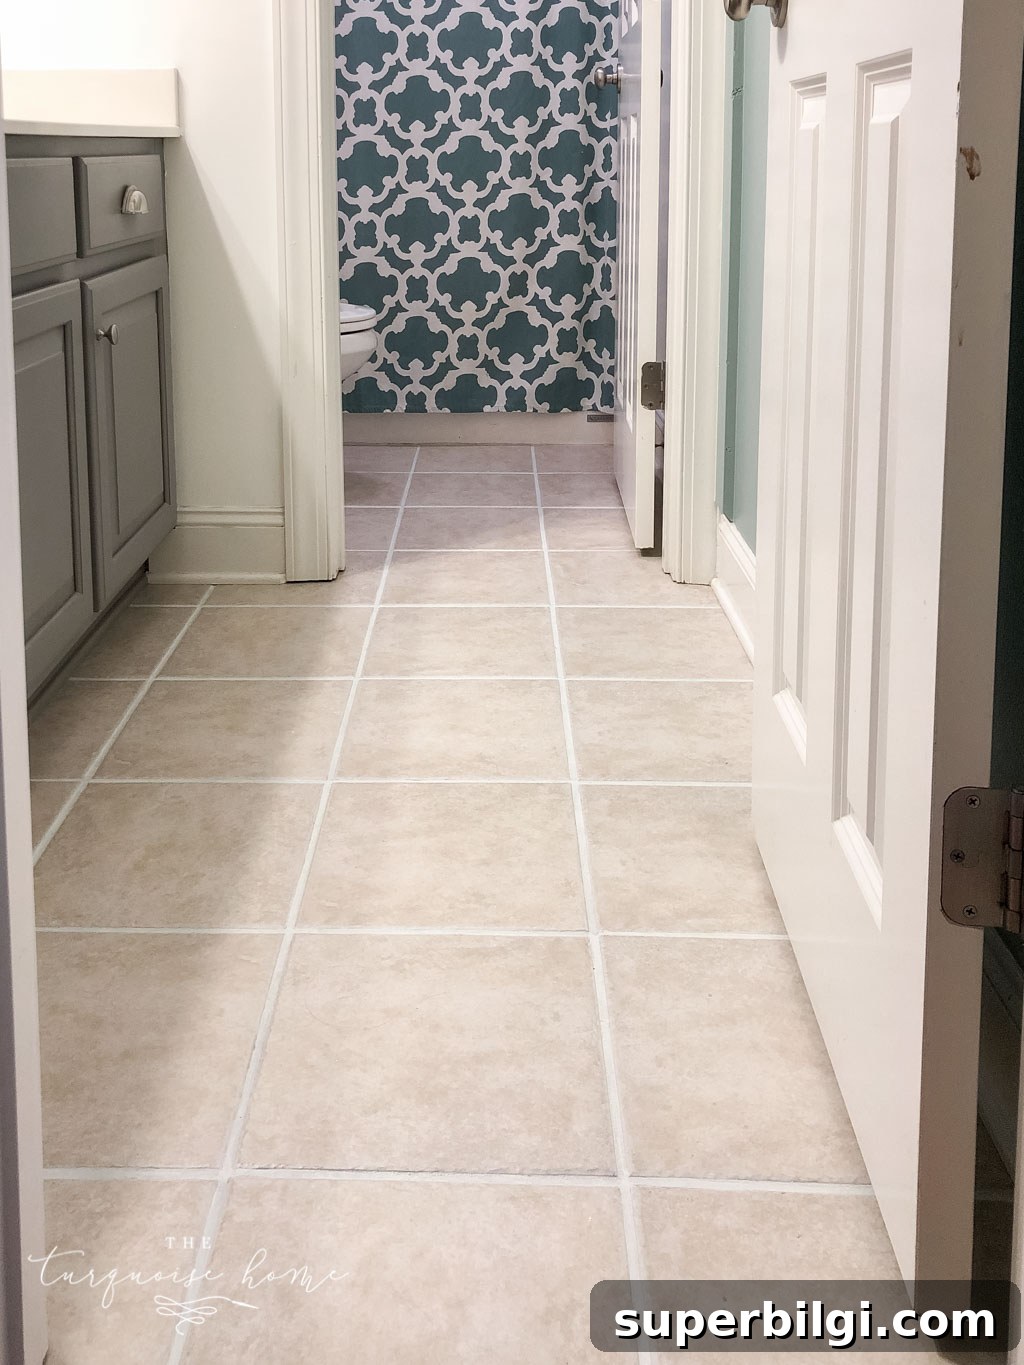
The whole process for my small bathroom took only a couple of hours of actual work, plus the recommended drying time. If you’re working on a larger bathroom or laundry room, expect it to take longer, but the method is the same and easy to follow. Working in small sections makes the task manageable and less tiring.
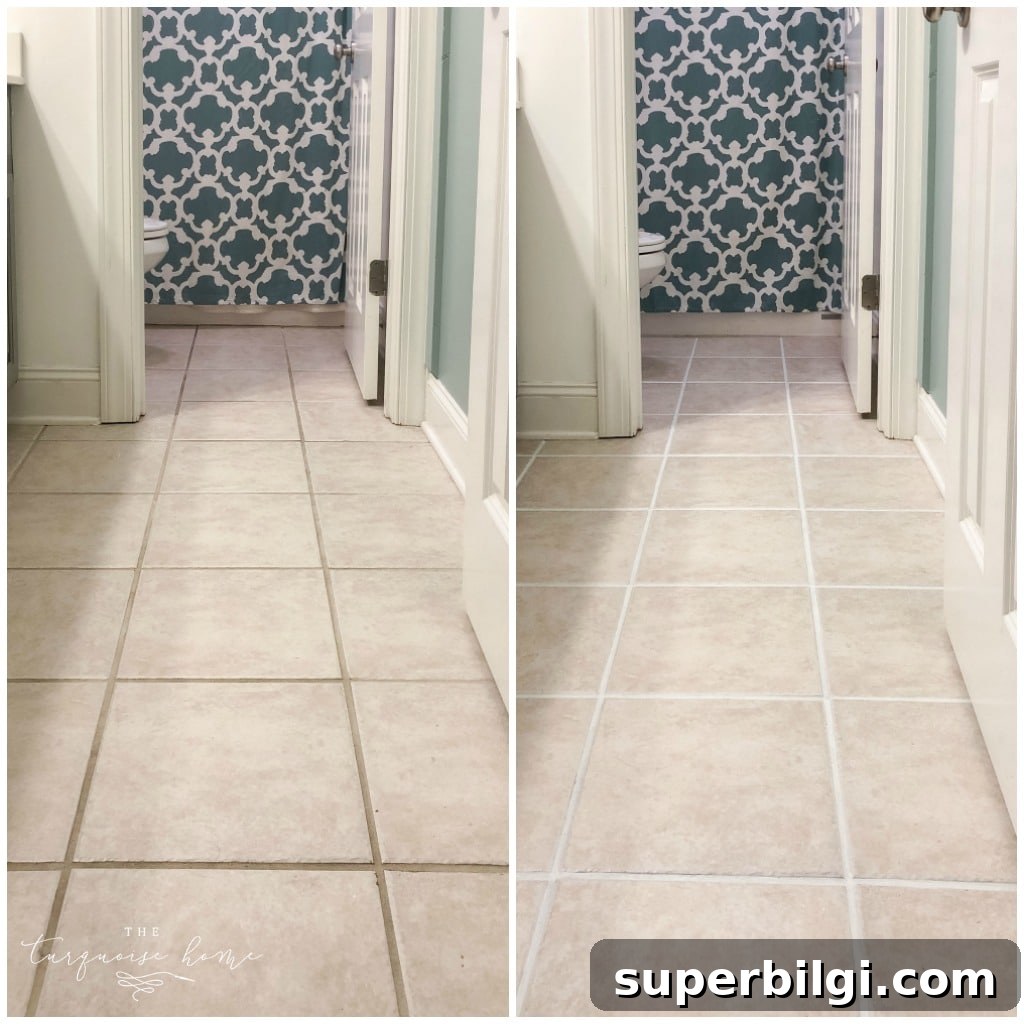
The before-and-after transformation was striking and well worth the effort. After repainting the grout, I moved forward with installing the peel-and-stick vinyl tiles and the bathroom update started to feel finished. Next up: tackling the laundry room grout, which needs this treatment even more.
Quick Tips
- Test a small, inconspicuous area first to confirm your chosen color and finish.
- Use a narrow, stiff brush for precision and less tile cleanup.
- Work in small sections so you can wipe tile surfaces while the paint is still wet.
- Respect the manufacturer’s cure times for best durability and water resistance.
Related topics you might enjoy:
- How to Install Peel & Stick Floor Tile
- Washable Kitchen Runner Rugs: favorite floor runners
- Cheap Flooring Ideas to update floors on a budget
- Luxury Vinyl Plank Flooring: what to know
- Choosing the right checkered floors for your home