
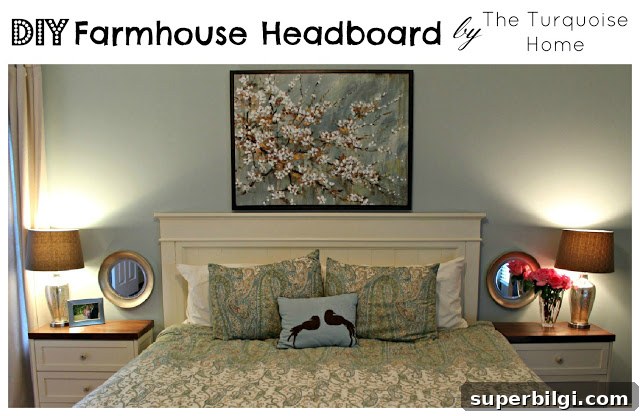
I used the Ana White farmhouse bed tutorial to make a headboard for our new king bed!
I shared my new master bed headboard recently and I still love it—this might be my favorite project so far. I followed Ana White’s “Mom’s Fancy Farmhouse Bed” headboard plans as the basis for the build, but I only needed the headboard portion and made a few adjustments because her plans are for a queen and we have a king. To widen the headboard panel I added extra planks and then built the rest according to the plan.
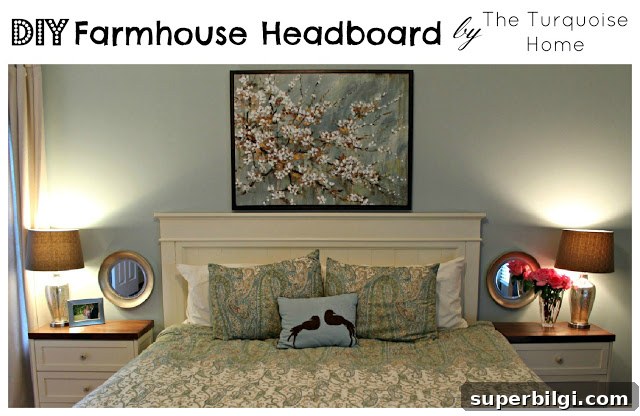
Overview and key changes for a king-size headboard
Ana White’s original plans are a great starting point. For a king bed I widened the central panel by adding additional 1×6 boards and used a 1×3 in the center to keep the look balanced. The rest of the structure follows the original design: built-up base, framed panel, trim, and moulding on the top and around the inside of the panel.
Shopping list
Materials I bought for this headboard:
- 4 – 1×6 @ 8 feet long
- 2 – 1×2 @ 8 feet long
- 2 – 2×6 @ stud or 8 foot length
- 1 – 2×4 @ stud or 8 foot length
- 1 – 1×3 @ 8 feet long
- 1 – 1×3 @ 24″ long (I actually bought a 36″ piece and cut it down)
- 2 1/2″ wood screws
- 1 1/4″ finish nails for nail gun
- 1 – 8′ stick of chair rail for top moulding
- 3 – 8′ sticks of base cap for moulding around the inside of the panel and for the top tier on the headboard
Tools I used
- Miter saw
- Nail gun
- Electric sander
- Electric drill
- Carpenter’s square
Cut list
- 12 – 1×6 @ 24″ (panel boards)
- 1 – 1×3 @ 24″ (middle panel board)
- 2 – 1×2 @ 21″ (side trim for panel)
- 2 – 1×2 @ 69″ (top/bottom panel trim)
- 1 – 2×6 @ 69″ (base of panel)
- 2 – 2×4 @ 48″ (legs)
- 1 – 1×3 @ 78″ (top of headboard)
- Cut your moulding to fit your bed exactly
Building process and useful tips
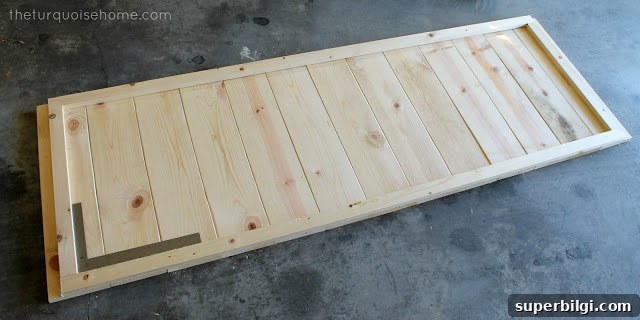
I started by cutting each panel board to length, then sanding the long edges of the boards that would be visible. Holding each board while sanding gives the edges a slightly rounded, worn look that emphasizes the plank appearance and helps disguise any small gaps between boards after assembly.
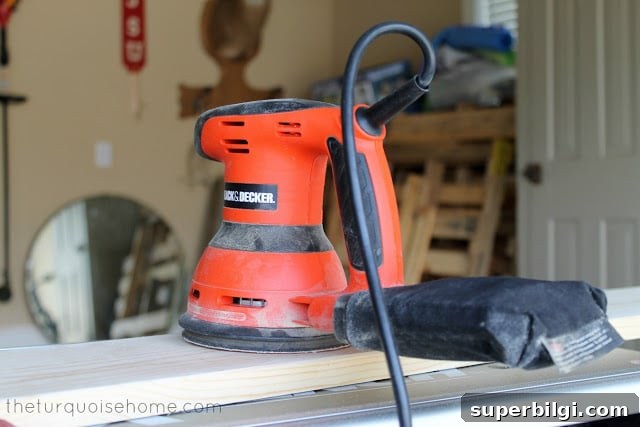
Before nailing on the trim, I used a carpenter’s square to make sure the panel assembly was true and square. Planning your panel widths ahead of time avoids back-and-forth trips to the store; I did need one extra 1×3 for the center panel piece, so I went back for that one more board.
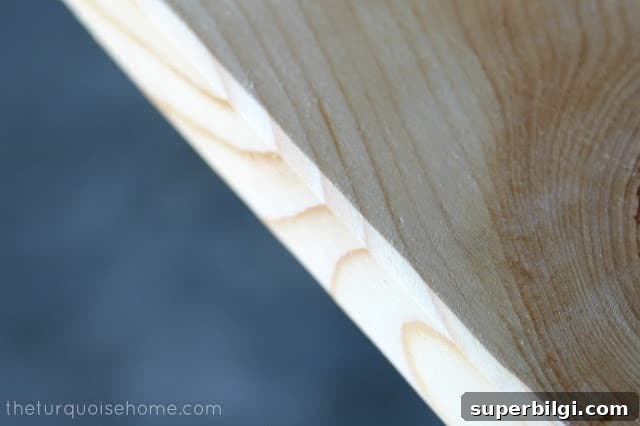
The center 1×3 piece sits between the wider 1×6 panels and helps balance the design. I used finish nails in a nail gun for the visible trim pieces and longer wood screws where a stronger structural connection was needed. After everything was assembled I filled nail and screw holes with wood putty and sanded smooth.
Priming, painting and finishing
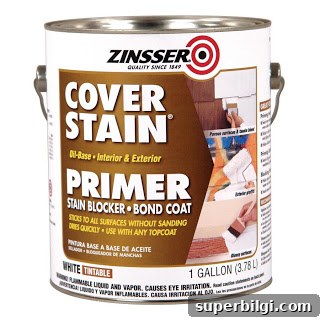
I primed the entire headboard with Zinsser Cover Stain Primer. It’s oil-based and sticks well to raw wood; because it’s oil-based I use inexpensive brushes and discard them afterward to avoid dealing with paint thinner. Use the primer in a well-ventilated area—my garage worked perfectly.
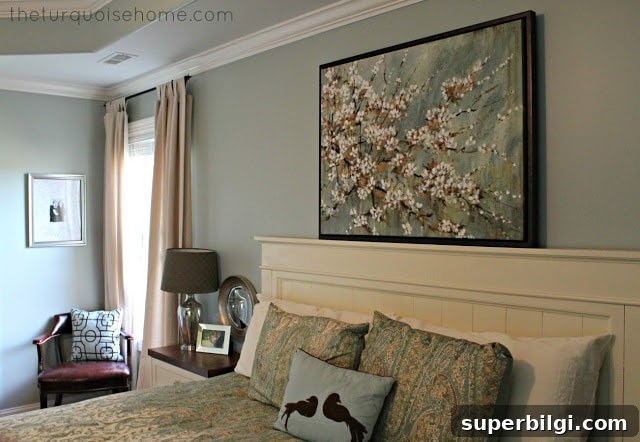
Once the primer dried, I applied two coats of Antique White from Sherwin Williams—the same color I used on the bedside tables—so everything in the room coordinates. Light sanding between coats with a fine-grit sanding block helps the finish look smooth and professional.
Final thoughts and installation
Turning a pile of lumber into a finished headboard is incredibly satisfying. Small details—sanded plank edges, crisp trim lines, carefully applied moulding and paint—make a big visual difference. When installing the finished headboard, plan how it will attach to your bed frame or the wall so it sits level and secure. If you’re unsure about attachment hardware, consult instructions for your bed frame or seek hardware rated for the weight and mounting method you choose.
If you want to save these notes for later, bookmark or pin this page. I kept the core of Ana White’s design and adapted dimensions where needed to match our king bed. The result feels custom and fits our room beautifully.
More posts you may enjoy:
- 10 More Essential Tools for a Beginner DIYer
- DIY Frame for a Frame TV
- 12 Gorgeous DIY Faux Fireplace Ideas