
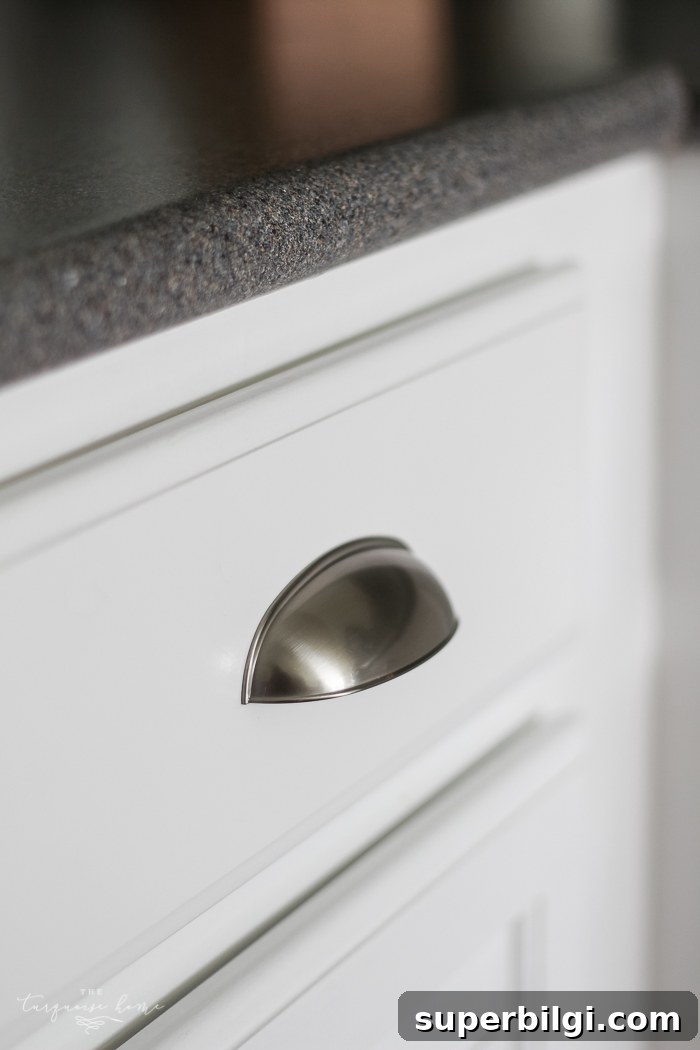
Installing cabinet hardware can feel intimidating, but it doesn’t have to be. With a simple template trick you can install new cabinet pulls quickly, accurately, and with confidence.
If you’ve been following along, you know I’ve been slowly updating my kitchen since I moved into this home over four years ago. Last winter I finally painted the cabinets white, which made a huge difference — but for eight months the drawers sat without pulls while I hesitated to tackle the installation. I had the hardware and tools on the counter, yet I put it off because I worried about making uneven holes and ruining the look.
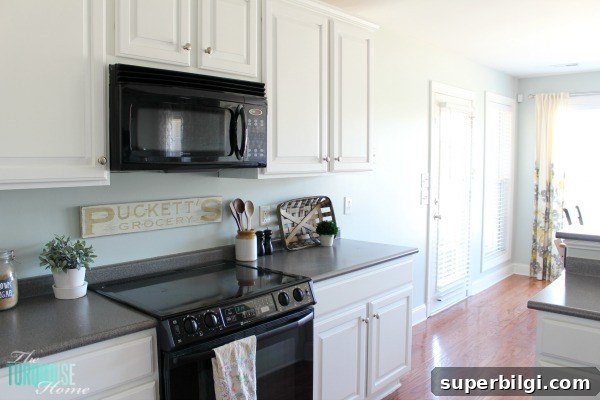
After seeing a simple template method a friend used, I finally felt brave enough to get it done. Below I’ll walk you through the exact approach I used, what tools are helpful, and a few tips that make the process smooth. The results were worth the small investment of time — the pulls finish the look and make using the drawers so much easier.
How to Install New Cabinet Pulls
What you’ll need:
- Thin piece of wood, cardboard, or heavy paper to use as a template
- Cabinet hardware (I used 3″ cup pulls)
- Level
- Sharp point — an awl, pointed pen, or sharp pencil
- Drill and appropriately sized drill bit for your screws
I cut a piece of cardboard from a box to the height of my drawer fronts and to the width of the narrowest drawer. On that cardboard I marked the exact center and then measured and marked the screw-hole positions that match the pull’s mounting holes. The template lets you repeat consistent placement across every drawer without re-measuring each time.
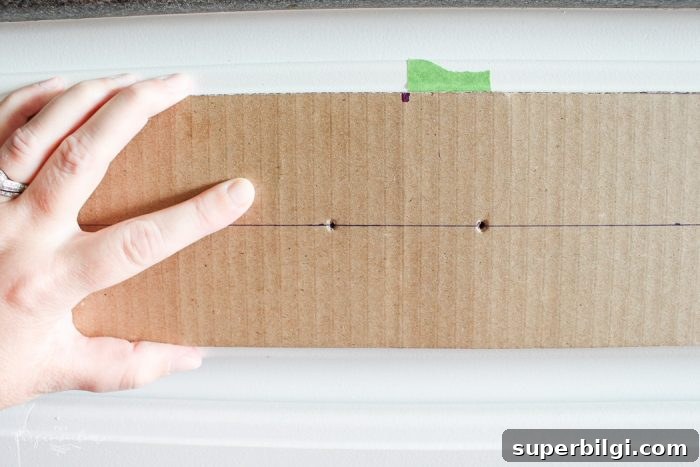
I also put a piece of painter’s tape on the drawer face to mark the centerline. That made it easy to align the center mark on the template to the center of each drawer and then press a sharp object through the template holes to transfer the screw locations to the drawer face. Using the template keeps every pull centered and level across multiple drawers.
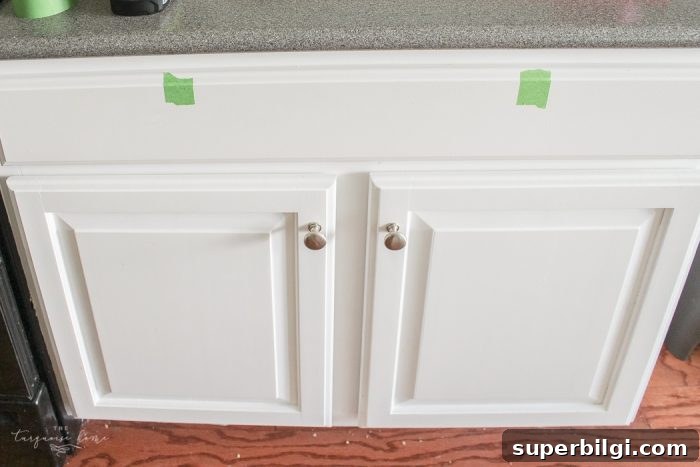
Before drilling, I taped one pull in place on a drawer to verify spacing and visual alignment. This is a quick, reversible check that can save you from drilling a hole you wish you hadn’t. Once satisfied, choose a drill bit slightly larger than the screw shank so the screws thread in easily without forcing — this helps avoid splitting or cracking the drawer front.
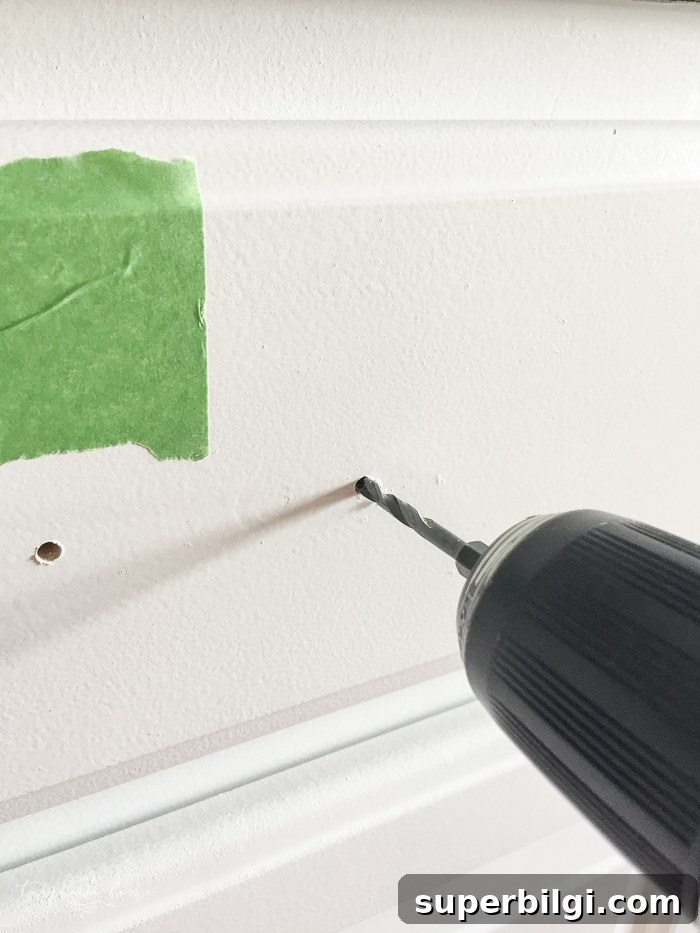
Drill through the marked points, keeping the drill steady and perpendicular to the drawer face. Take your time — measure twice and drill once. Slow, deliberate drilling reduces wobble and gives a clean hole every time.
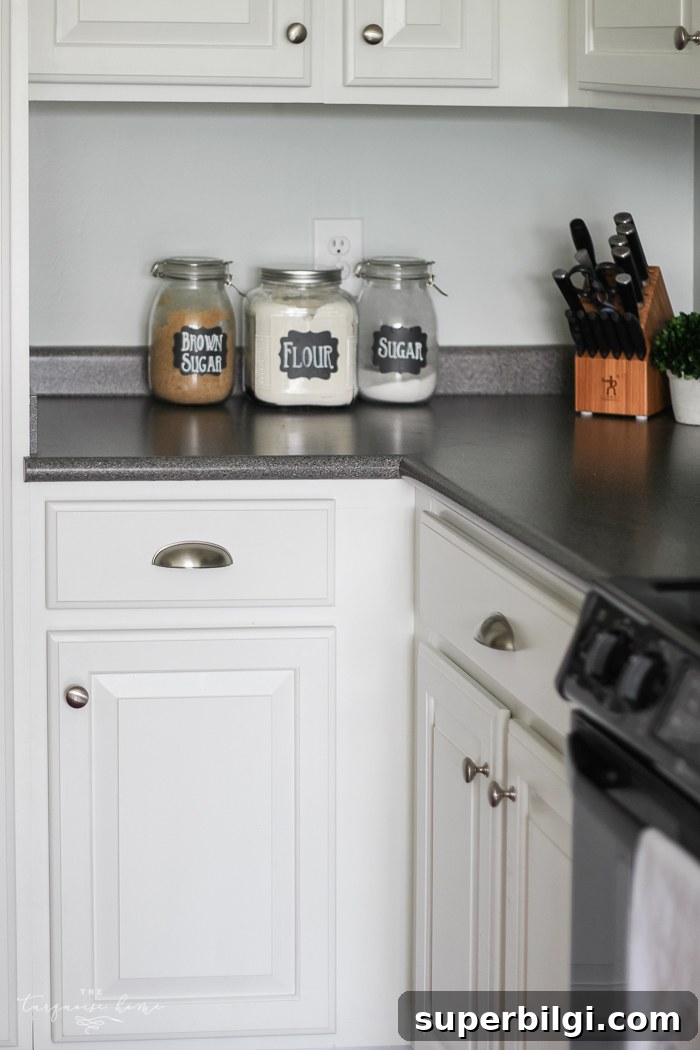
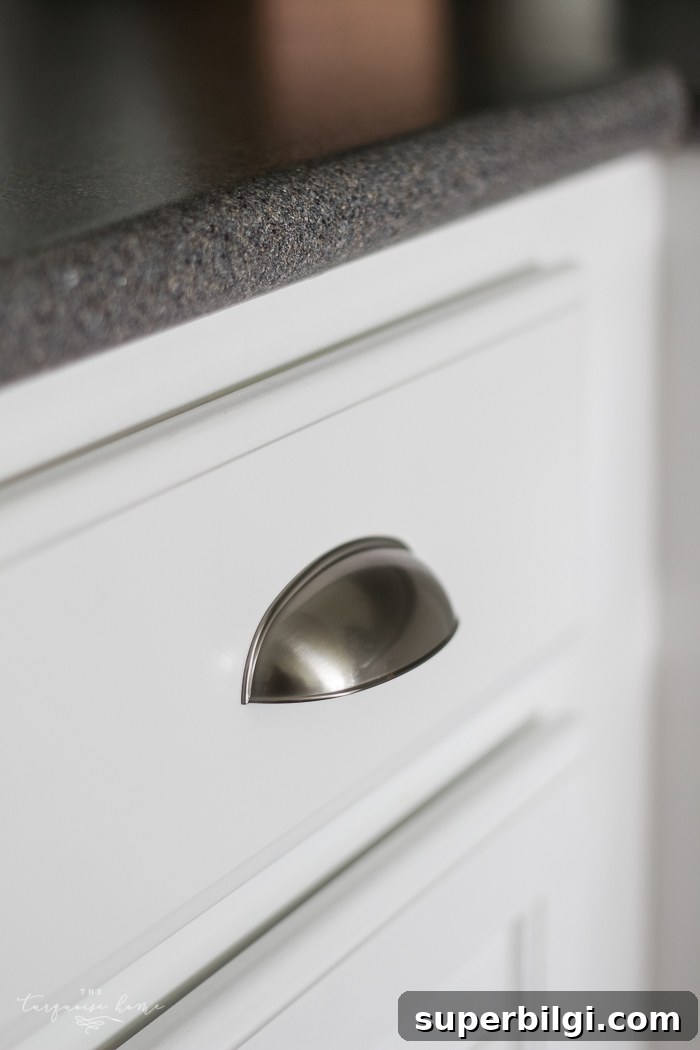
Once installed, the pulls complete the look and make opening the drawers effortless. They also protect the paint finish by providing a proper place to grip the drawer instead of tugging at the painted surface.
Common Mistakes and How to Avoid Them
- Rushing the layout: Always double-check centerlines and hole spacing before drilling.
- Wrong drill bit size: Too small and the screw won’t fit; too large and the screw won’t hold. Test on scrap first if unsure.
- Not using a template: Measuring each drawer individually increases error. A single template ensures uniform placement.
- Skipping a test fit: Temporarily taping a pull in place lets you see the final look and adjust if needed.
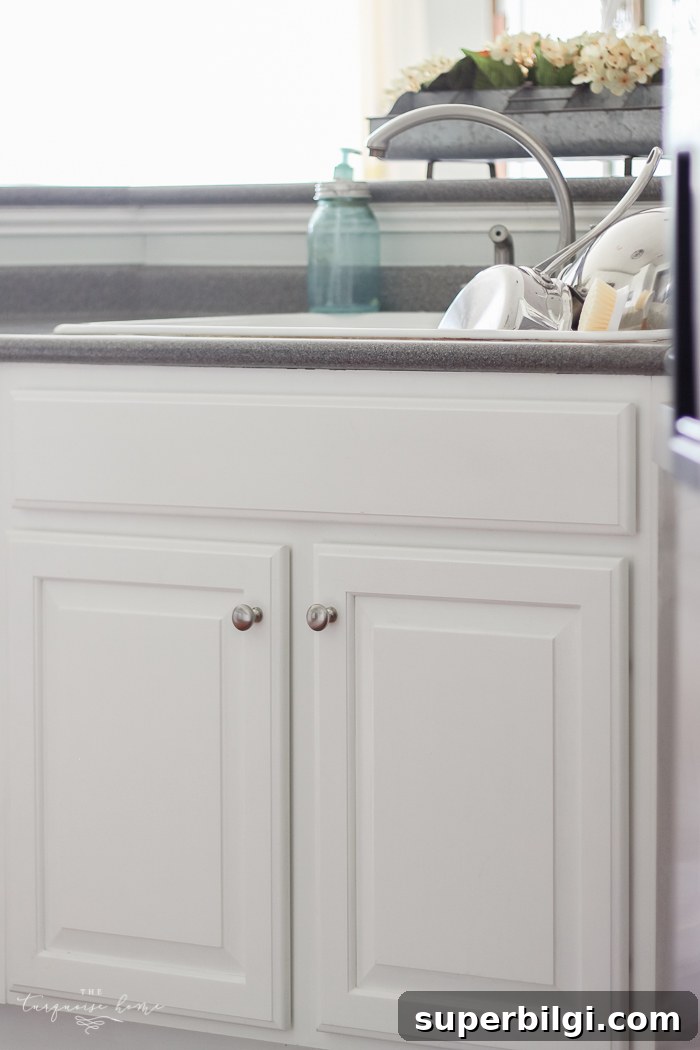
One final question I had was whether to add pulls to a faux drawer front below the sink. Since that panel is decorative and I plan to replace the sink later, it’s a matter of taste — adding hardware can balance the look, but leaving it plain keeps the design simple until the sink is updated.
Final Tips
- Keep a spare template for future touch-ups.
- Work on a flat, well-lit surface and use painter’s tape to protect finishes while marking and drilling.
- If you filled old holes when painting, confirm the paint and filler are fully cured before drilling to avoid chipping.
I’m thrilled with how the pulls finish the kitchen and remove the stress of opening drawers without risking the new paint. If you’re hesitant to install hardware, try the cardboard template trick — it’s an easy, reliable way to get perfectly aligned cabinet pulls every time.
More posts you might like:
- How To Display Kitchen Cabinet Wreaths
- Painted Kitchen Cabinets: Two Years Later
- Ideal Cabinet Knob Placement — Tips and Tricks