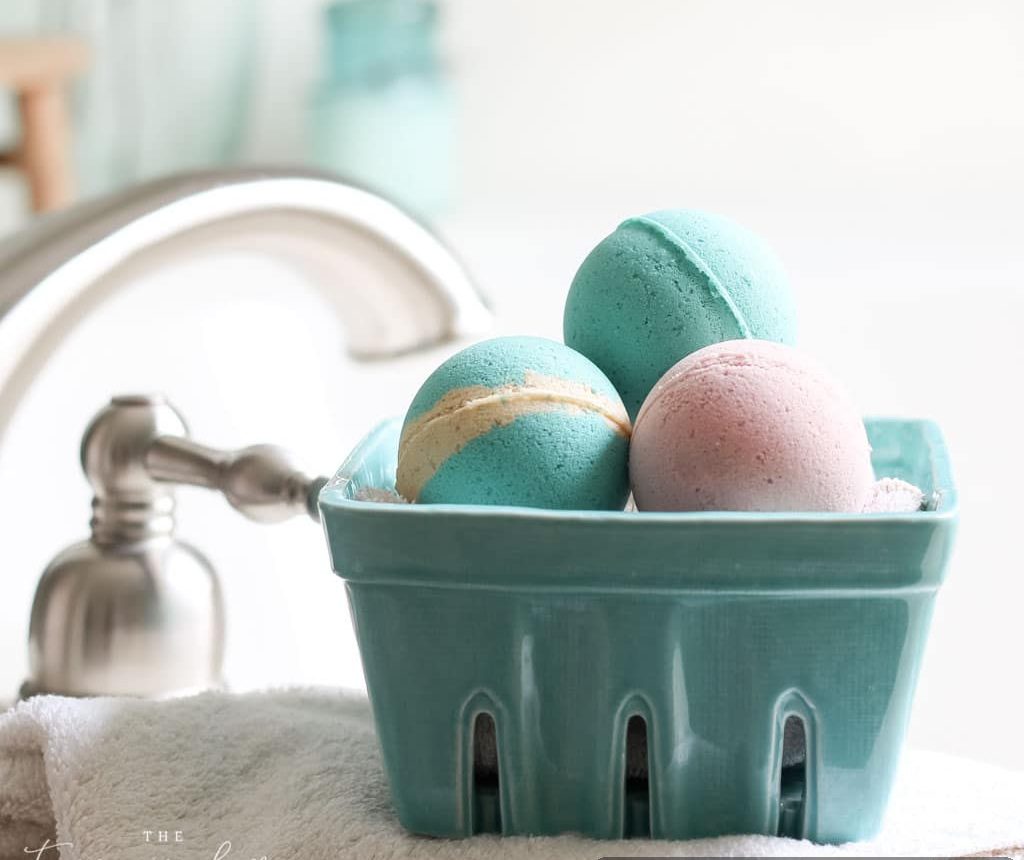
Enjoy a soothing soak with these simple DIY bath bombs—perfect for pampering yourself or gifting to friends and family. They’re inexpensive to make, customizable with your favorite scent, and the coconut oil helps keep skin soft and hydrated.
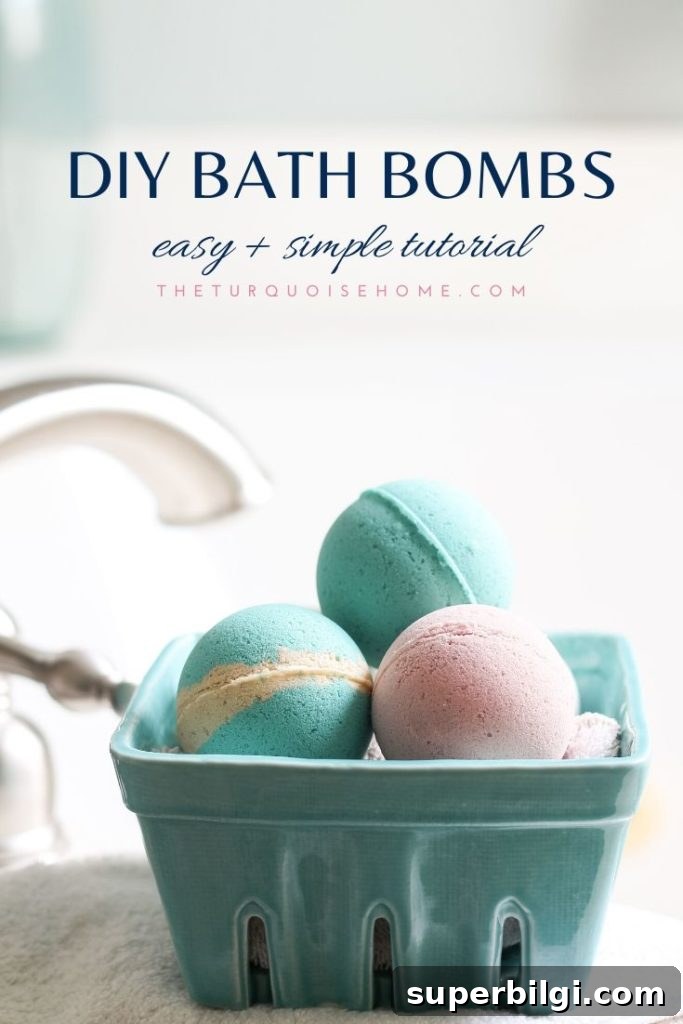
I love making my own bath bombs. My kids adore baths and use a bath bomb every time—so I make plenty. The coconut oil in this recipe helps prevent winter dryness, making these bath bombs gentle and nourishing.
When you keep a jar of these in the bathroom, it’s a nice reminder to take a little time for yourself.
Why Make Homemade Bath Bombs?
Making bath bombs at home is rewarding and straightforward. You control the ingredients, choose your favorite essential oils, and create scents and colors that suit your tastes. Homemade bath bombs are also a thoughtful, low-cost gift for holidays, birthdays, or as party favors.
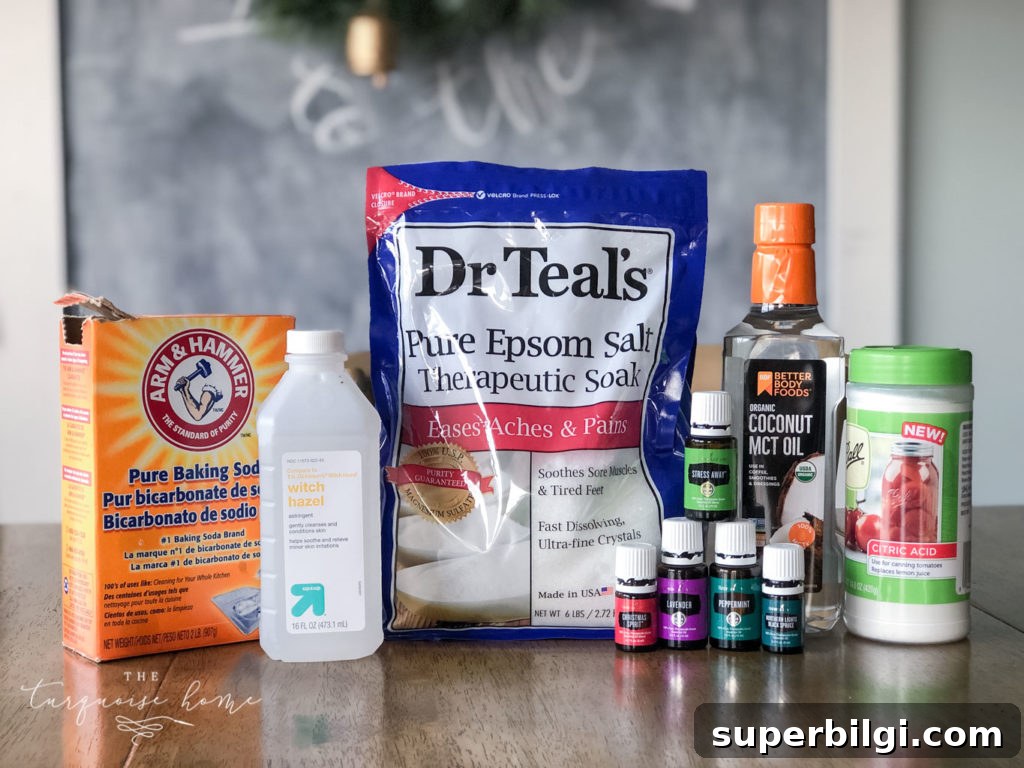
Supplies You’ll Need for Homemade Bath Bombs
- Baking soda
- Citric acid
- Epsom salt
- Fractionated coconut oil (or sweet almond oil)
- Mica pigment powder for color
- Essential oils (choose high-quality oils for best scent)
- Witch hazel in a spray bottle
- 60 mm bath bomb molds or clear ornament molds
- Small spray bottle for witch hazel
How to Make the Best Bath Bombs
Follow these step-by-step instructions for reliable, fizzy bath bombs. The most important tip is to add liquids slowly and to mist with witch hazel only until the mixture holds together—too much liquid will trigger the reaction prematurely.
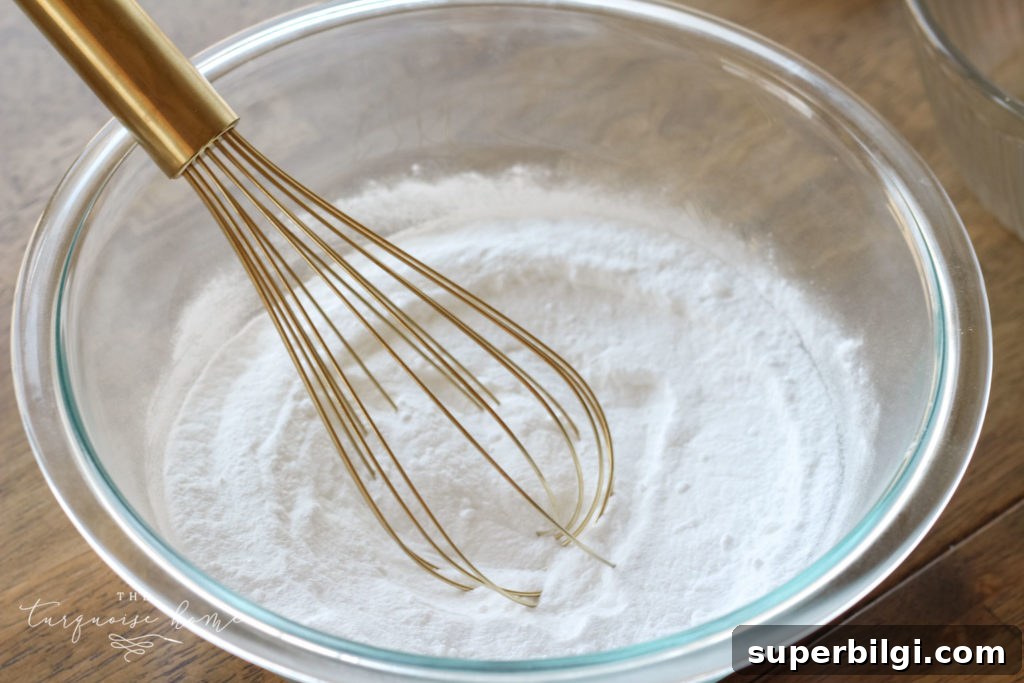
Step 1: Mix the dry ingredients. In a large bowl, whisk together the baking soda, citric acid, and Epsom salt until evenly combined.
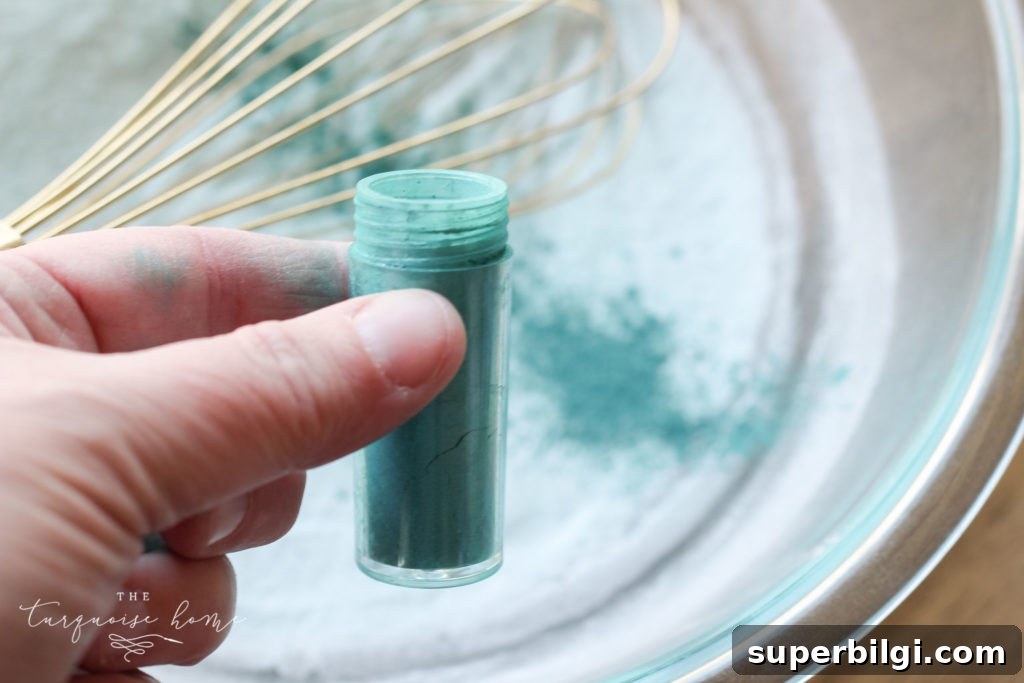
Step 2: Add color. Mica powder produces the best, most vibrant colors without clouding the bath water. Add a small amount and mix thoroughly until you reach the shade you want.
Step 3: Combine oils. In a small container, mix the fractionated coconut oil with your chosen essential oils. I used blends like lavender, peppermint, and other seasonal combinations—use what you prefer, but be cautious with citrus oils because they can cause photosensitivity.
Step 4: Add liquid slowly while stirring. Add the oil mixture to the dry ingredients a little at a time while continuously stirring. This prevents the citric acid from reacting too early. Keep the mixture dry enough to look and feel like damp sand until you reach the next step.
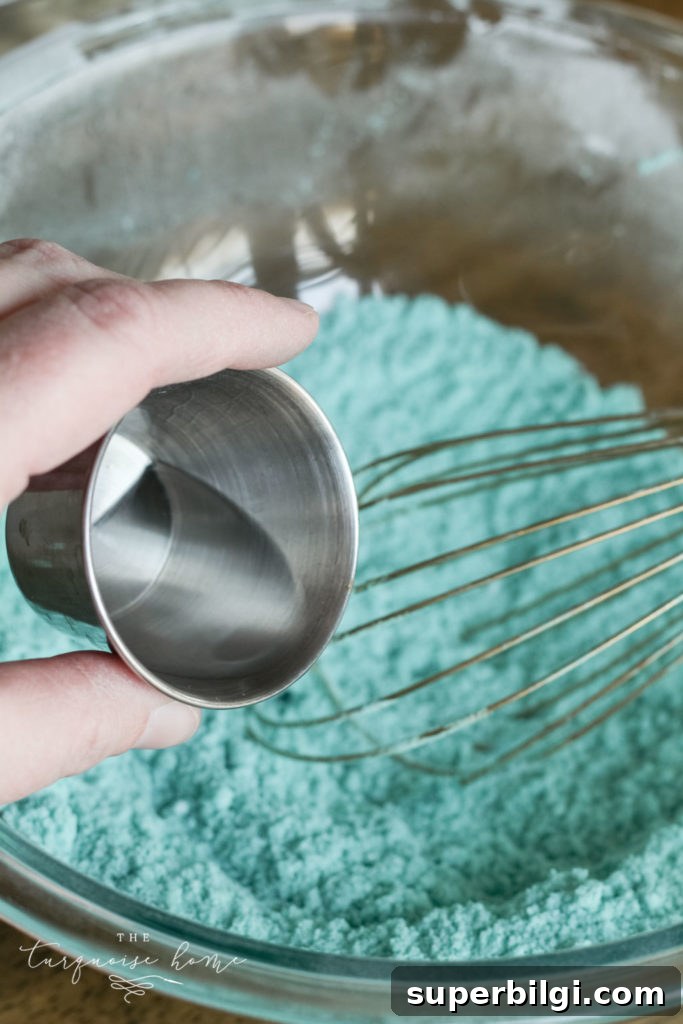
Step 5: Mist with witch hazel. Lightly mist the mixture using a spray bottle filled with witch hazel until it clumps like snow and packs together in your hand. Don’t over-saturate. If the mixture becomes too wet, the bombs will fizz prematurely and may crumble or expand within the mold.
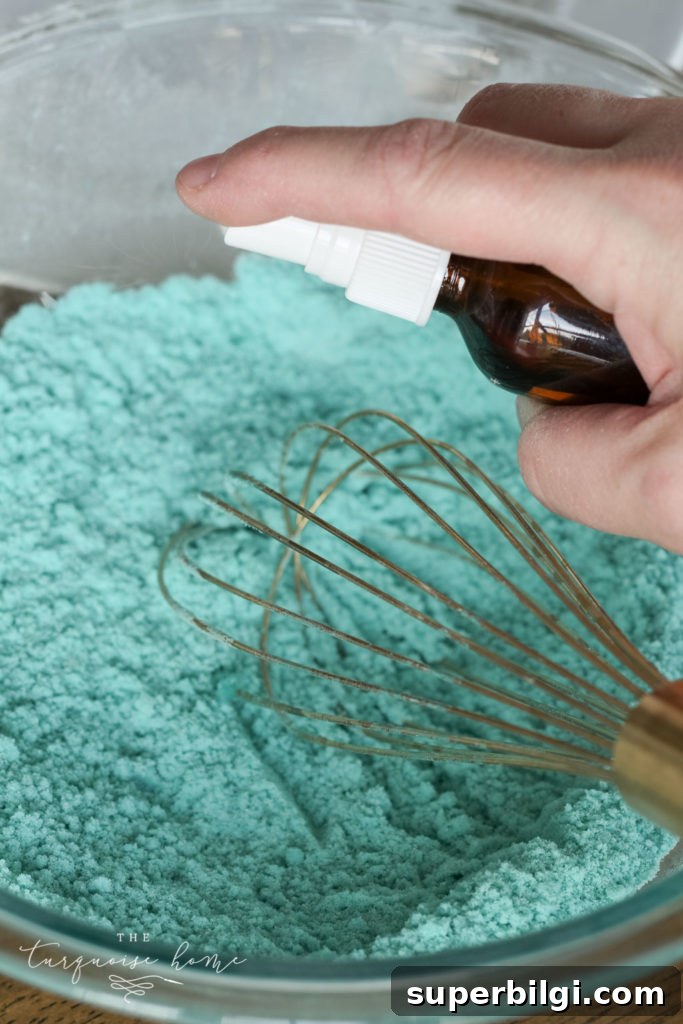
If your mix does get too wet, press it into open molds or muffin tins so the excess moisture can escape; the result will still work in the tub.
Step 6: Pack into molds. Firmly pack the mixture into one half of the mold, then into the other half. Press the halves together until they form a solid ball.
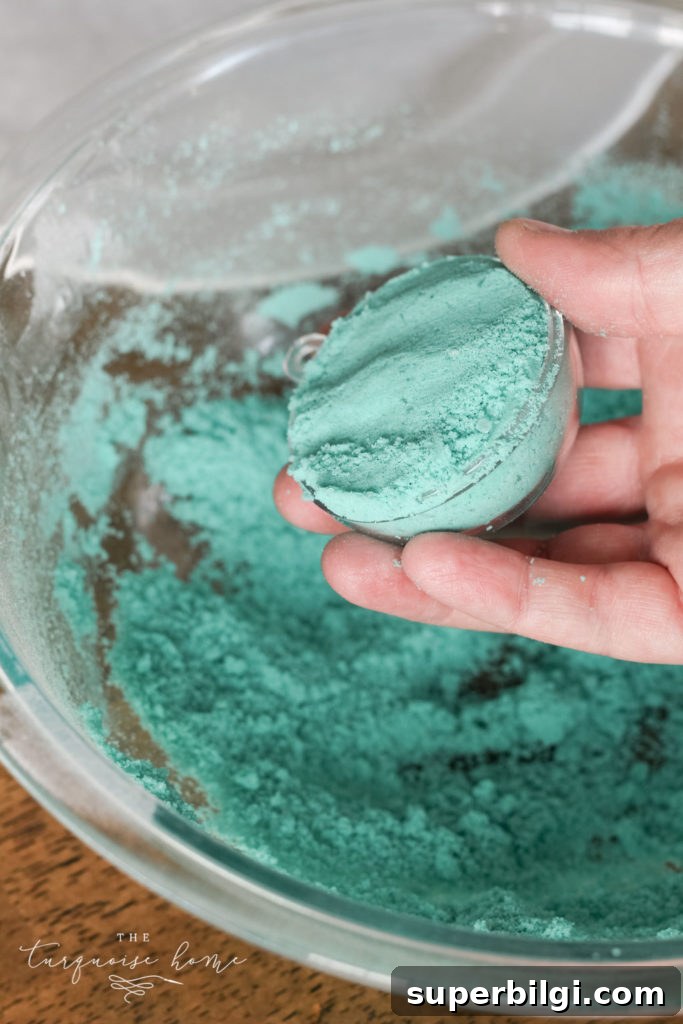
Step 7: Let set. Keep the mold closed for 30 minutes to firm up, then remove one side of the mold and let the bath bomb dry for 24 hours. If using ornament molds, remove one side overnight and then replace it the next day to ensure complete drying.
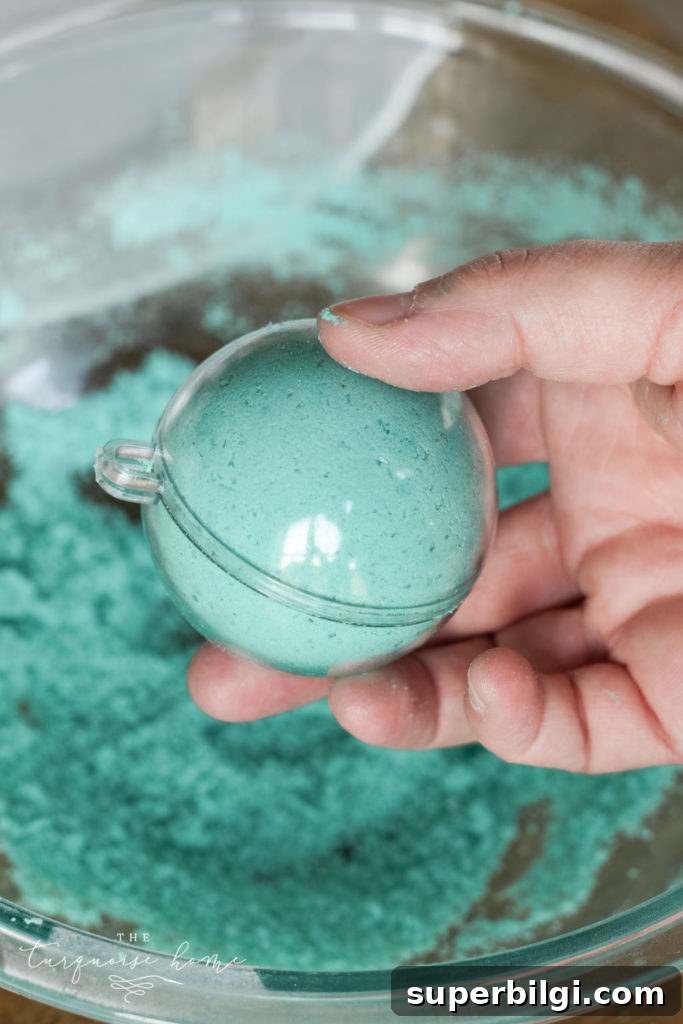
Step 8: Store and enjoy. Allow bath bombs to dry at least 24 hours, then store them in an airtight container in a cool, dry place. Use them in a warm bath and enjoy the fizz, fragrance, and skin-softening benefits.
Recipe: DIY Bath Bombs (Makes about 4 – 60mm bombs)
Ingredients
- 1 cup baking soda
- 1/2 cup citric acid
- 1/4 cup Epsom salt
- 20 drops essential oils
- 2 tsp fractionated coconut oil
- Witch hazel (in a spray bottle)
- 4 × 60 mm bath bomb molds
- Mica colorant as desired
Instructions
- Combine baking soda, citric acid, and Epsom salt in a bowl and whisk thoroughly.
- Combine coconut oil and essential oils, then add this oil mixture to the dry ingredients a little at a time while stirring continuously.
- Add mica colorant until desired color is reached.
- Mist the blend lightly with witch hazel until it clumps like a snowball. Avoid over-wetting.
- Fill each half of the mold and press the halves together firmly.
- Keep the mold closed for 30 minutes, then remove one side and allow the bomb to dry for 24 hours.
Note: Be cautious with citrus essential oils—these can increase sun sensitivity. If you use a citrus oil, avoid direct sun exposure for 24 hours after bath use.
Gift Ideas for Bath Bombs
These bath bombs make lovely gifts. Here are a few creative packaging ideas:
- Christmas ornaments: Fill clear ornament molds with crushed candy cane or mica swirls before adding the bath bomb mixture. Add ribbon, a small pinecone, and a printed gift tag for a festive touch.
- Tissue-wrapped candy bombs: Wrap a single bath bomb in colorful tissue paper, twist the ends, and tie with pretty ribbon—like oversized holiday candy.
- Bath sets: Place several bath bombs in a plastic cup with a domed lid and top with a mini loofah for a cute spa treat package.
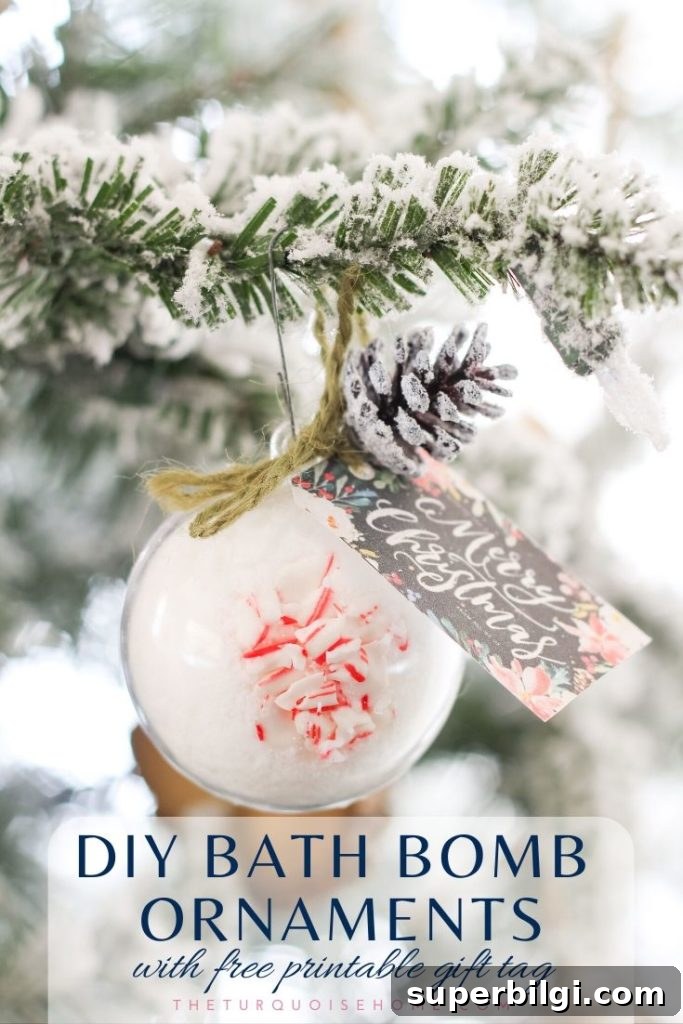
Handmade bath and body gifts are personal and thoughtful. If you enjoy making bath bombs, try pairing them with homemade soaps, scrubs, or lip balms to create a complete pampering set.
More Homemade Bath & Body Ideas
- Homemade rosemary and mint soap
- All-natural lip balm
- Lavender bath salts
- Cocoa + mint lip balm
- DIY shower gel
- Lemon sugar scrub
- All-natural body butter
- Vanilla and orange spice room spray