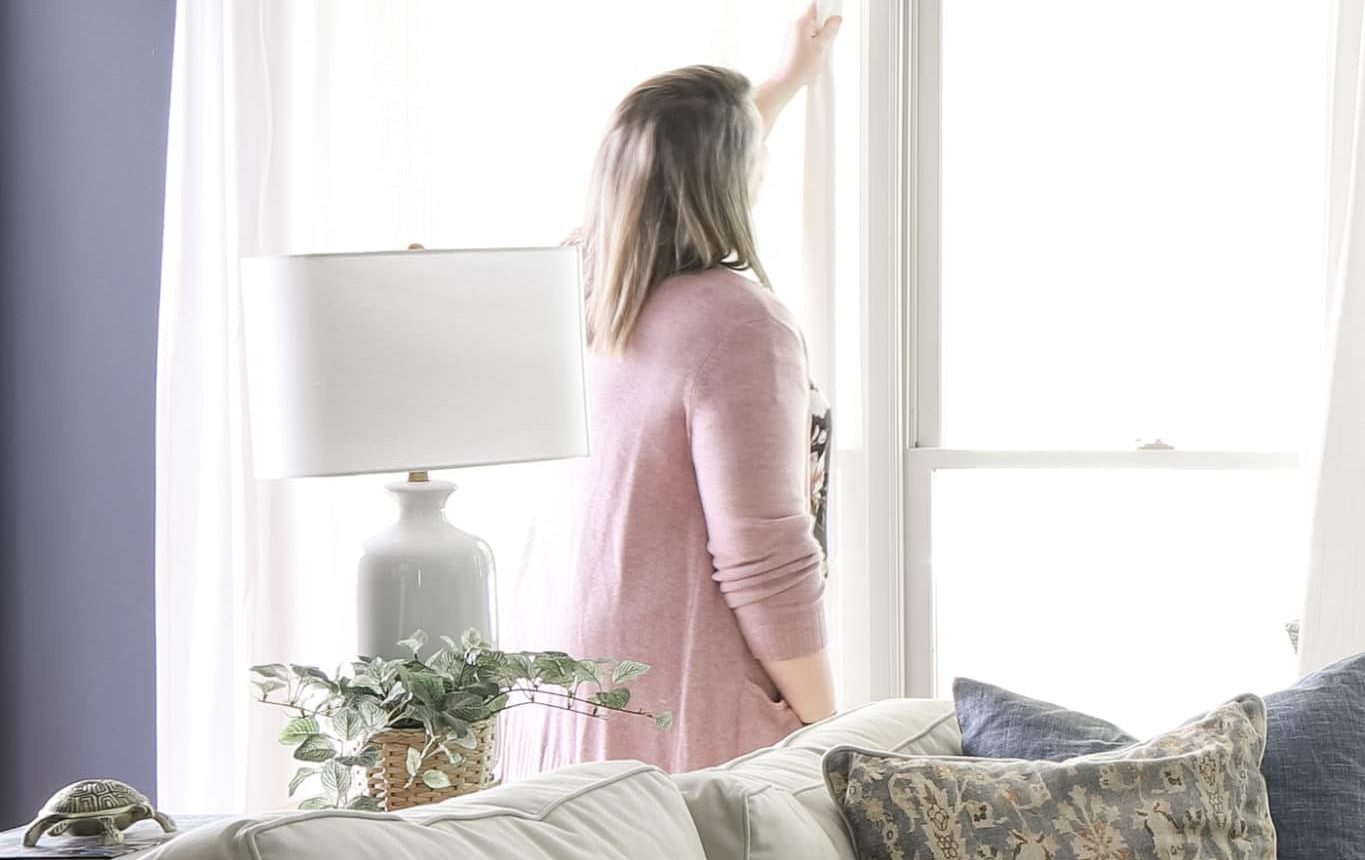
You’ve chosen the perfect combination of fabric, color, and hardware, and the time has finally come to hang your curtains. Ready to take your window treatment dreams from mood board to reality? Finding just the right curtains or drapes to finish a room is one of my favorite decor projects. Hanging them? Not always so fun.
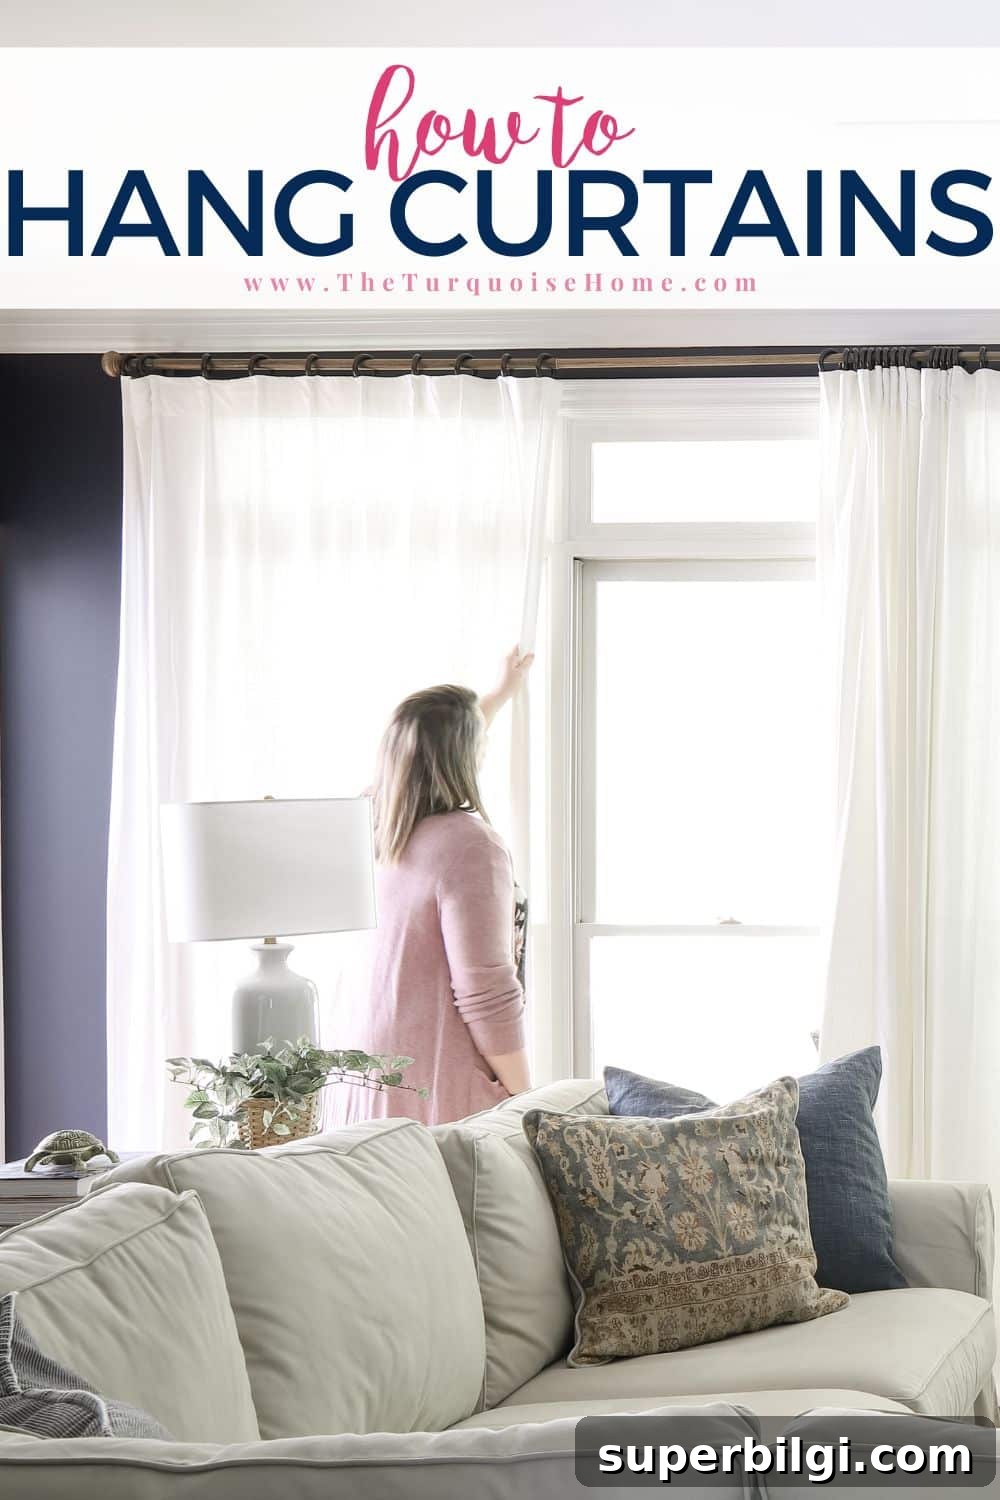
I’ve put together a straightforward guide to hanging curtains, with clear steps and examples to help you avoid common mistakes (like unnecessary holes in the wall). After years of hanging panels in many rooms, I’ve learned a few tips that make the job faster and neater.
This post contains affiliate links for your convenience.
Supplies You Will Need to Hang Curtains
- Measuring tape (metal, durable)
- Level
- Laser level (handy when hanging curtains across several windows)
- Pencil
- Stud finder
- Drill
- Screwdriver
- Ladder
- Drywall anchors (high-quality anchors are worth it)
- A second pair of hands—helpful but not required
- Curtain rods
- Curtains or panels
See my favorite DIY tools on my Amazon storefront for ideas and recommendations.
How To Hang Curtains
If you already know the overall look you want, you’re off to a great start. Before buying panels, rods, and other hardware, run through the first three steps below. The placement and size of your windows will determine the polished, designer look you can achieve.
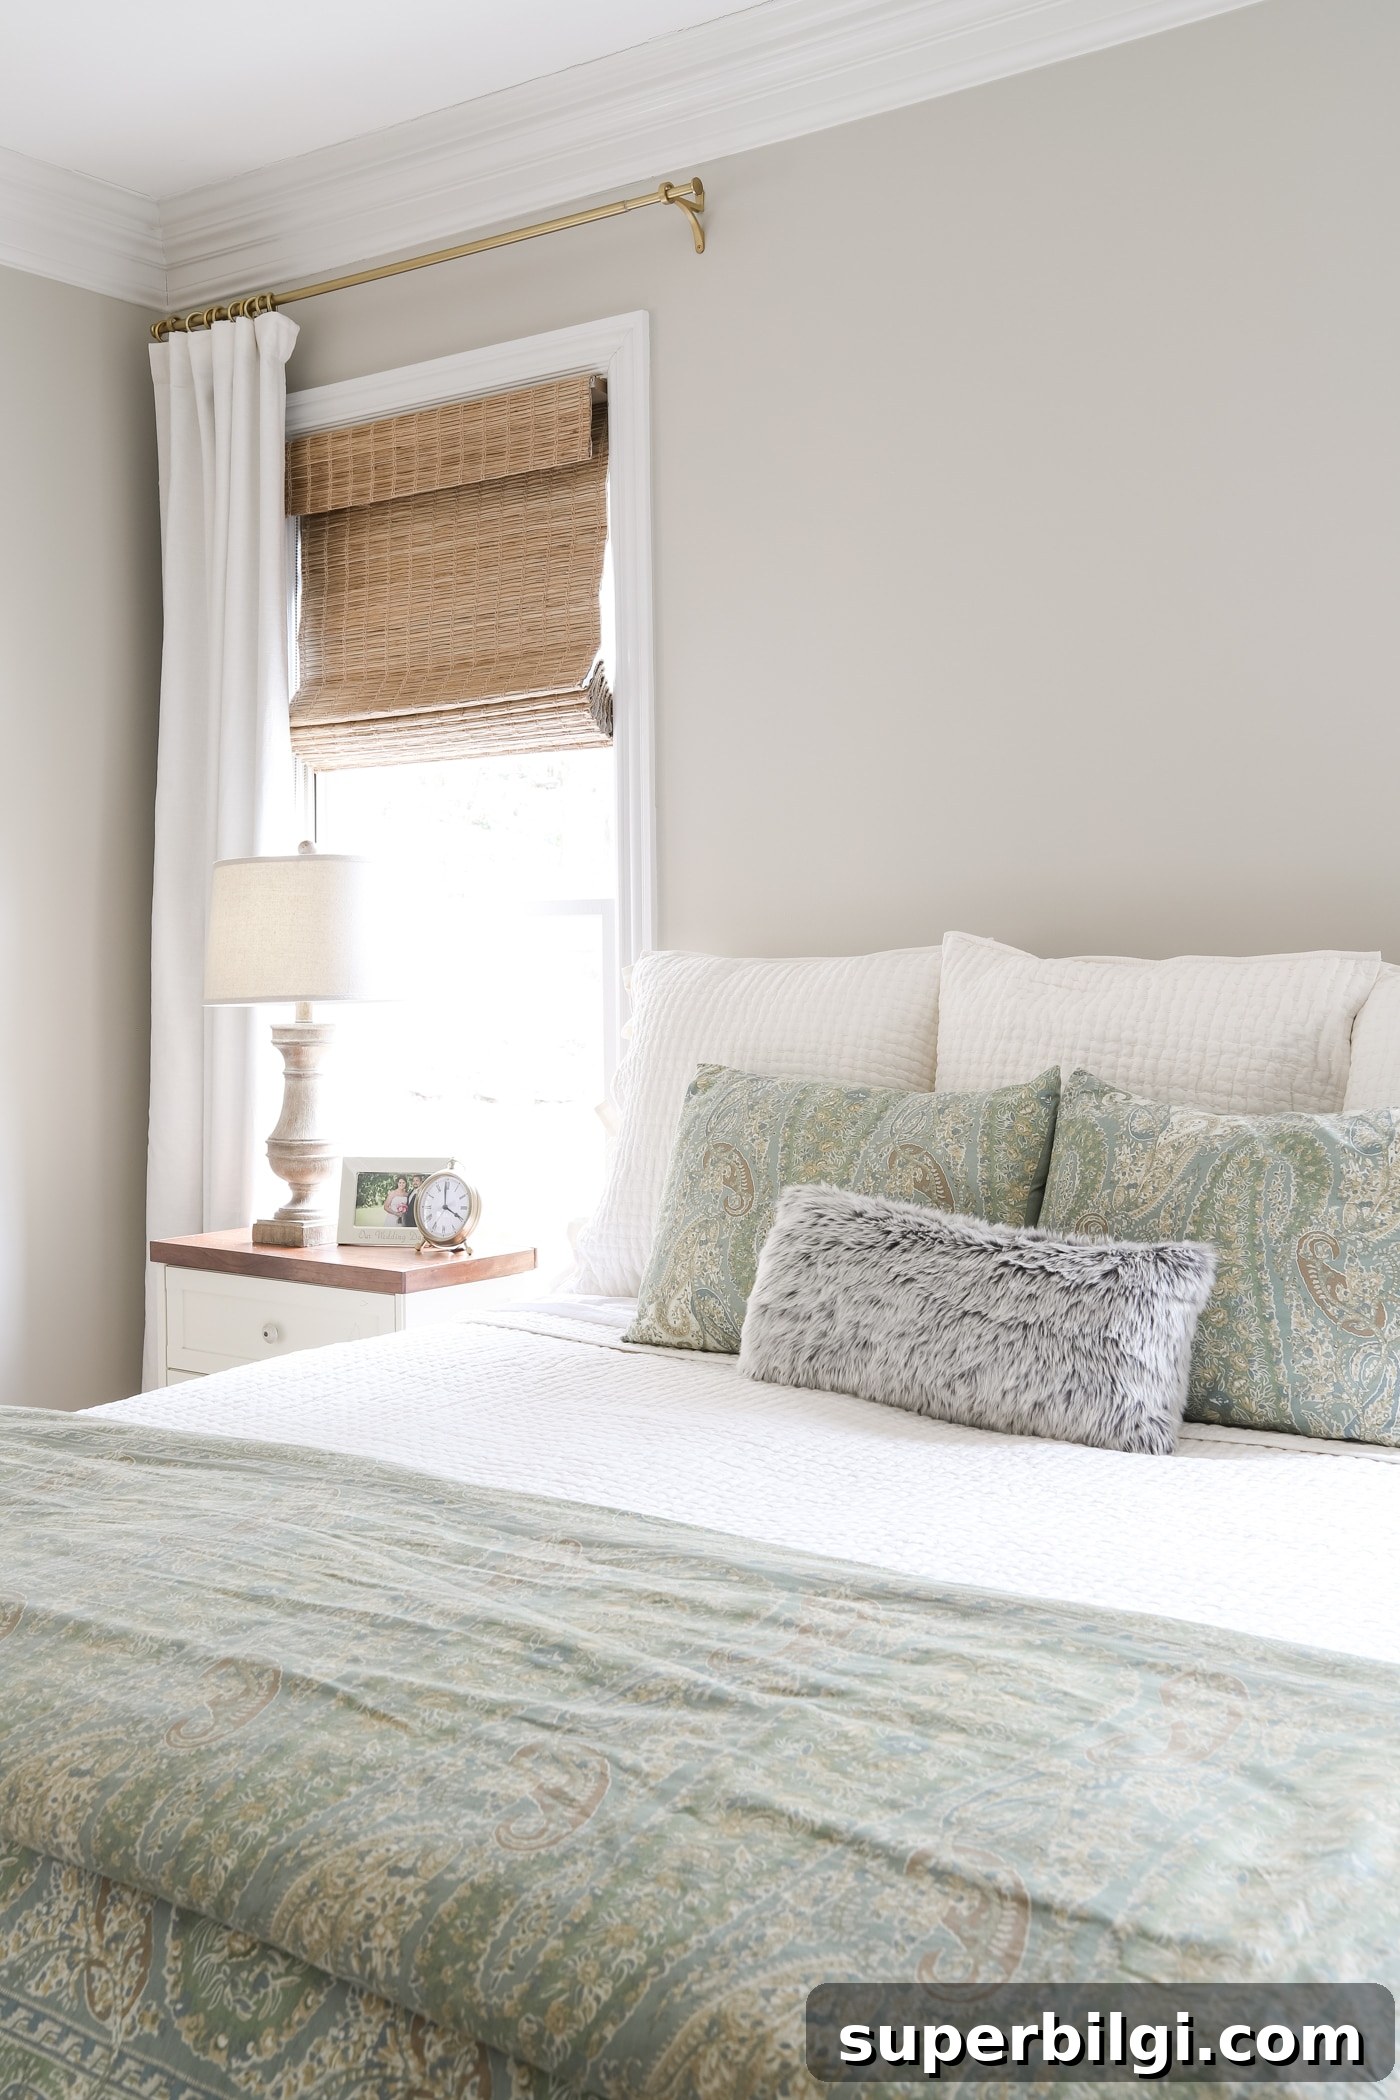
I love the combination of light-colored curtains, bamboo shades, and brass hardware. The linen/cotton panels I use are blackout, and the shades have a blackout liner, so we get the exact amount of light and privacy we want.
1. Measure Your Windows & Do the Math
Start with a tape measure and a notepad to sketch your window and note measurements. You don’t need neat drawings—just accurate numbers. Measure the width of the window from the outside edge of the trim on one side to the outside edge on the other for bracket-mounted rods.
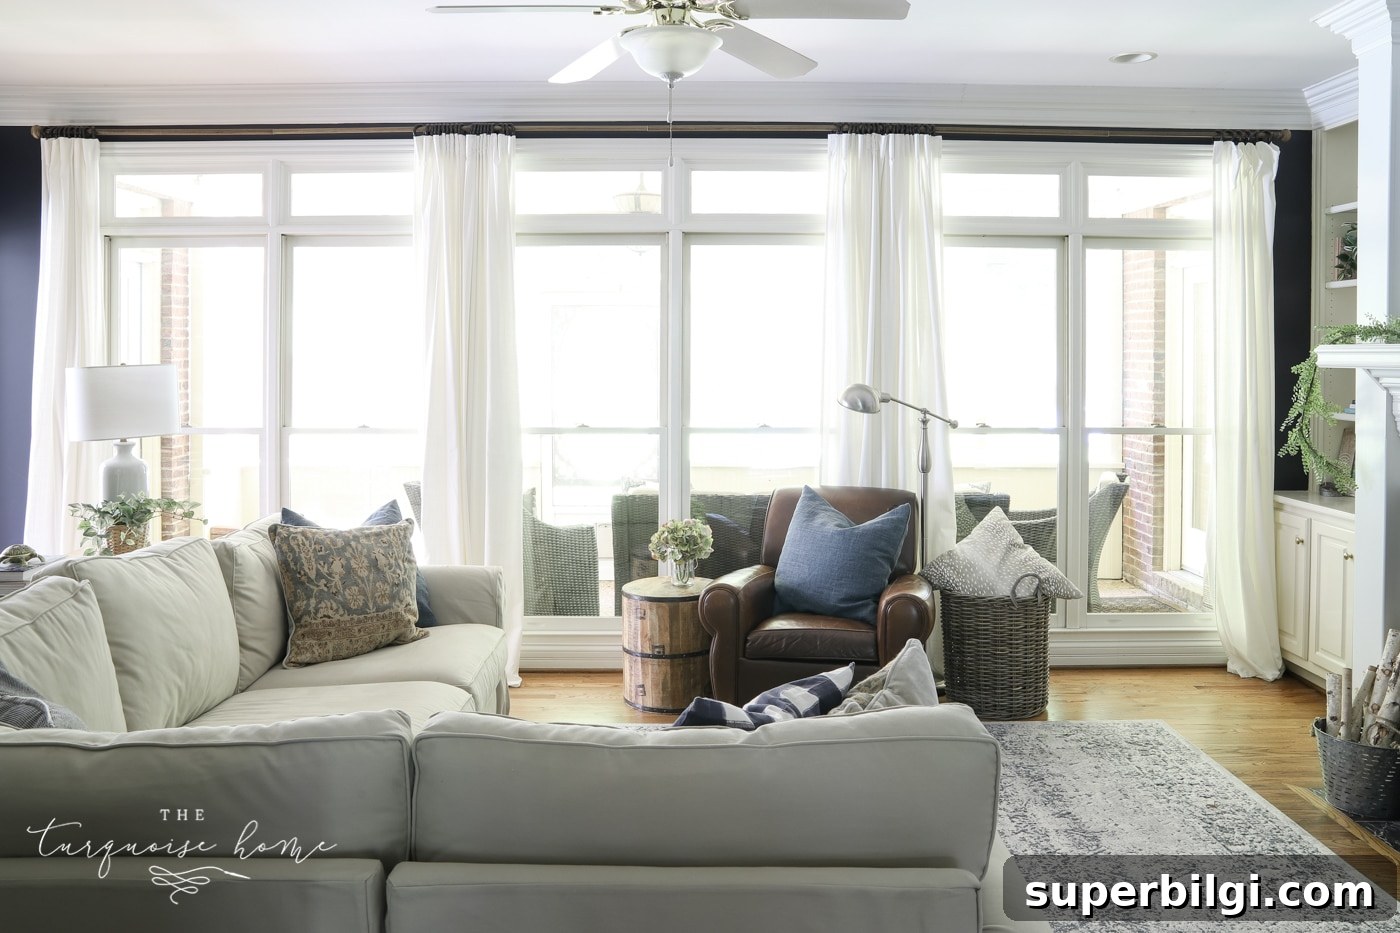
If you’re treating multiple windows as one span, measure each section and the total combined width. These numbers help determine how many panels you need and how long the curtain rod should be.
For height, decide how high you want to hang the rod. For a dramatic floor-to-ceiling look, place the rod 4–6 inches above the top of the frame and measure down to the floor. For shorter curtains that end at a sill, measure to or slightly below the sill. One exception: if you’re using a tension rod mounted inside the frame, measure inside the frame instead.
2. Choose the Best Curtain Width
A simple rule of thumb: take your window width and add about 6 inches to each side (12 inches total). For a 48-inch window, that means 60 inches total. Divide that total by the number of panels you plan to use—usually two panels per window. In this example choose panels at least 30 inches wide each. If you prefer a fuller look, opt for slightly wider panels or add extra panels for lightweight or sheer fabrics.
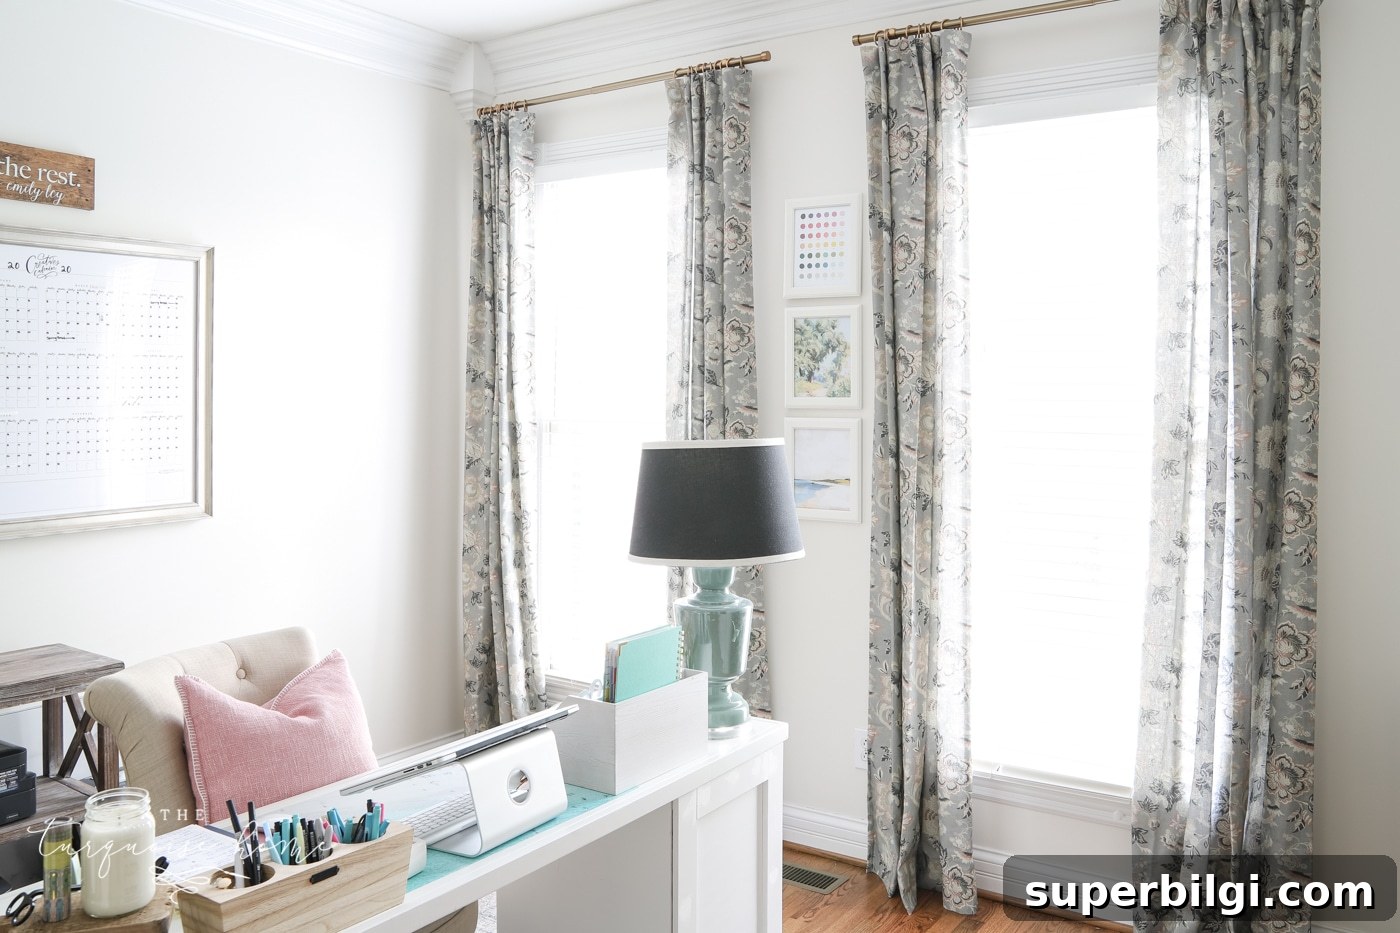
The floral fabric and brass hardware in my home office hit the right balance of fullness and clean lines when open.
3. Choose the Best Curtain Length
Length affects the scale of a room. I favor the “high and wide” approach—hang curtains as close to the ceiling as possible for a taller, more elegant look. Measure from 4–6 inches above the frame down to the floor for panels that create that effect.
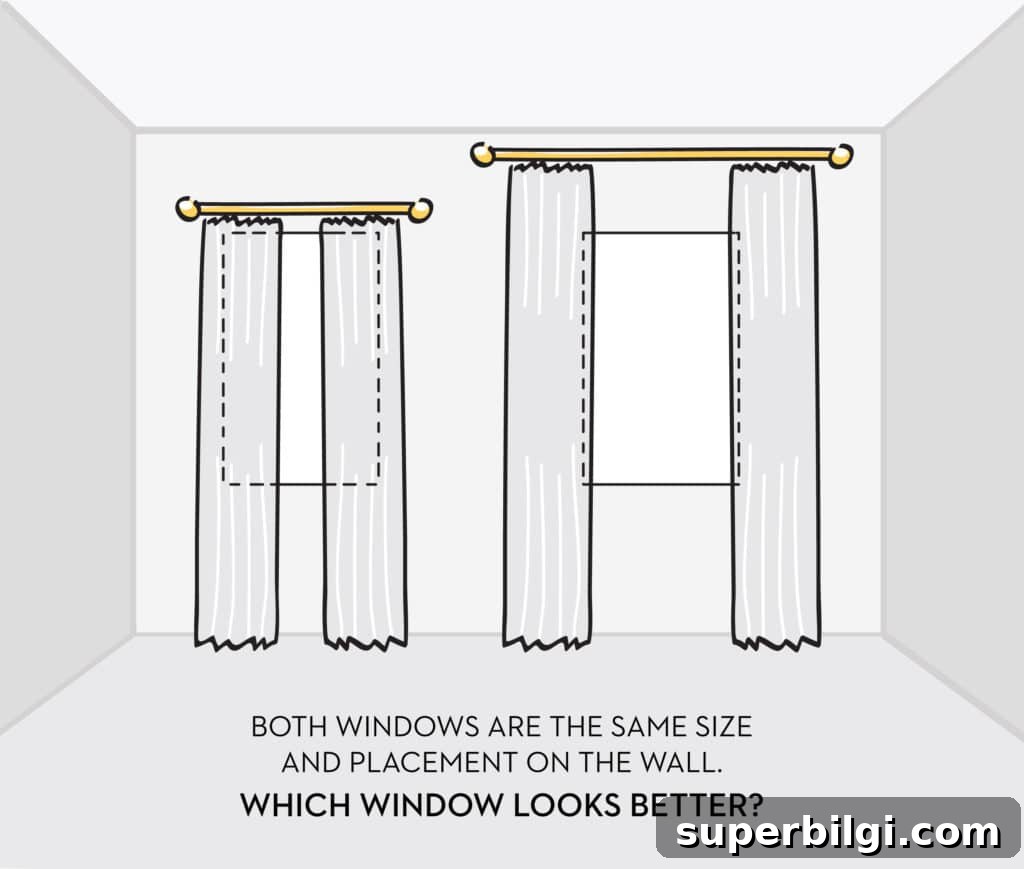
Raising curtains can dramatically change a room’s proportions. If you plan to open them often, allow about a half-inch clearance from the floor. If panels mostly stay closed, a slight puddle can look luxurious, especially in bedrooms. Typical lengths are 63, 84, 96, 108, and 120 inches—pick the size that matches your measurements and intended use.
4. Choose the Best Curtain Rod Length
To size the rod, take the measured window width and add 8–12 inches total (4–6 inches per side is common). For a 48-inch window, you’d select a rod between 56 and 60 inches depending on how far you want the fabric pulled back.

Account for the length of decorative finials, and remember that rods typically need a middle support bracket every 60 inches to prevent sagging. If using heavy fabrics, consider a thicker rod and closer bracket spacing.
5. Install Curtain Rod Brackets
For installation you’ll need a pencil, tape measure, stud finder, drill, screwdriver, level, ladder, and drywall anchors if you can’t mount into studs. Mark a spot roughly 3 inches horizontally from the window trim and 4–6 inches above the frame (or closer to the ceiling for a taller look).
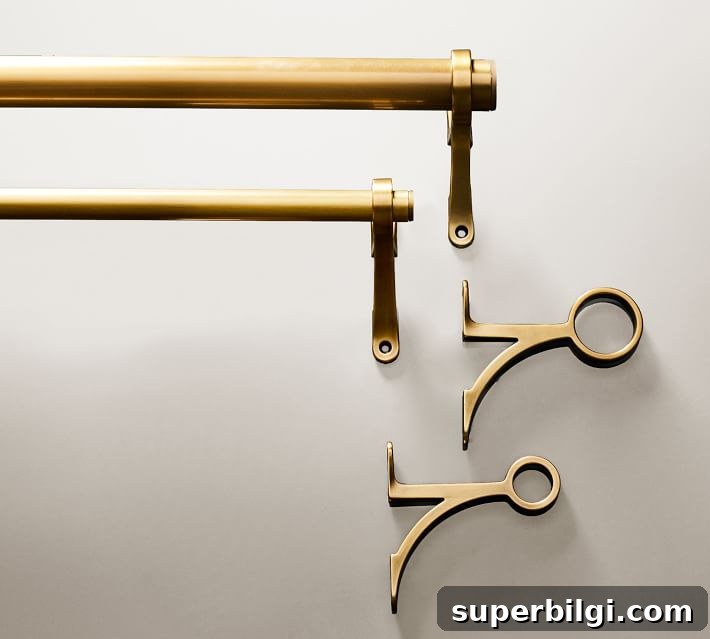
Drill and mount the first bracket into a stud if possible; otherwise use quality drywall anchors. Repeat on the opposite side and use a level to ensure both brackets are even. Add a center bracket if the rod span requires it. A laser level helps when spanning multiple windows.
6. Hang Curtains and Adjust
How you hang panels depends on the header style. Rod-pocket curtains slide onto the rod through a sewn channel and offer a casual, gathered look. Tab-top curtains provide straight lines and don’t slide as smoothly. Grommet panels are easy to slide and create uniform folds.
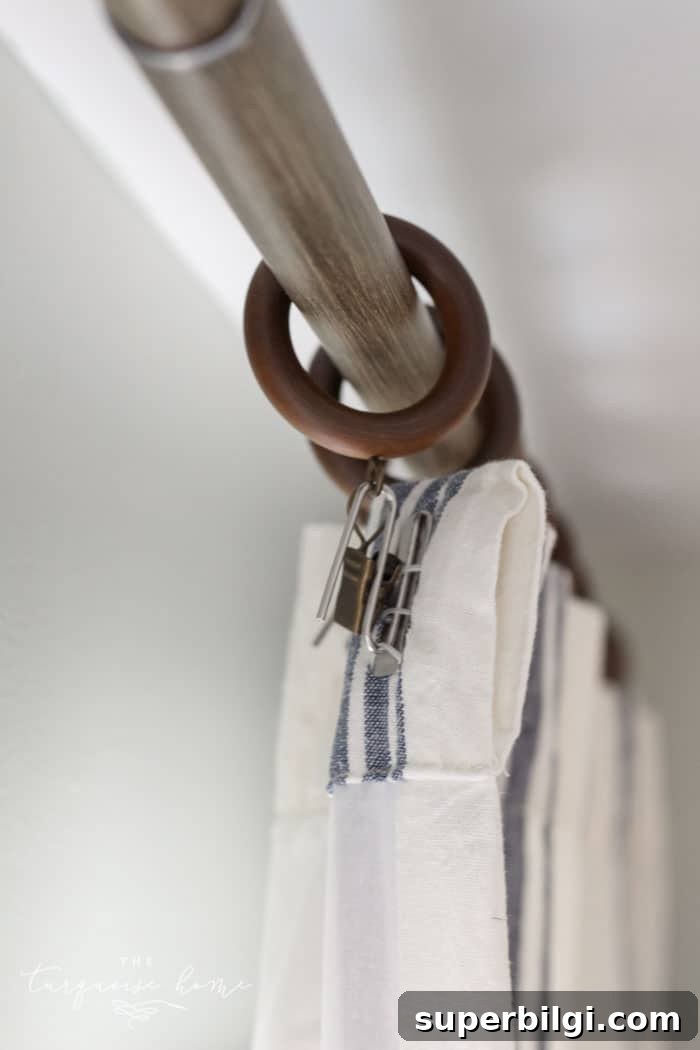
A useful trick is to use rings with hooks to achieve a designer look without expensive hardware. Choose rings that provide the desired drop and use panel clips or hooks to fine-tune the length so the curtains hang neatly.
Final Thoughts
There are many choices when hanging curtains—width, length, rod type, and mounting height all affect the final look. Consider the room’s function, traffic, and cleaning needs when choosing puddling or floor-clearance. With accurate measurements and the right hardware, you’ll get a polished, professional result.
If curtains aren’t the right fit for a window, a fabric-covered cornice board is another attractive option that adds pattern or color without obscuring the glazing.
More posts you may enjoy:
- How To Add Curtain Trim Tape For A Custom Look
- The Best Window Treatment Options For Every Room
- How To Choose Living Room Curtains
- How To Hang An Extra Long Curtain Rod
- Gorgeous Cheap Curtain Ideas For Your Home