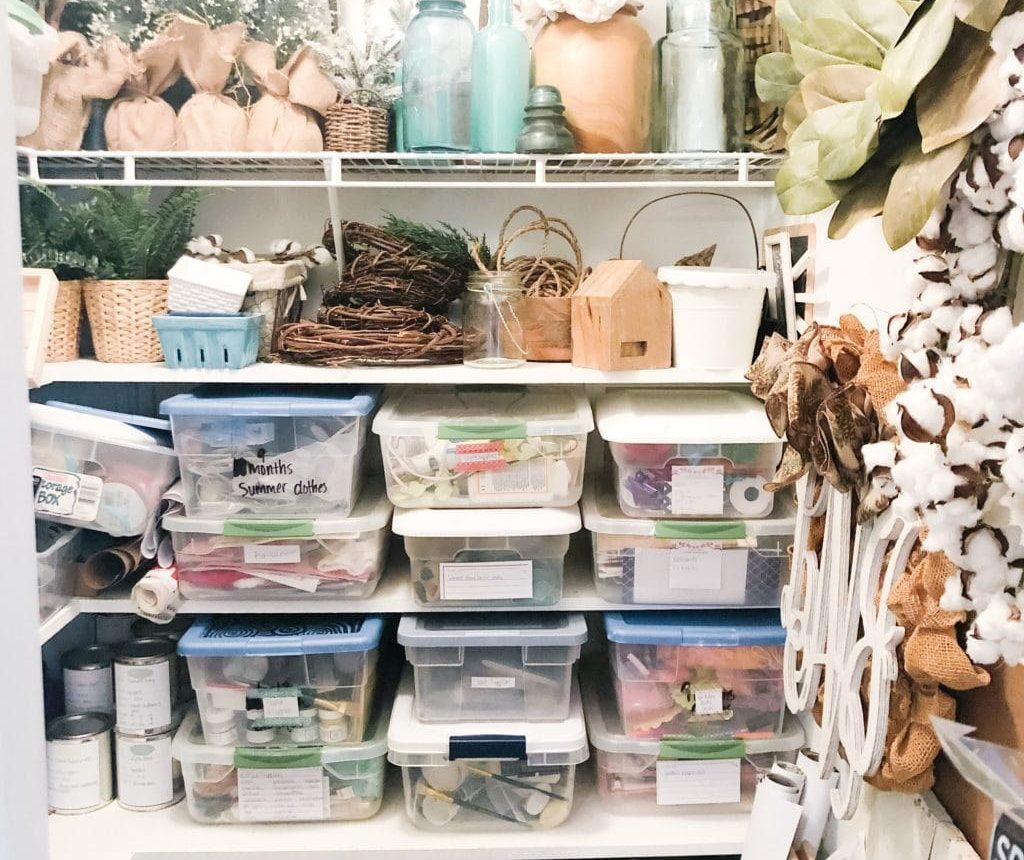
Do you need to find more space in your home? Utilize the vertical space in your closets by learning how to build closet shelves!
I had been dreaming about this project long before we bought our house. Most of our closets only had a single wire shelf and a hanging rod, so in rooms where nothing gets hung — like the guest bedroom and office — there was a lot of wasted vertical space. Turning that wasted height into usable storage felt like a no-brainer.
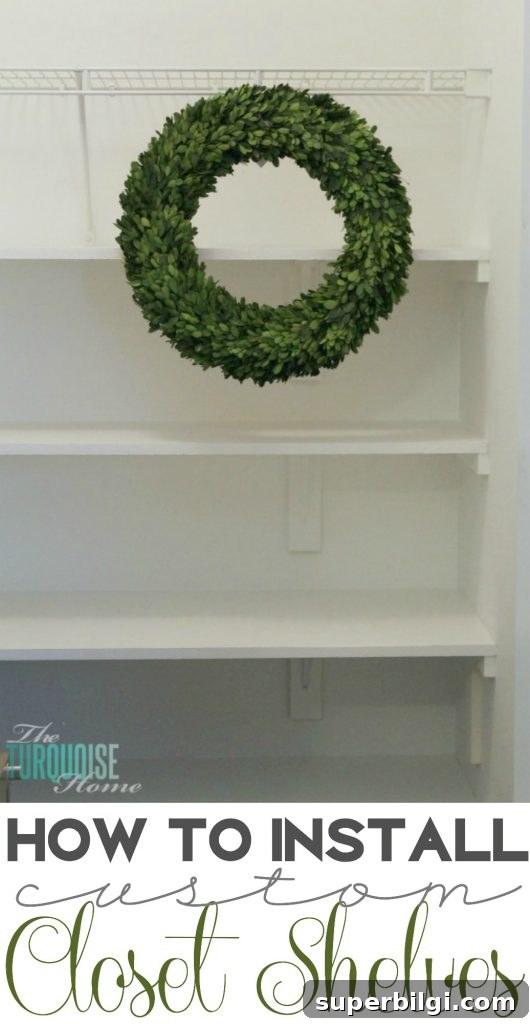
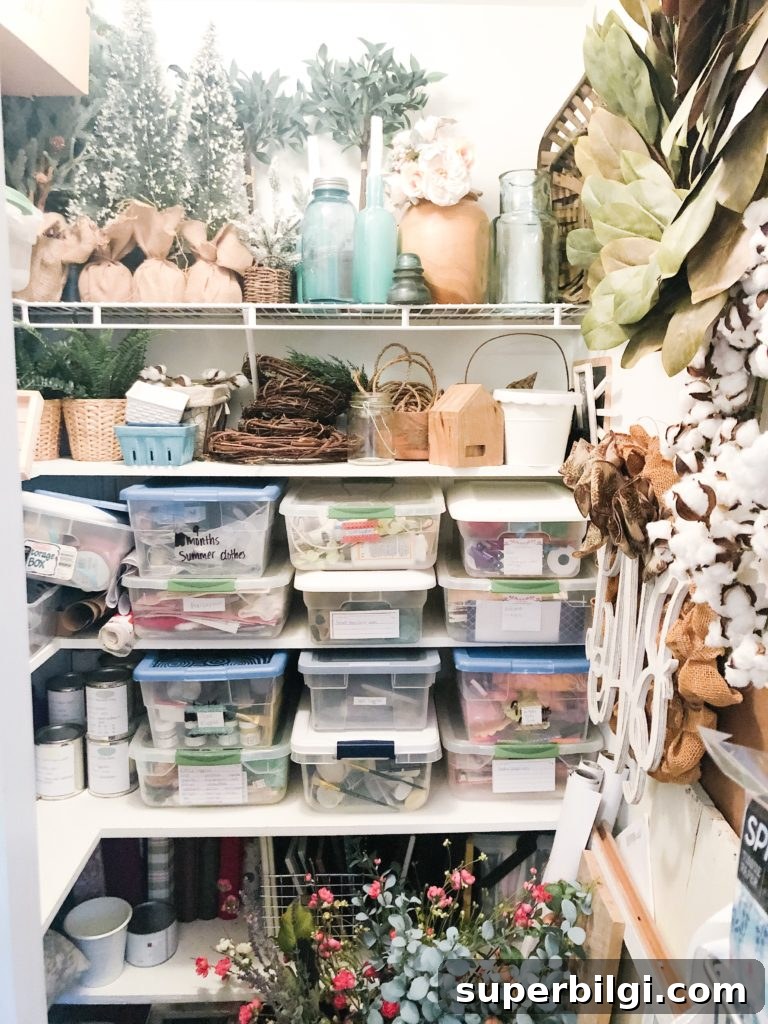
When we realized we’d need the fourth bedroom for the baby, I had to reclaim all the decorating items, sale piles, and storage bins from that room and fit as much as possible into the guest closet. That urgency pushed me to finally create built-in-style shelves to take advantage of the full height of the closet.
I considered buying a ready-made closet system, but after measuring and seeing what I actually needed, I decided custom shelves would be simpler, more affordable, and better tailored to my storage needs. If you want precise depths and shelf heights for specific items, DIY shelving is often the best choice.
Why DIY? I enjoy DIY projects, but these days I prioritize time as much as cost. If a store-bought option meets my needs, I’ll buy it. But for this closet I wanted custom sizes to hold a filing cabinet, a sewing machine case, and bins I already own. That made DIY the right option: custom, budget-friendly, and long-lasting.
Supplies Needed to DIY Closet Shelves
- 3/4 inch MDF for the shelves – I used 2 full sheets and had them cut to depth; measure your closet and buy what you need.
- Measuring tape
- Circular saw or miter saw
- Table saw – optional if you prefer to have boards ripped at the hardware store.
- 1×2 boards – for edge and wall support
- 1×3 boards – for bracket backing under shelves
- Metal brackets – 8″ x 10″ brackets work well when mounted with the 8″ side vertical
- Caulk and spackling – to finish seams and patch holes
- Primer and paint – semi-gloss paint is easy to wipe clean
- Wood screws
- Stud finder
- Level and straight edge / ruler
Tip: Make a full materials list after you measure so you don’t make multiple trips to the store.
How To Build Closet Shelves
Step 1. Nail down your measurements
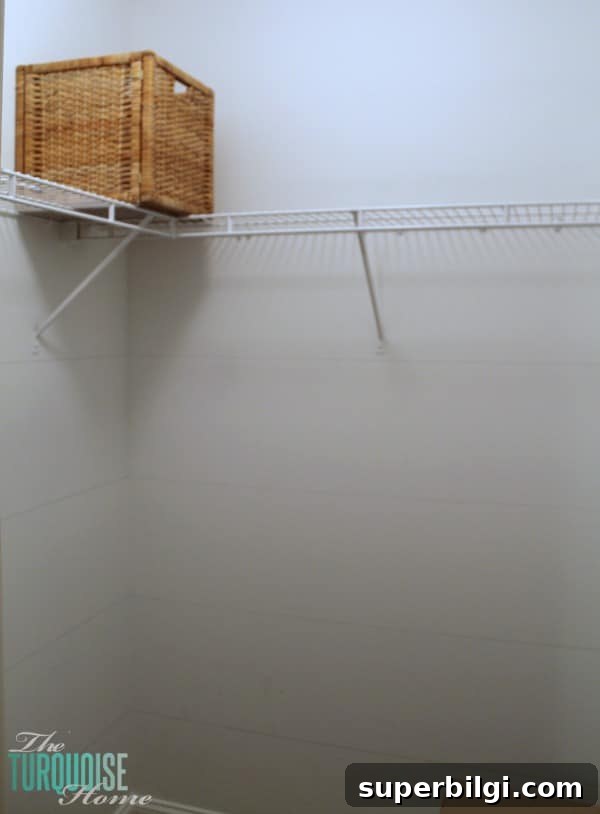
Start by measuring everything you plan to store so shelf heights and depths fit those items. For example, I wanted my filing cabinet to slide under one shelf and my sewing machine case to fit beneath another, so I set those shelf heights accordingly. I also decided to keep the existing wire shelf in place in case the closet needed to be converted back to hanging storage later.
My setup ended up with the top shelf at 13″ deep, the second shelf at 14″, and the bottom two at 18″. Each shelf ran the width of its respective wall; one side’s width needed to account for the adjoining shelf depth where the walls meet.
Step 2. Buy your supplies
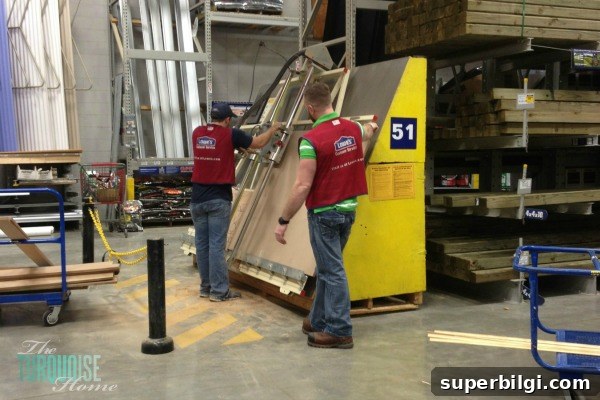
I used two sheets of 3/4″ MDF. Have the board store cut the boards down to your chosen shelf depths if you don’t have the equipment at home. I had the lengths cut with a circular saw at home. Also buy the 1×2 and 1×3 support boards, brackets, screws, caulk, spackle, primer, and paint.
Step 3. Prime & cut your boards
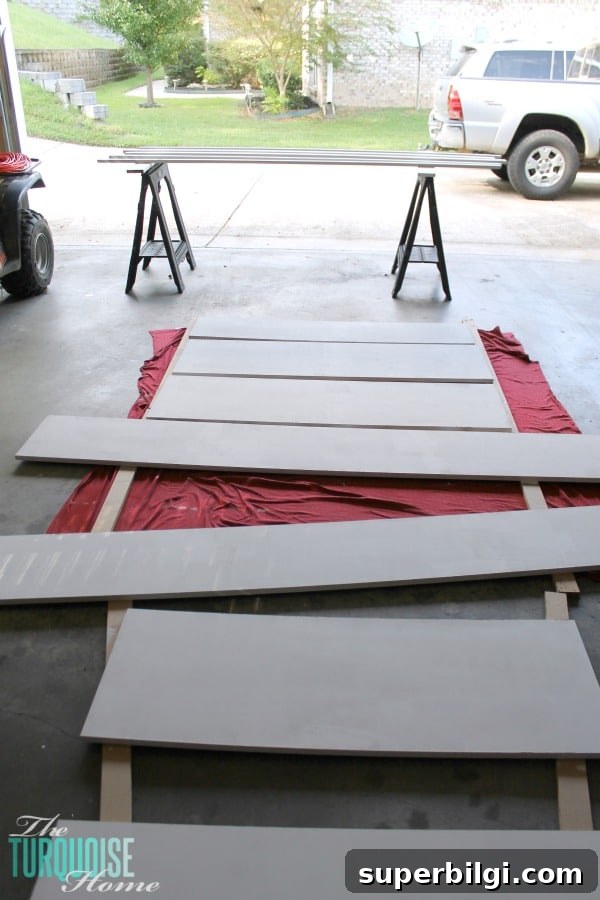
Priming boards before installation makes painting easier and reduces the amount of touch-up required later. I laid everything out in the garage and applied two coats of primer to all shelf pieces and supports. Once primed, cut the shelves to final length with a circular saw. You can choose to cut first and prime later if you prefer.
Cut the 1x2s to the shelf lengths and rip 1x3s into 8″ sections for backing under the brackets — one 1×3 for each bracket location.
Step 4. Mark your shelf lines
Use a level and a straightedge to mark shelf lines on both walls. Clear, level lines make it much easier to position the support boards accurately. Double-check dimensions before you start fastening anything.
Step 5. Attach your support boards
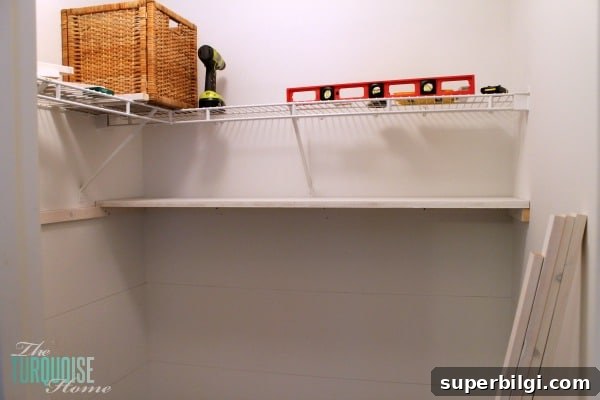
Nail or screw the 1×2 support boards to the wall following your level lines. Use a stud finder to locate studs and secure the boards into studs with screws so the shelving will be strong and safe. If you use a nail gun for temporary positioning, be sure to follow up with screws into studs for long-term stability.
Step 6. Install your shelf boards
If your closet is deep enough to bring shelves in after supports are up, you can slide them into place. For shallow closets where support boards overlap the shelf path, install the shelf boards first and then attach the supports. Make sure each shelf is seated squarely on its supports before fastening.
Step 7. Install bracket supports and brackets
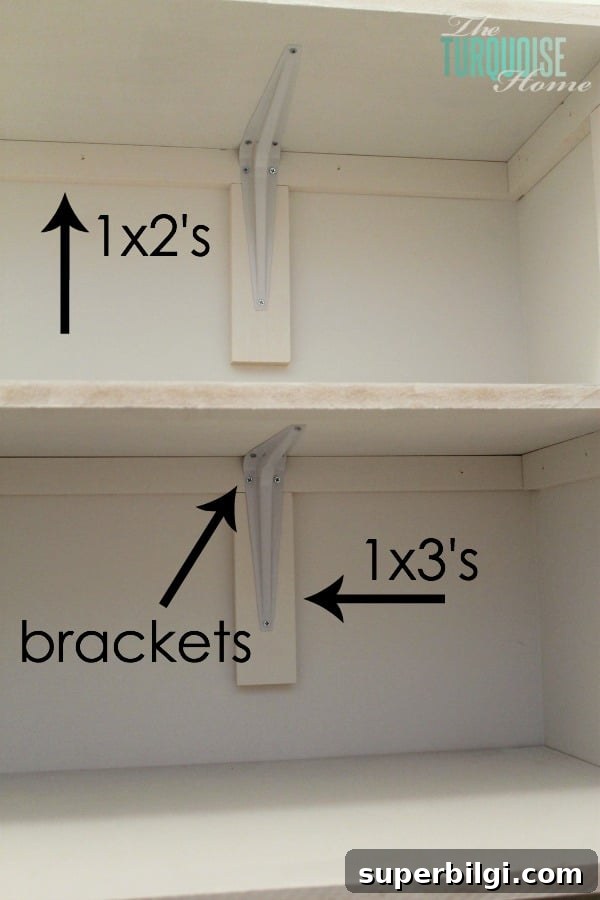
Cut the 1×3 backing pieces to 8″ and fasten them under the 1×2 support boards where brackets will mount. Screw the brackets to the backing boards and into the underside of the shelves. I used two to three brackets per 58″ shelf and placed a bracket where two shelf boards met to support the joint.
Step 8. Caulk and patch
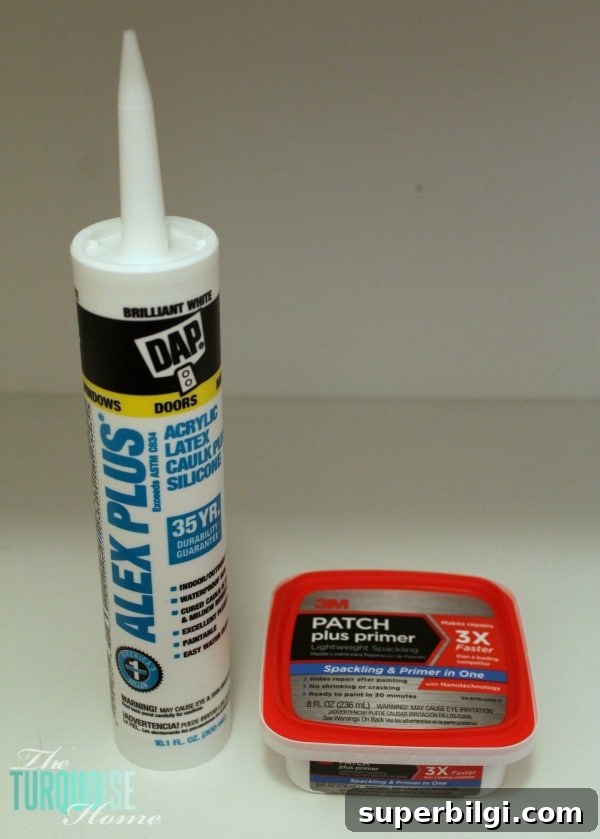
Fill nail and screw holes with spackling and run caulk along seams for a clean, built-in look. Once patched and sanded, the shelves will look seamless and professional.
Step 9. Paint
Finish with two coats of semi-gloss paint for easy cleaning. I used a white that matched our trim so everything looked cohesive. Painting after priming and patching gives a durable, attractive finish.
Finished!!
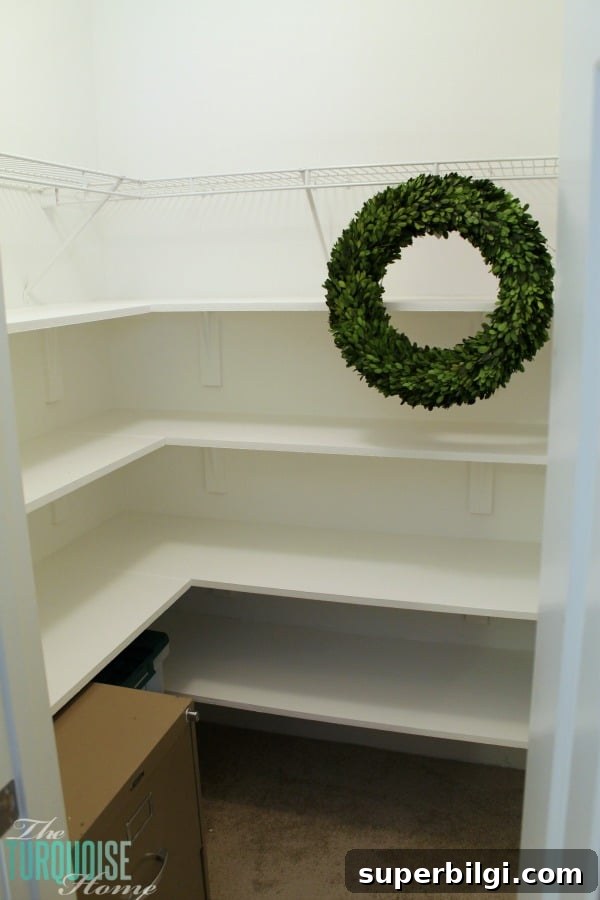
I know it sounds like a lot of steps, but none are difficult — they just require patience and attention to detail. I completed my project in small increments over several weeks while juggling work and family, but with a few uninterrupted days you could likely complete a similar closet in a weekend.
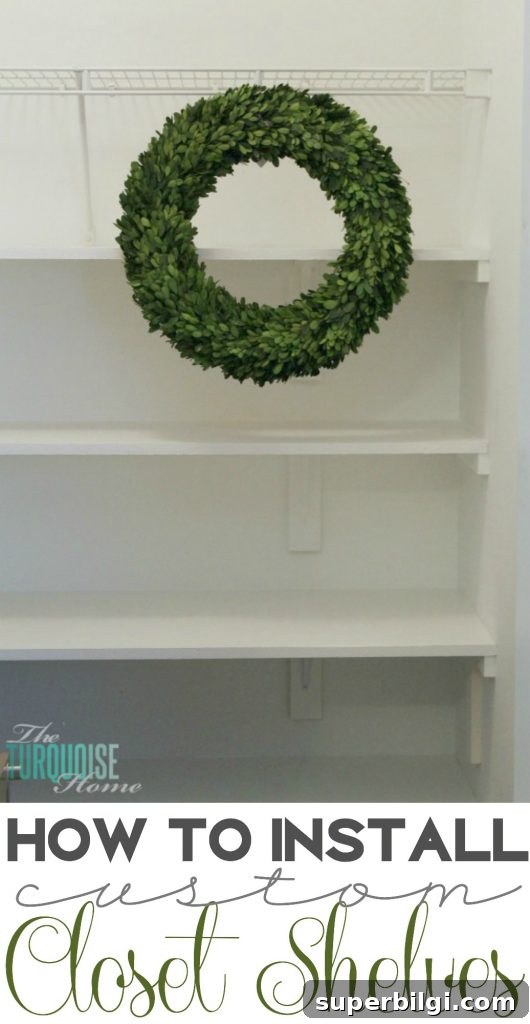
Now it’s time to declutter and start moving things back into the closet. The extra vertical storage has made a huge difference in organization and usability — and five years later these shelves are still straight and serving us well. If your closets are wasting vertical space, a similar DIY shelving solution can transform them into highly useful storage areas.
Updated five years later: I still love these shelves and get a ton of use out of them. I plan to add similar shelving to the hallway coat closet to maximize vertical storage there as well.