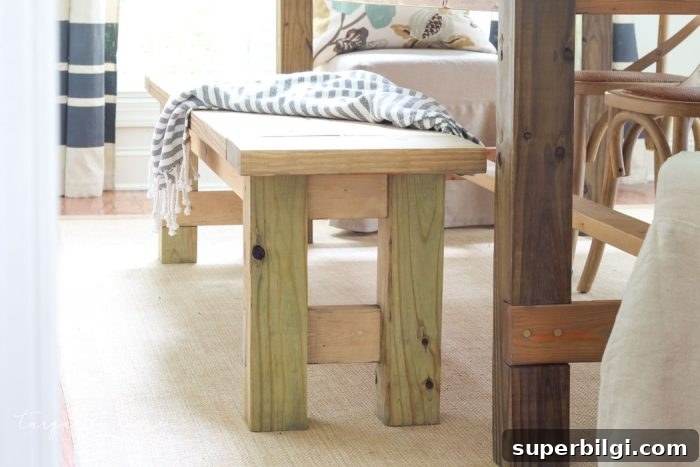
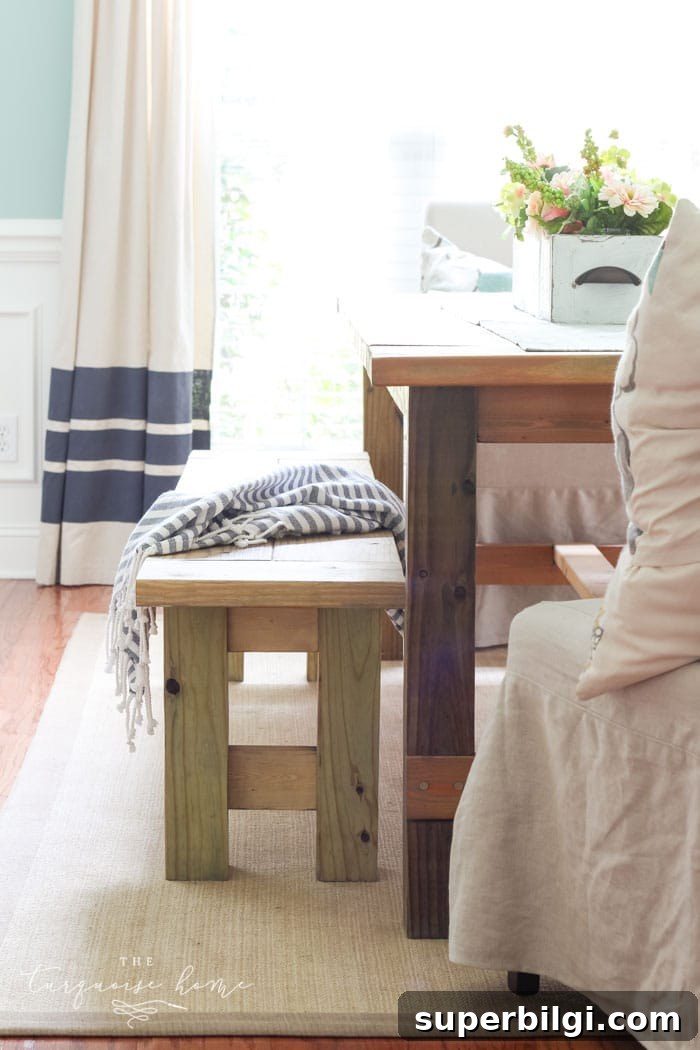
Nothing complements a farmhouse table quite like a matching farmhouse bench. When you can build one for less than the price of a casual dinner out, it’s a total win. It adds rustic charm, extra seating, and can be surprisingly simple and inexpensive to build.
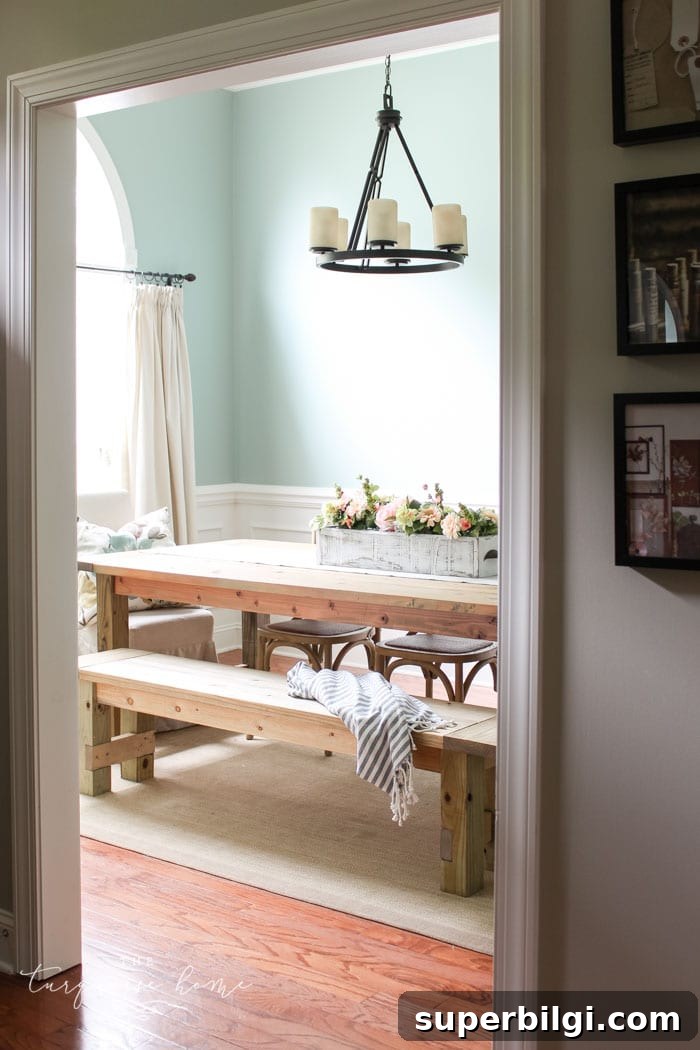
I built my farmhouse table back in 2012 and originally bought six x-back chairs to go around it. My plan was to add a bench along one side with chairs at the ends and on the opposite side, but life and a growing family delayed the project. Five years later, I finally built the bench—and it only took two afternoons. The truth: it’s not difficult, and the cost is shockingly low.
RELATED: DIY Drop Cloth Curtains
What I love about this design is that it uses basic tools—miter saw, drill, circular saw and a Kreg Jig—and inexpensive lumber. For me it cost around $40 in materials. Buying enough chairs to replace one side of the table would have been much more expensive, so this bench was a great way to add seating and save money. It’s practical, attractive, and fast to build.
Another advantage: the bench tucks under the table when not in use, which keeps the dining area tidy and frees up space. If you plan to build one for a specific table, measure to make sure the bench will slide underneath without being too long.
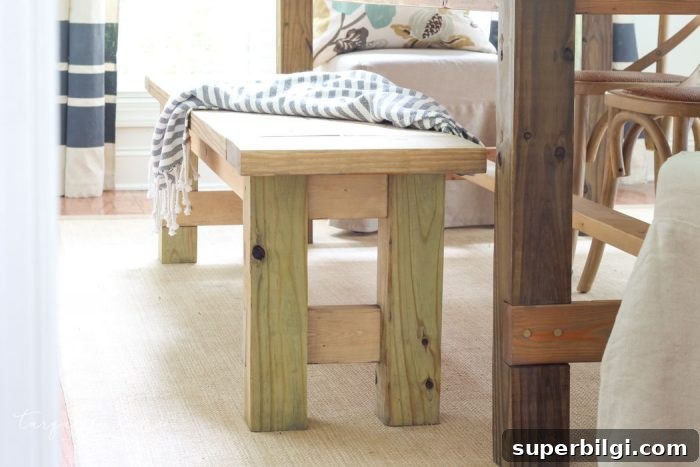
This bench also works well outside the dining room: use it in an entryway or hallway, or slide baskets underneath for extra mudroom storage. Functional and stylish—perfect for many rooms in the home. (This post originally contained affiliate links for convenience.)
Supplies You Need for a DIY Farmhouse Bench
- 1 — 4 x 4 x 8 board
- 2 — 2 x 8 x 8 boards
- 2 — 2 x 4 x 8 boards
- 2 1/2″ Kreg Jig screws
- 3″ wood screws
- Miter saw
- Drill
- Circular saw
- Kreg Jig (for pocket holes)
- Drill bits
- Wood glue (optional)
- Wood conditioner
- Stain or paint
- Polyurethane
Cut List for a DIY Farmhouse Bench
- 4 — 4 x 4’s cut to 16.5 inches (bench legs)
- 2 — 2 x 8’s cut to 14.5 inches (breadboards)
- 2 — 2 x 8’s cut to 59.5 inches (bench top)**
- 2 — 2 x 4’s cut to 57 inches (long aprons)** — adjust this length depending on leg placement
- 2 — 2 x 4’s cut to 5 inches (short aprons)
- 2 — 2 x 4’s cut to 12 inches (supports)
**My bench is 74 inches long, so modify these lengths to fit the overall length you want.
How to Build a DIY Farmhouse Bench
Step 1: Cut all boards to length. Measure and cut one board at a time. Cutting boards individually helps avoid cumulative measurement error from the saw blade width.
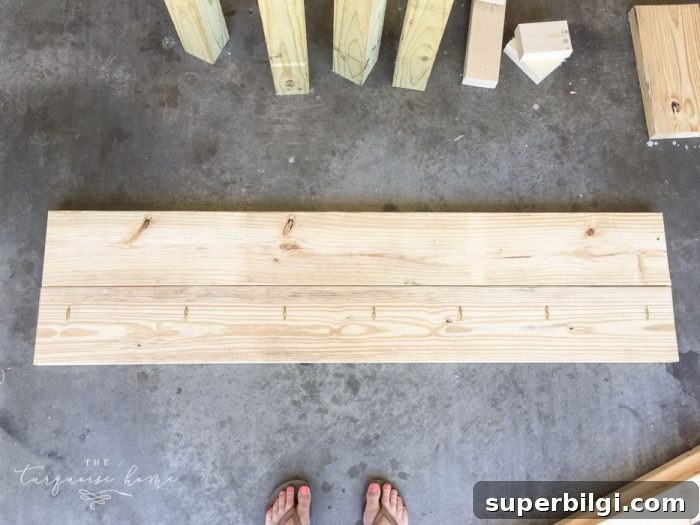
Step 2: Drill pocket holes with the Kreg Jig. Most of these boards are 1.5 inches thick (actual thickness of typical 2x lumber), so set your Kreg Jig and drill bit accordingly. Lay out the bench top boards and rotate them to find the best match—some boards may have slight warps.
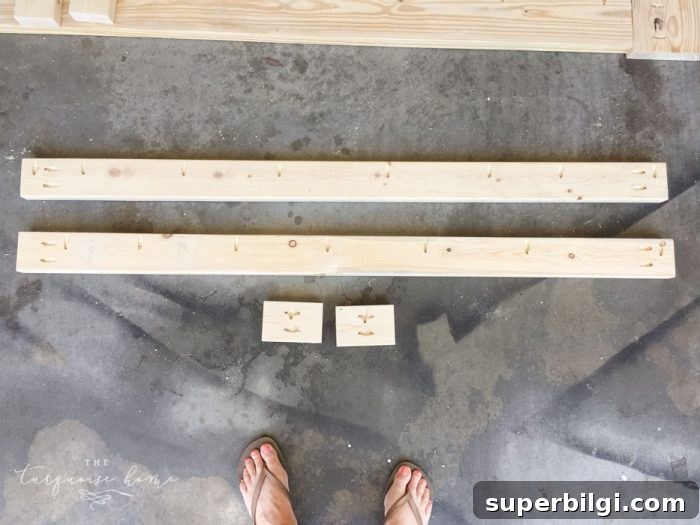
- Short aprons: drill two pocket holes on each end and one on the long side center.
- Long aprons: drill two pocket holes on each end and additional pocket holes every 6–8 inches along the long side.
- Bench top: drill pocket holes every 6–8 inches on one long edge of one bench top board.
- Breadboards: drill four pocket holes along one long edge.
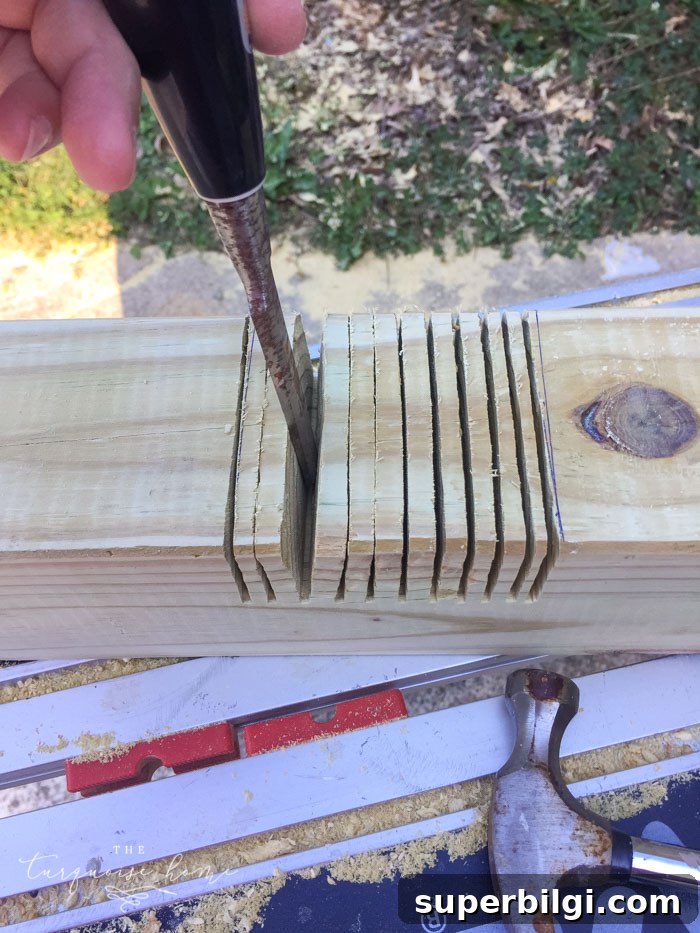
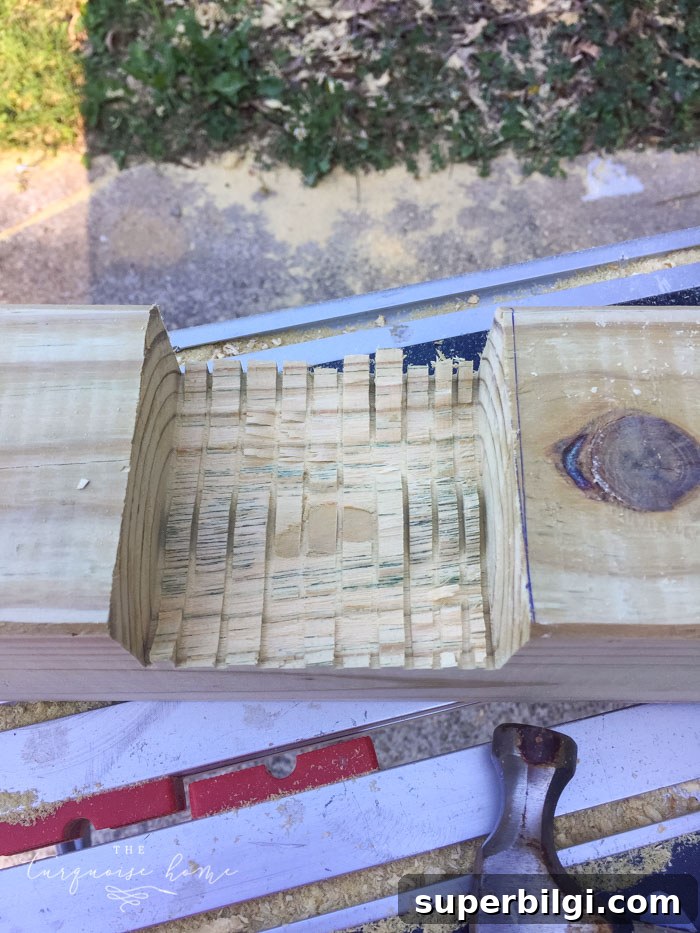
Step 3: Notch the legs for the supports. Mark 3.5 inches and 7 inches up from the bottom of each 4×4 leg. Make shallow parallel cuts with a circular saw between those marks—about 1/4 inch apart—then chisel out the waste. Clean the notch with a chisel until the support fits snugly.
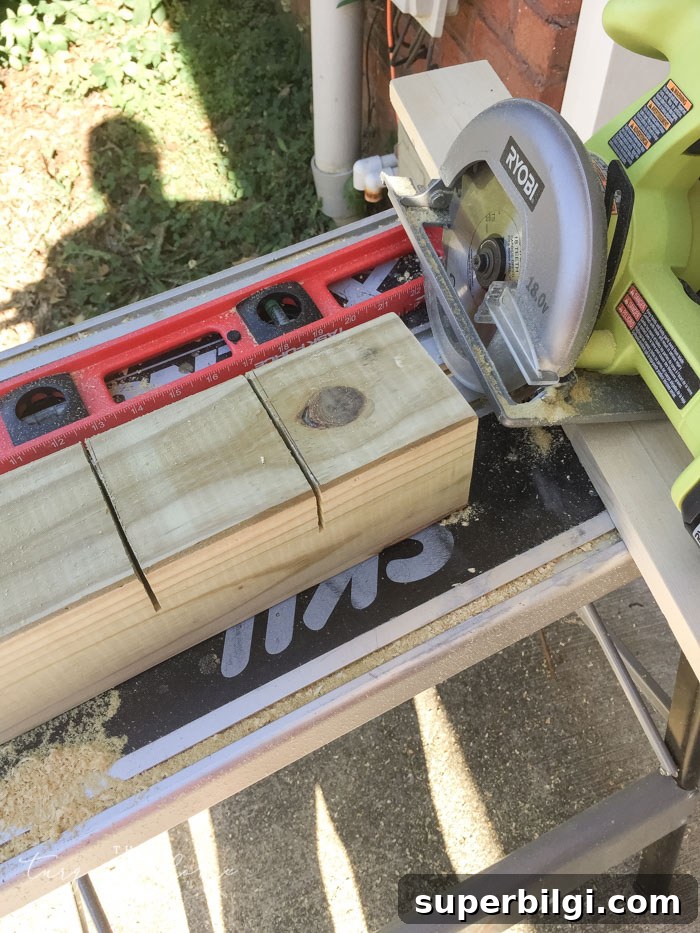
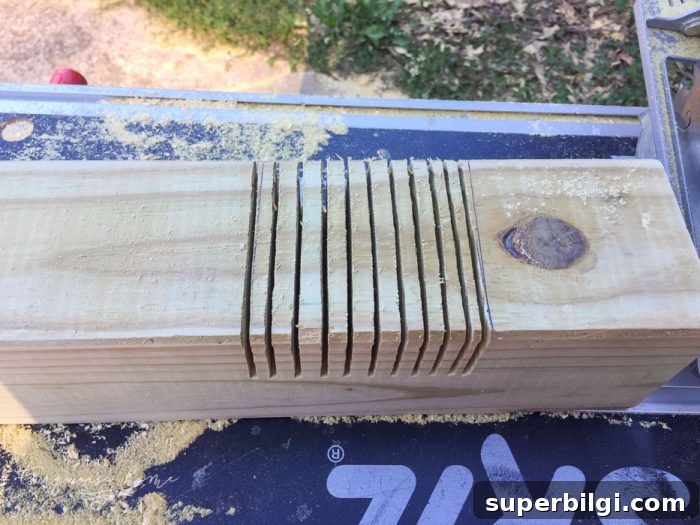
Use a chisel to remove the remaining wood and smooth the notch. The first time I did this I found it tricky, but it becomes straightforward with a steady hand and a few practice cuts.
RELATED: 5 Must-Have Tools for the DIYer
Step 4: Attach the leg supports. Pre-drill the support pieces where the screws will go—this prevents splitting and makes driving long screws much easier. Measure and center the holes so everything looks neat and aligns properly.
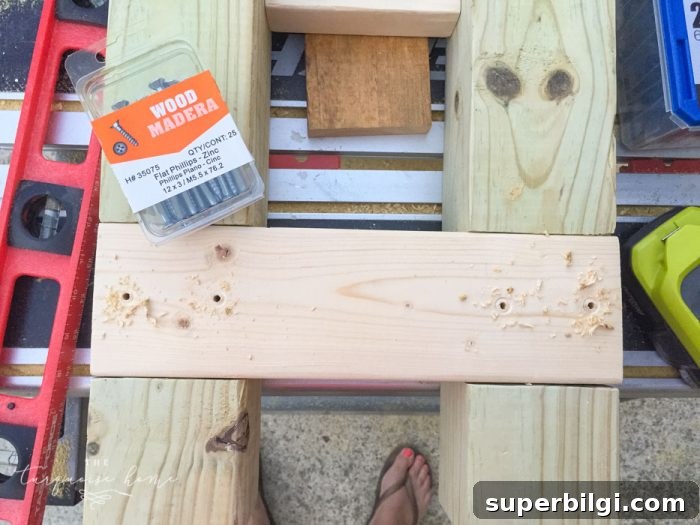
Step 5: Attach the short aprons between the legs. Keep the aprons flush with the tops of the legs. I used a scrap 1×4 as a spacer underneath the aprons to inset them slightly for a cleaner look.
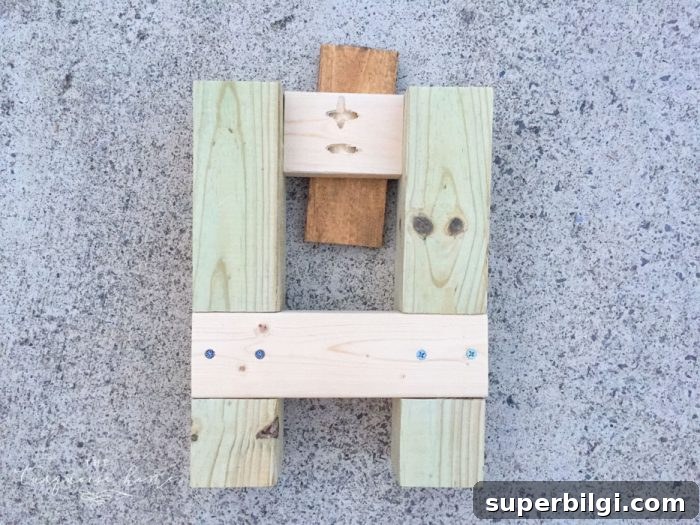
Note: I made a minor orientation mistake with the legs and aprons on my build—the bench still turned out great, but if you want a specific direction for supports or visible pocket holes, double-check orientation before screwing everything together.
Step 6: Attach the long aprons. Again use the scrap 1×4 spacer to set the aprons at the proper inset for consistency and appearance.
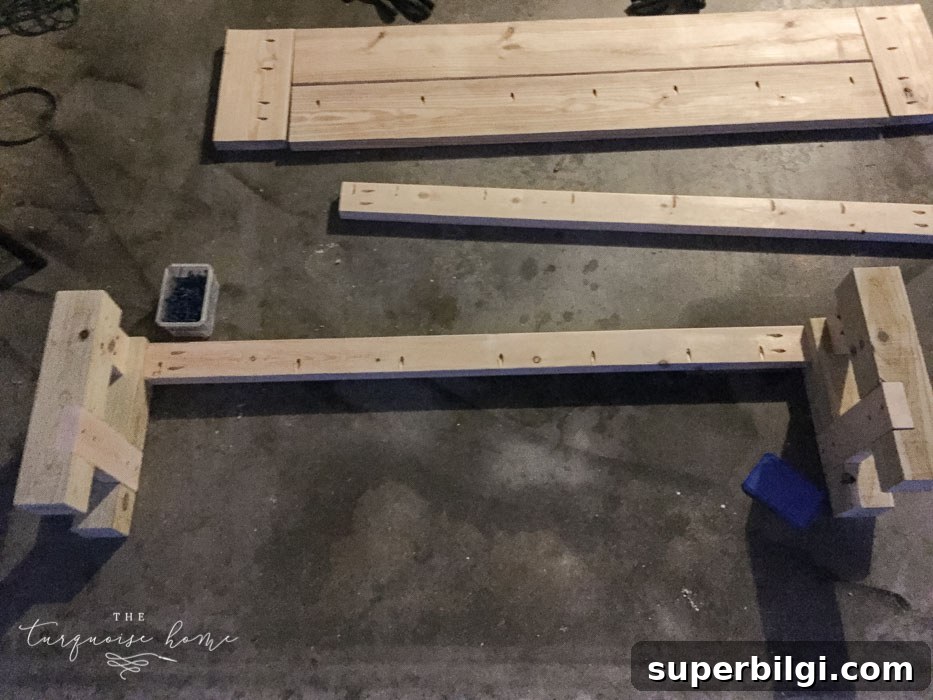
Step 7: Assemble the bench top. Spread glue between the bench top boards if you want extra strength, then clamp and screw them together using the pocket holes you drilled earlier.
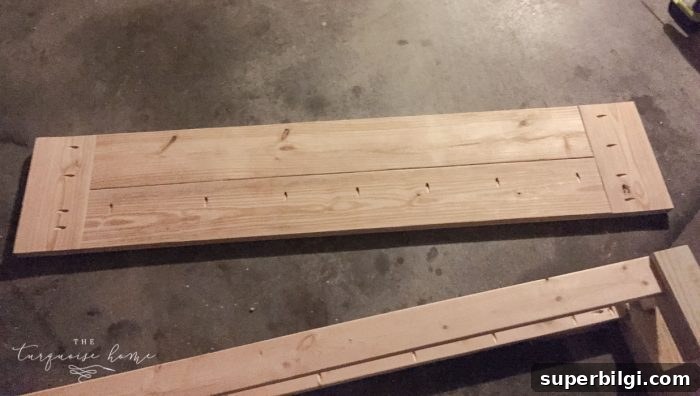
Step 8: Attach the leg/frame assembly to the underside of the bench top. Center the frame, check alignment on all sides, and secure it with 2.5″ Kreg Jig screws. Flip the bench over when finished and admire your work—you’ve just transformed lumber into a beautiful, useful piece.
Step 9: Finish with stain or paint. I start by applying a wood conditioner, which helps the stain absorb more evenly. I used Minwax Weathered Oak for a gray, weathered look. After the stain is to your liking, seal with matte polyurethane—two coats is a good baseline for durability.
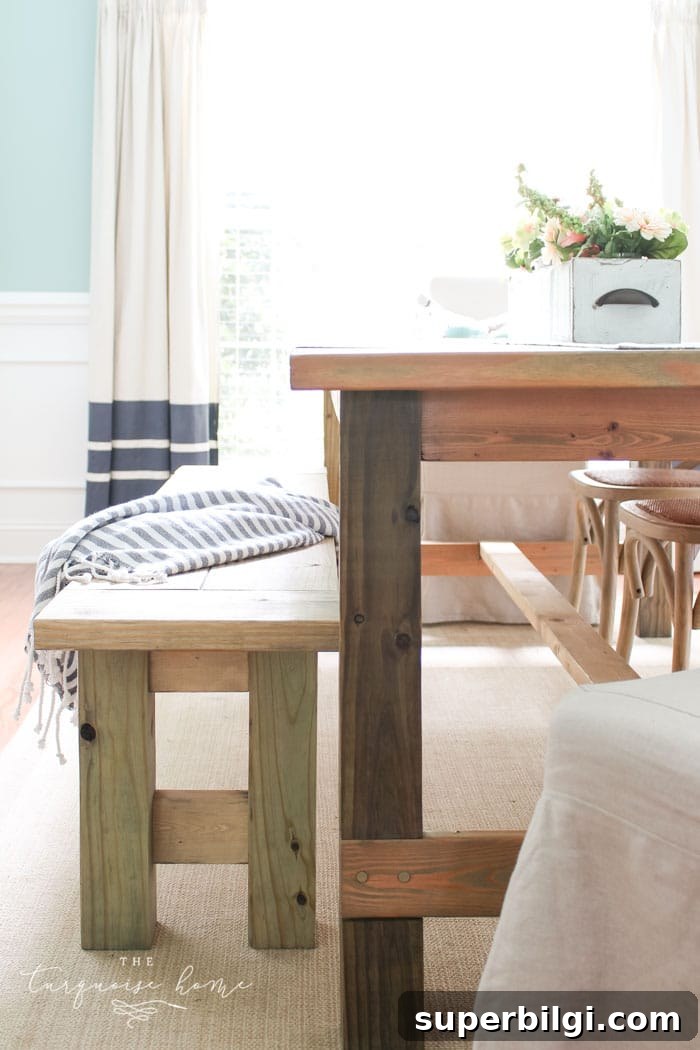
That’s it—now you have a sturdy, attractive farmhouse bench that adds seating and character to your home. The project is straightforward, budget-friendly, and highly versatile. If you build one, I’d love to see photos of your finished bench!
More Posts You Will Love:
- Closing the Space above Kitchen Cabinets
- 10 Tips for a Successful Yard Sale
- Beautiful Farmhouse Sinks + Farmhouse Faucets
- Summer Tablescape Ideas
- Traditional Dining Room Reveal