
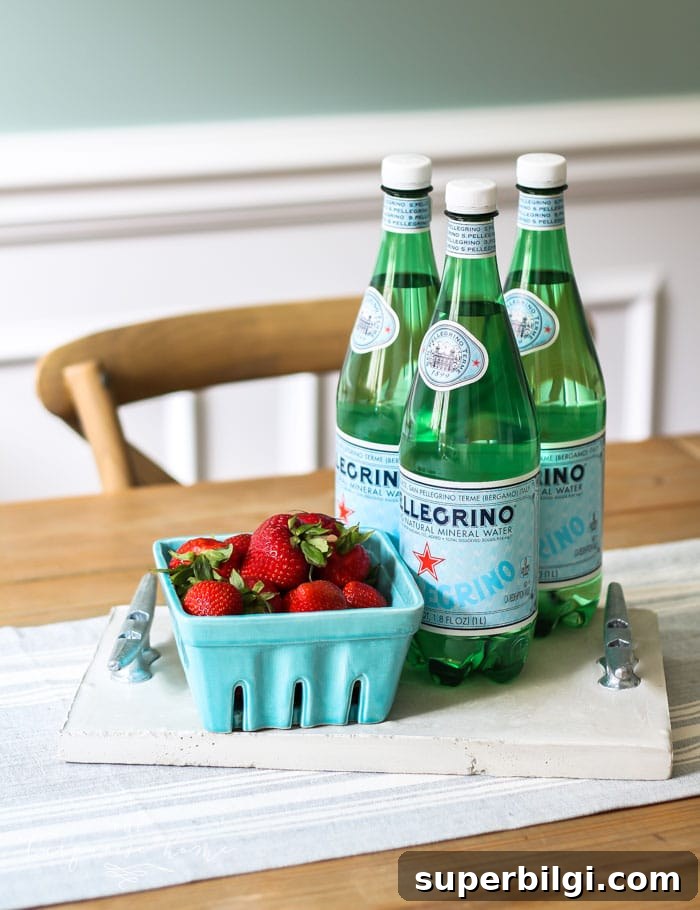
Make a coastal concrete serving tray with dock cleats using a simple homemade mold — a stylish, durable DIY tray perfect for summer hosting and parties.
I’ve said it before: I love projects that are both functional and attractive. There’s something satisfying about picking up a few materials from the hardware store and turning them into home decor that actually gets used. This concrete tray with dock cleat handles is one of those projects — simple to make, affordable, and ideal for outdoor entertaining.
If you liked my jewelry organizer, chalk holder, or the farmhouse shelves in my kitchen, you’ll appreciate how quick and rewarding this concrete tray project is. It’s an excellent first project if you haven’t worked with concrete before, and it delivers a modern coastal look that works well on a patio table or kitchen island.
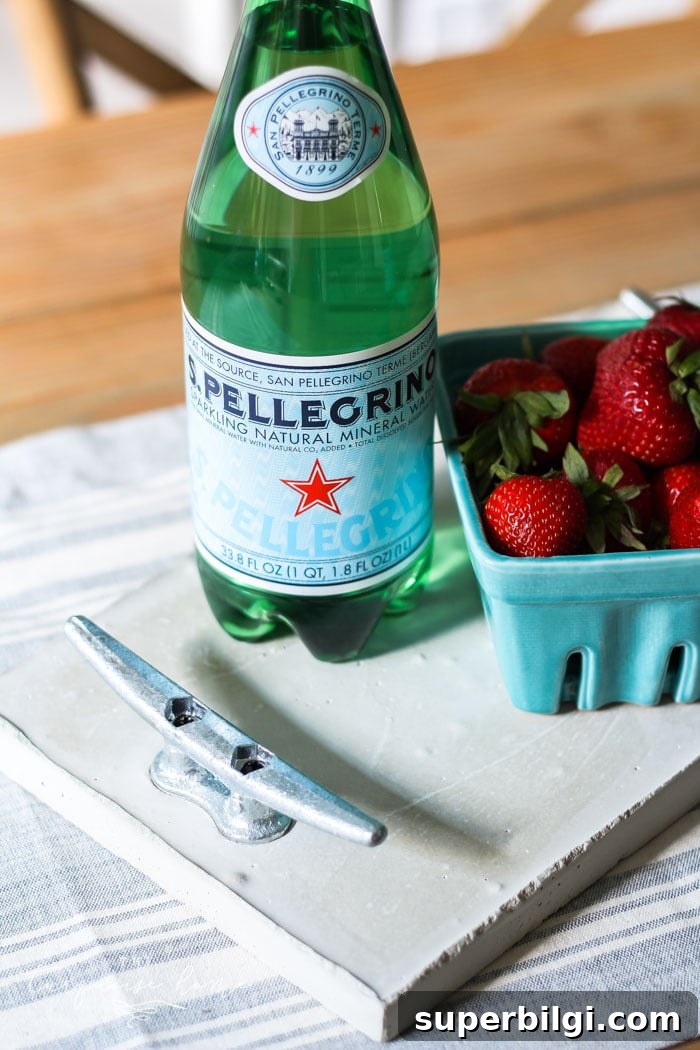
How to Make a Concrete Tray with Cleat Handles
Today I’m sharing a clear, step-by-step guide for building a DIY concrete tray with dock cleat handles. I was nervous the first time I worked with concrete, but following the directions made the process straightforward. The finished tray has a nice coastal vibe and a solid weight that feels durable — perfect for serving fruit, displaying decor, or using as a centerpiece during summer gatherings.
This post contains affiliate links for your convenience.
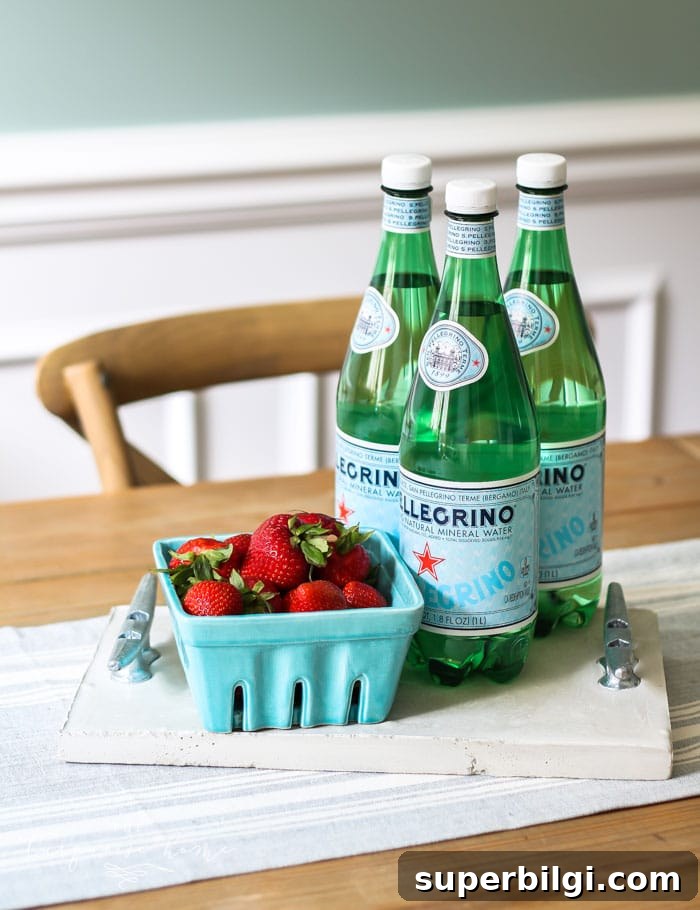
The dock cleat handles give the tray a subtle, summery, nautical feel. The tray is intentionally heavy — that solidity is part of its charm and usefulness. Placed on a table with strawberries, lemons, or a small vase, it makes a lovely, functional statement.
Supplies Needed for a DIY Concrete Tray
Tools:
- Drill
- Circular saw
- Small bucket for mixing
- Measuring cup
- Paint stirrer or mixing stick
- Sandpaper
- Painter’s tape
- Measuring tape
- Pencil
- Trowel
Materials:
- 1/2 inch plywood sheet (for the mold base)
- 1 x 4 x 6 common board (for mold sides)
- Multipurpose concrete mix
- 2 dock cleats (for handles)
- 1 1/2 inch wood screws
DIY Concrete Tray Step-by-Step Instructions
1. Cut the Pieces for the Tray Mold
Cut the wooden pieces for the mold according to these dimensions:
- Two long frame pieces: 1 x 4 x 14 inches
- Two short frame pieces: 1 x 4 x 9 1/2 inches
- One plywood backing: 15 1/2 inches x 9 1/2 inches
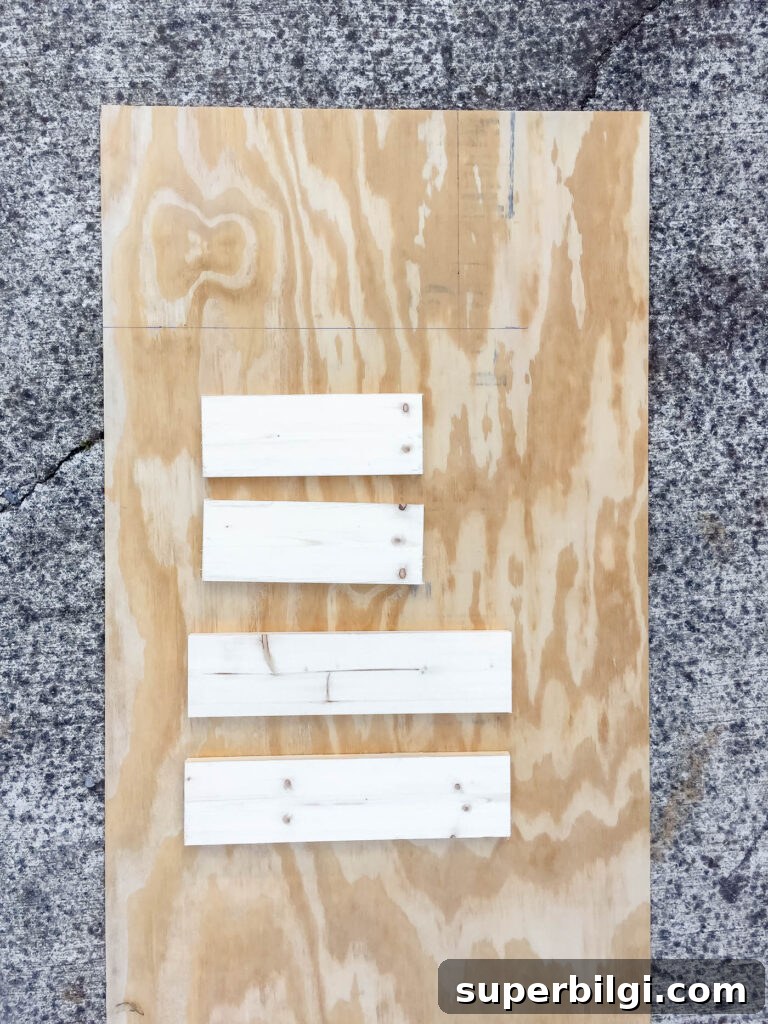
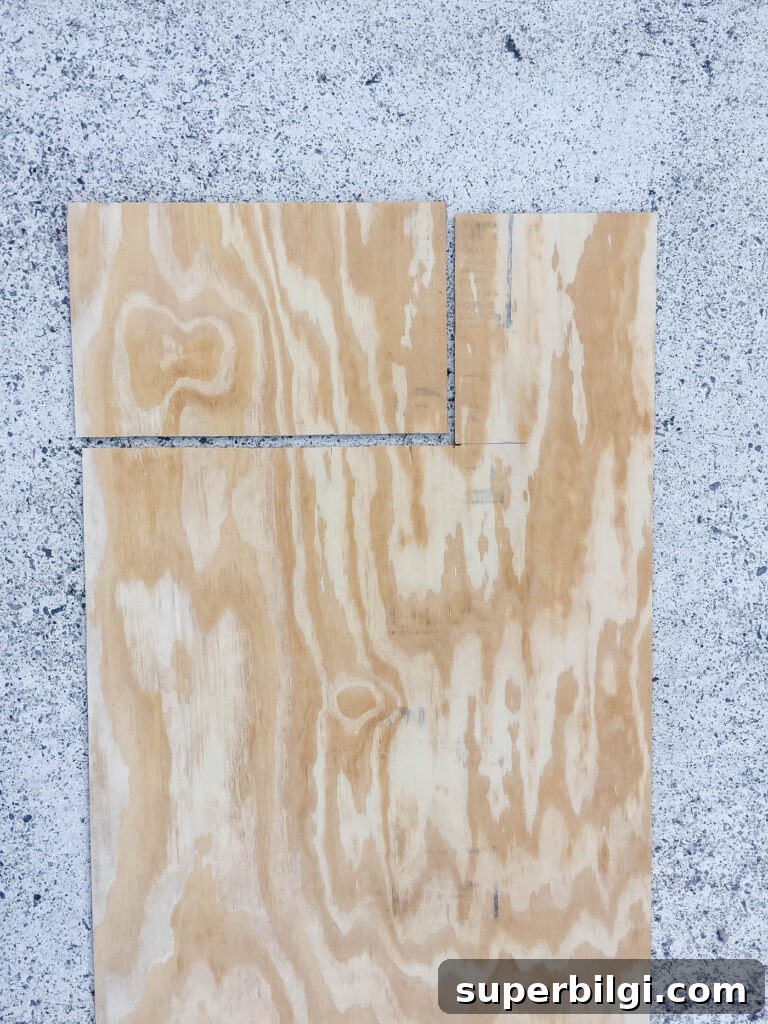
2. Make a Box with the Frame Pieces
Assemble the frame by screwing together the long and short pieces to form a rectangular box. Make sure corners are square so the concrete sets evenly.
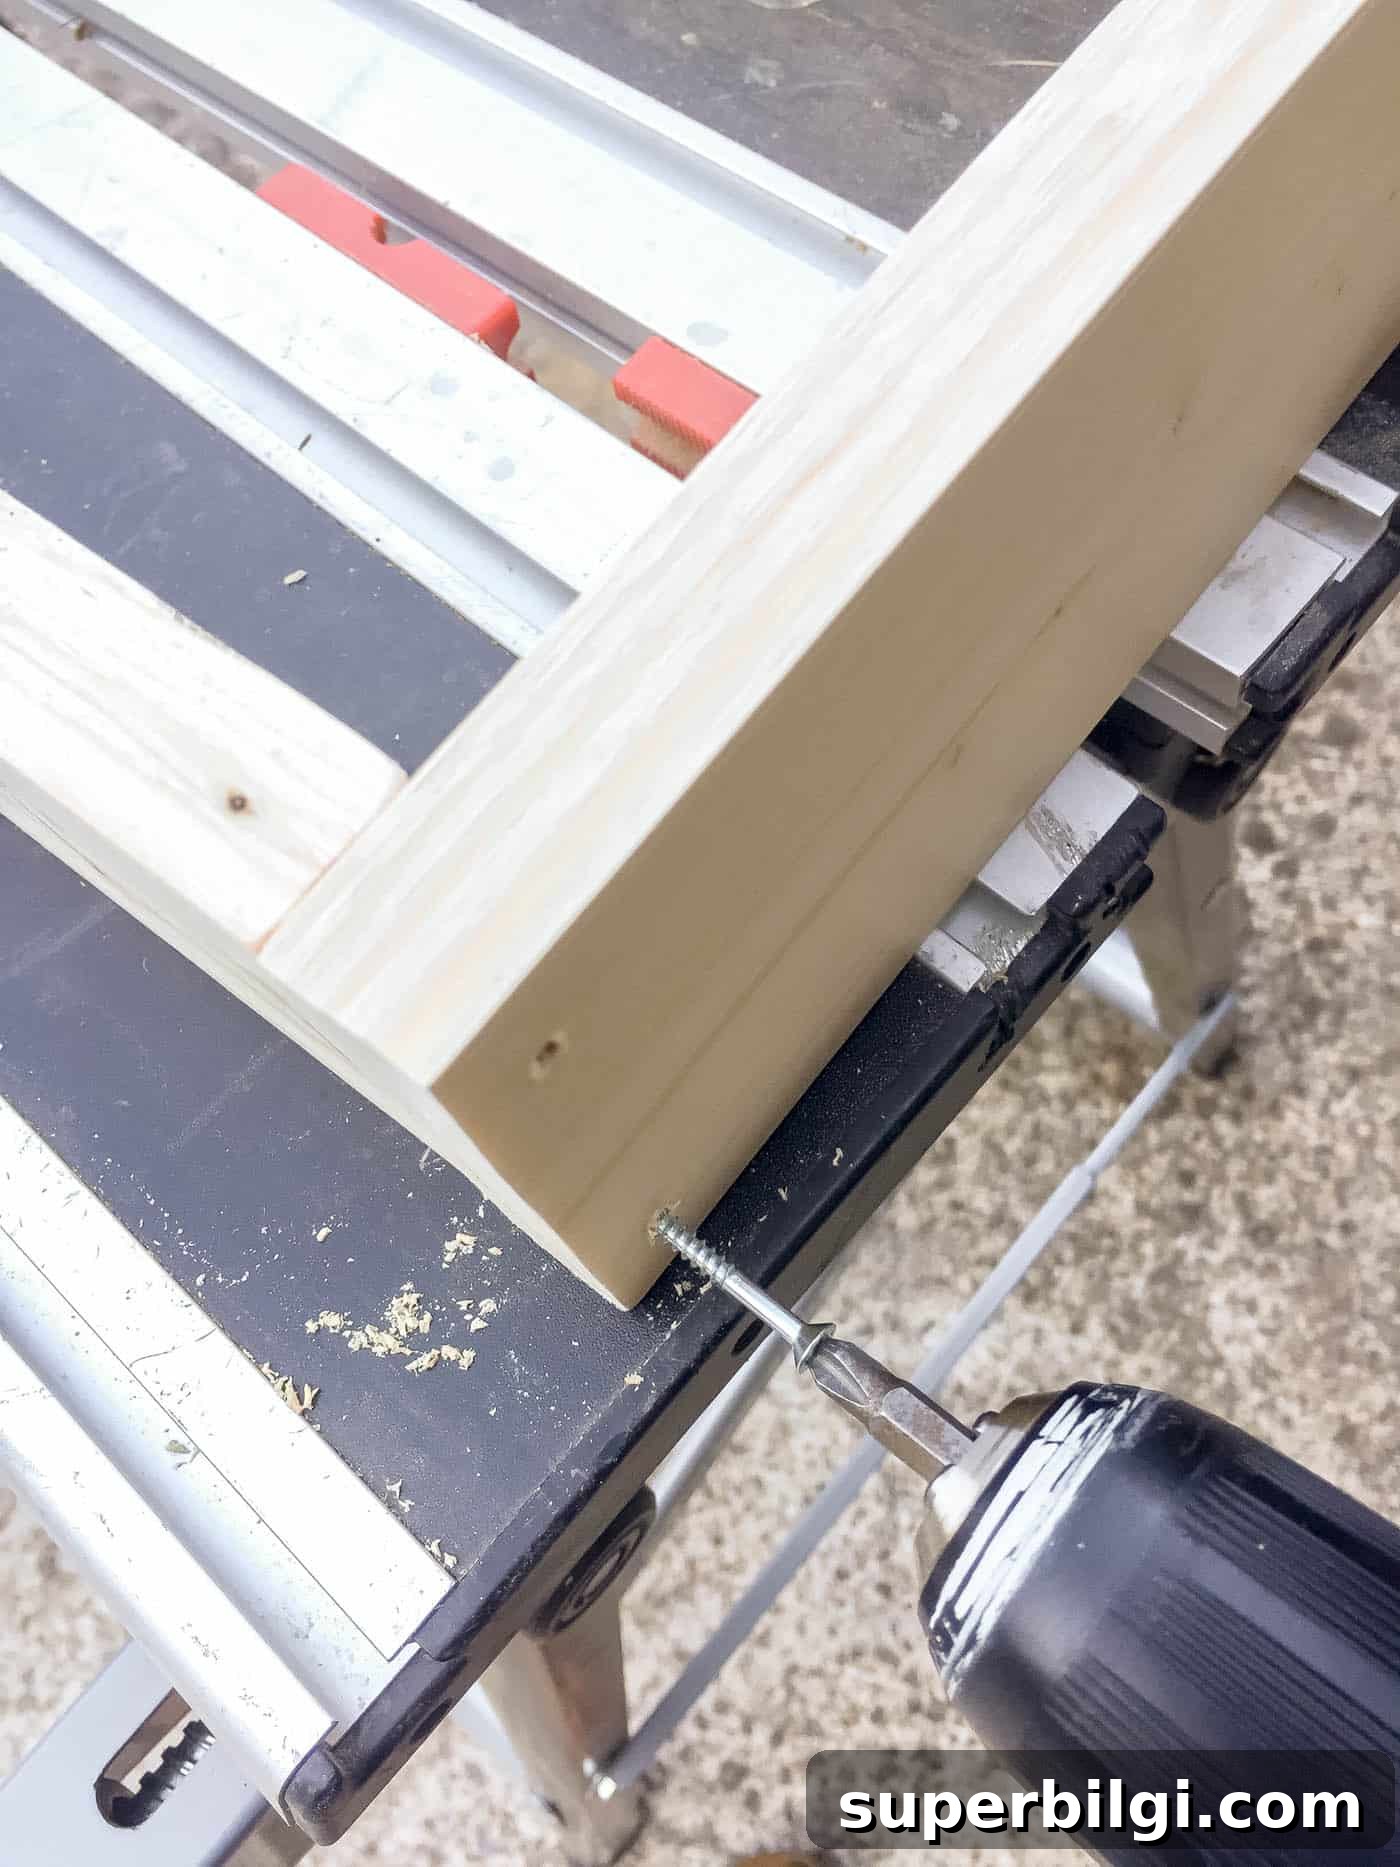
3. Attach the Plywood to the Bottom of the Box
Secure the plywood backing to the bottom of the box with wood screws. Tight joints prevent concrete from leaking and help you get clean edges on the finished tray.
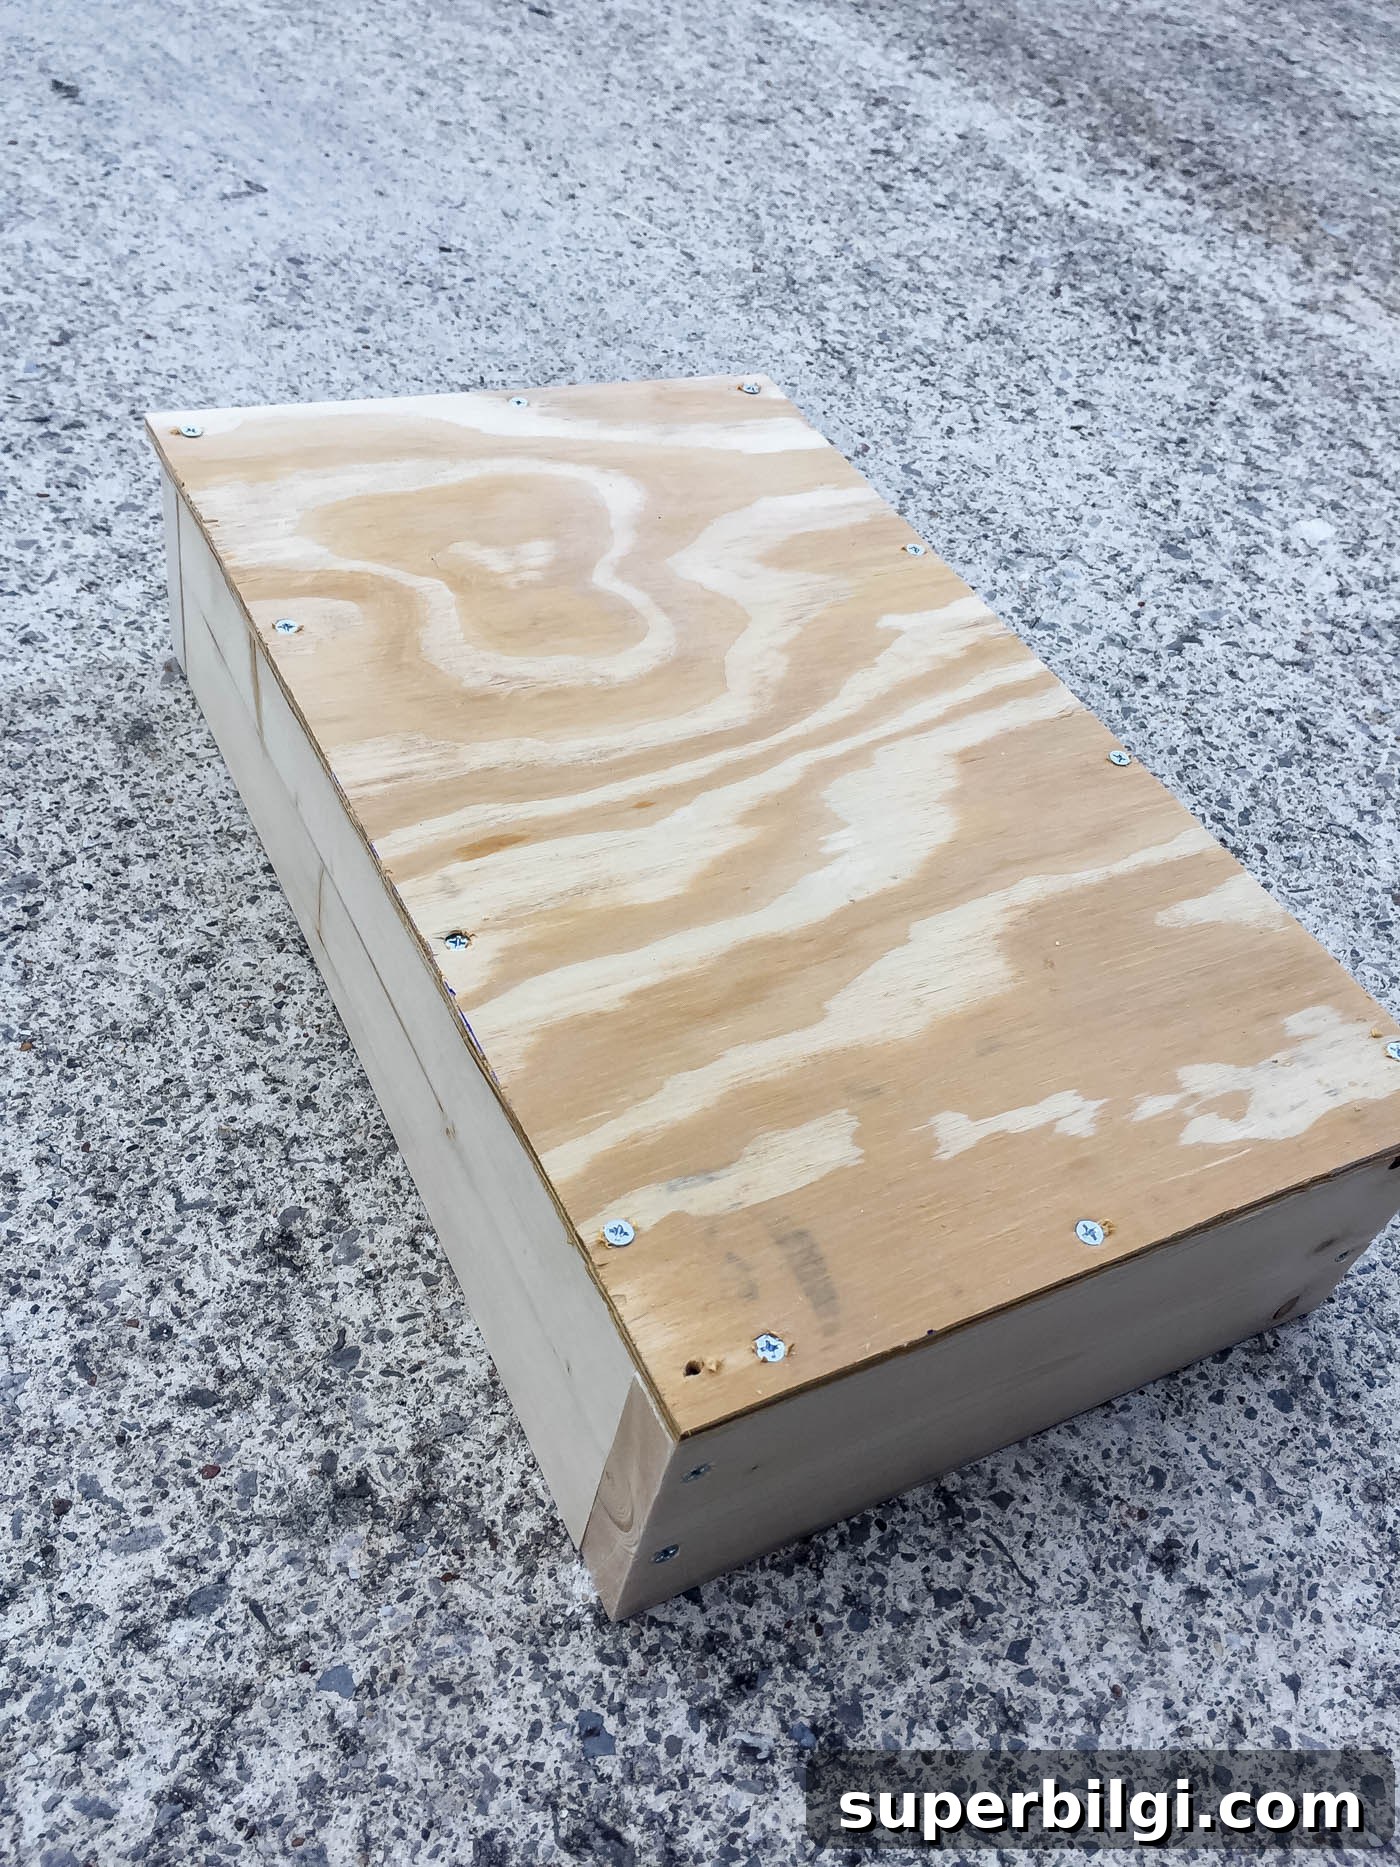
4. Affix the Screws to the Dock Cleats
Attach the smallest screws that come with the dock cleats so they are ready to be embedded into the concrete. Setting the screws into the handles before pouring helps lock the cleats into the tray as the concrete cures and prevents them from popping off later.
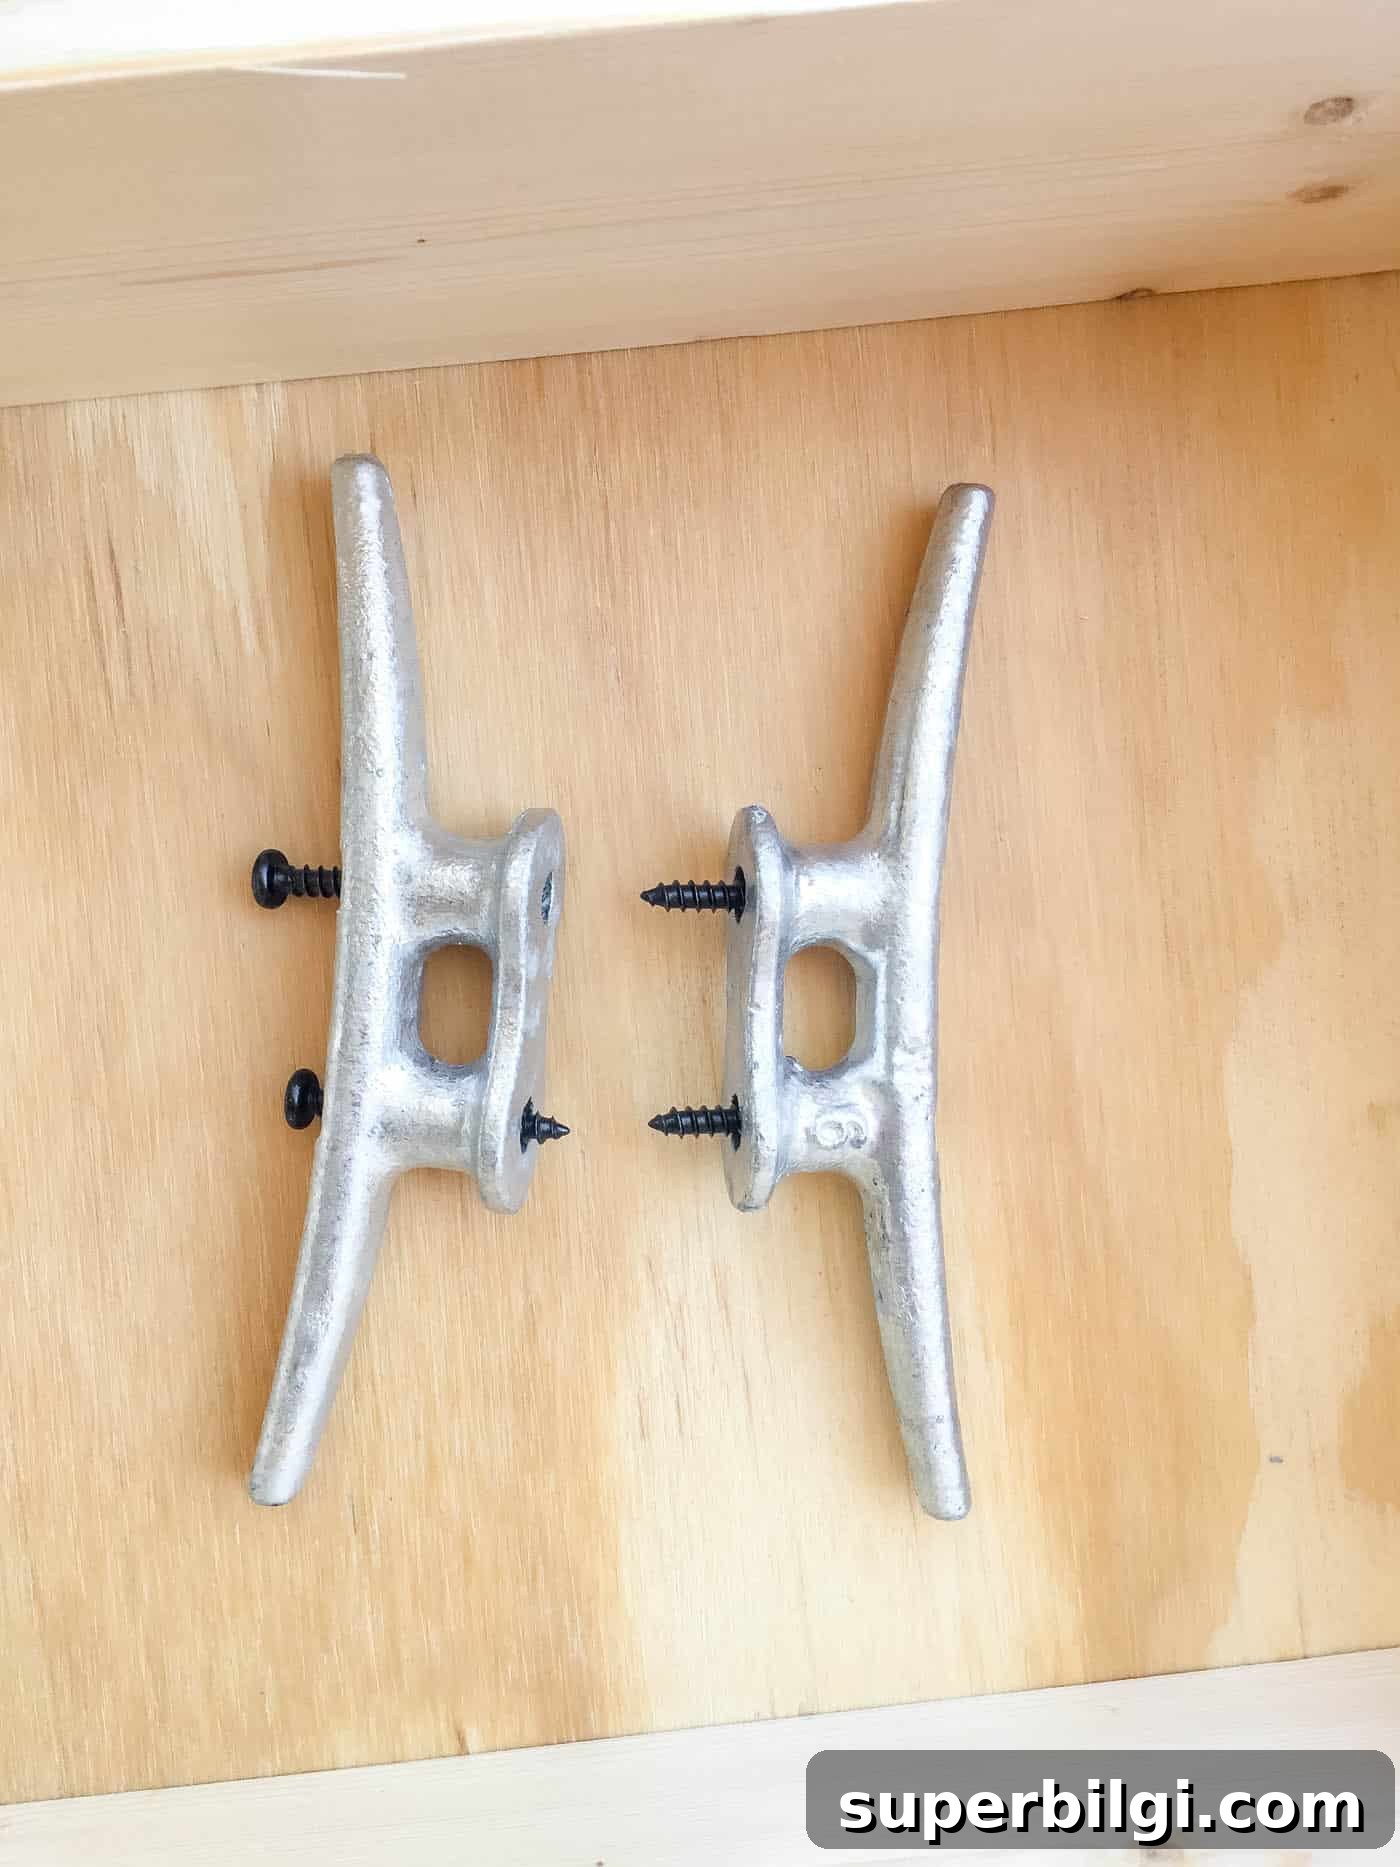
5. Mix the Concrete per the Instructions
Mix the concrete exactly as the manufacturer recommends. Have the mold assembled and your tools ready so you can pour immediately after mixing. Working efficiently avoids lumps and helps achieve a smooth finish.
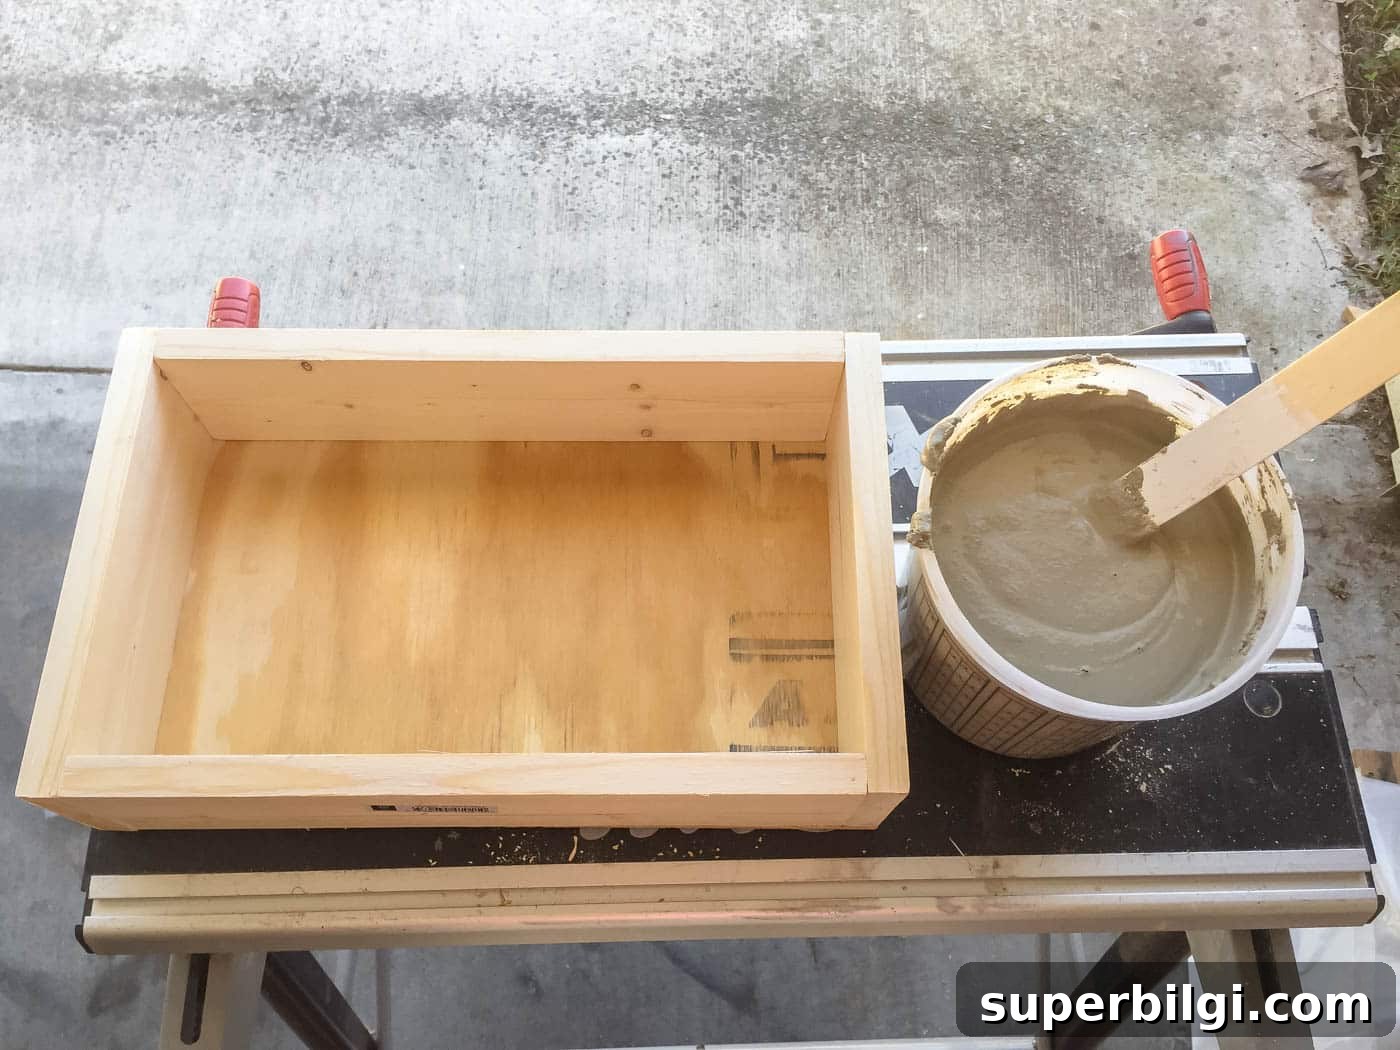
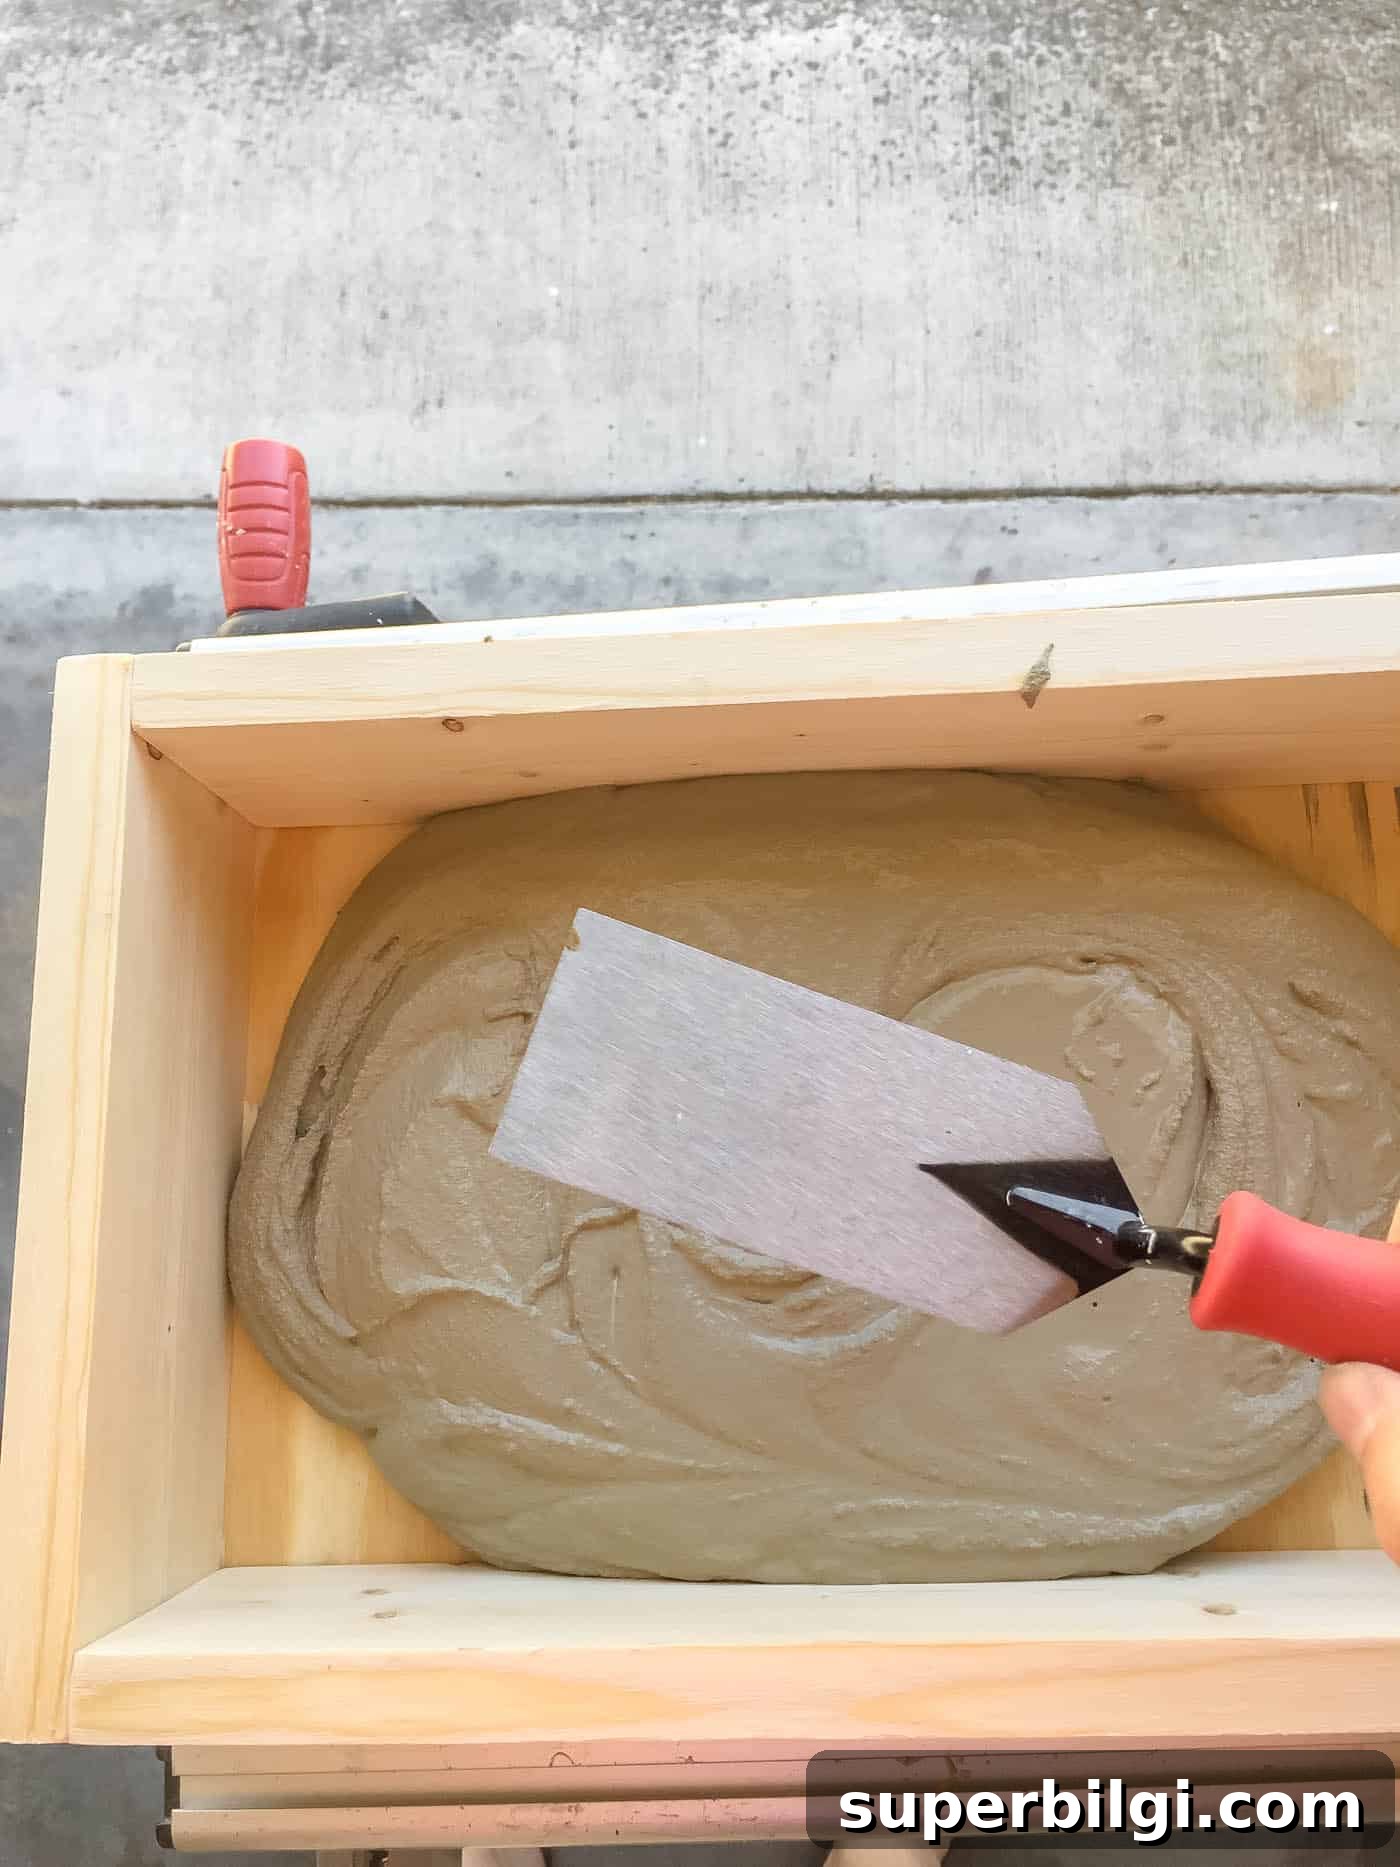
6. Pour the Concrete into the Mold
Pour concrete into the mold to a depth of about 2–3 inches. Smooth the surface with a trowel and gently shake or rock the mold to settle the mix and release air bubbles. A few careful taps on the sides also help any trapped air escape.
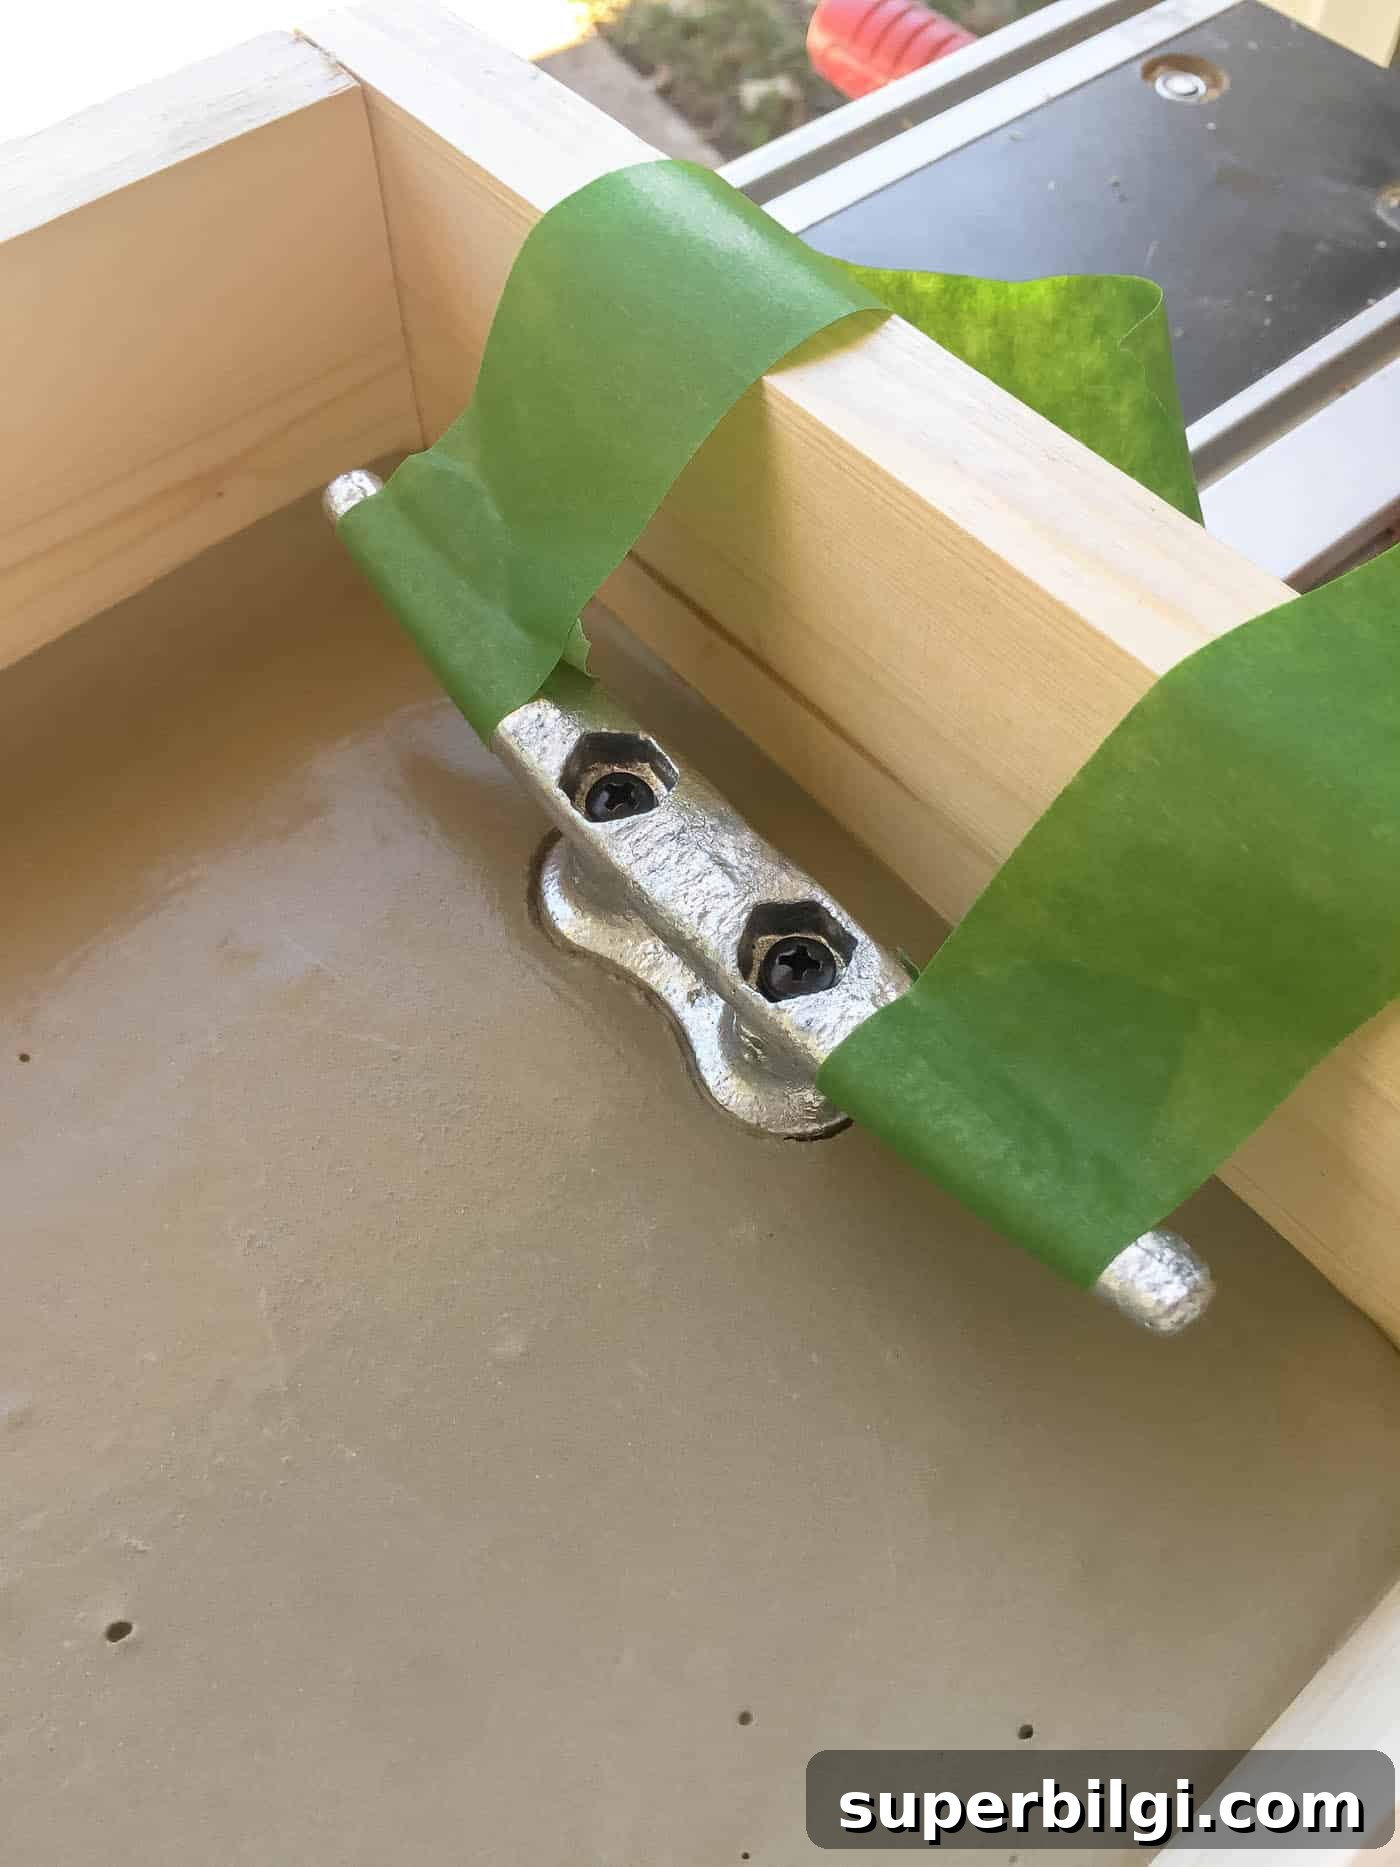
7. Wrap Cleats with Painter’s Tape and Set into Concrete after 5 Minutes
Wait about five minutes after pouring so the concrete begins to set. Wrap the cleats in painter’s tape to protect them and to create a slight buffer so they won’t sink too deep. Carefully press the cleats into the surface and secure them to the side of the mold with tape while the concrete cures. If you press them in too soon the handles can sink; if you wait too long they won’t seat properly, so aim for that five-minute window.
8. Let the Tray Dry
Allow the concrete to cure fully according to the product instructions. Proper curing time is essential for strength and durability. Keep the tray protected from direct sun and extreme temperature changes while it sets.
9. Carefully Remove the Form
Once the concrete is completely dry, unscrew and remove the mold pieces. Gently pry the sides away so you don’t chip the edges. Take your time — rushing can damage the finish.
10. Sand down Rough Edges
Sand any rough spots or sharp edges with fine-grit sandpaper until the surface feels smooth. You can leave a slightly rustic texture or sand to a sleeker finish, depending on your style preference.
If you plan to place food directly on the concrete surface, apply a food-safe concrete sealer to protect the tray and make cleaning easier. Follow the sealer manufacturer’s instructions for application and drying times.
This tray is a simple, stylish addition to summer gatherings — sturdy, unique, and easy to personalize. Try different cleat finishes or stain the wooden mold pieces to experiment with edge treatments and color.
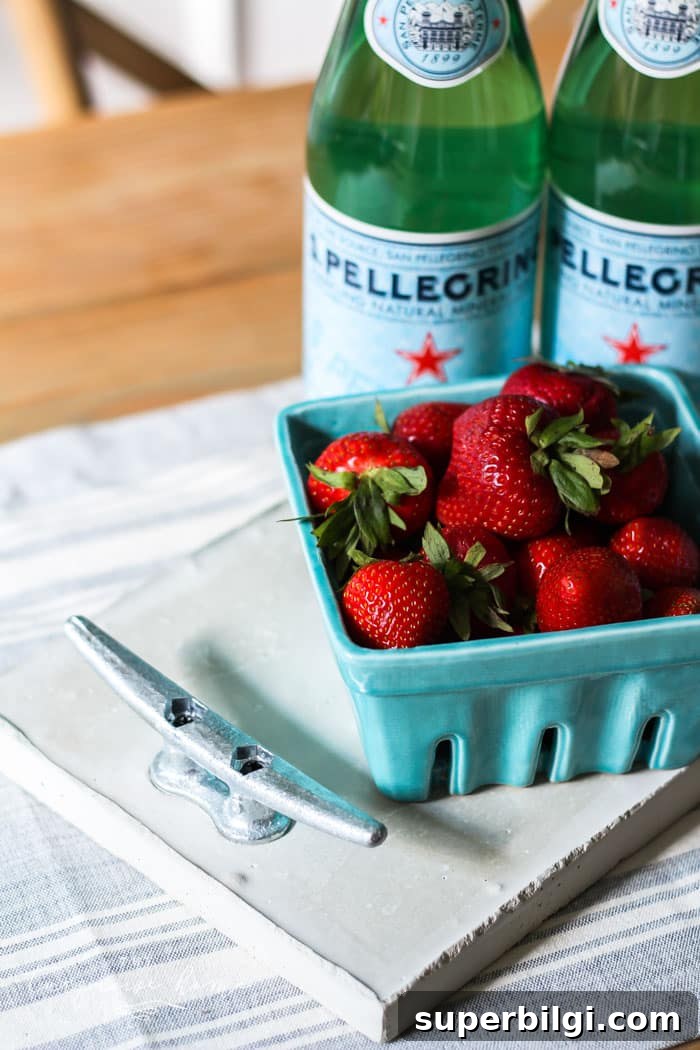
It’s a fun beginner concrete project that delivers a designer look without a big budget or advanced tools.
More Posts You Will Love:
- DIY Wood Bead Garland with Tassels
- Furnishing A Teen Girl’s Bedroom: 10+ Tips And Tricks
- 10+ Stylish Dog Crate Furniture Ideas
- DIY Window Cornice Board with Fabric
- DIY No-Sew Garden Flag