
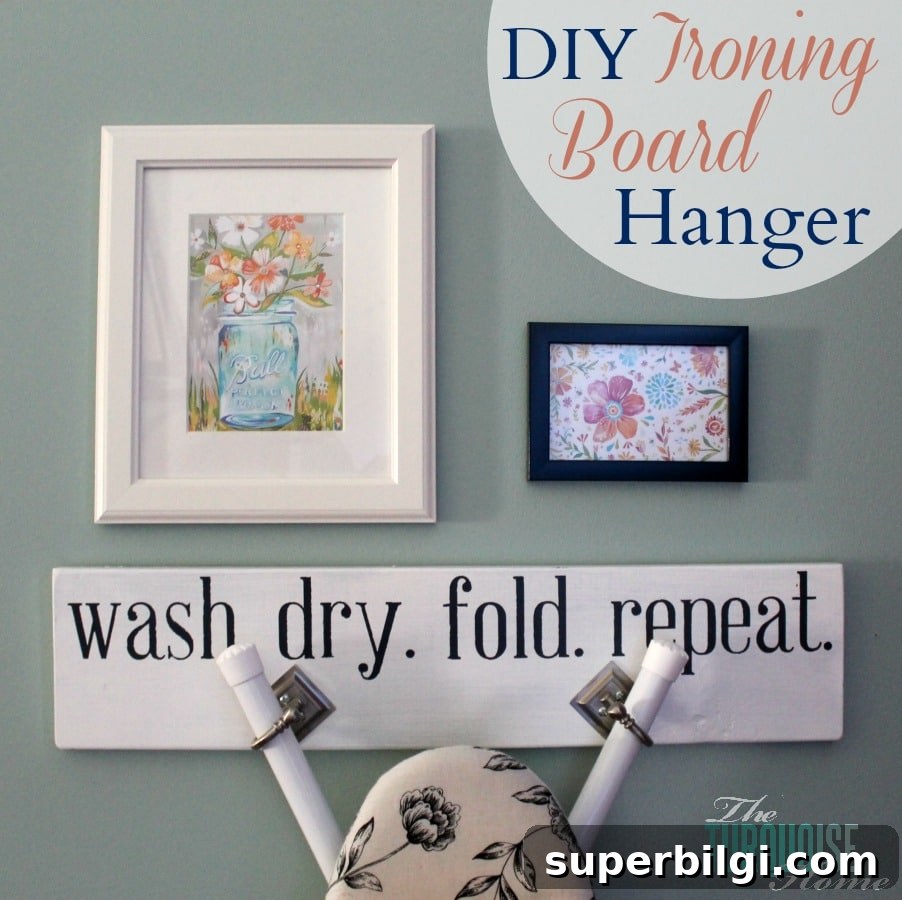
This easy DIY ironing board hanger tutorial shows how to create a custom, attractive, and functional holder for your ironing board—perfect for organizing and beautifying your laundry room.
DIY Ironing Board Hanger: Easy Tutorial for Laundry Room Storage
I’ve been slowly working on my laundry room for nearly a year, and this ironing board hanger was one of the simple projects I finally completed. It’s a quick build that combines a painted board, a stencil, and a couple of hooks to give you neat, vertical storage for your ironing board while adding charm to the space.
This design was inspired by a popular ironing board hanger circulating online and adapted to the supplies I had on hand. The finished piece keeps the ironing board off the floor, uses minimal materials, and can be customized with paint colors and lettering to match your laundry room décor.
Materials you’ll need:
- Silhouette cutting machine (or any craft cutter)
- Contact paper for the stencil
- Paint in your chosen colors
- Wooden board (reclaimed scrap wood works great)
- Hooks or screws sized to support your ironing board legs
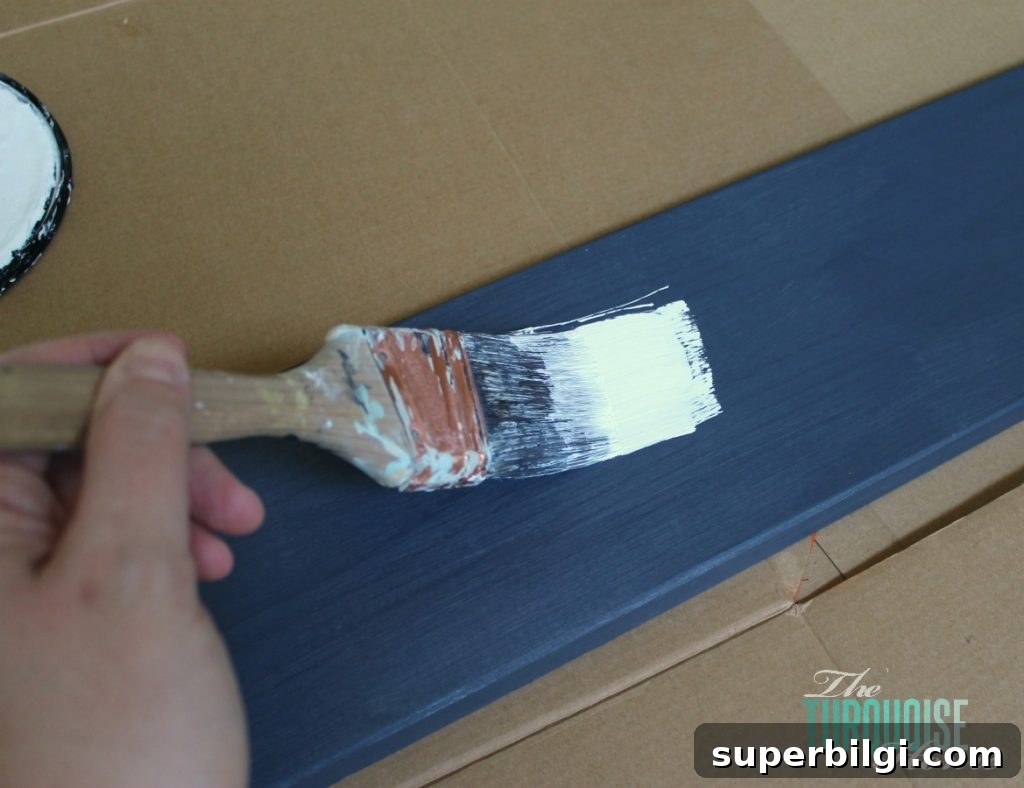
I started with a scrap board from my pile, painted it navy, and added a second coat of white paint for a layered look. I considered distressing it but liked the clean finish, so I left it as is. You can choose to distress, seal, or varnish depending on the finish you prefer.
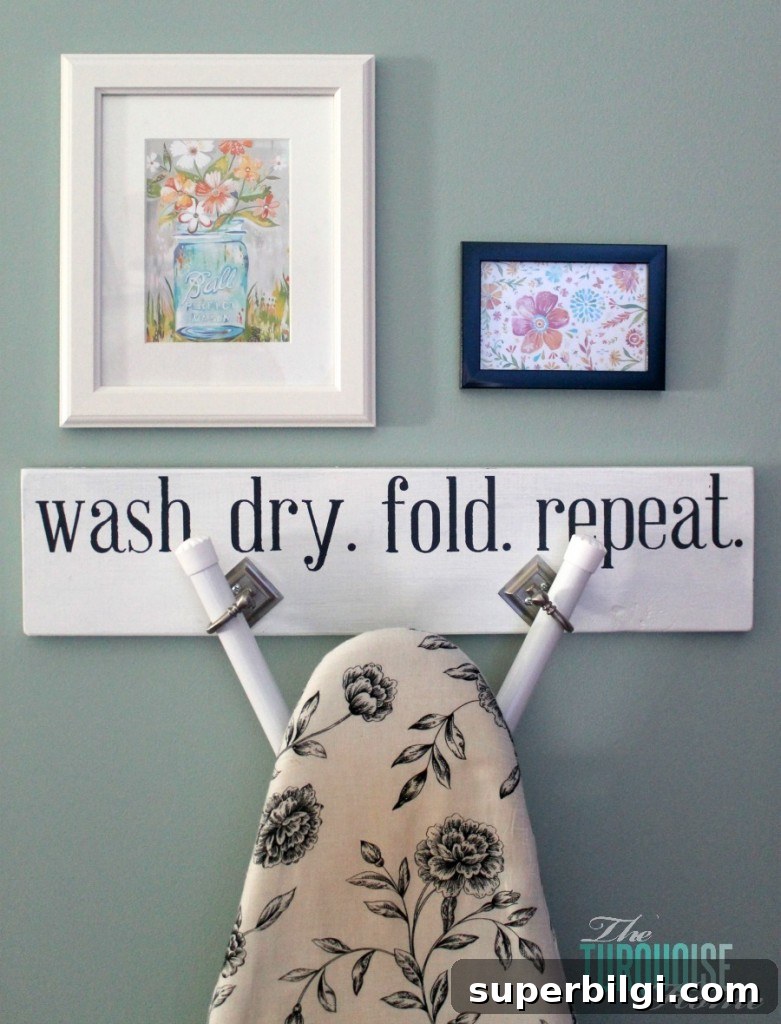
To position the hooks, I placed the painted board and the ironing board on the floor and measured where the legs would hang best. Mark the board where the legs rest, then mark the centers of the screw holes for the hooks. Drill pilot holes and attach the hardware securely. If your ironing board has T-legs, mounting is easier, but the method works with most leg styles—just adjust hook placement for a snug fit.
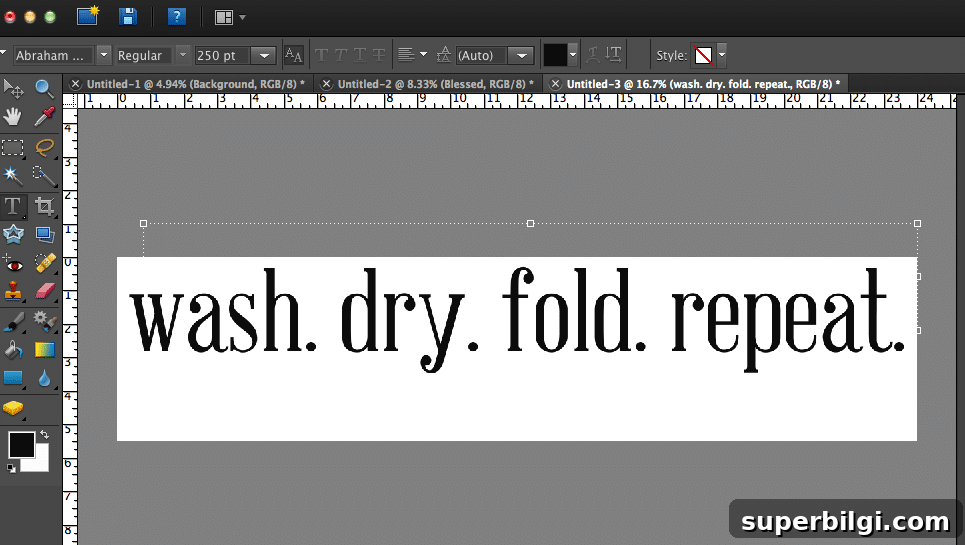
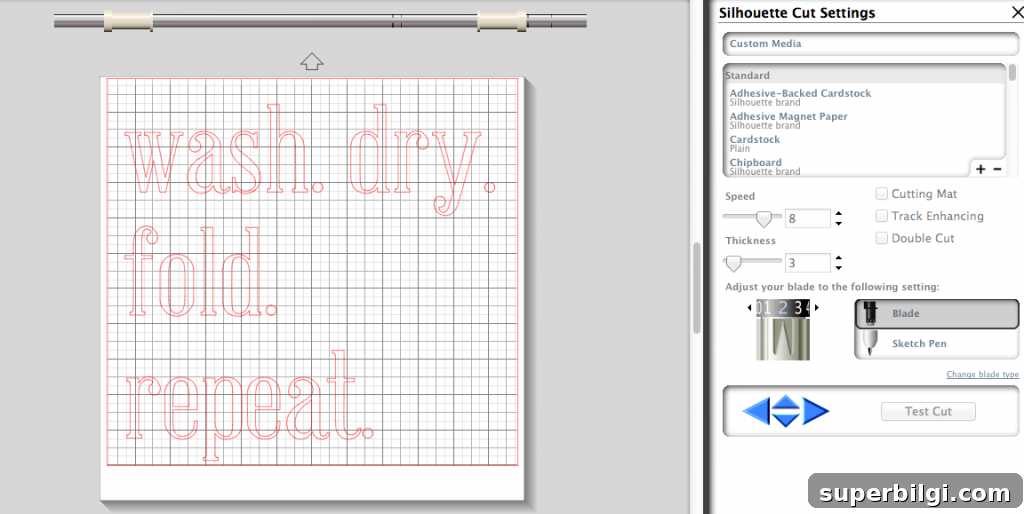
For the lettering, I created a template in Photoshop Elements sized to the board to visualize placement and choose an appropriate font. I used a bold display font that reads well at a distance—this is important for stenciled words. After finalizing the layout, I imported the text into Silhouette Studio and arranged the words to cut efficiently from contact paper.
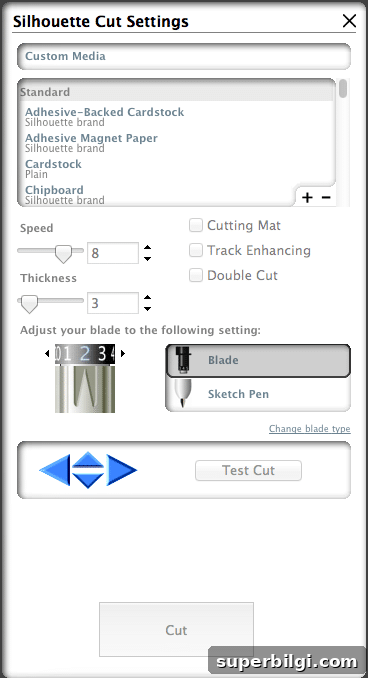
When cutting contact paper, feed it directly into your cutter without the mat if your machine supports it. After cutting, separate the words with a paper cutter or scissors to keep edges straight and make alignment easier. Test-fit the stencils on the board before removing the backing adhesive so you can adjust spacing as needed.
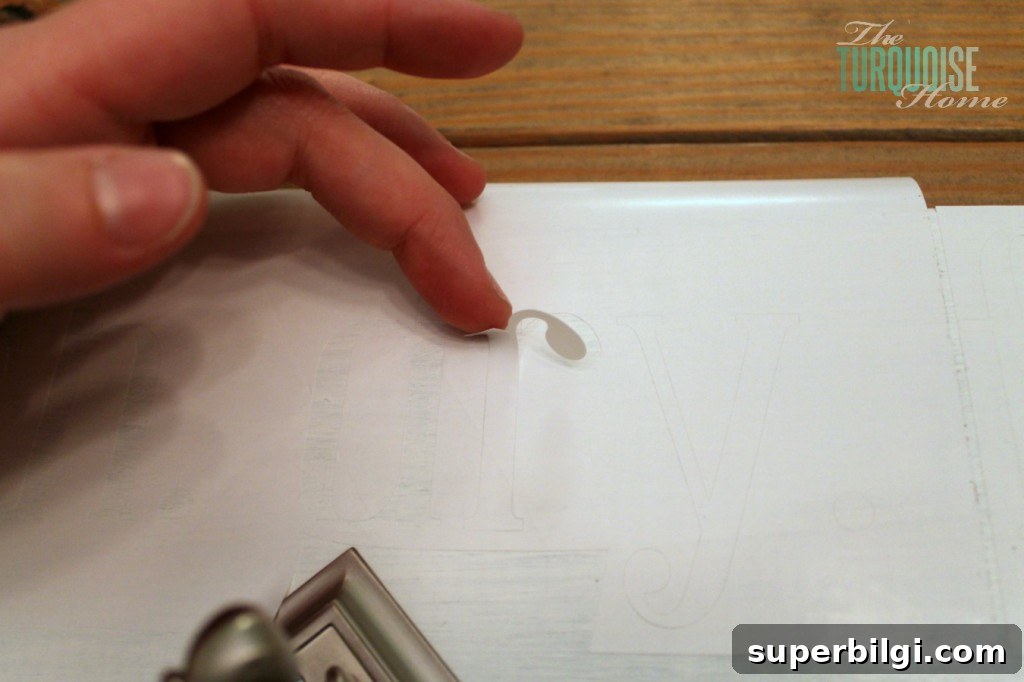
Once everything lines up, peel the backing from each stencil and apply the adhesive stencil to the board, smoothing out bubbles and ensuring edges are sealed to prevent paint bleed. Remove the interior letter cut-outs so paint will show through the shapes.
Paint the letters using a small brush or a sponge applicator for a crisp edge. Use a color that contrasts with the board background for readability and visual impact. After painting, remove the contact paper soon—while the paint is still tacky but not wet—to avoid peeling paint with the stencil. If any small spots lift, touch them up with a tiny brush.
I staged the finished hanger in a brighter room to photograph it, since the laundry room lacks natural light. The finished piece was a proud moment—finally, the ironing board is hung neatly in the laundry room instead of leaning against a bedroom wall.
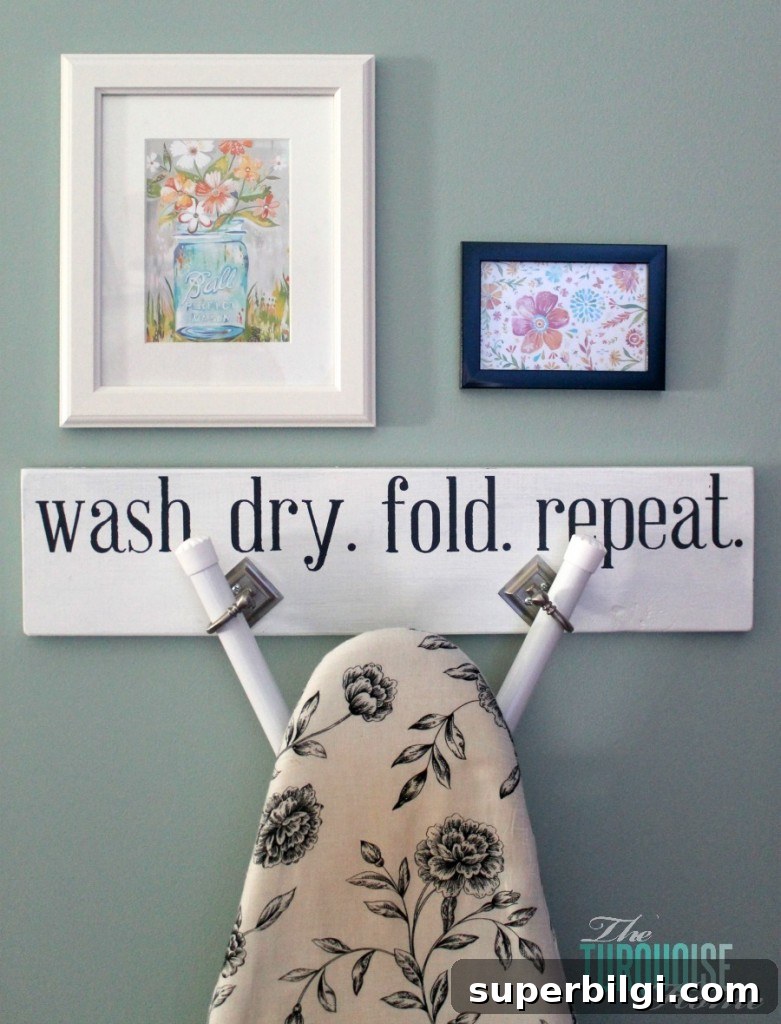
P.S. I eventually mounted the board in the laundry room with a French cleat-style hanging system for extra stability.
More projects you might enjoy:
- Traditional Laundry Room Design Plans
- Sherwin Williams Sea Salt color ideas
- How to Decorate Kitchen Counters {Decorating 101}