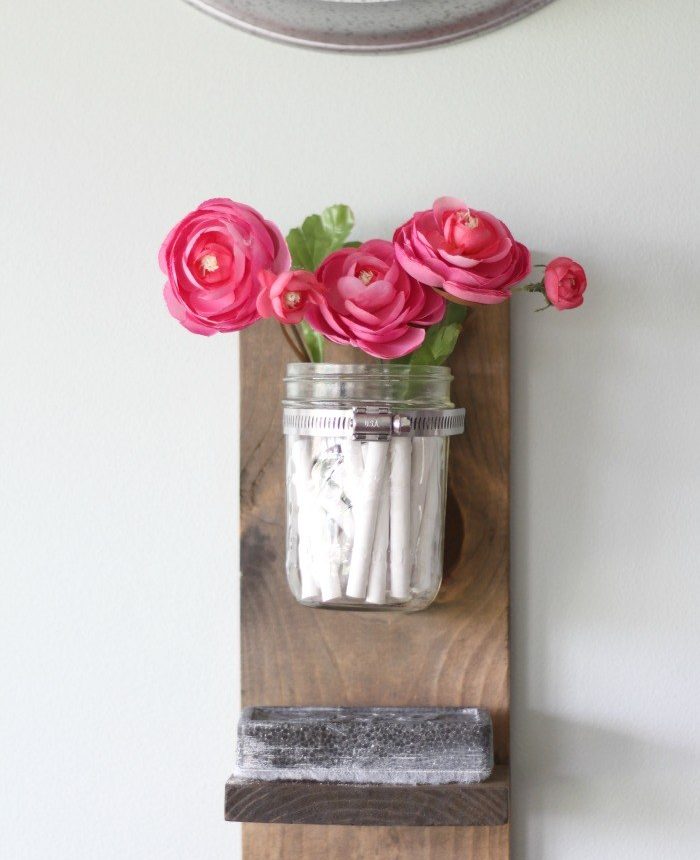
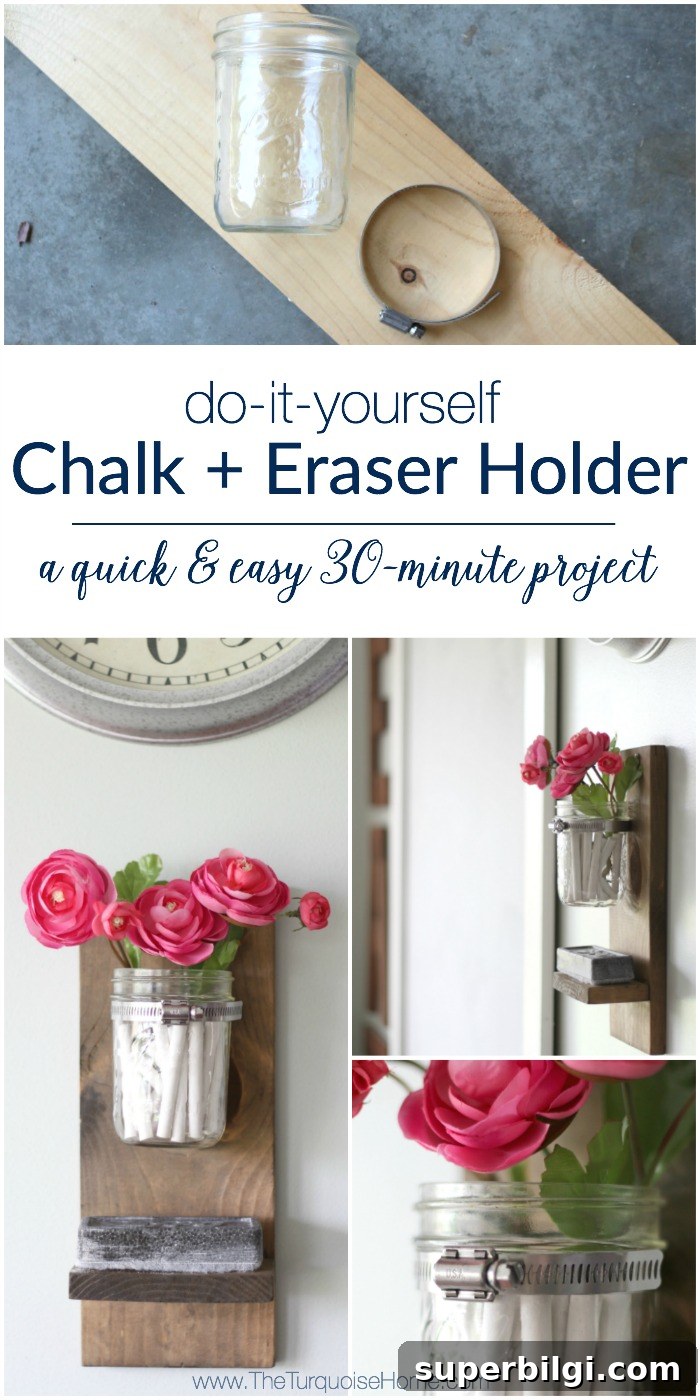
I love quick projects that are both attractive and useful, so I put together this simple DIY chalk and eraser holder in about 30 minutes using three items—two of which I already had on hand. It cost me about $1.50 in materials that day and it turned out adorable and extremely functional.
A little background: I’ve had a large chalkboard in my kitchen for three years. Every time I wanted chalk or the eraser I had to walk through the kitchen into the laundry room to fetch them. I’d seen several storage ideas—hanging baskets, upside-down drawer pulls, and mason jars secured with hose clamps—but I wanted something slightly different that felt sturdy and neat.
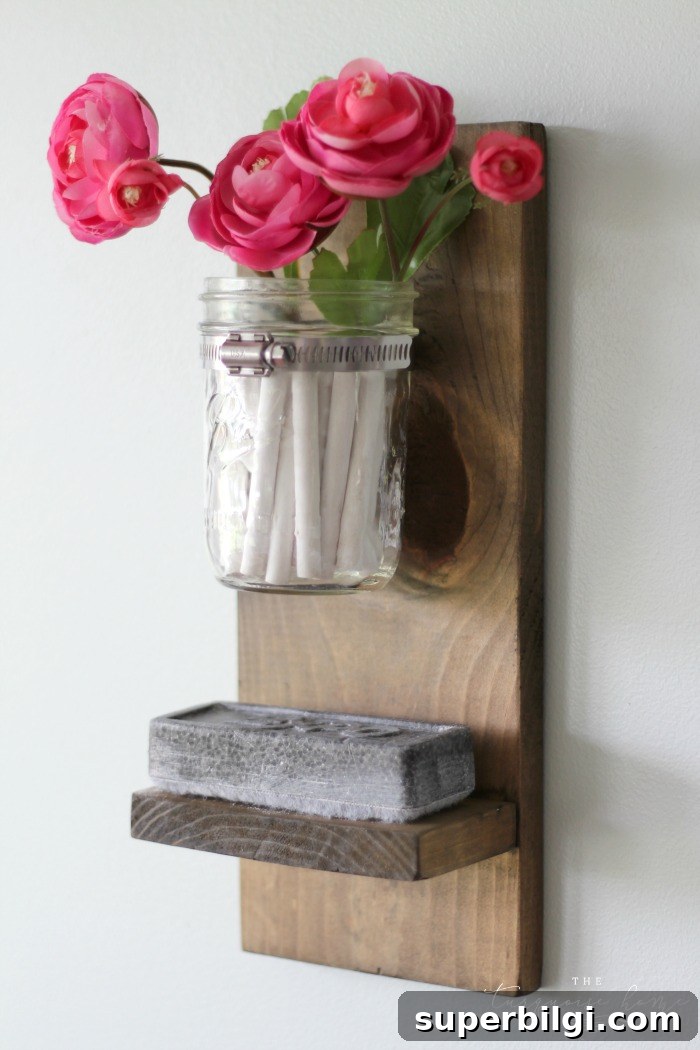
I’m also a little indecisive, which is probably why it took me years to add a simple storage solution. Eventually I took a scrap 1×6 board, attached a hose clamp, slid in a wide-mouth mason jar for the chalk, and added a small shelf for the eraser. The result is a compact, attractive holder that hangs right beside the chalkboard and keeps everything within reach.
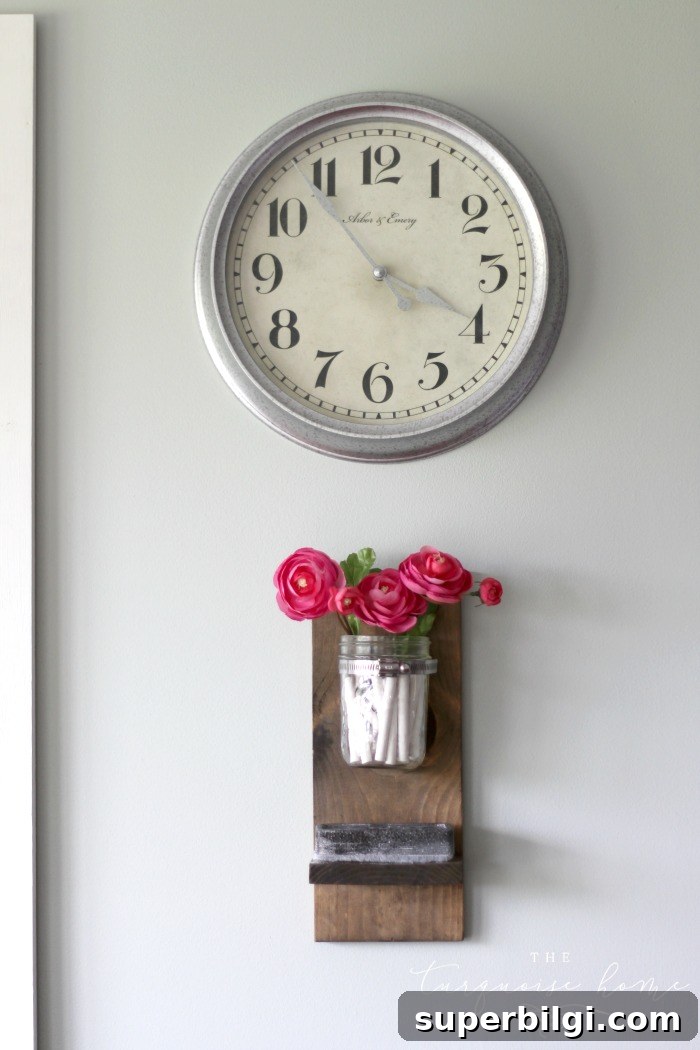
Having the chalk and eraser visible and accessible has encouraged my daughter—who’s starting kindergarten this fall—to use the board regularly to practice her letters. The chalkboard sits next to our kitchen table so it’s easy to use for quick lessons, weekly notes, or fun drawings. Making the chalk more accessible has definitely increased its use as a learning tool.
Tools you will need for a DIY Chalk and Eraser Holder
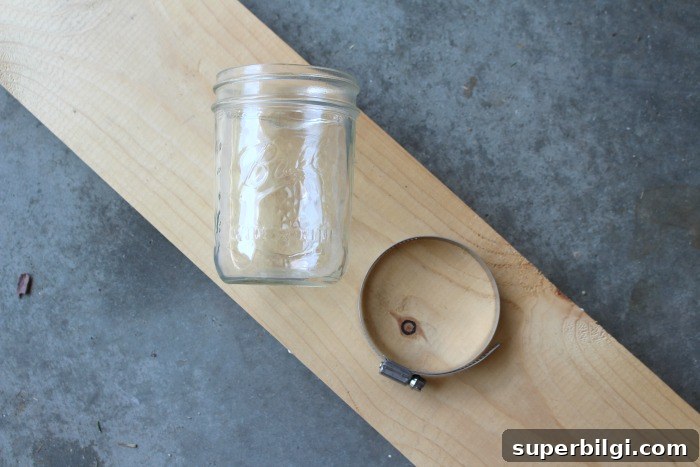
- Wide-mouth mason jar
- Hose clamp large enough to wrap around the mason jar (available in the pipe section at hardware stores)
- 1×6 board, at least 17 inches long (scrap wood works fine)
- Saw (miter saw, circular saw, or a hand saw with a miter box)
- Sander or sandpaper
- Stain (I used a combination of a weathered-gray tone and dark walnut)
- Pocket-hole jig (Kreg Jig or similar) or wood screws for a sturdy shelf connection
Steps to Build a DIY Chalk and Eraser Holder
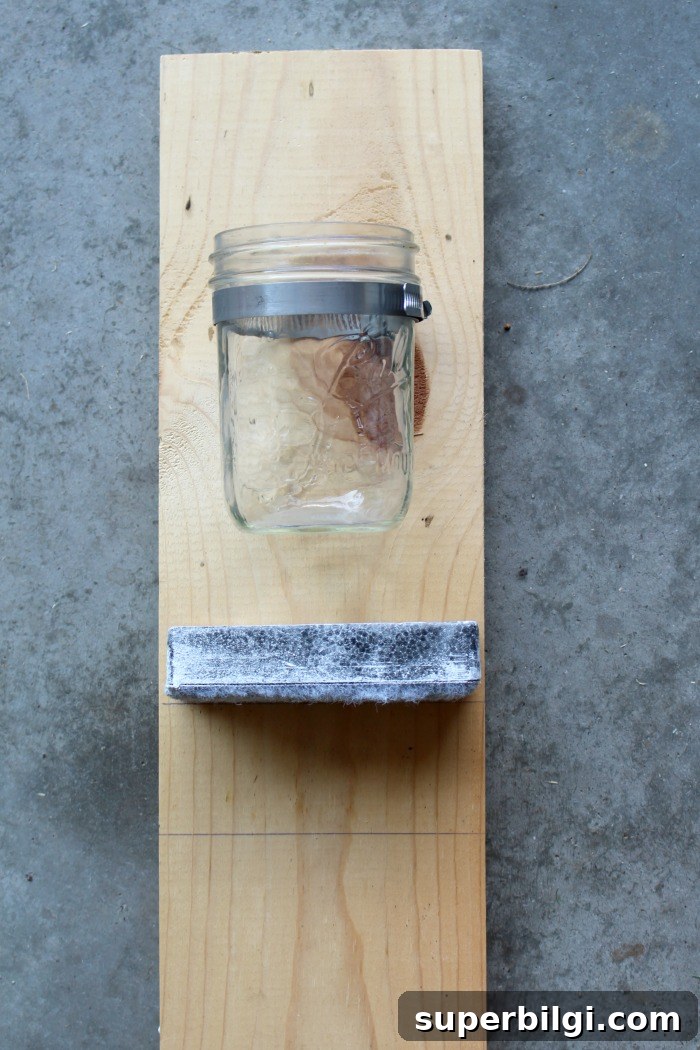
Step #1: Measure your board.
Place the mason jar and your eraser on the 1×6 board to determine placement. For my project I cut one piece to 13.5 inches for the back and a small shelf piece to 2.75 inches. Adjust lengths to suit your jar size and available wall space.
Step #2: Cut the board at the marked spots.
Cut the board using a miter saw, circular saw, or a hand saw. Take your time to make clean, square cuts so the shelf sits flush against the back piece.
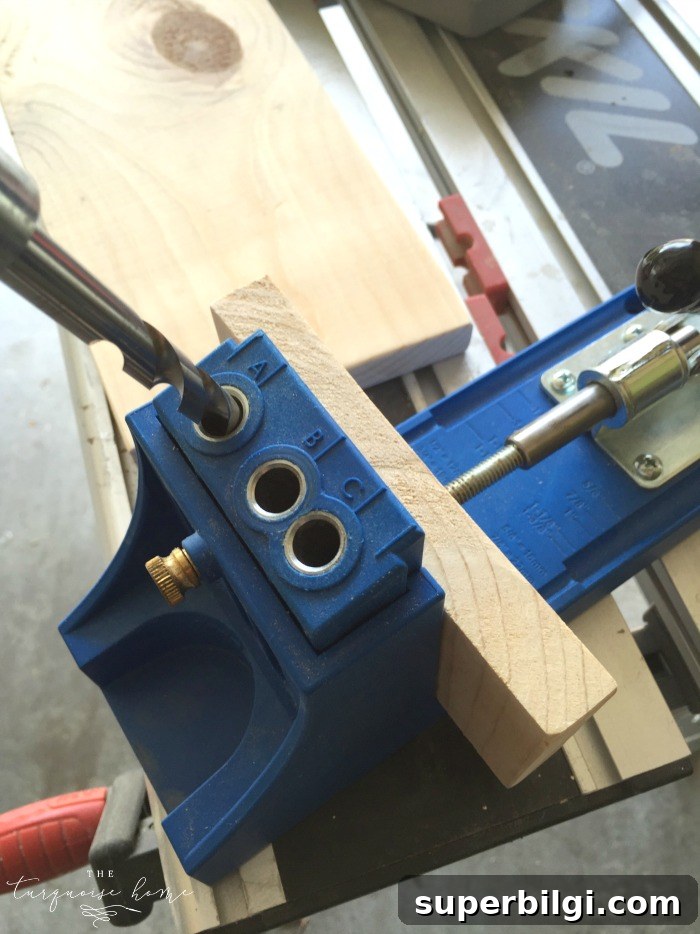
Step #3: Attach the small shelf.
Use a pocket-hole jig and screws or conventional screws and wood glue to secure the shelf to the back piece. A pocket-hole joinery method creates a strong, nearly invisible connection; if you don’t have a jig, screws from underneath will work fine. Make sure the shelf is level and firmly attached—this will hold the eraser.
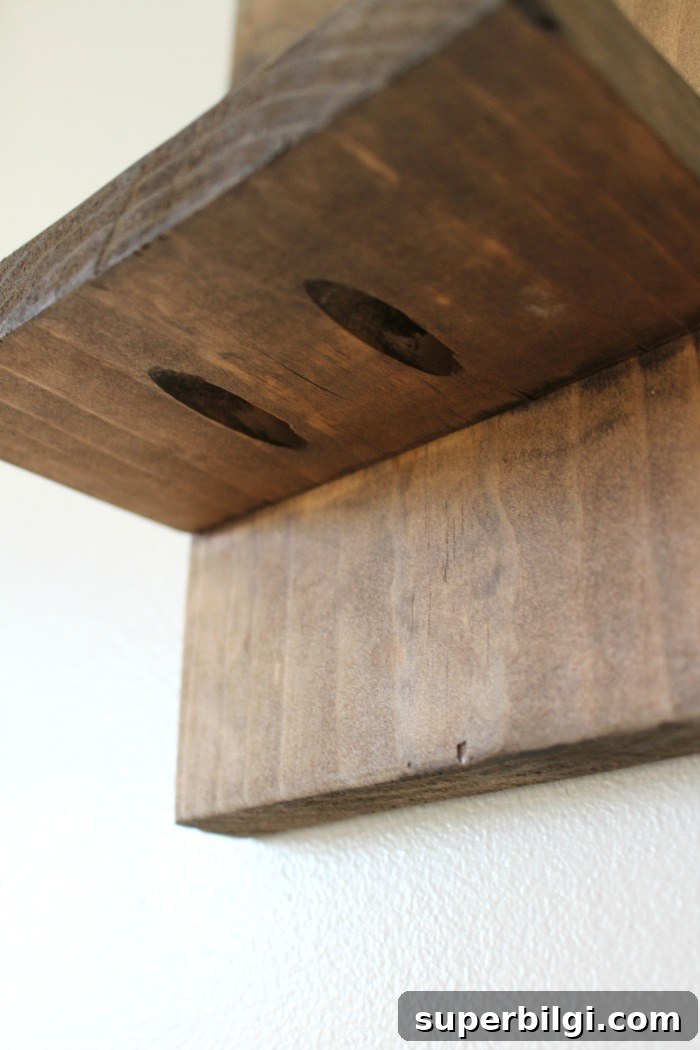
From underneath you’ll see the screw heads where the shelf is anchored to the back board. The connection should be solid and stable.
Step #4: Stain the boards.
Stain the pieces to your preferred finish. I like starting with a lighter weathered oak tone and then briefly wiping on a darker walnut and removing most of it so the final color isn’t too dark. Follow stain manufacturer instructions for drying times. You can add a clear topcoat for protection if desired.
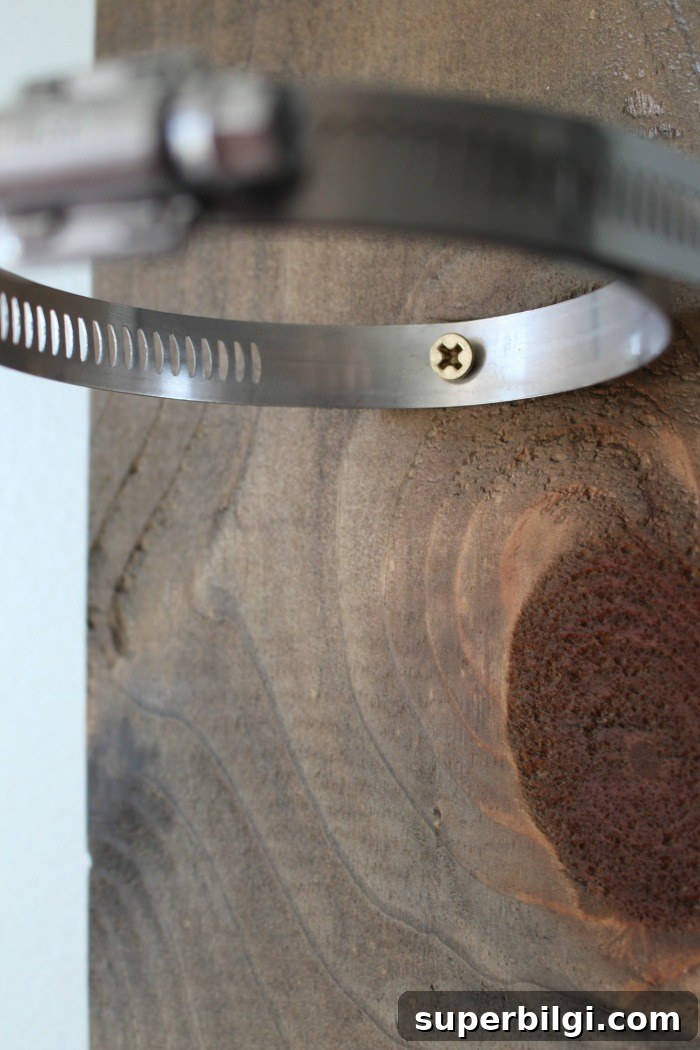
Step #5: Attach the hose clamp to the board.
Position the clamp where the mason jar will sit and tighten it around the jar so the jar can slide in and out but won’t fall through. Drill a small pilot hole in the clamp and fasten it to the back board with a screw. Make sure the clamp is centered and level so the jar hangs straight.
Step #6: Hang on the wall.
Attach a couple of small picture hangers, a keyhole bracket, or screws into studs depending on your wall and the weight. Hang the finished holder where it’s convenient—beside the chalkboard is ideal so everything stays together.
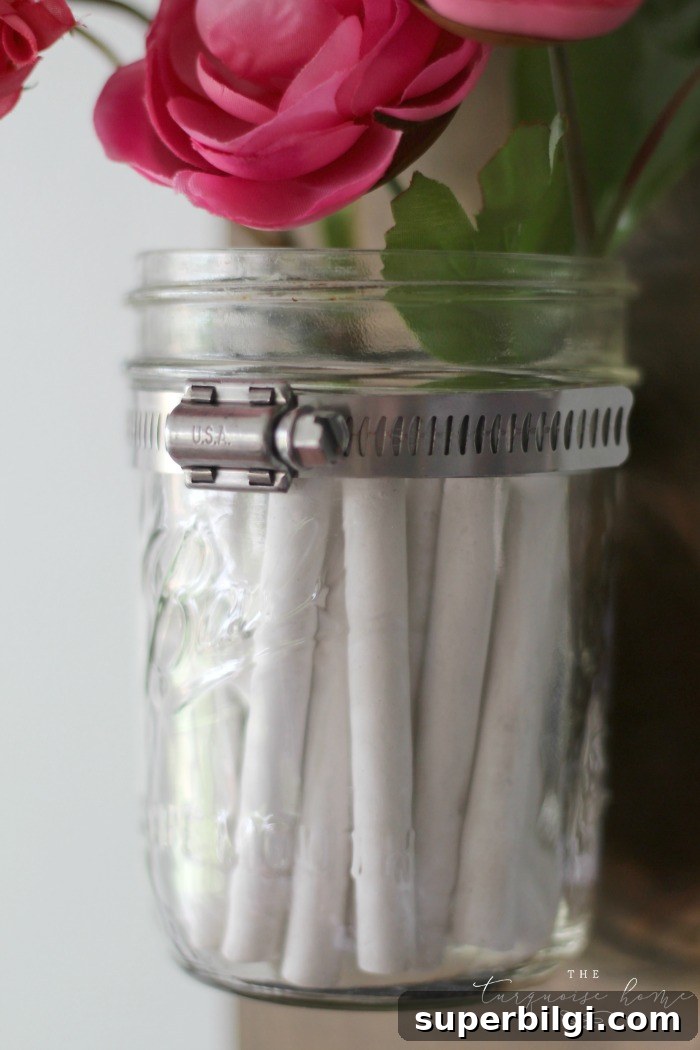
Step #7: Add your mason jar, chalk, and eraser.
Place the jar in the clamp and add chalk. Set the eraser on the shelf. I added a few faux flowers for a small pop of color, but the holder looks great plain as well. The compact design keeps supplies tidy and right where you need them.
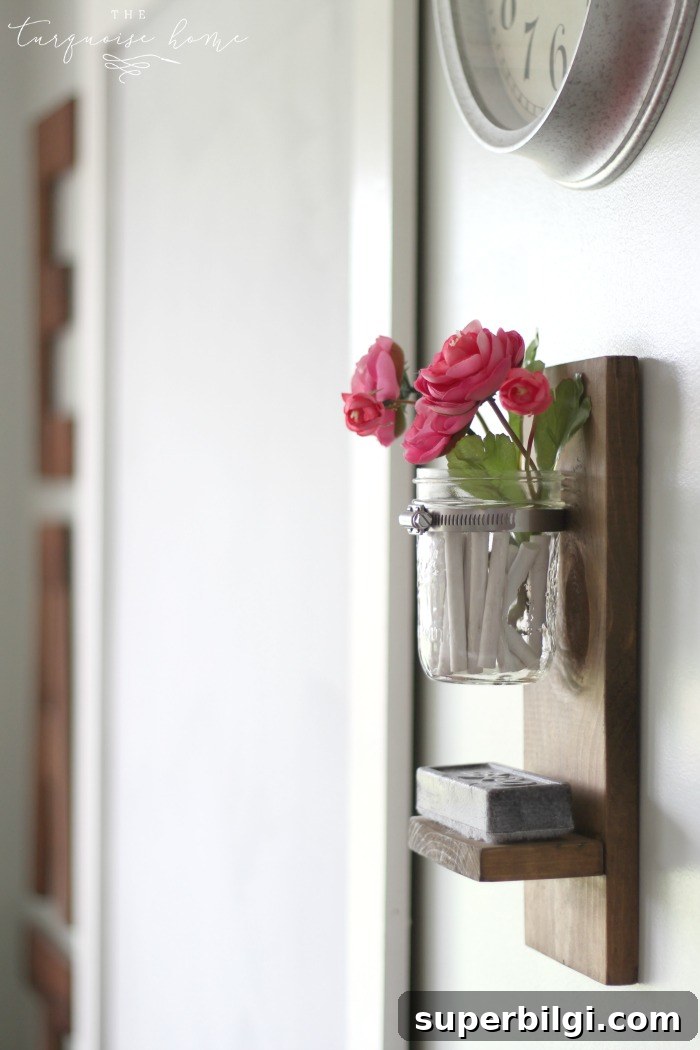
This little holder filled an awkward spot on the wall under a clock and provided the storage I needed. Small projects like this often inspire other changes—once you add one element, the room naturally evolves—but this holder has made the chalkboard area more functional and inviting.
Decorating and organizing sometimes feels like a chain reaction: one small update leads to another. While rooms rarely feel completely finished, this chalkboard wall is much closer to done now that the chalk and eraser are conveniently stored and ready for daily use.
More Posts You Will Love:
- How to Make a Giant Magnetic Chalkboard
- Chalkboard Wood-Slice Ornaments
- 15 Fabulous Chalkboard Ideas