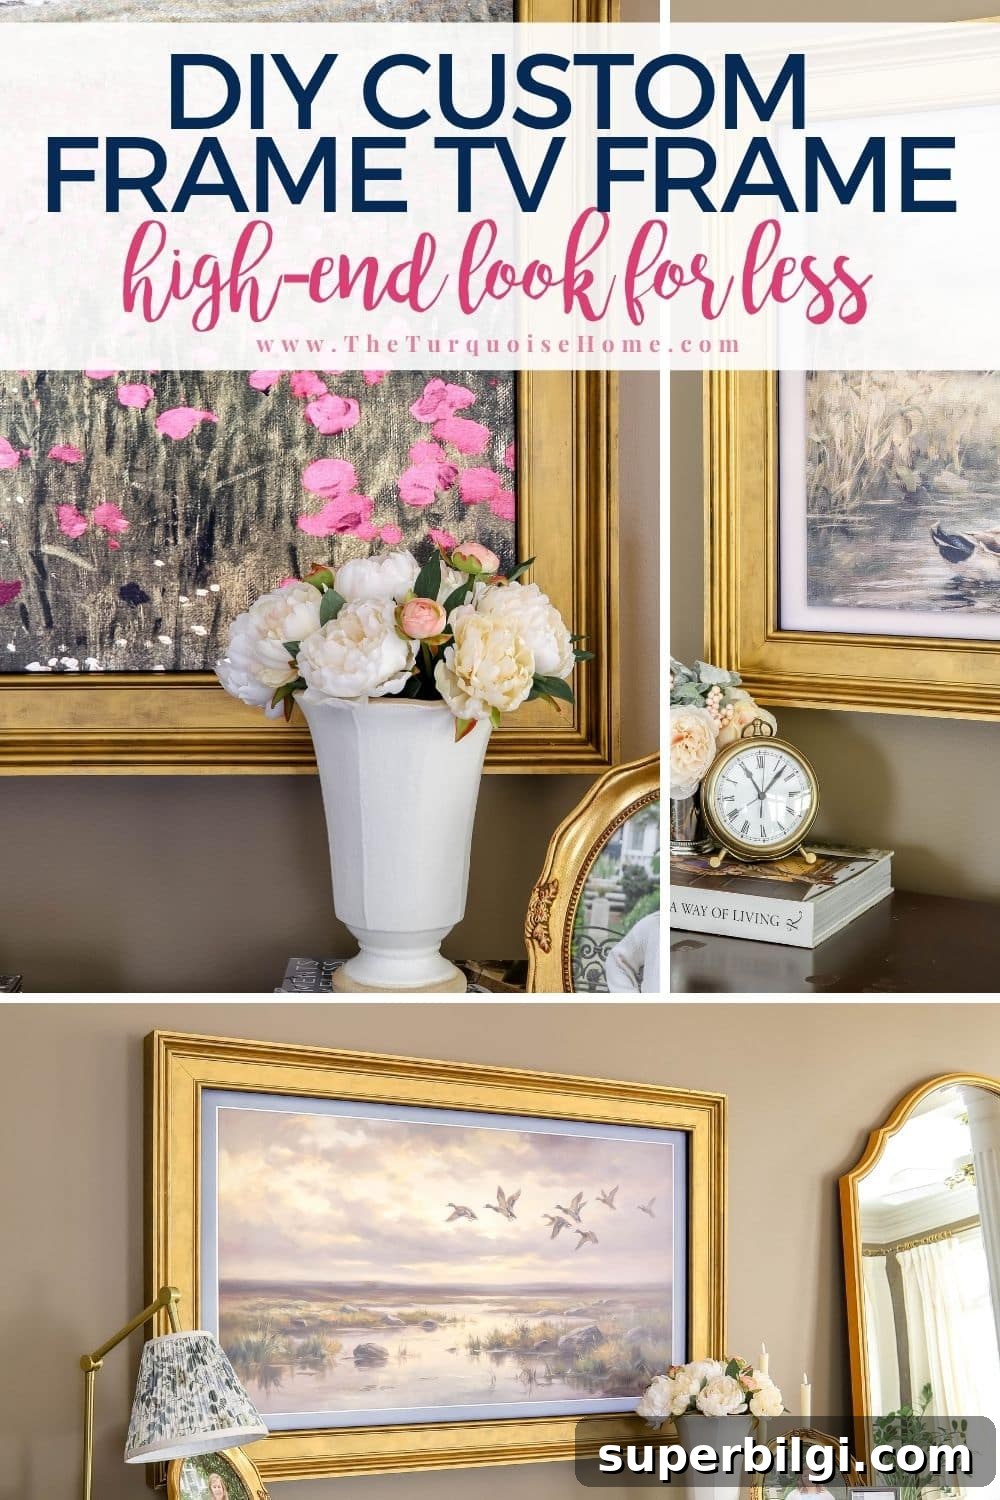
Learn how to build a custom Frame TV frame that makes your TV look like a real piece of art. This step-by-step DIY gives a designer look on a budget.
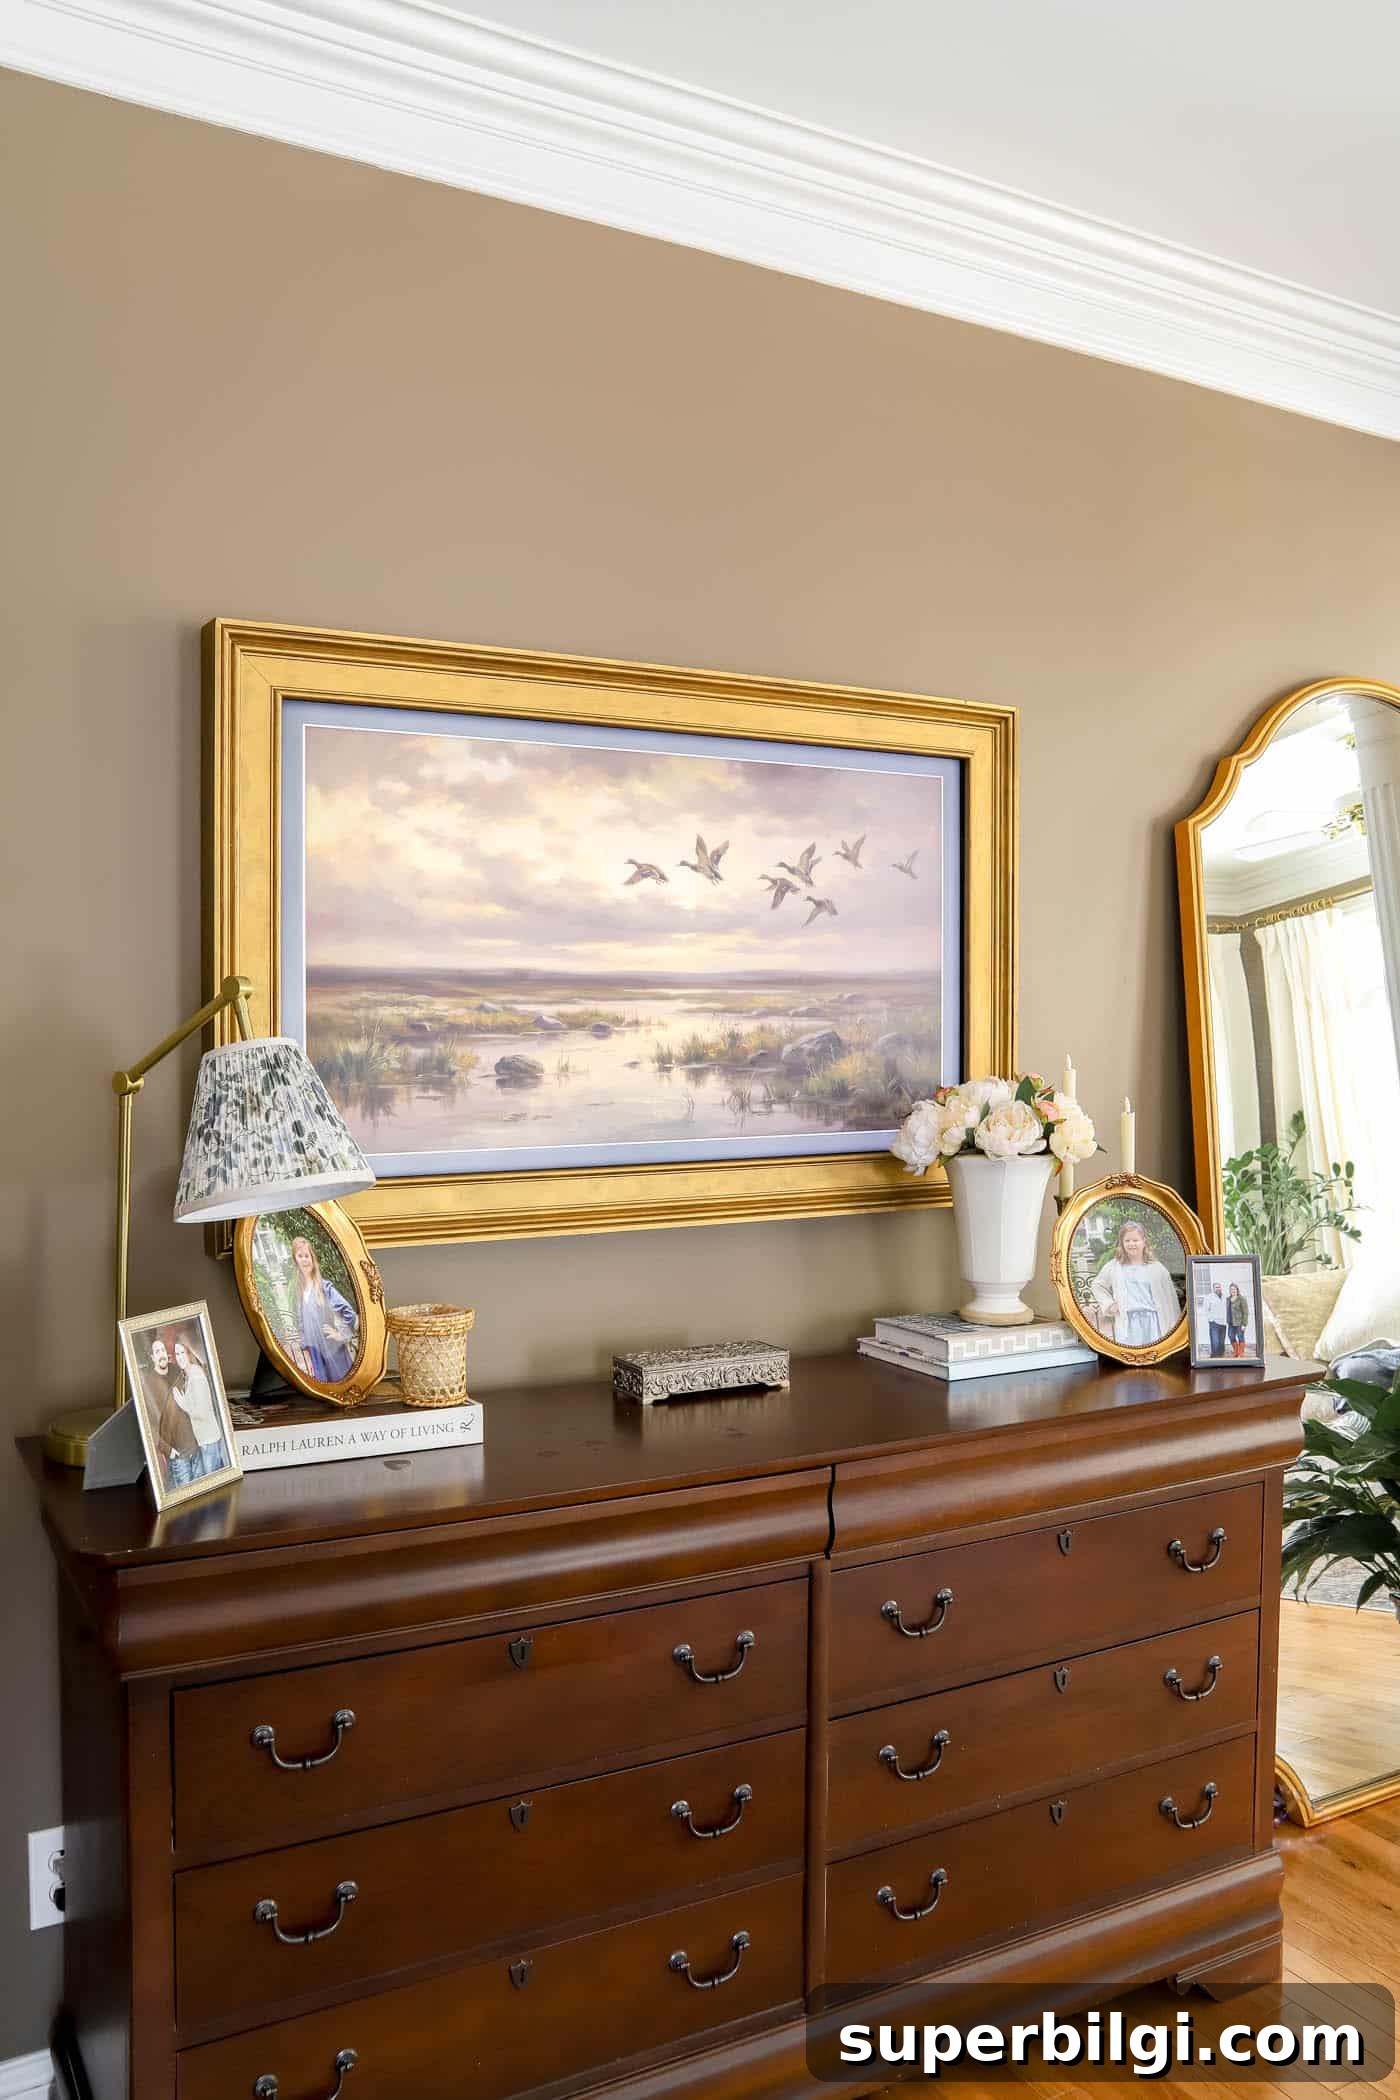
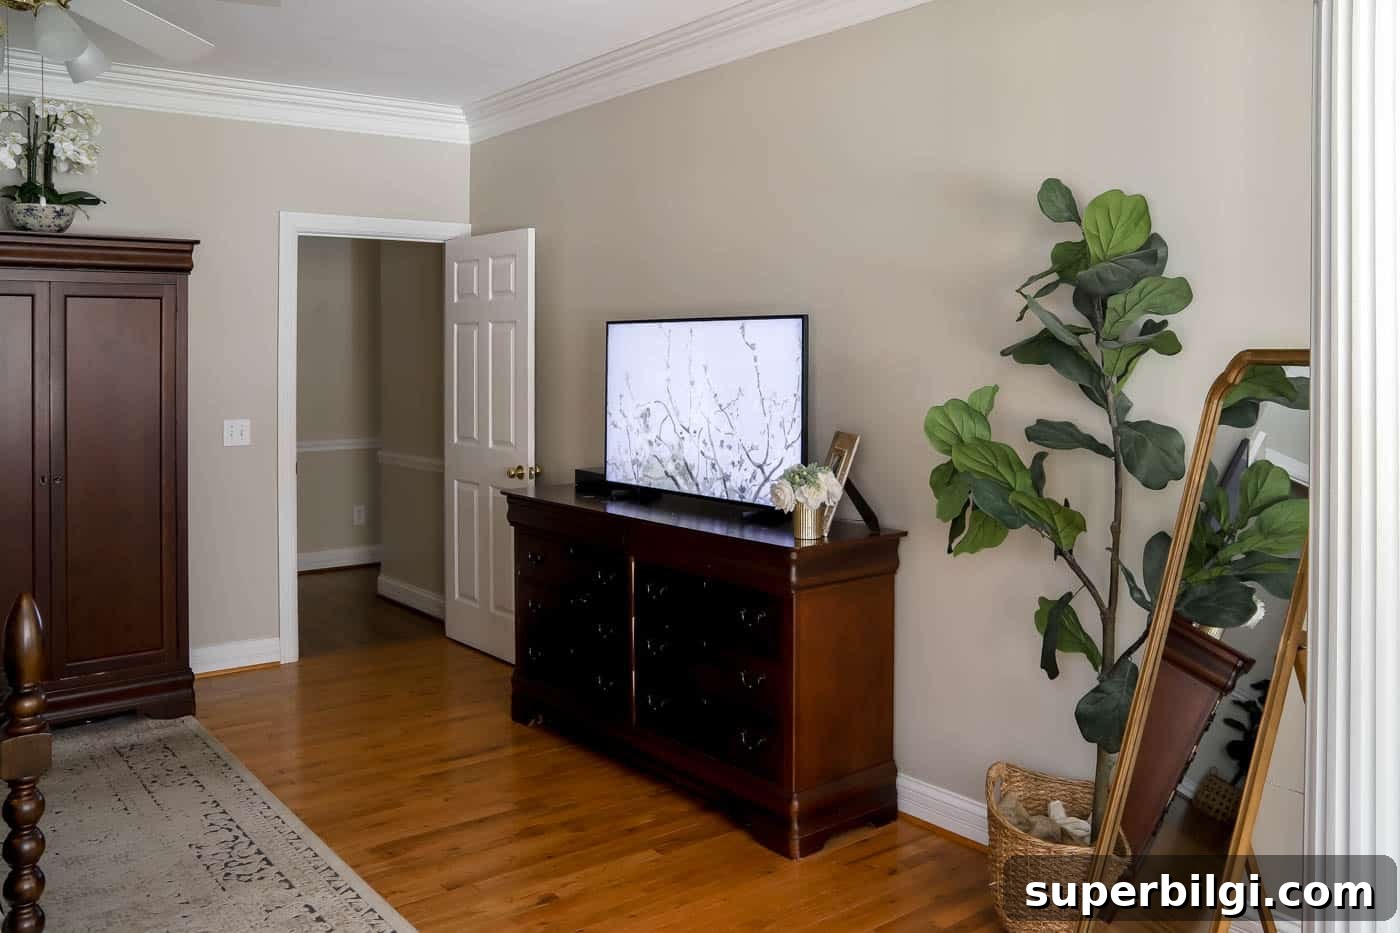
We have a large wall opposite our bed that felt unfinished even after mounting a Frame TV. The TV already blends in nicely as art, but I wanted a more elevated, decorative frame that felt high-end, cozy, and a little glam-meets-traditional to suit the bedroom.
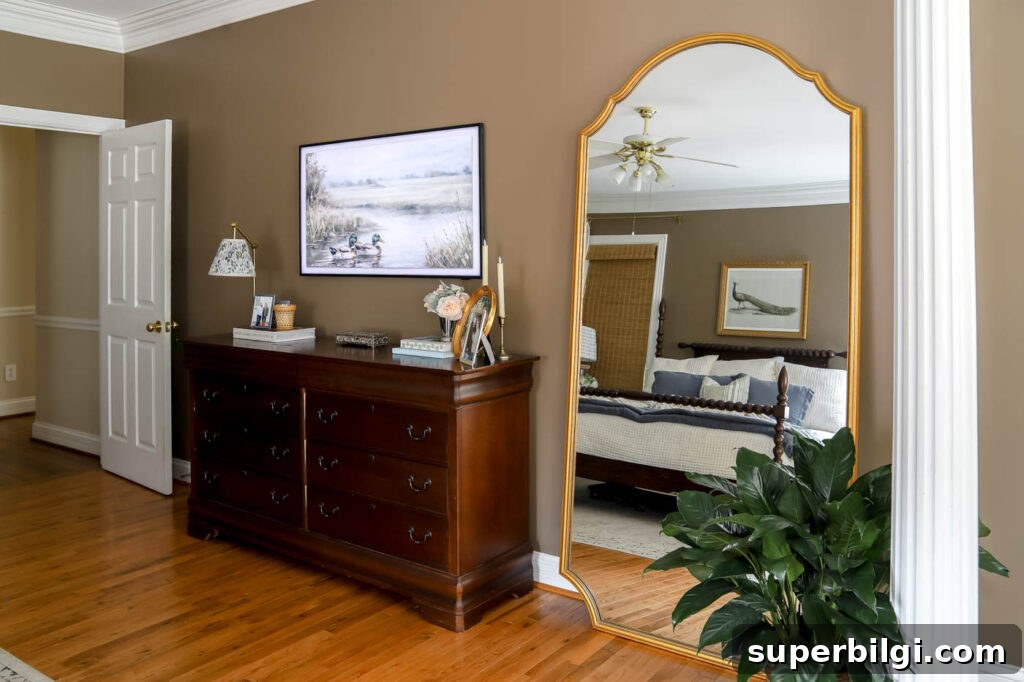
I’d already built a simpler DIY Frame TV frame for our living room, but for this bedroom I wanted a more ornate look that mimicked expensive gallery frames without the $500+ price tag. I figured out how to make a custom decorative frame for roughly $100–$150—about $120 for me—using basic lumber, trim, and a bit of finish work.
Below I’ll walk you through the full process so you can make a custom Frame TV frame that looks intentional and refined without breaking the bank.
This post contains affiliate links for your convenience. See my full disclosure policy.
What to Expect
This custom Frame TV frame is a beginner-to-intermediate weekend project. If you already own a few basic tools, the material cost typically sits around $100–$150, a fraction of the cost of premade ornate frames. The steps are straightforward when broken down: measure carefully, build an inner and outer base frame from 1×2 lumber, cut and attach decorative trim, notch for any sensors, then fill, sand, and finish.
Although the finished frame looks detailed and designer, the construction is simple. If you prefer an even easier option, a simpler “minimal” frame is a great alternative for beginners.
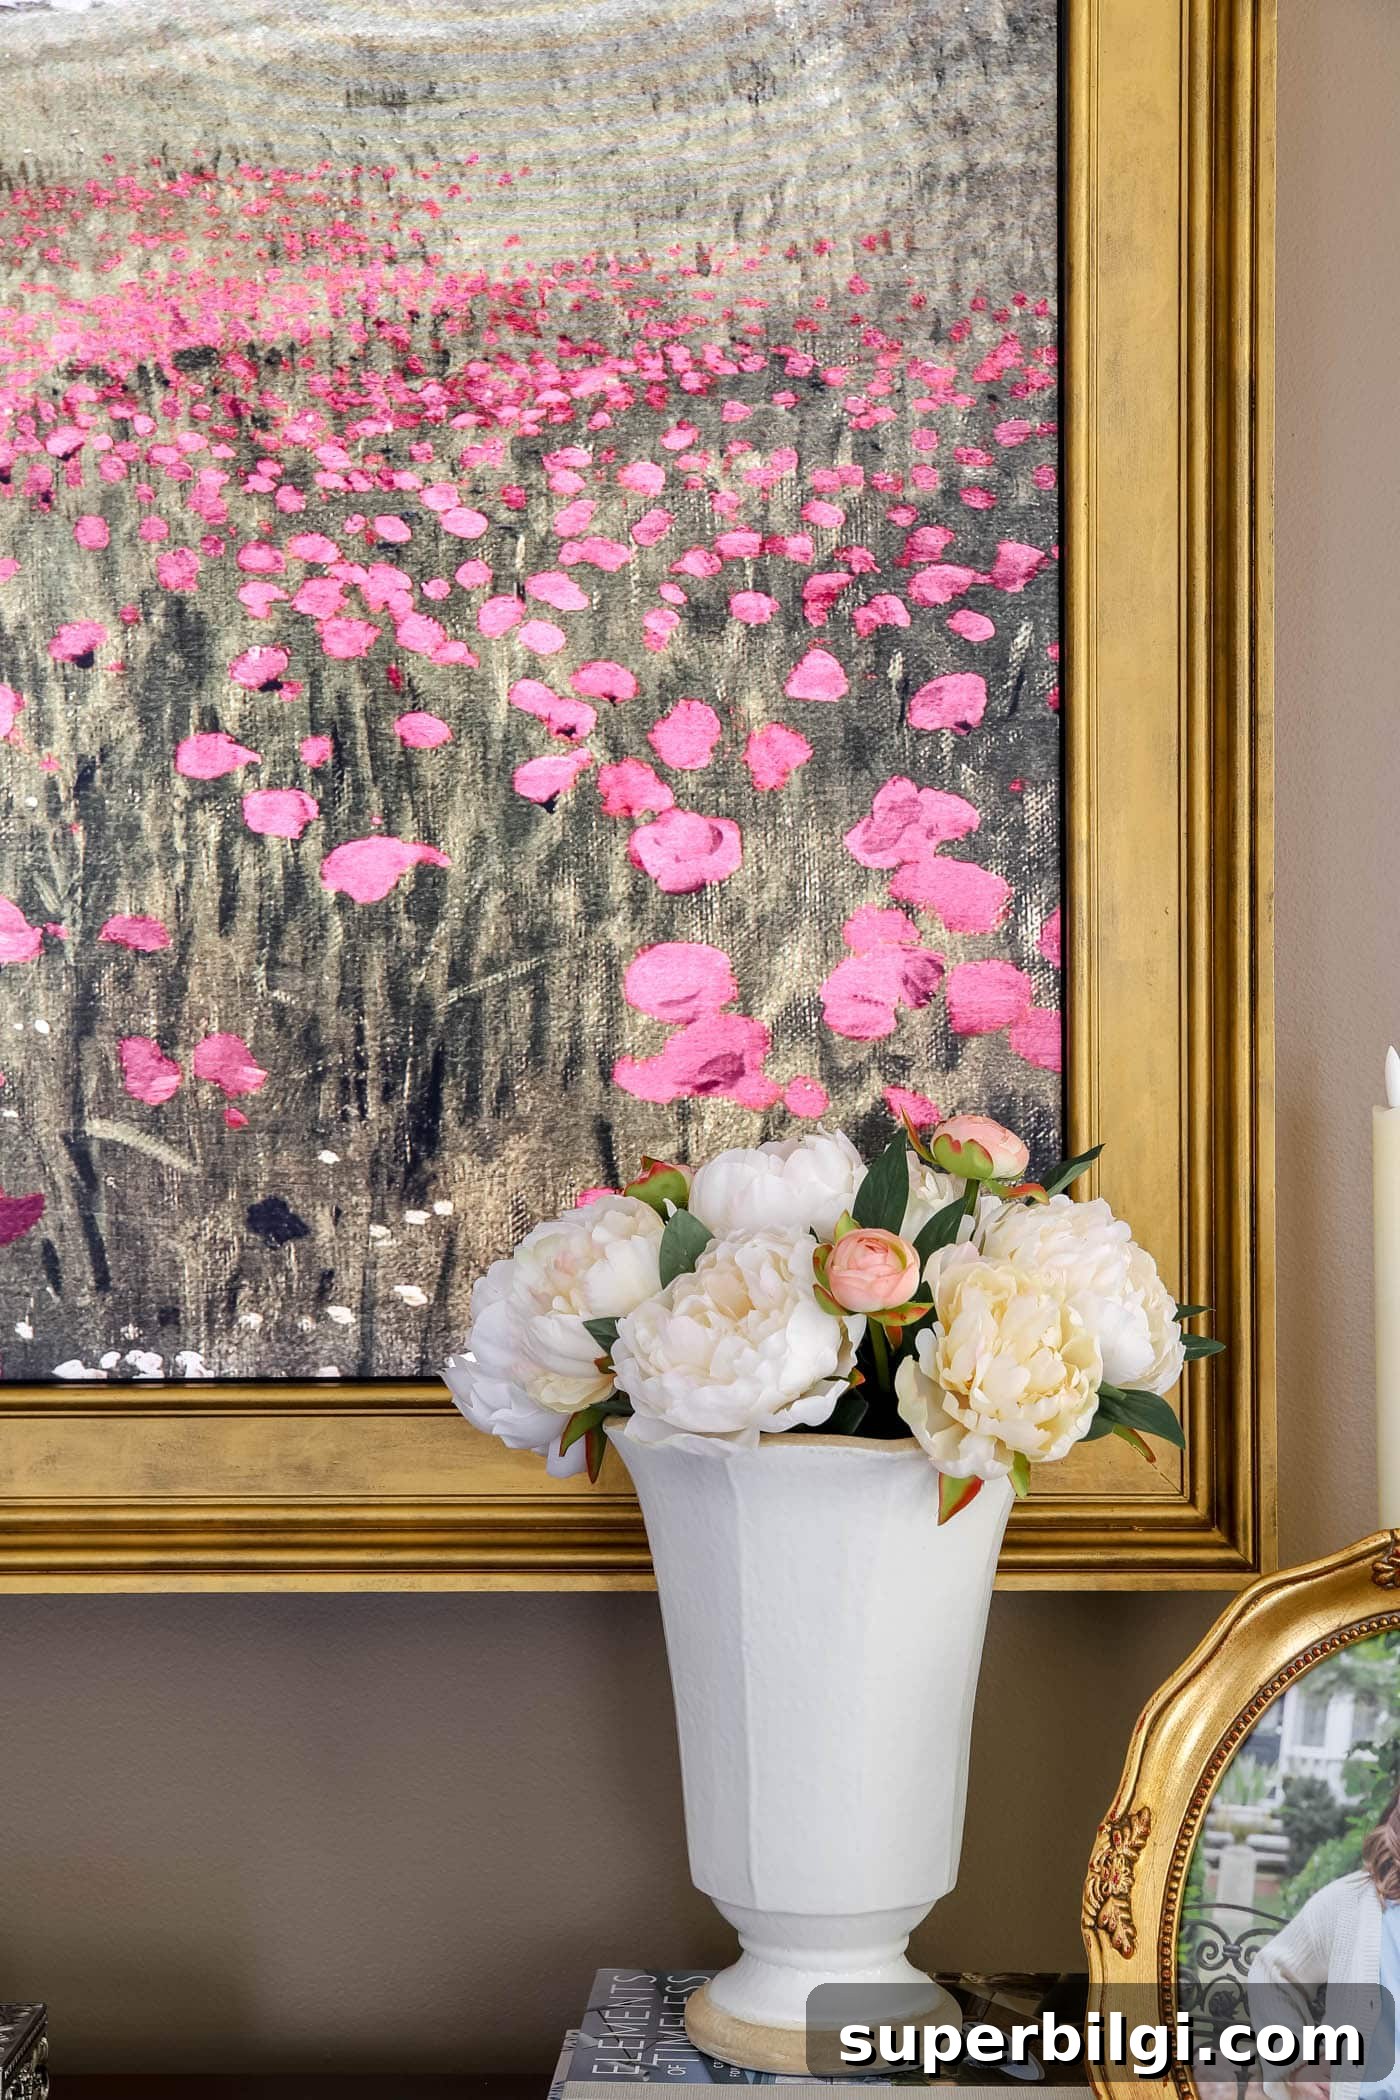
Supplies Needed for a Custom Frame TV Frame
These are the materials I used. The structure is built from simple 1×2 boards and the ornate look comes from applying decorative casing trim over the base frames.
Lumber and Trim:
- 4 — 1 x 2 x 8 boards — form the inner and outer base frames that attach around the TV.
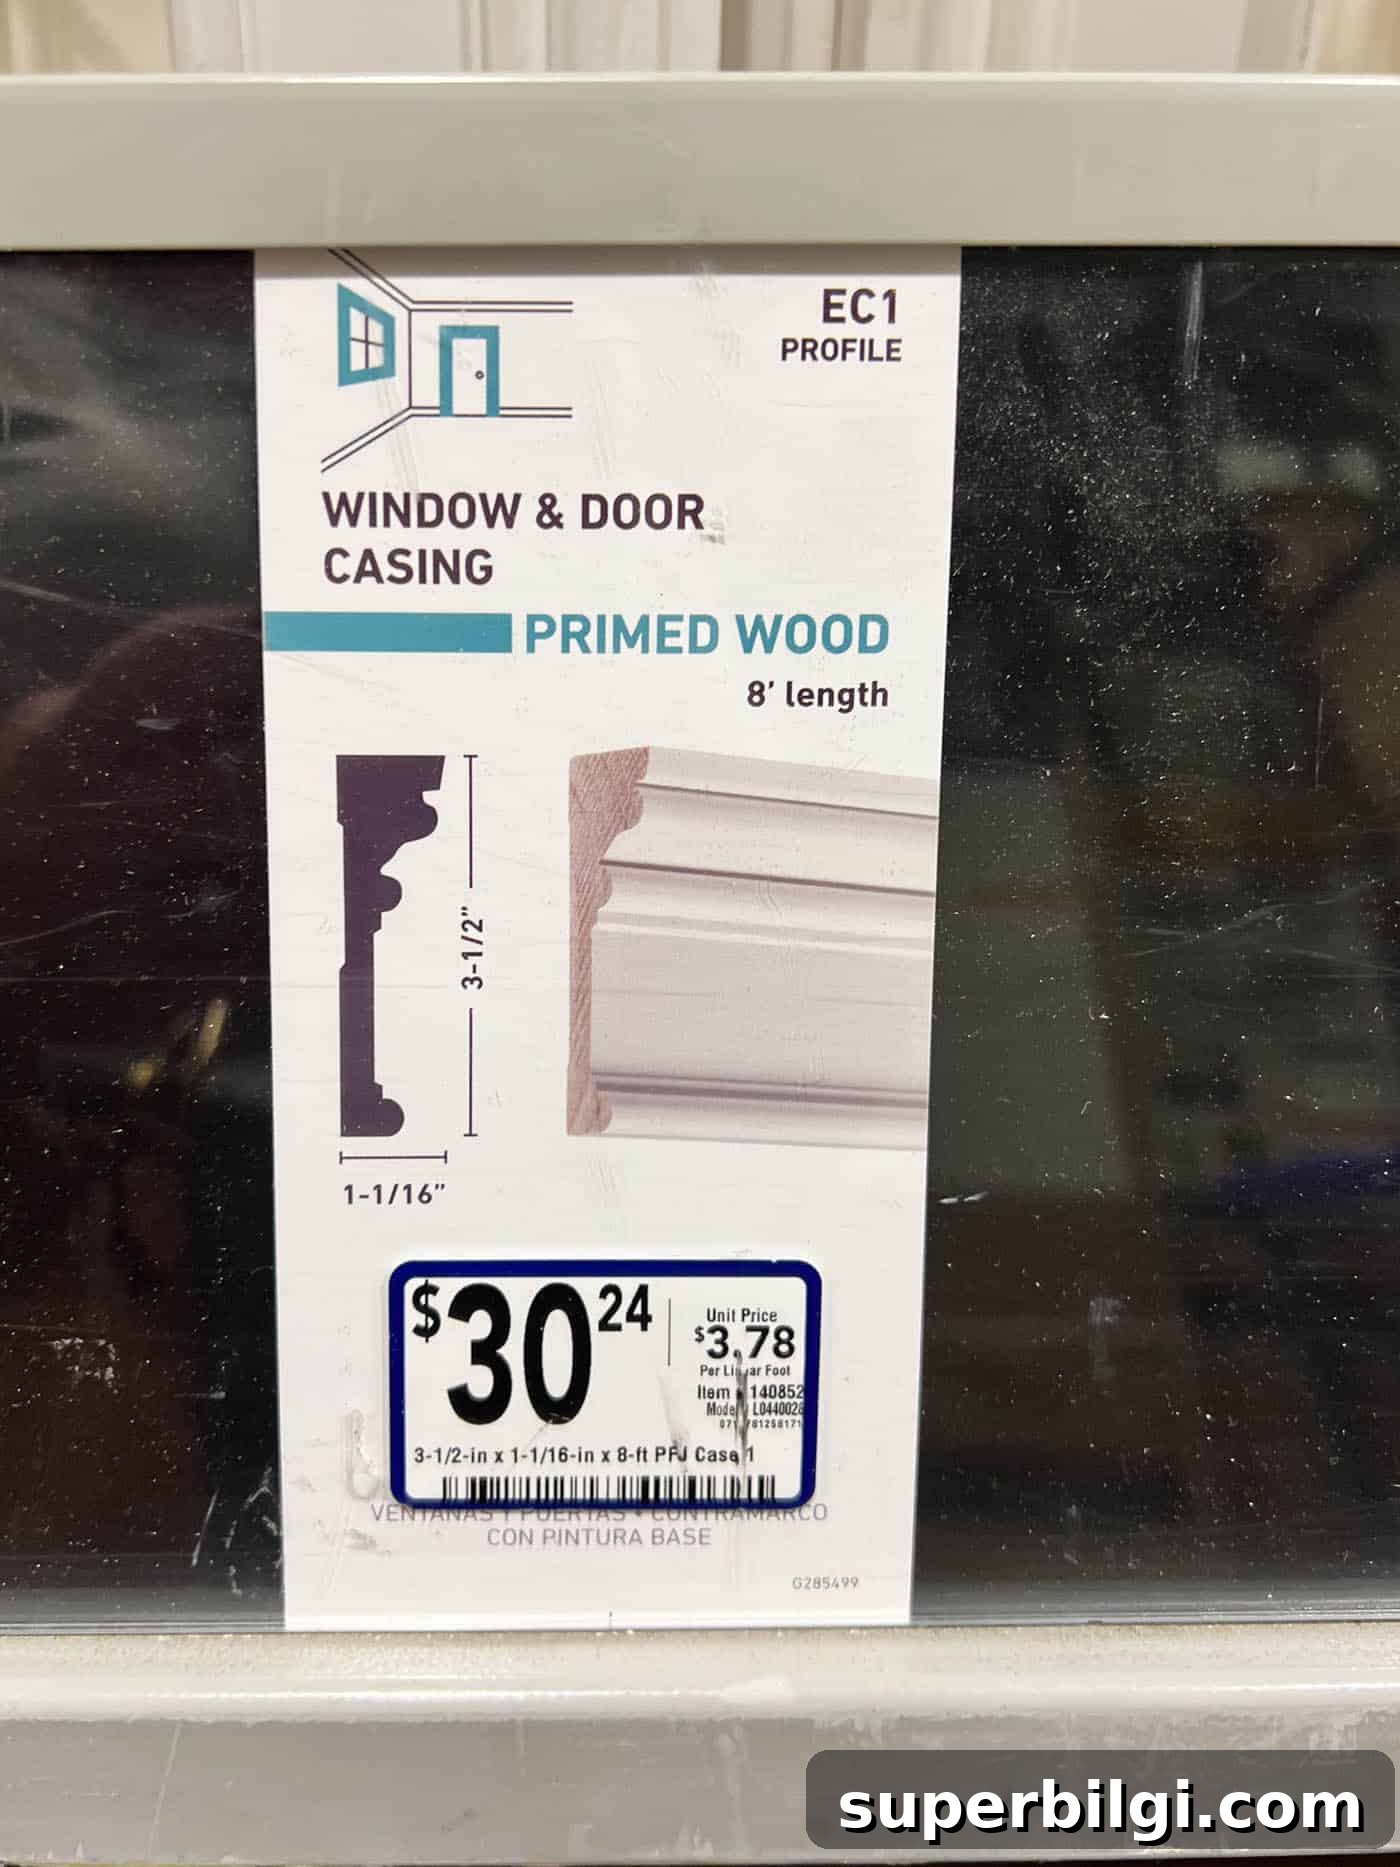
- 2 — 1-1/16 in x 3-1/2 in x 8-ft casing boards — decorative front trim that creates the ornate profile.
Building Supplies:
- Wood adhesive
- Wood filler
- 1½-inch brad nails
- 2-inch brad nails
Finishing Supplies:
- Matte spray paint in a deep color (used as a base coat for depth)
- Rub ‘n Buff or similar metallic finish for the antique gold look
Tools Needed
A few common power tools make this project easier and more accurate:
- Miter saw (for clean 45° cuts)
- Circular saw (useful if you don’t have a miter saw)
- Brad nailer
- Clamps and corner clamps (recommended for square corners)
Read through the whole tutorial before buying materials so you can confirm sizes and plan for any TV-specific details like sensor placement.
Step-by-Step Tutorial for a Decorative Frame TV Frame
Step 1. Measure Your TV
Measure your TV carefully — every model varies slightly. I added about 1/8-inch to my measurements so the frame slides on and off without rubbing the screen. Take note of any sensors or sensors that protrude past the TV edge; you may need to notch the frame later to avoid blocking them.
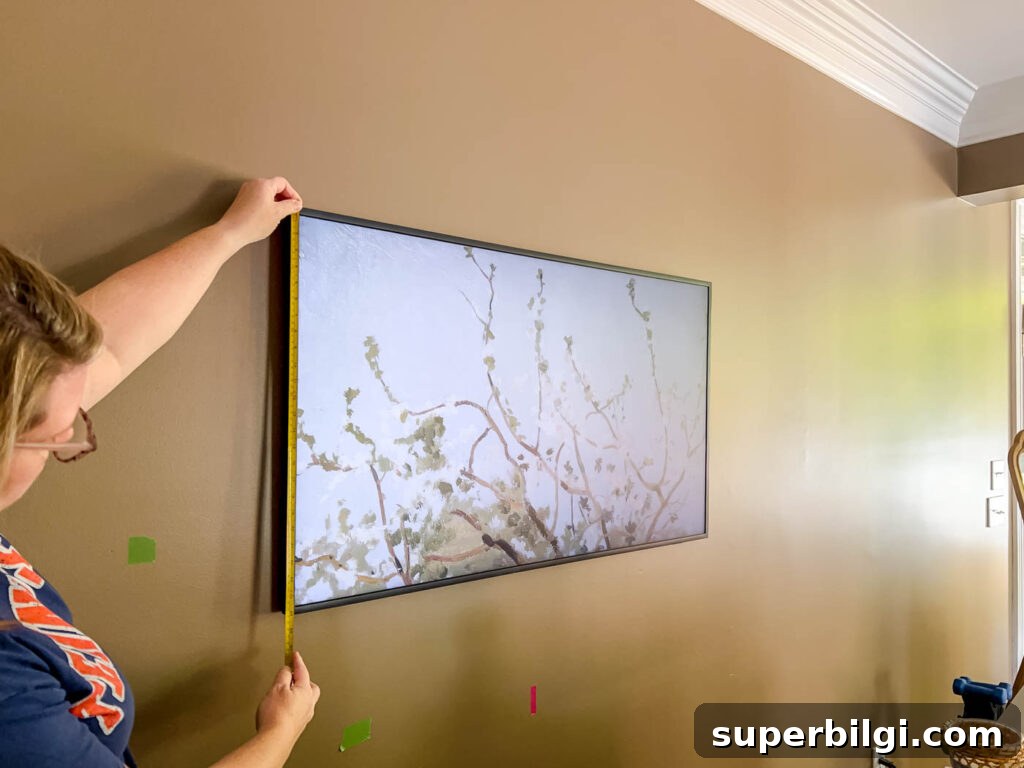
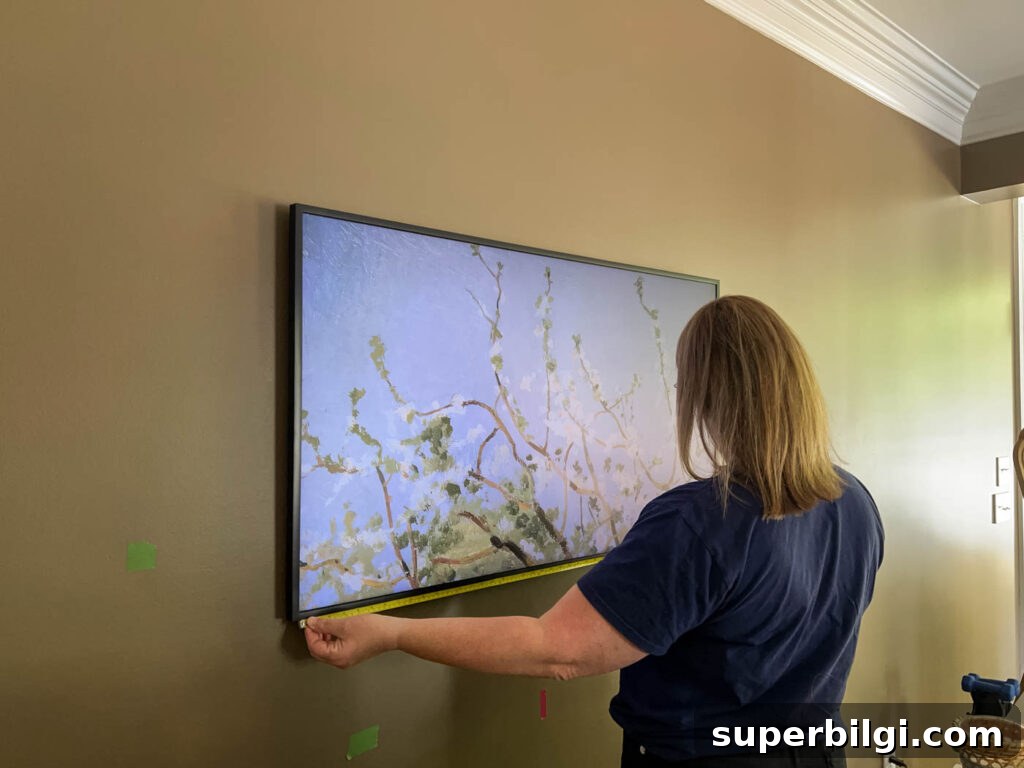
Step 2. Build the Inside Base Frame
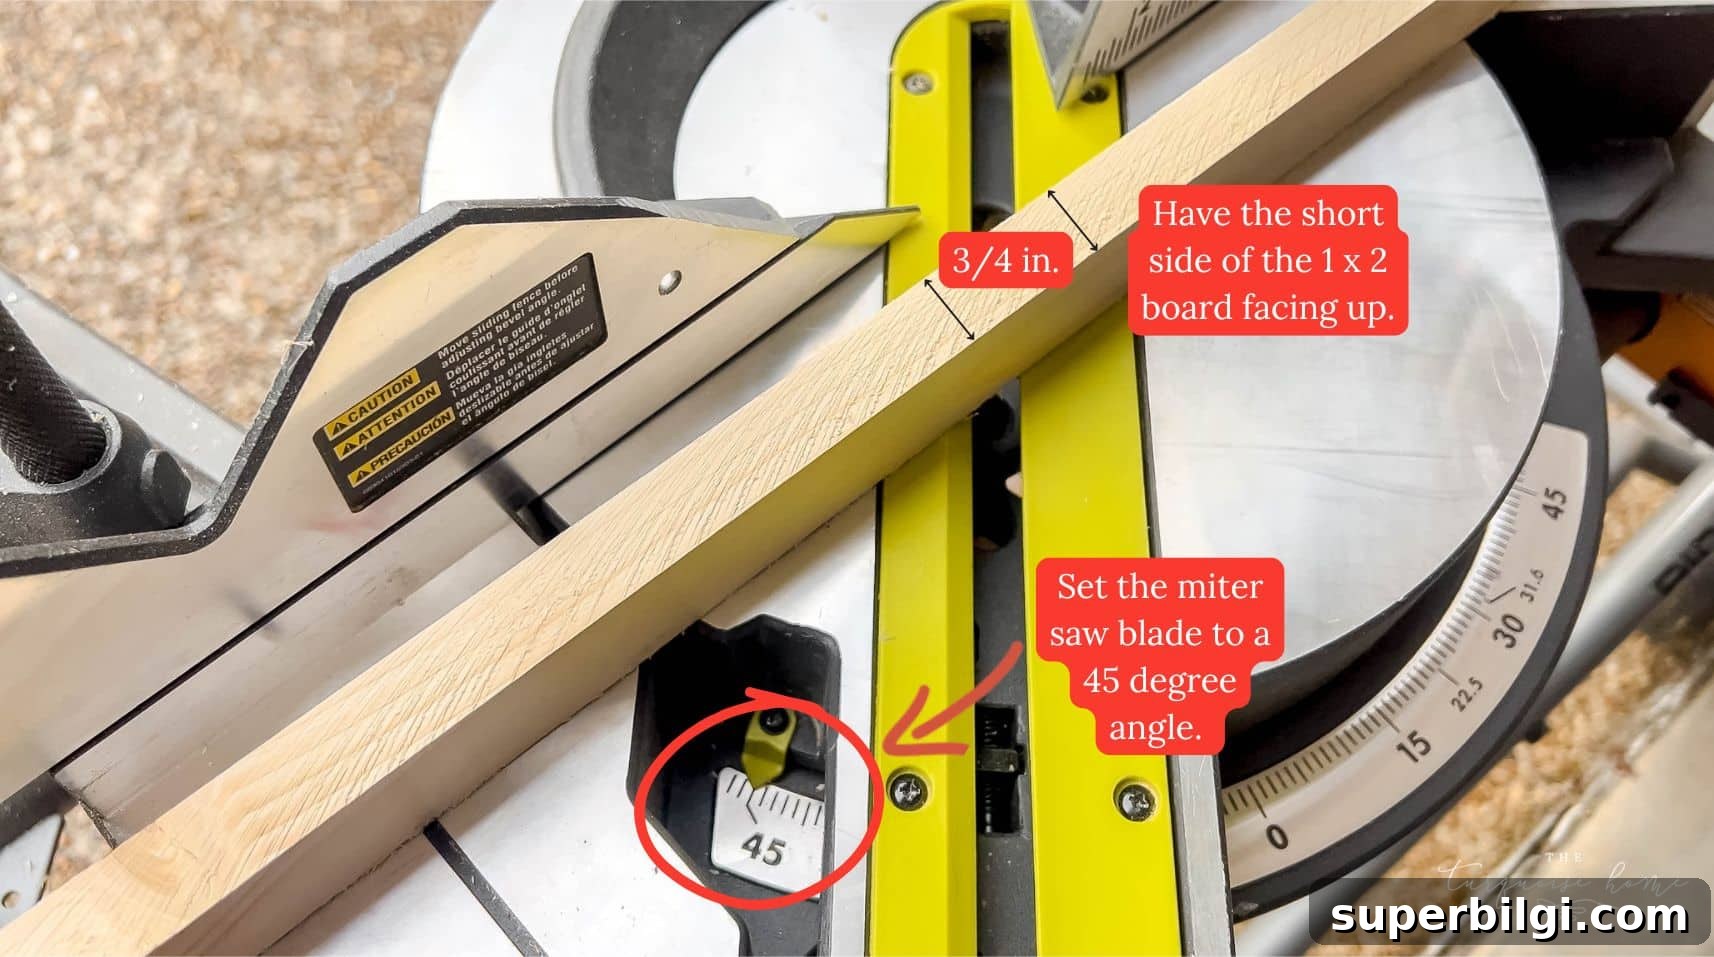
Cut 1×2 boards to your inside dimensions with 45-degree mitered corners. When assembled the longer face of the board sits against the TV and the shorter face faces outward for a slimmer profile. Glue the corners, clamp square, and reinforce with finishing or brad nails after the glue dries.
Step 3. Add Decorative Trim Molding
Choose a casing profile you love. I selected a 3.5-inch wide traditional casing because it reads as substantial without overpowering the screen. For the decorative front frame, cut the trim slightly smaller than the base so it overlaps the front edge of the inner base — that overlap produces a seamless framed appearance.
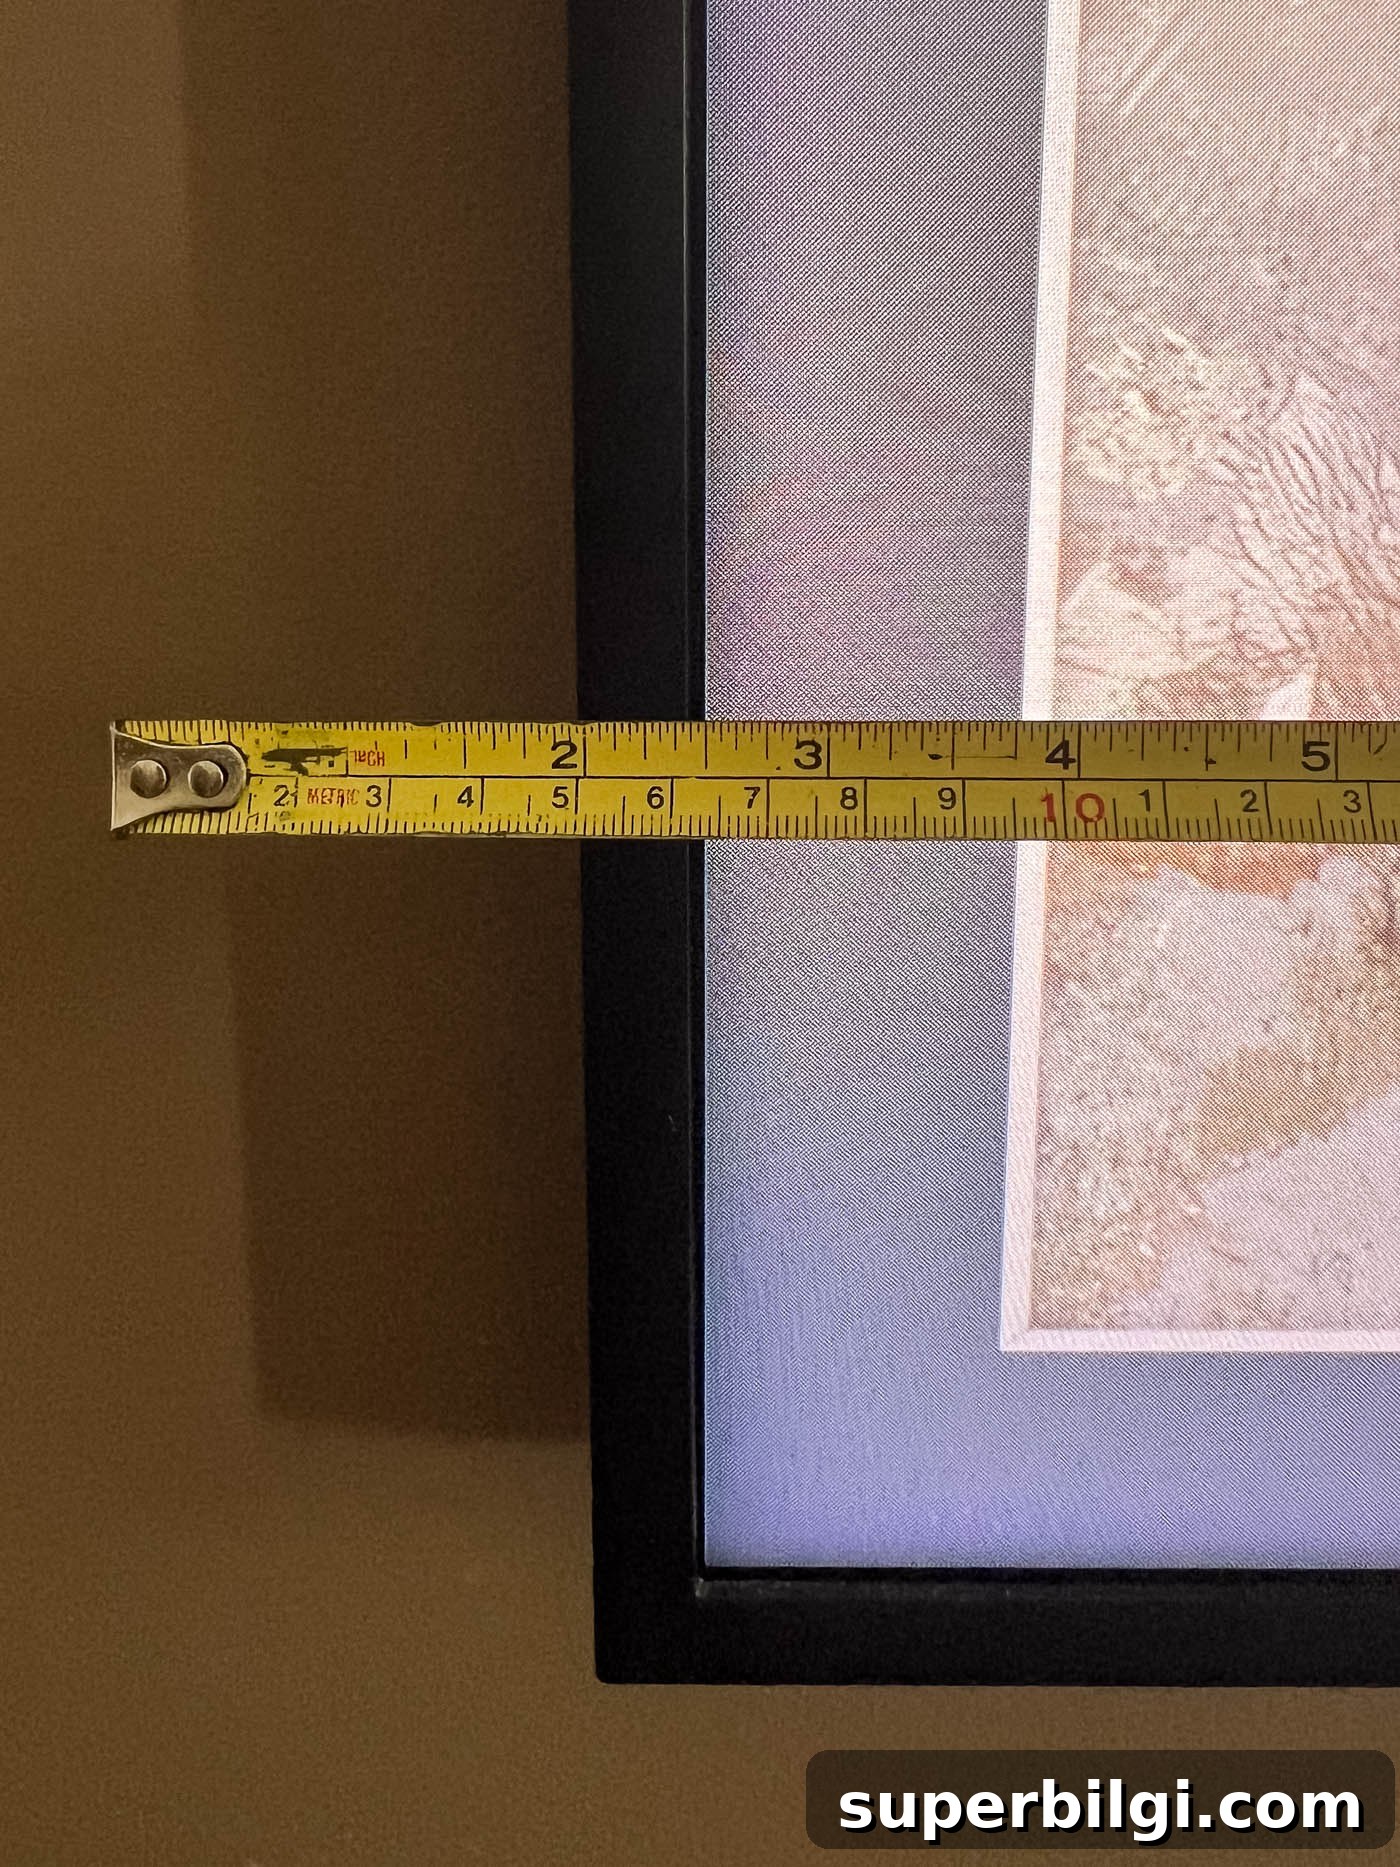
Measure the Inside TV Frame for Your Decorative Trim
Use the visible trim around your TV screen as a guide when sizing decorative trim. Cut the trim pieces with 45-degree corners and check parallel pieces side-by-side to ensure equal lengths before assembly.
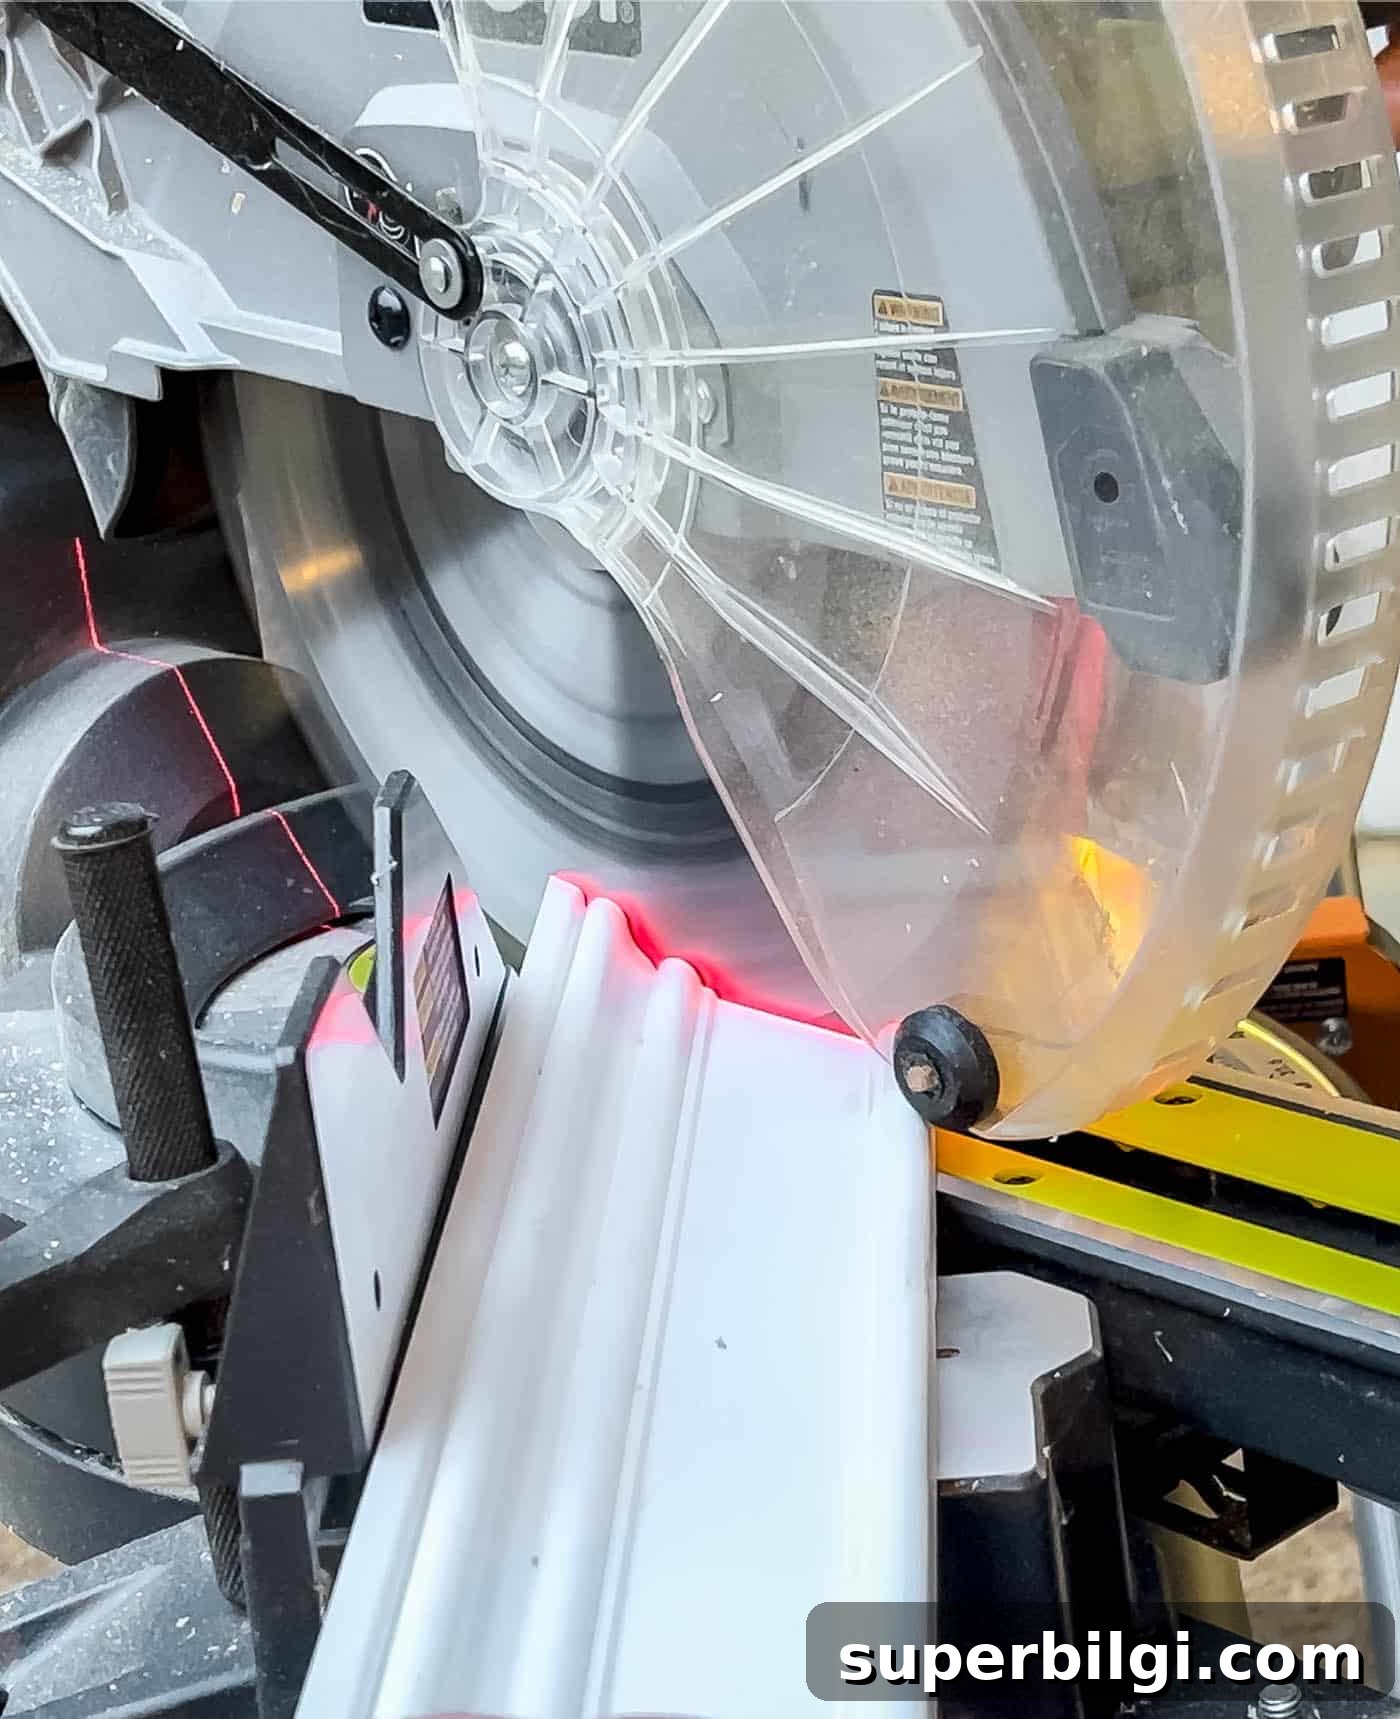
Glue and brad nail the trim corners to form the decorative rectangle. Assemble on a level surface for best results and allow glue to fully cure before reinforcing corners with nails.
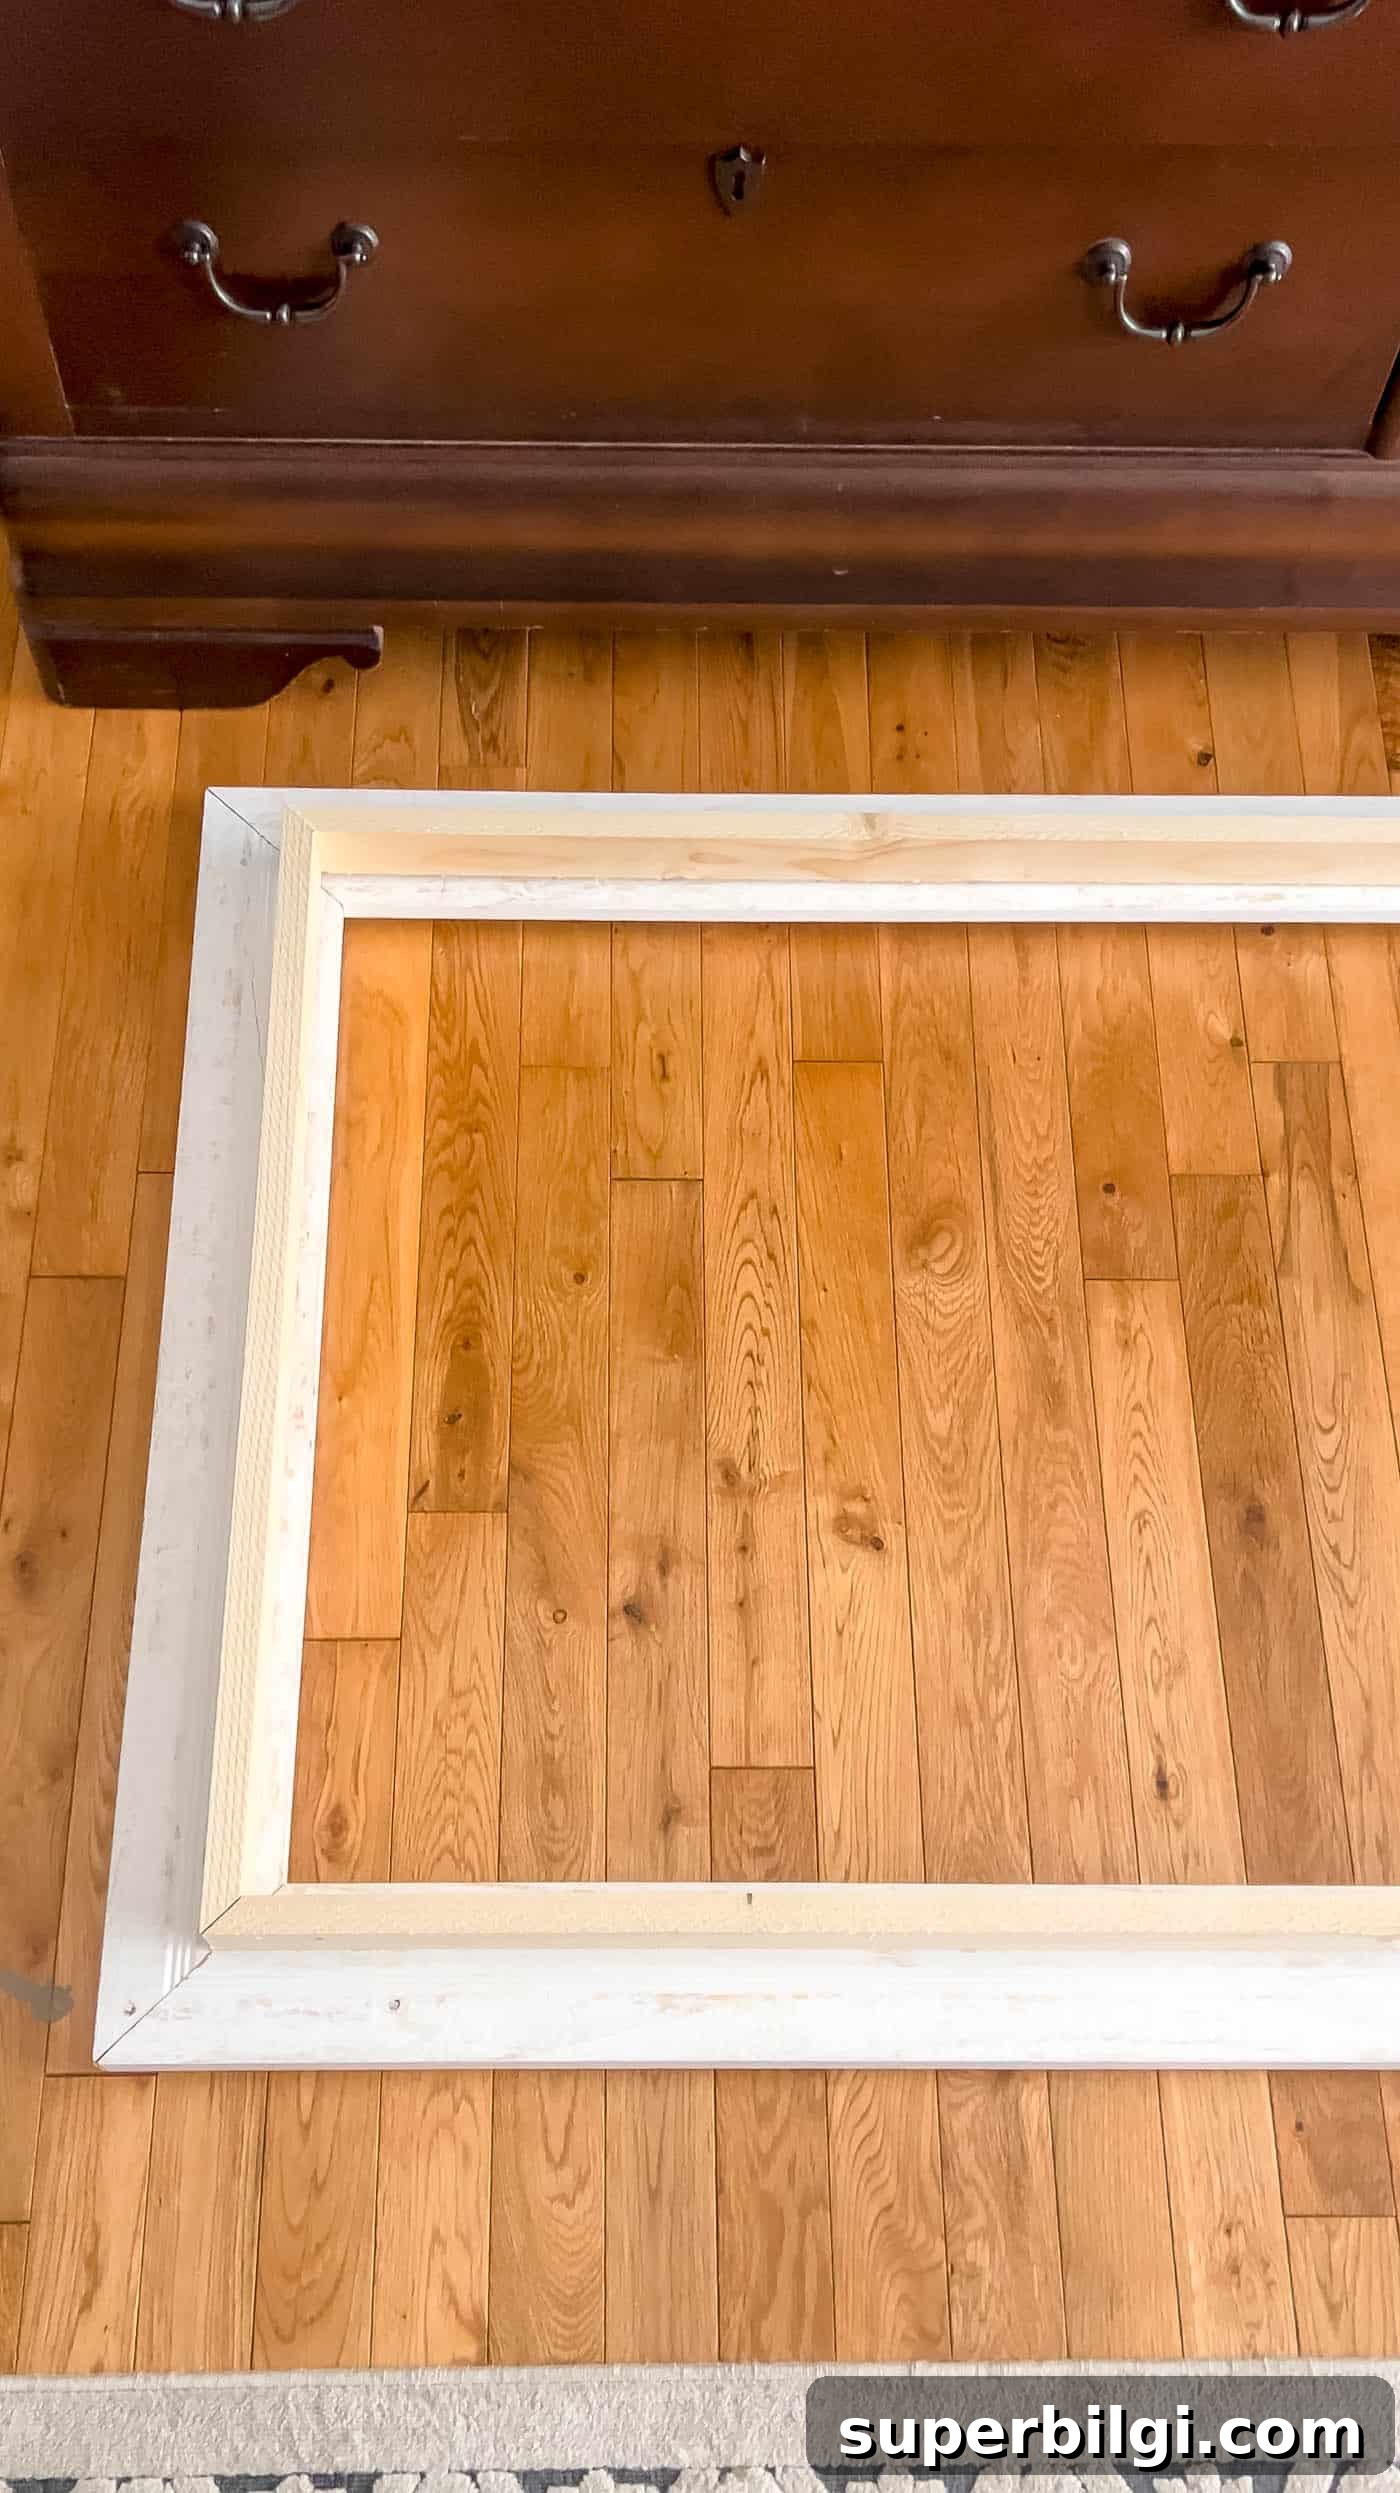
Step 4. Attach the Base Frame to the Decorative Frame
Apply wood glue between the inner 1×2 base frame and the decorative front frame, clamping them with about a 1/2-inch lip at the back edge so the frame seats around the TV. After the glue dries, add 1½-inch brad nails through the decorative trim into the base frame for added strength.
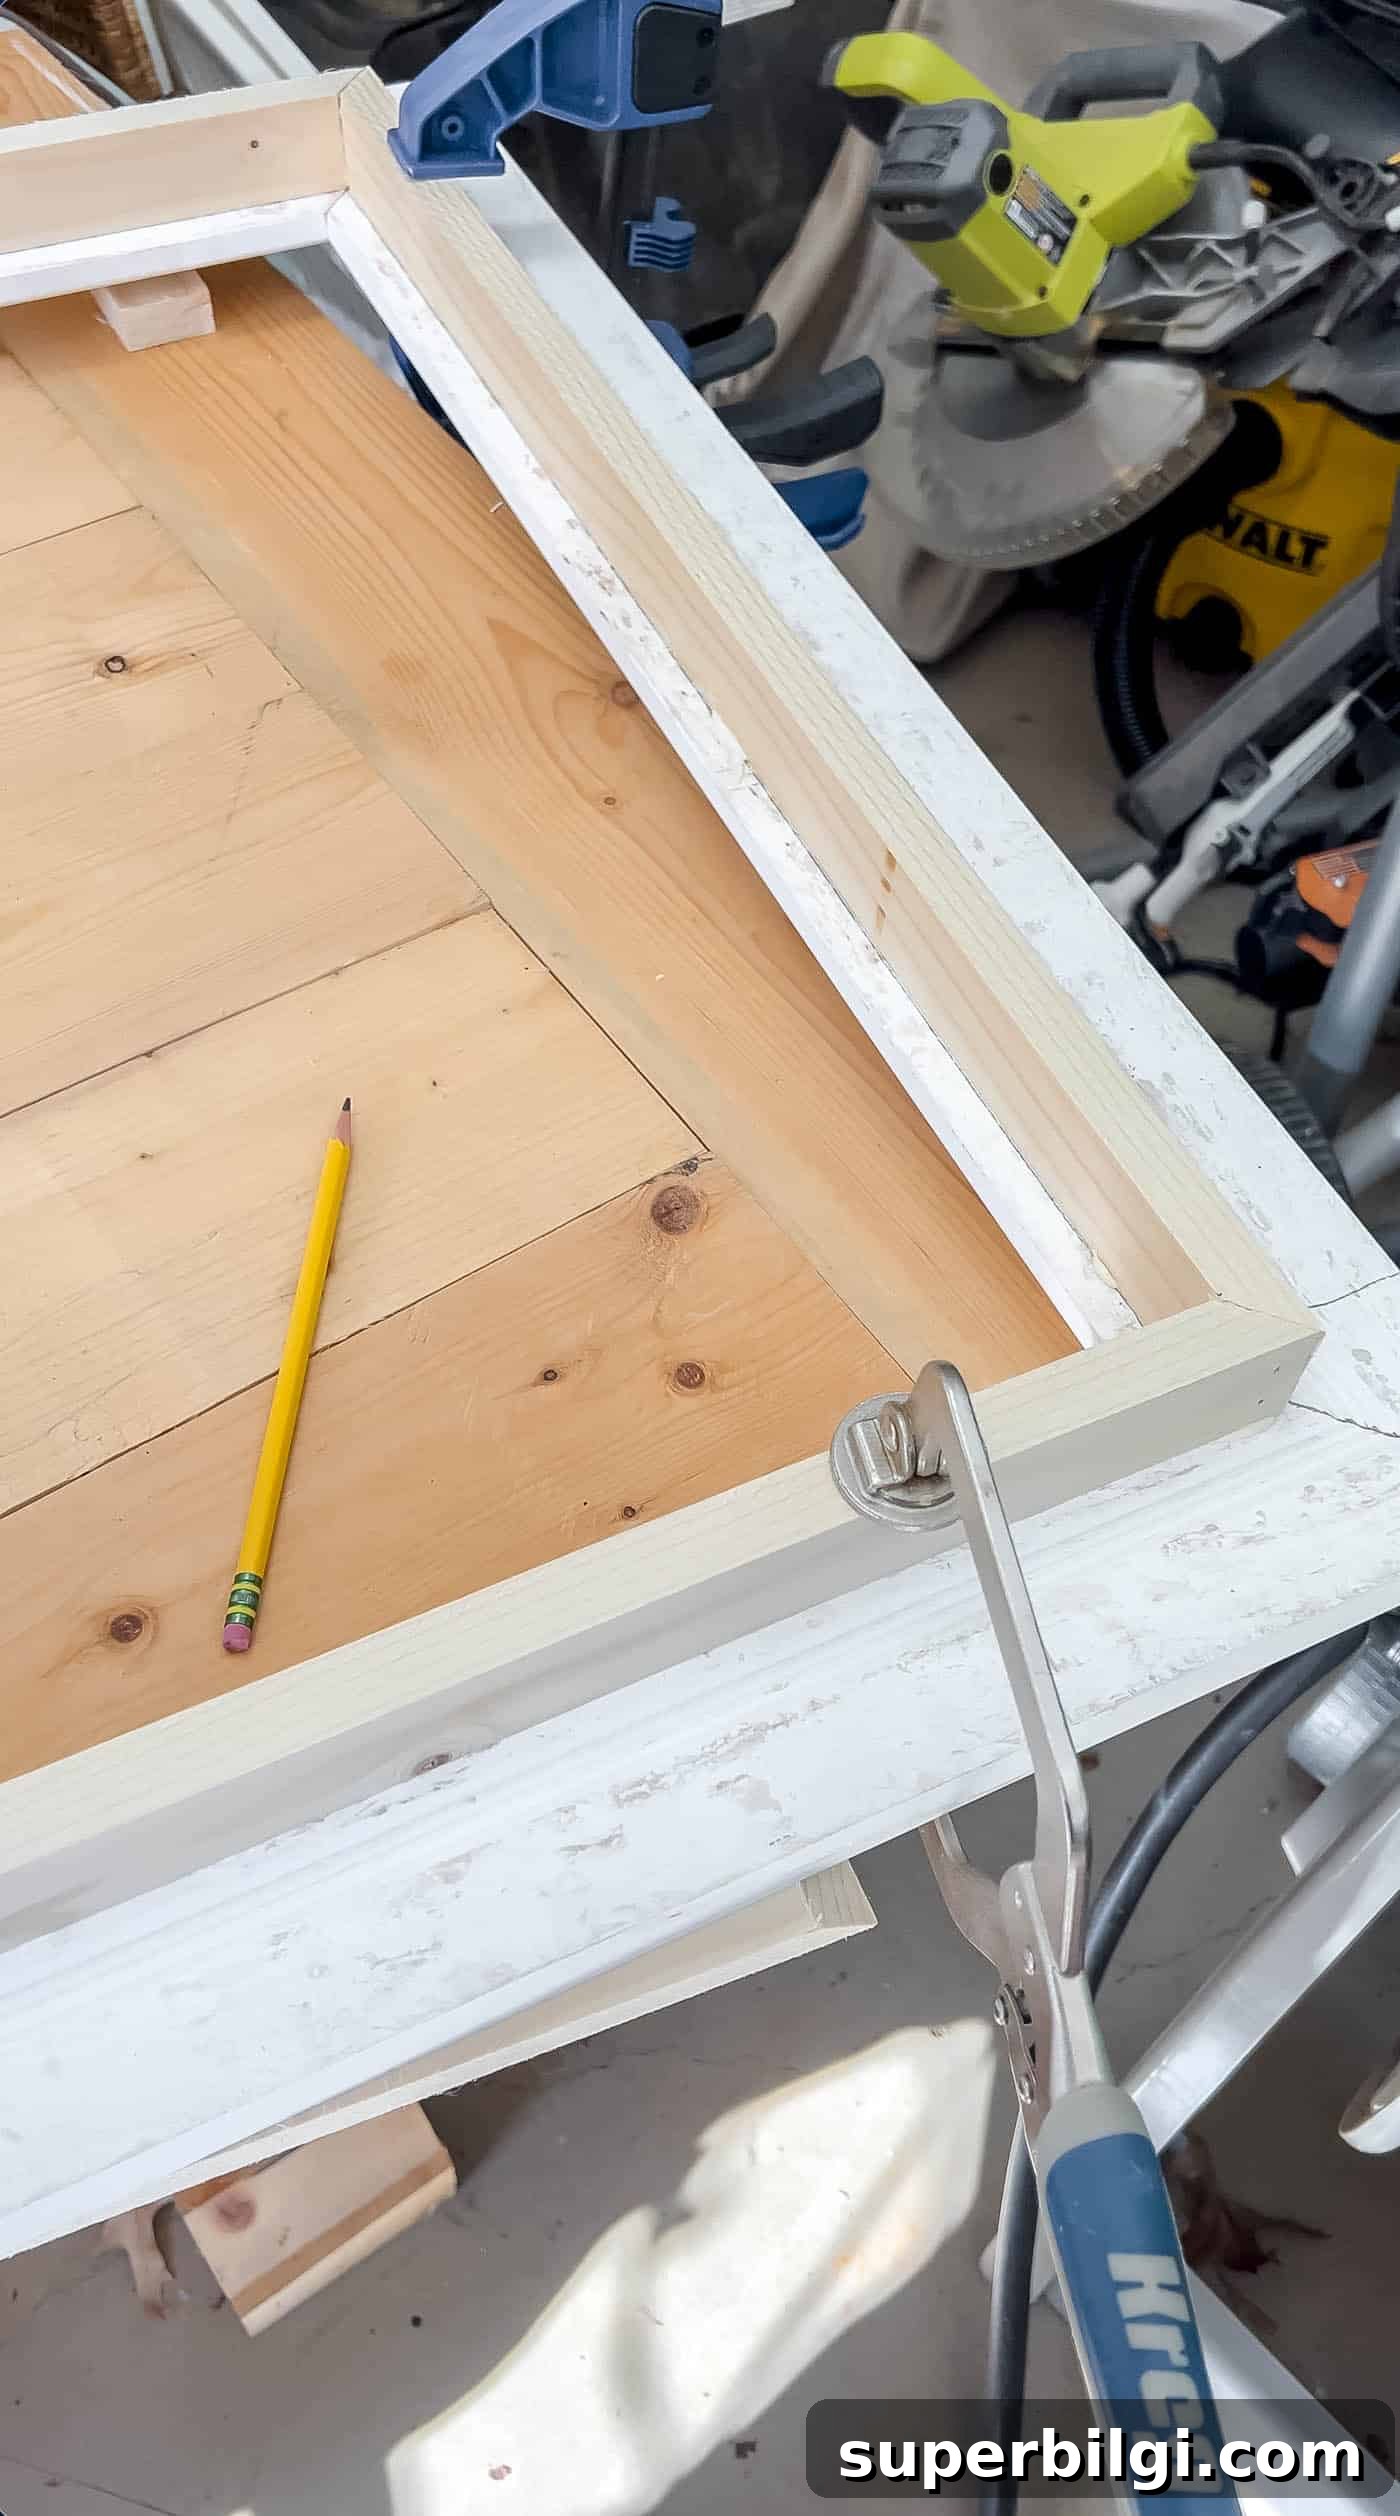
Step 5. Build the Outside Frame Base
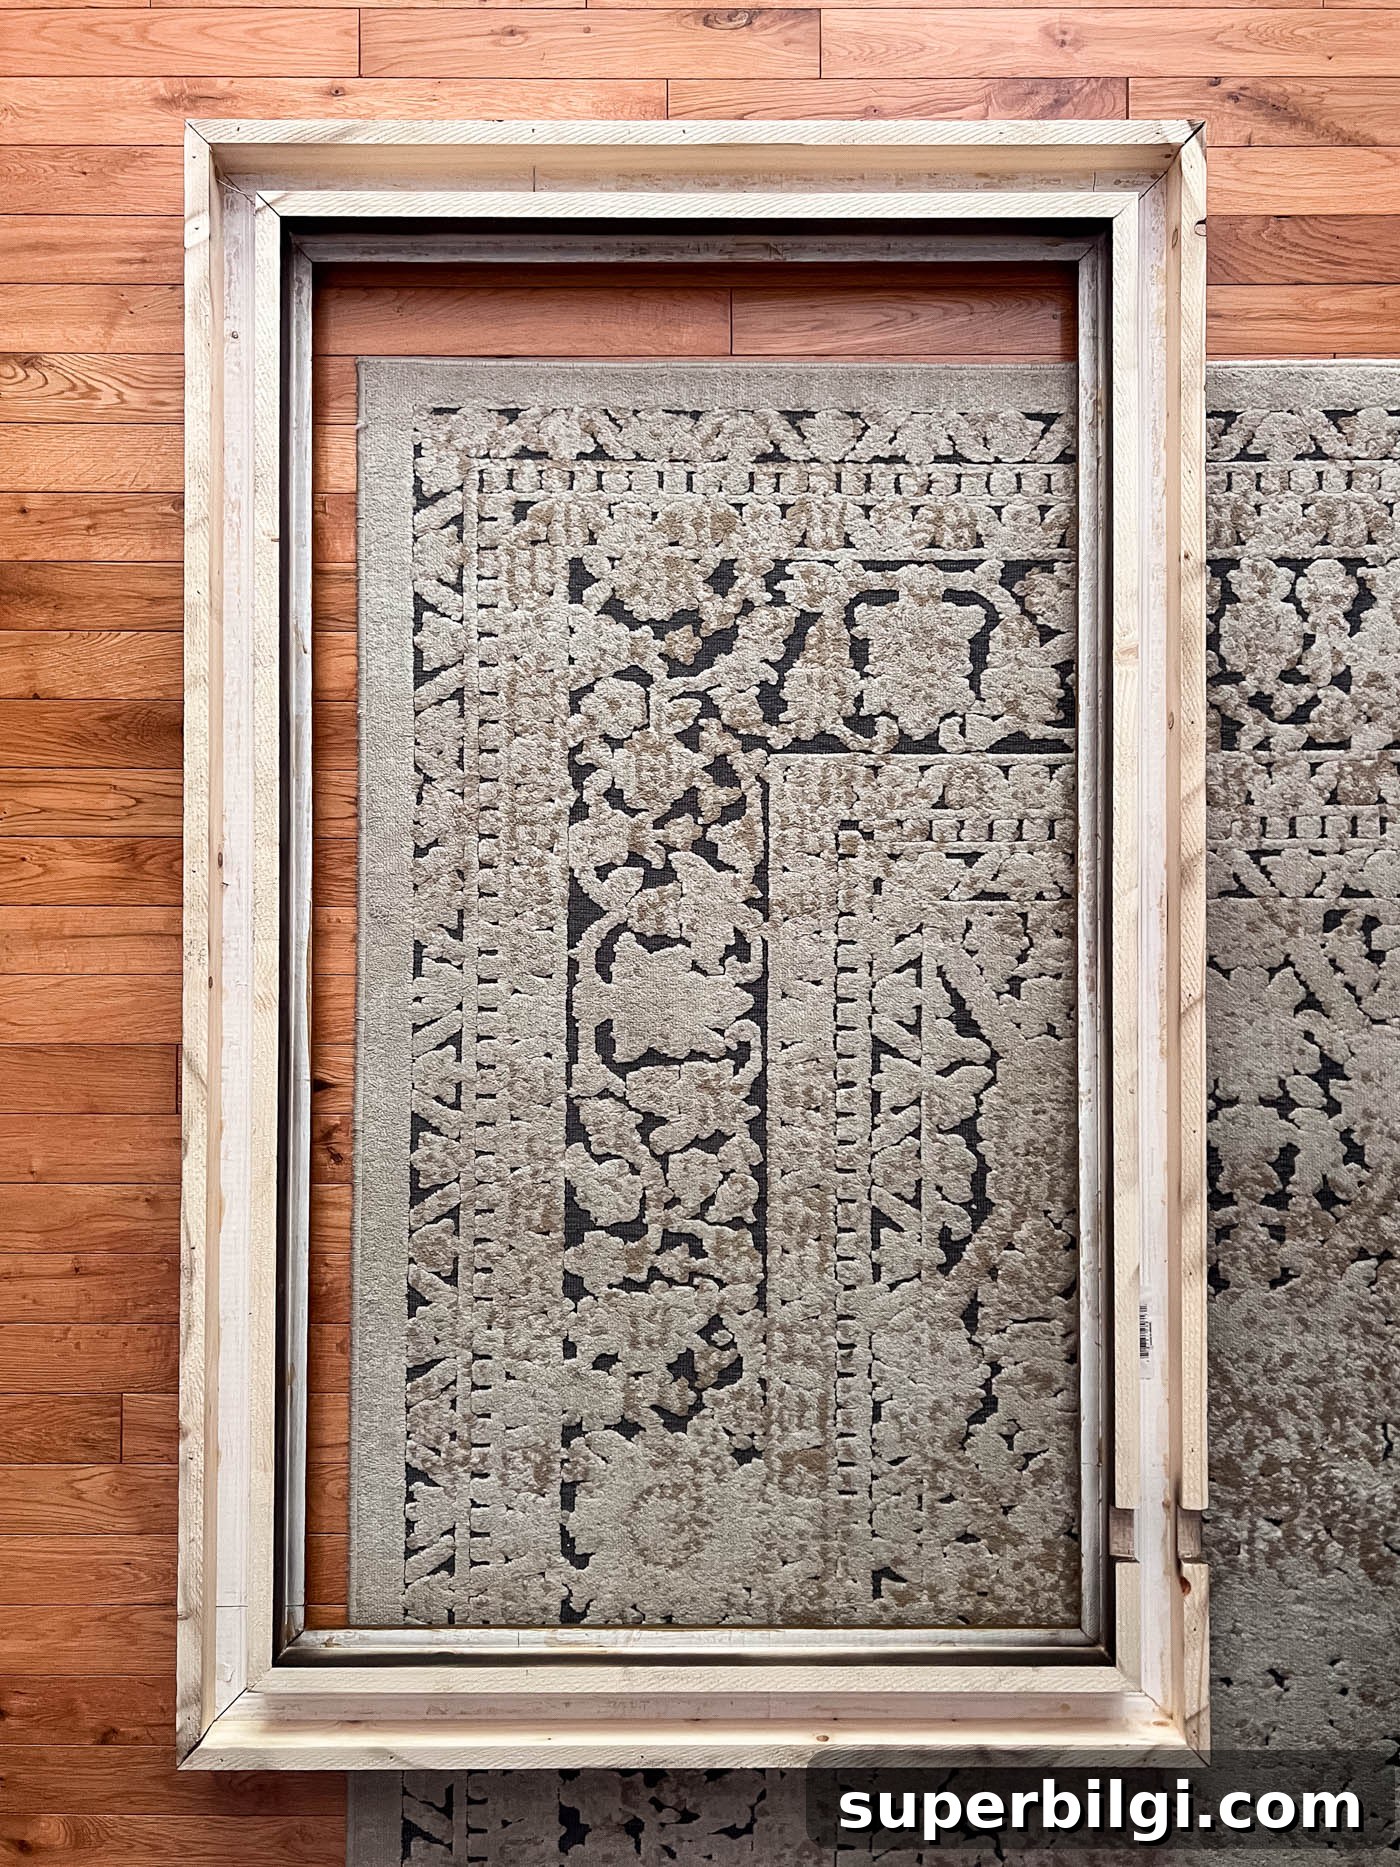
Measure the outside dimensions of your decorative trim frame and cut the remaining 1×2 boards to build the outer base frame. Glue and clamp the mitered corners, then reinforce with brad nails. Add 2-inch brad nails from the back of this outer base through into the decorative frame to lock the layers together.
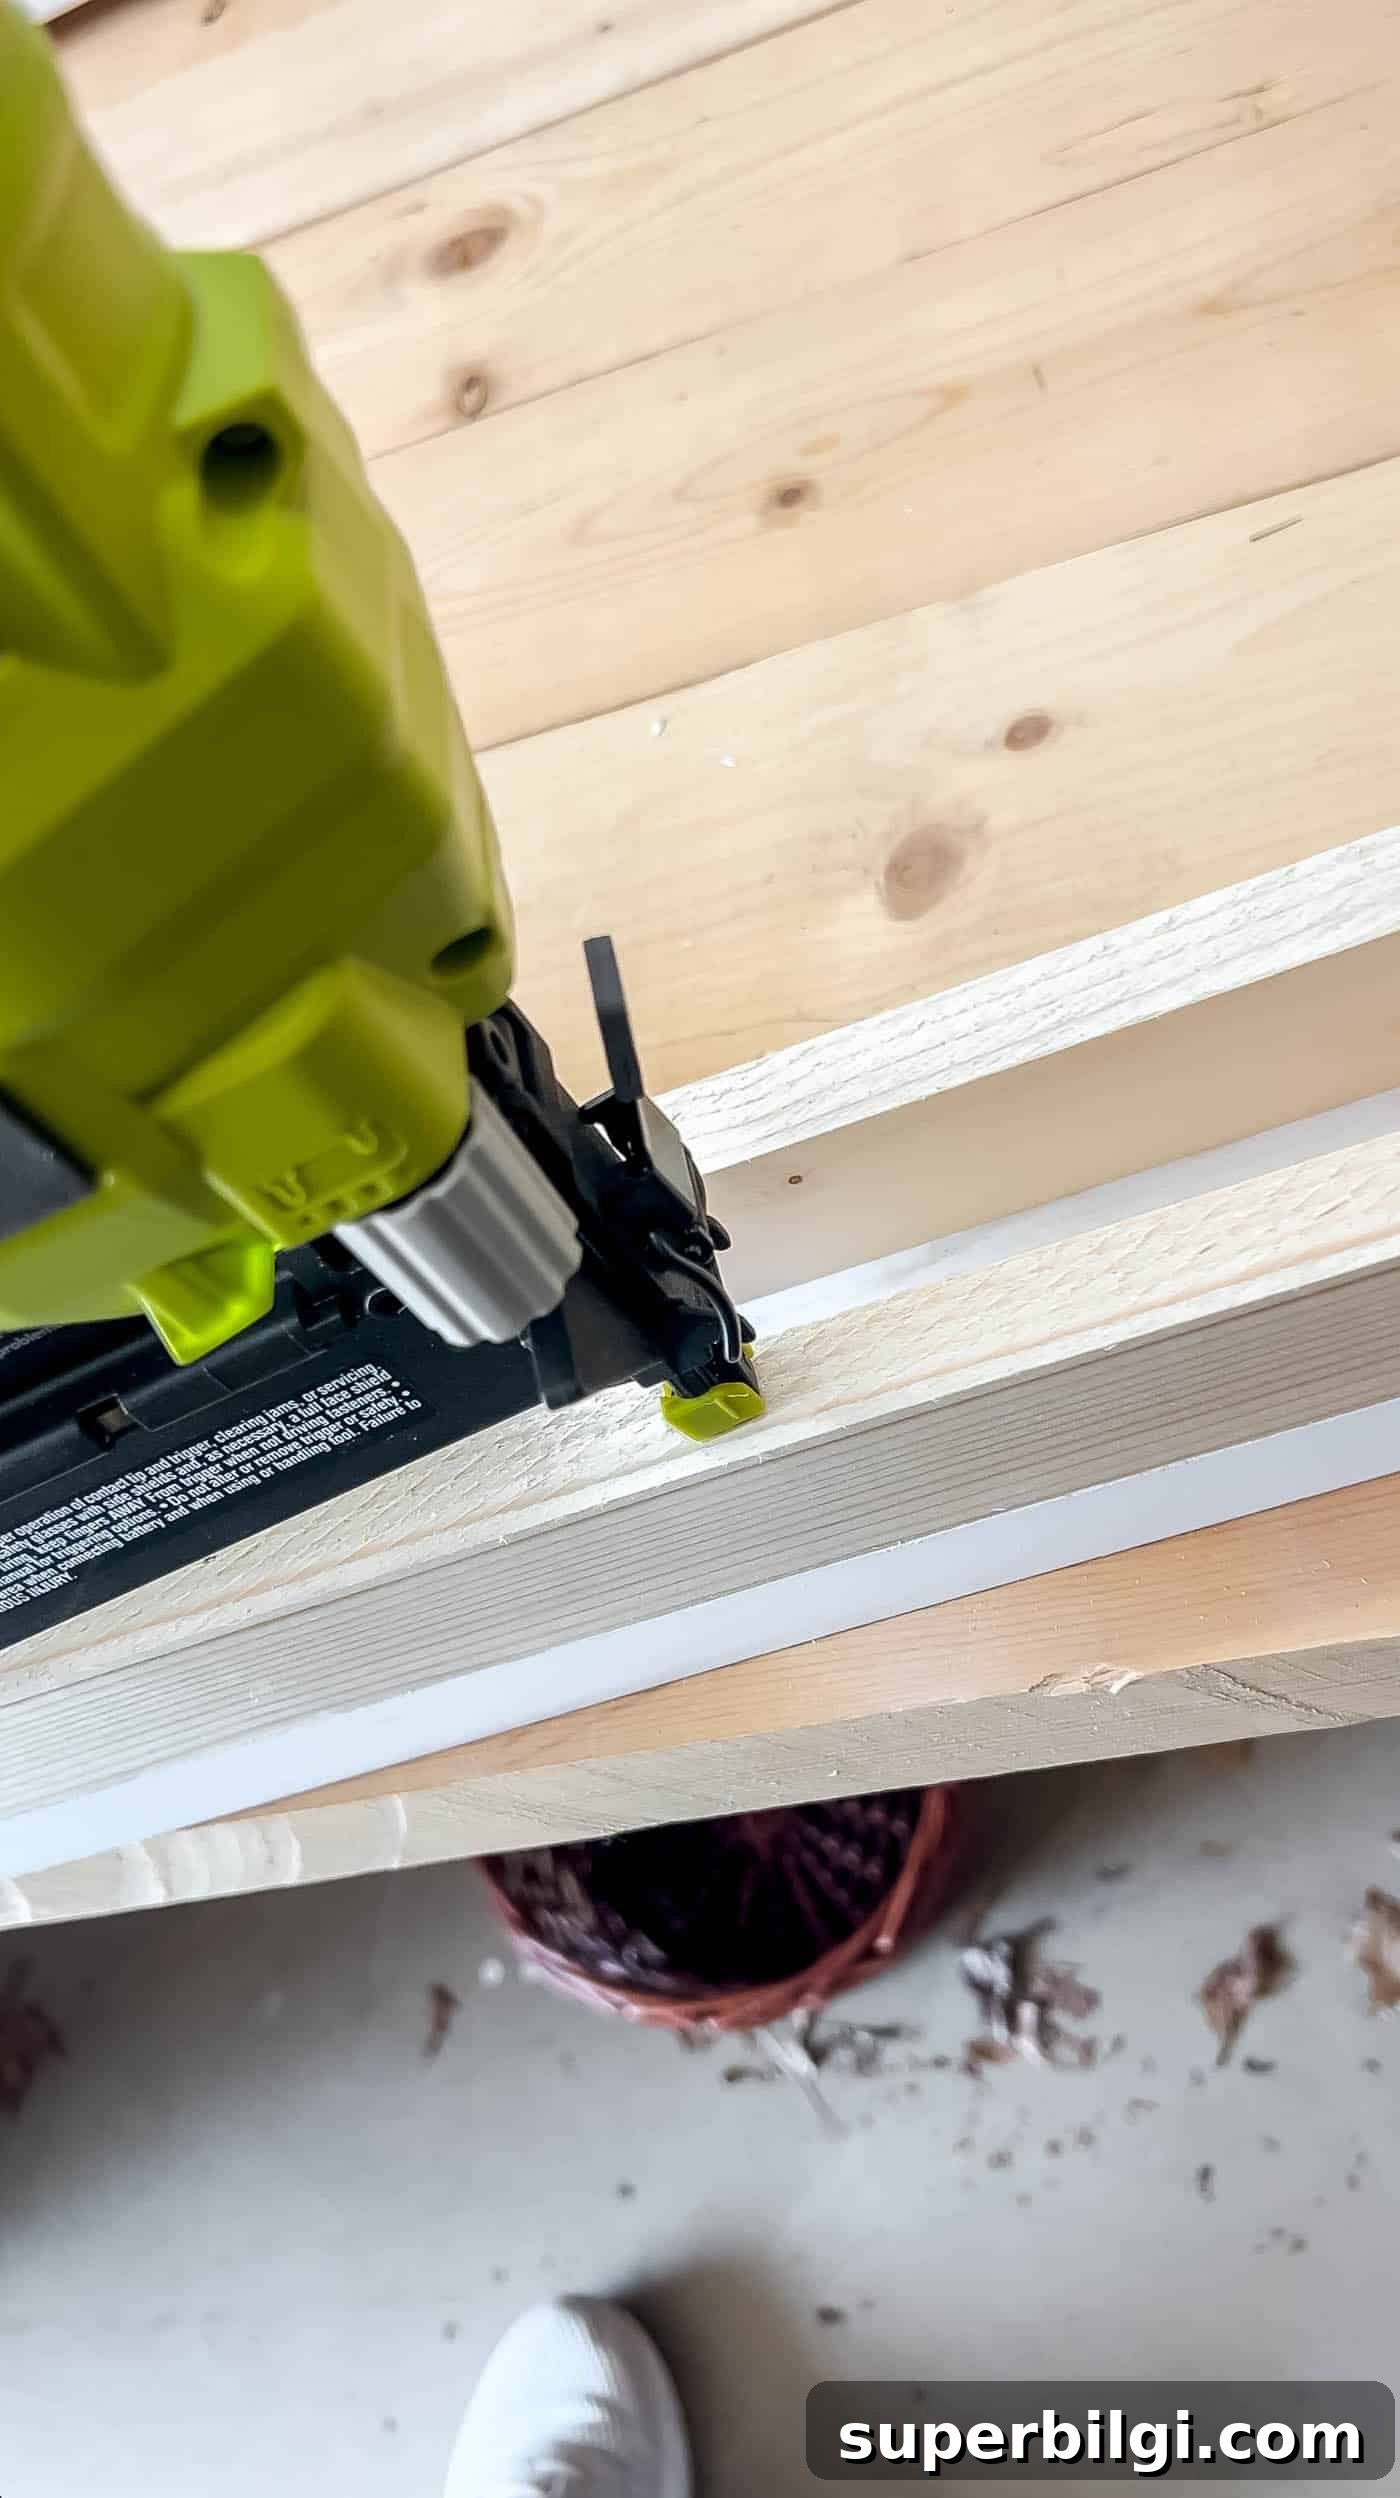
Test the assembled frame on the TV to confirm fit and that it slides on and off comfortably. The back of the completed structure shows how the layers nest together.
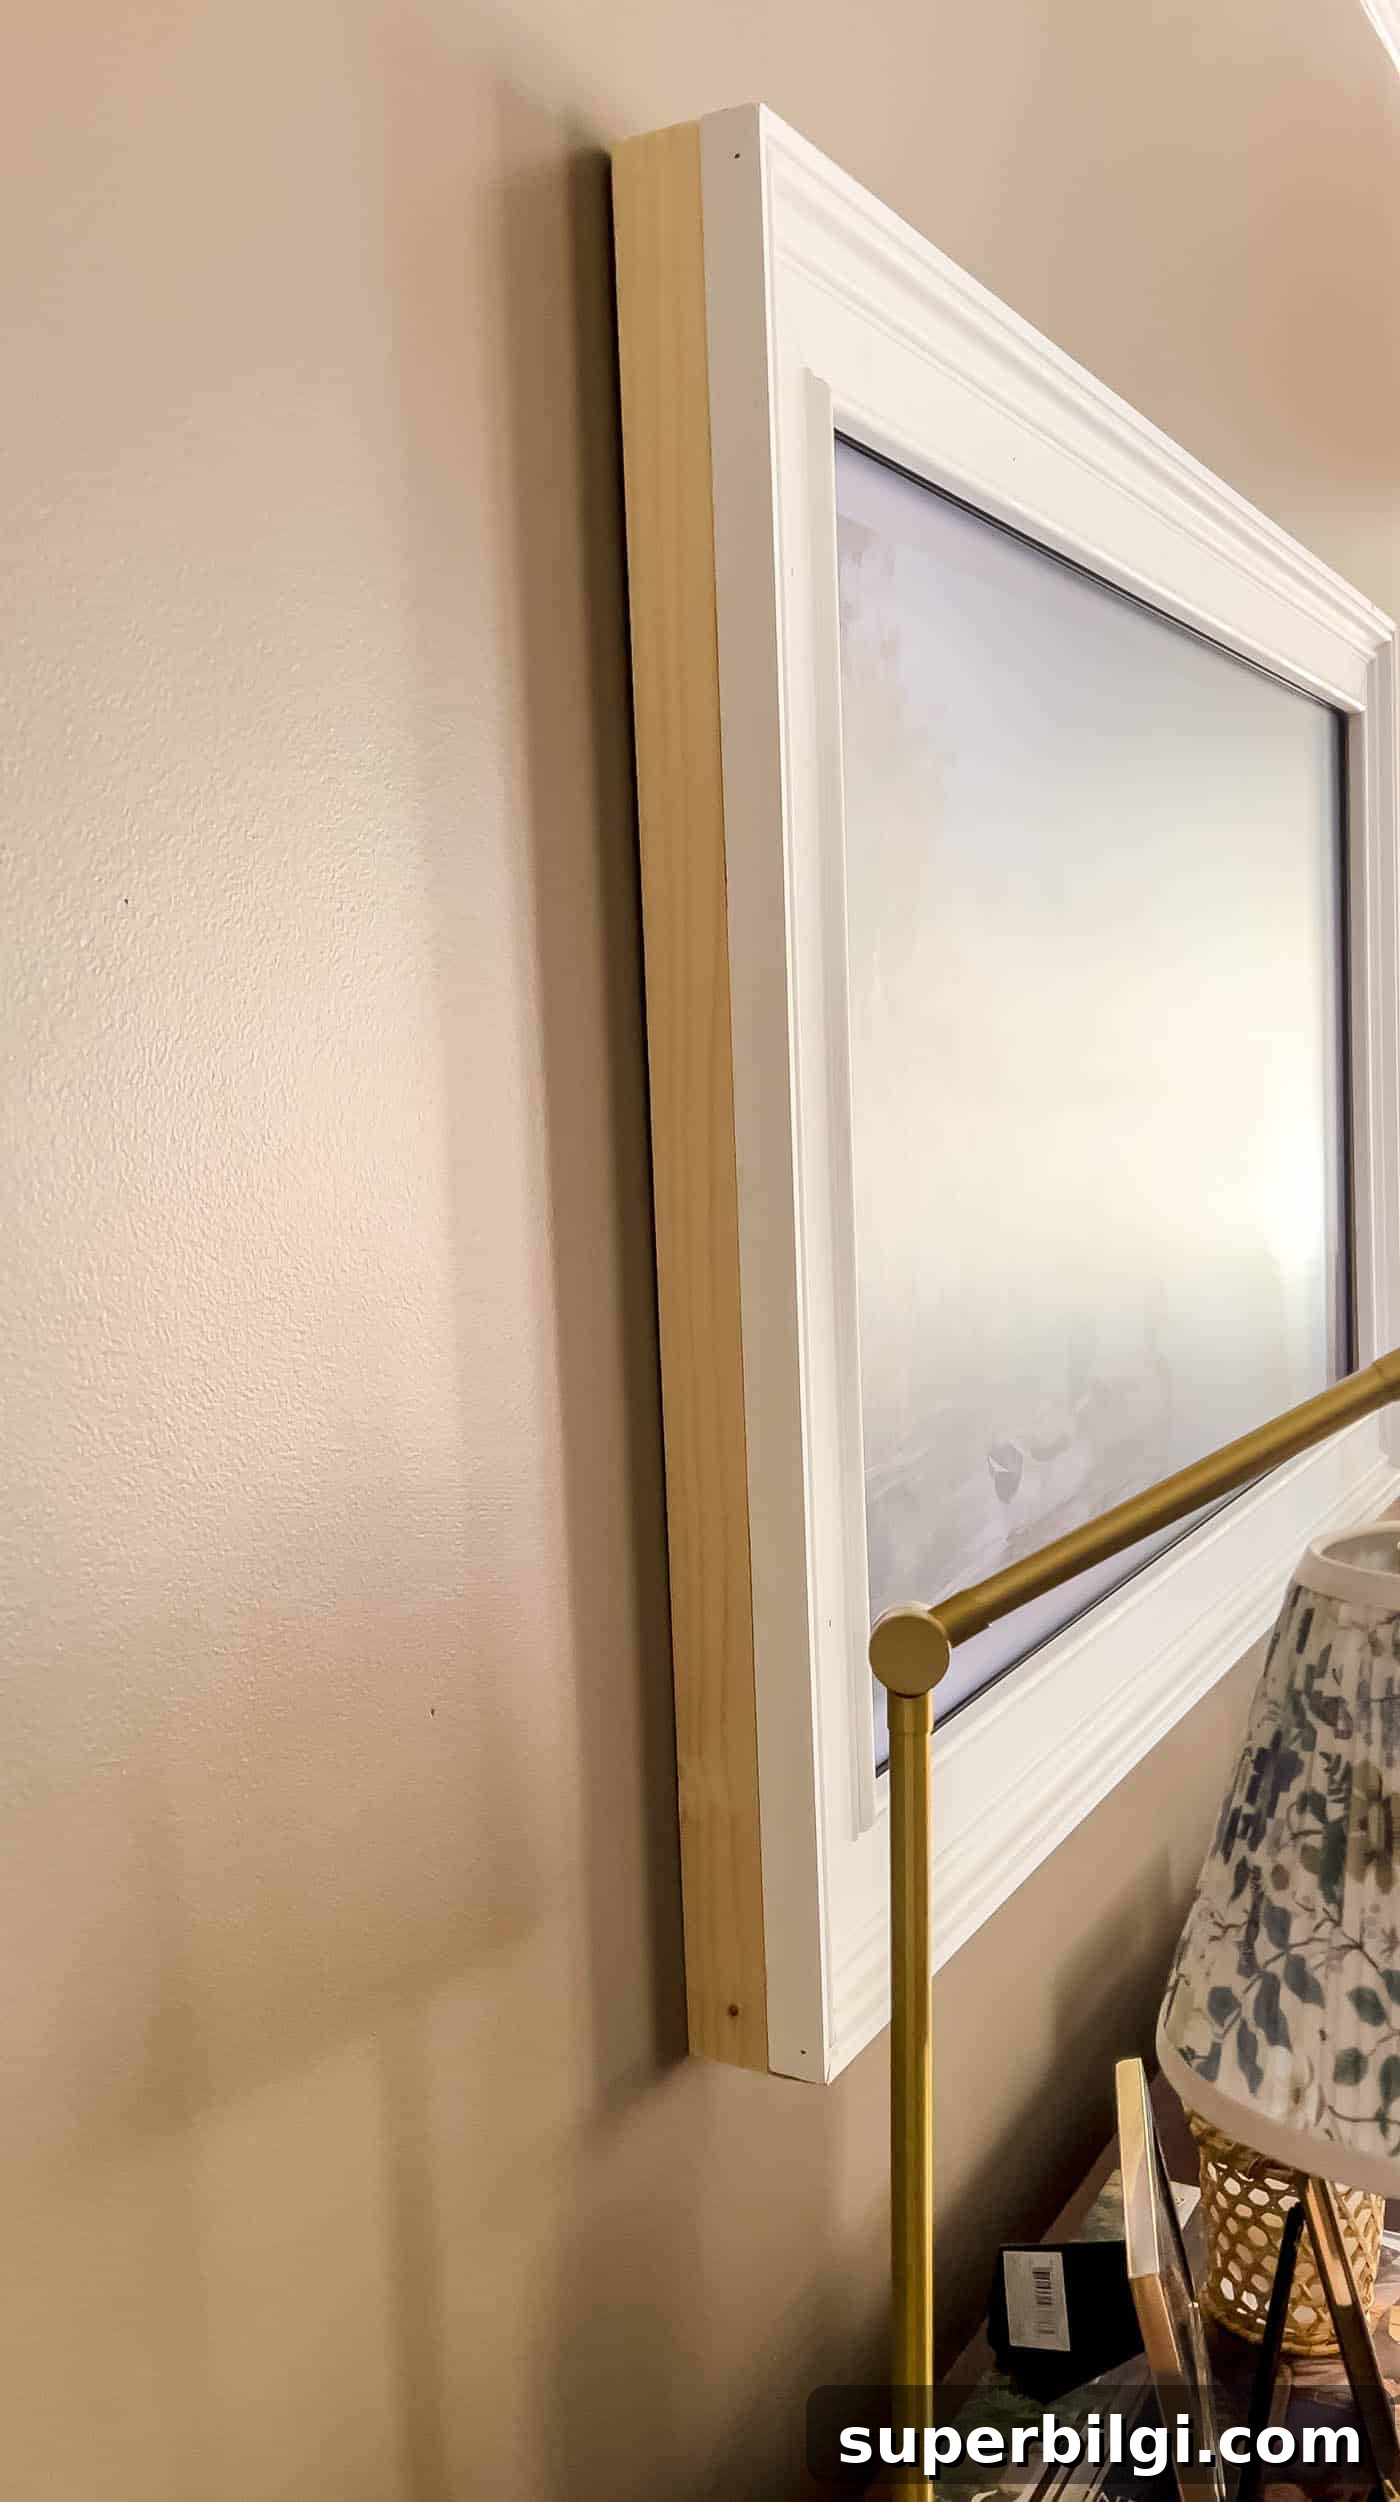
Step 6. Cut a Notch for the Sensor
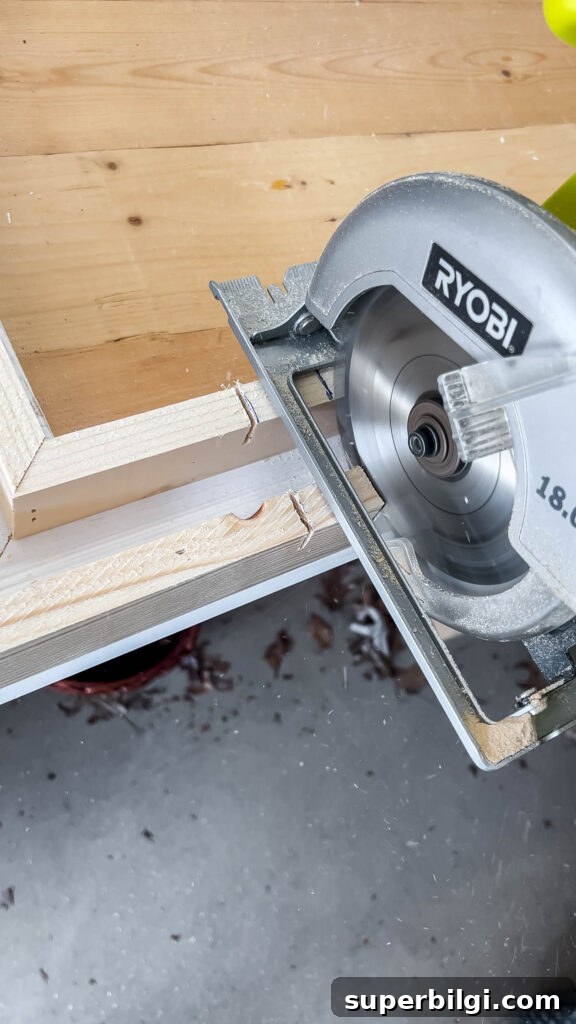
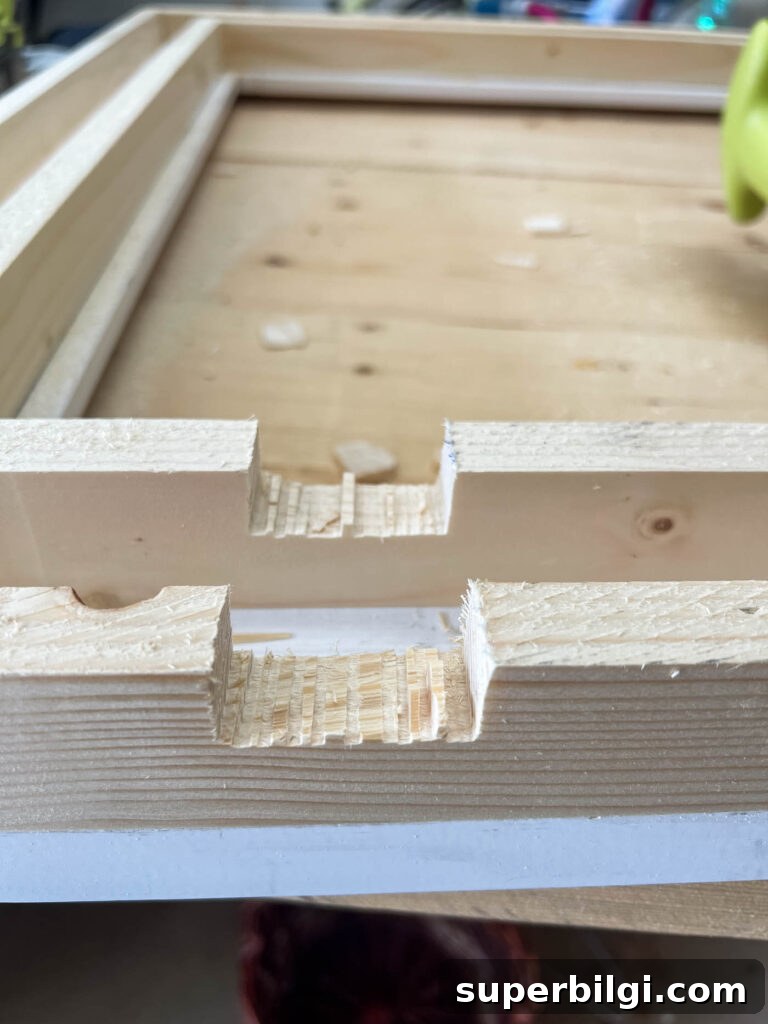
If your TV has a sensor near the bottom edge, mark where it meets the frame. Make small cuts with a circular saw in that area, remove the waste with a chisel, and sand smooth so the sensor remains unobstructed.
Step 7. Fill, Sand, and Prep
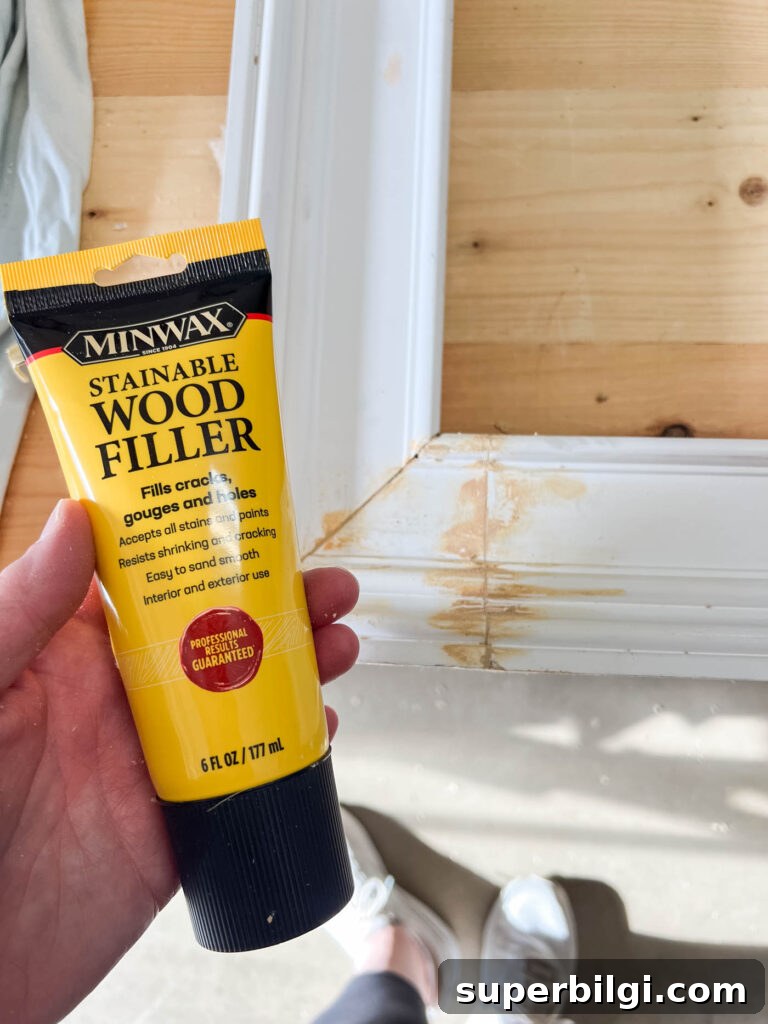
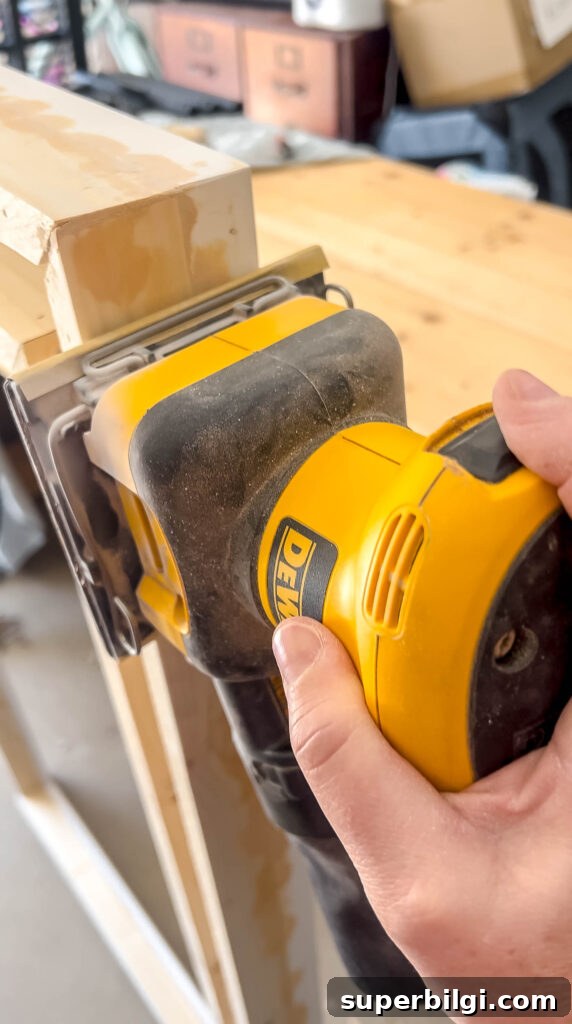
Fill nail holes, seams, or small gaps with wood filler. Sand flat with a hand sander for broad surfaces and hand sand detailed trim to preserve profiles. Wipe down with a tack cloth or damp rag to remove dust before painting.
Step 8. Paint or Stain
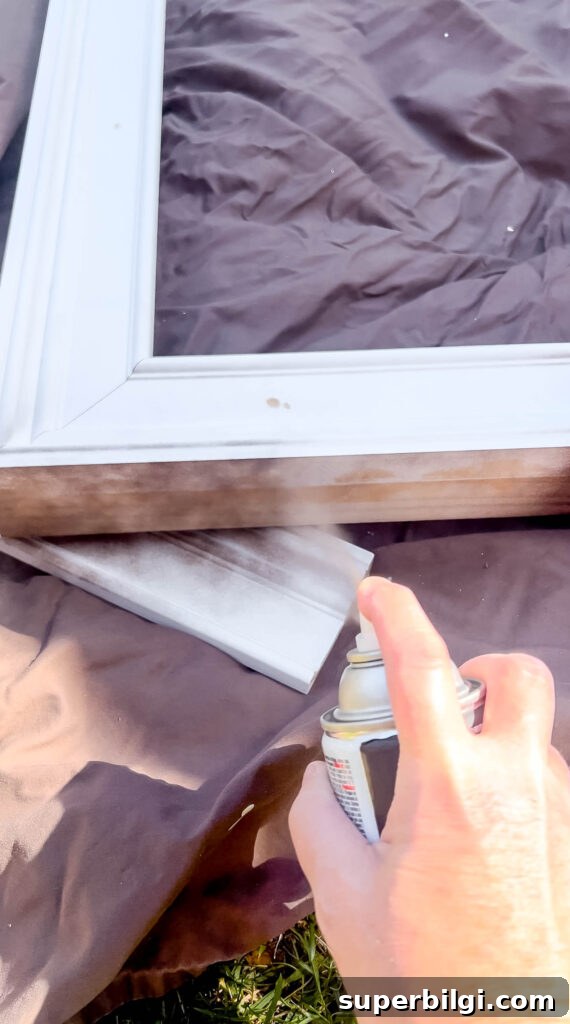
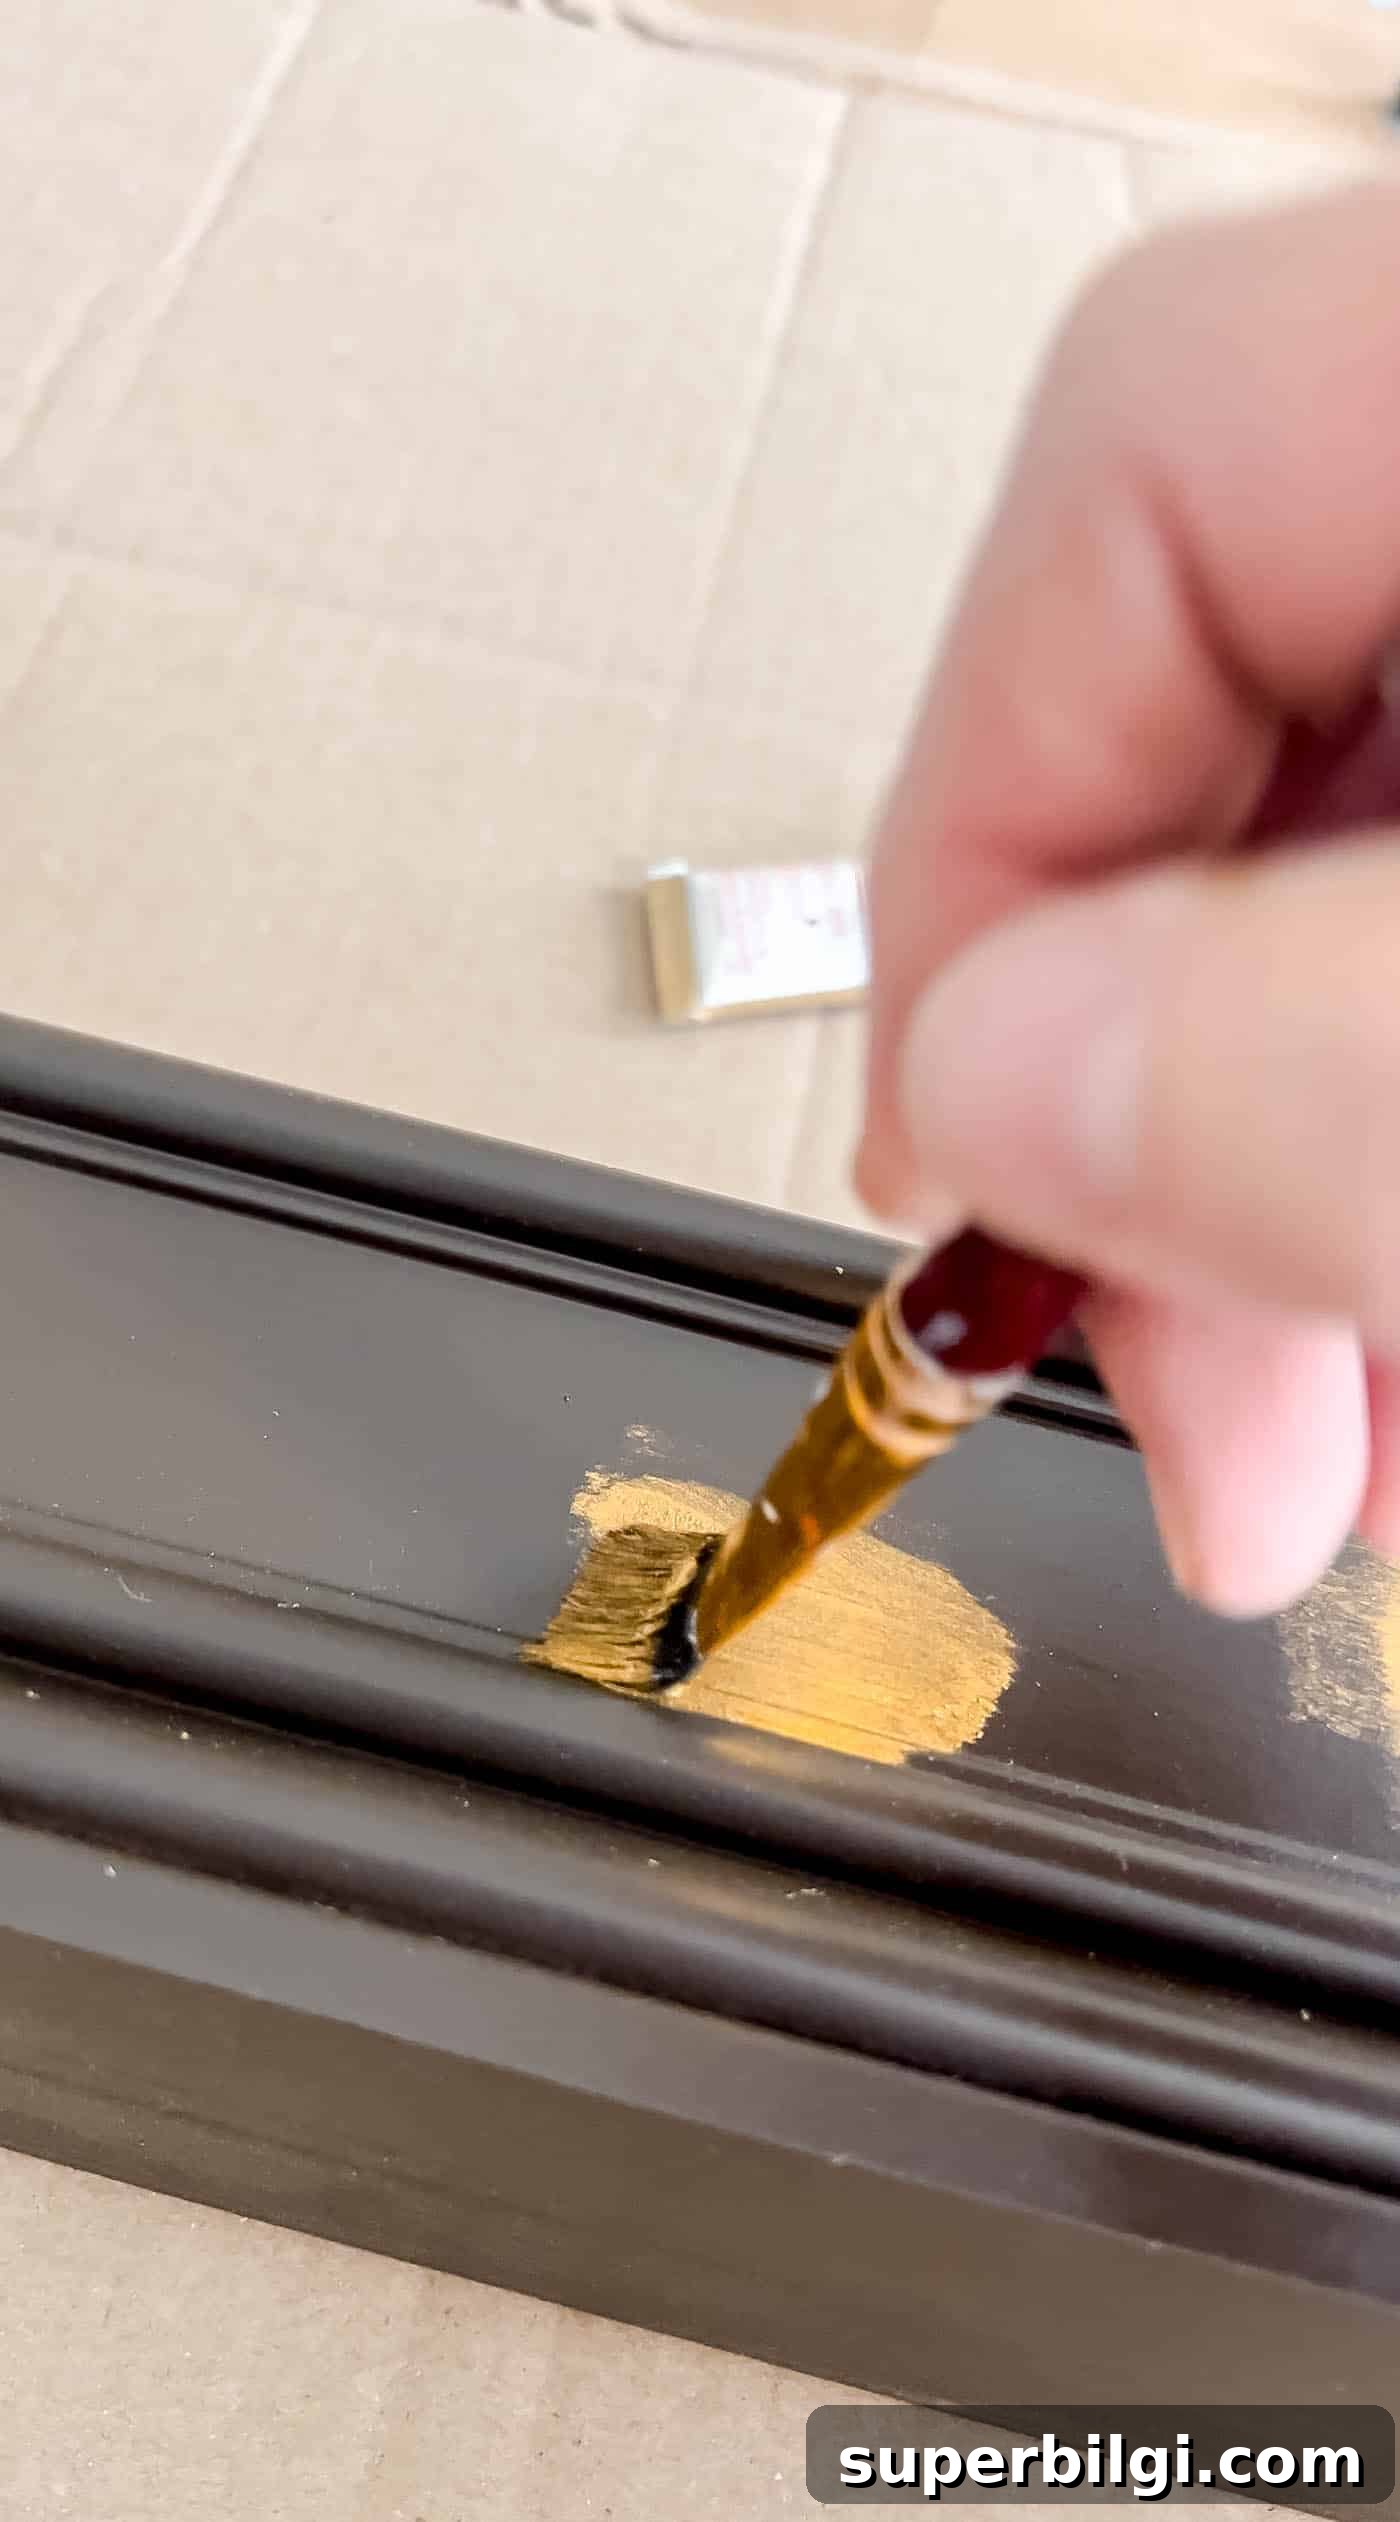
Choose paint or stain to match your room’s style. I sprayed a deep matte brown as a base to add depth beneath the metallic finish, then applied Rub ’n Buff in Grecian Gold with a small brush for an antique metallic look. Start light and build up the metallic gently—less is more.

Step 9. Attach the Frame to the TV
If your measurements are correct, the finished frame will slide onto the TV and rest snugly. It should stay in place by gravity, but if you want extra reassurance use removable mounting strips behind the frame. The frame is now a refined, intentional element that makes the TV read as artwork.
How to Style Your Frame TV
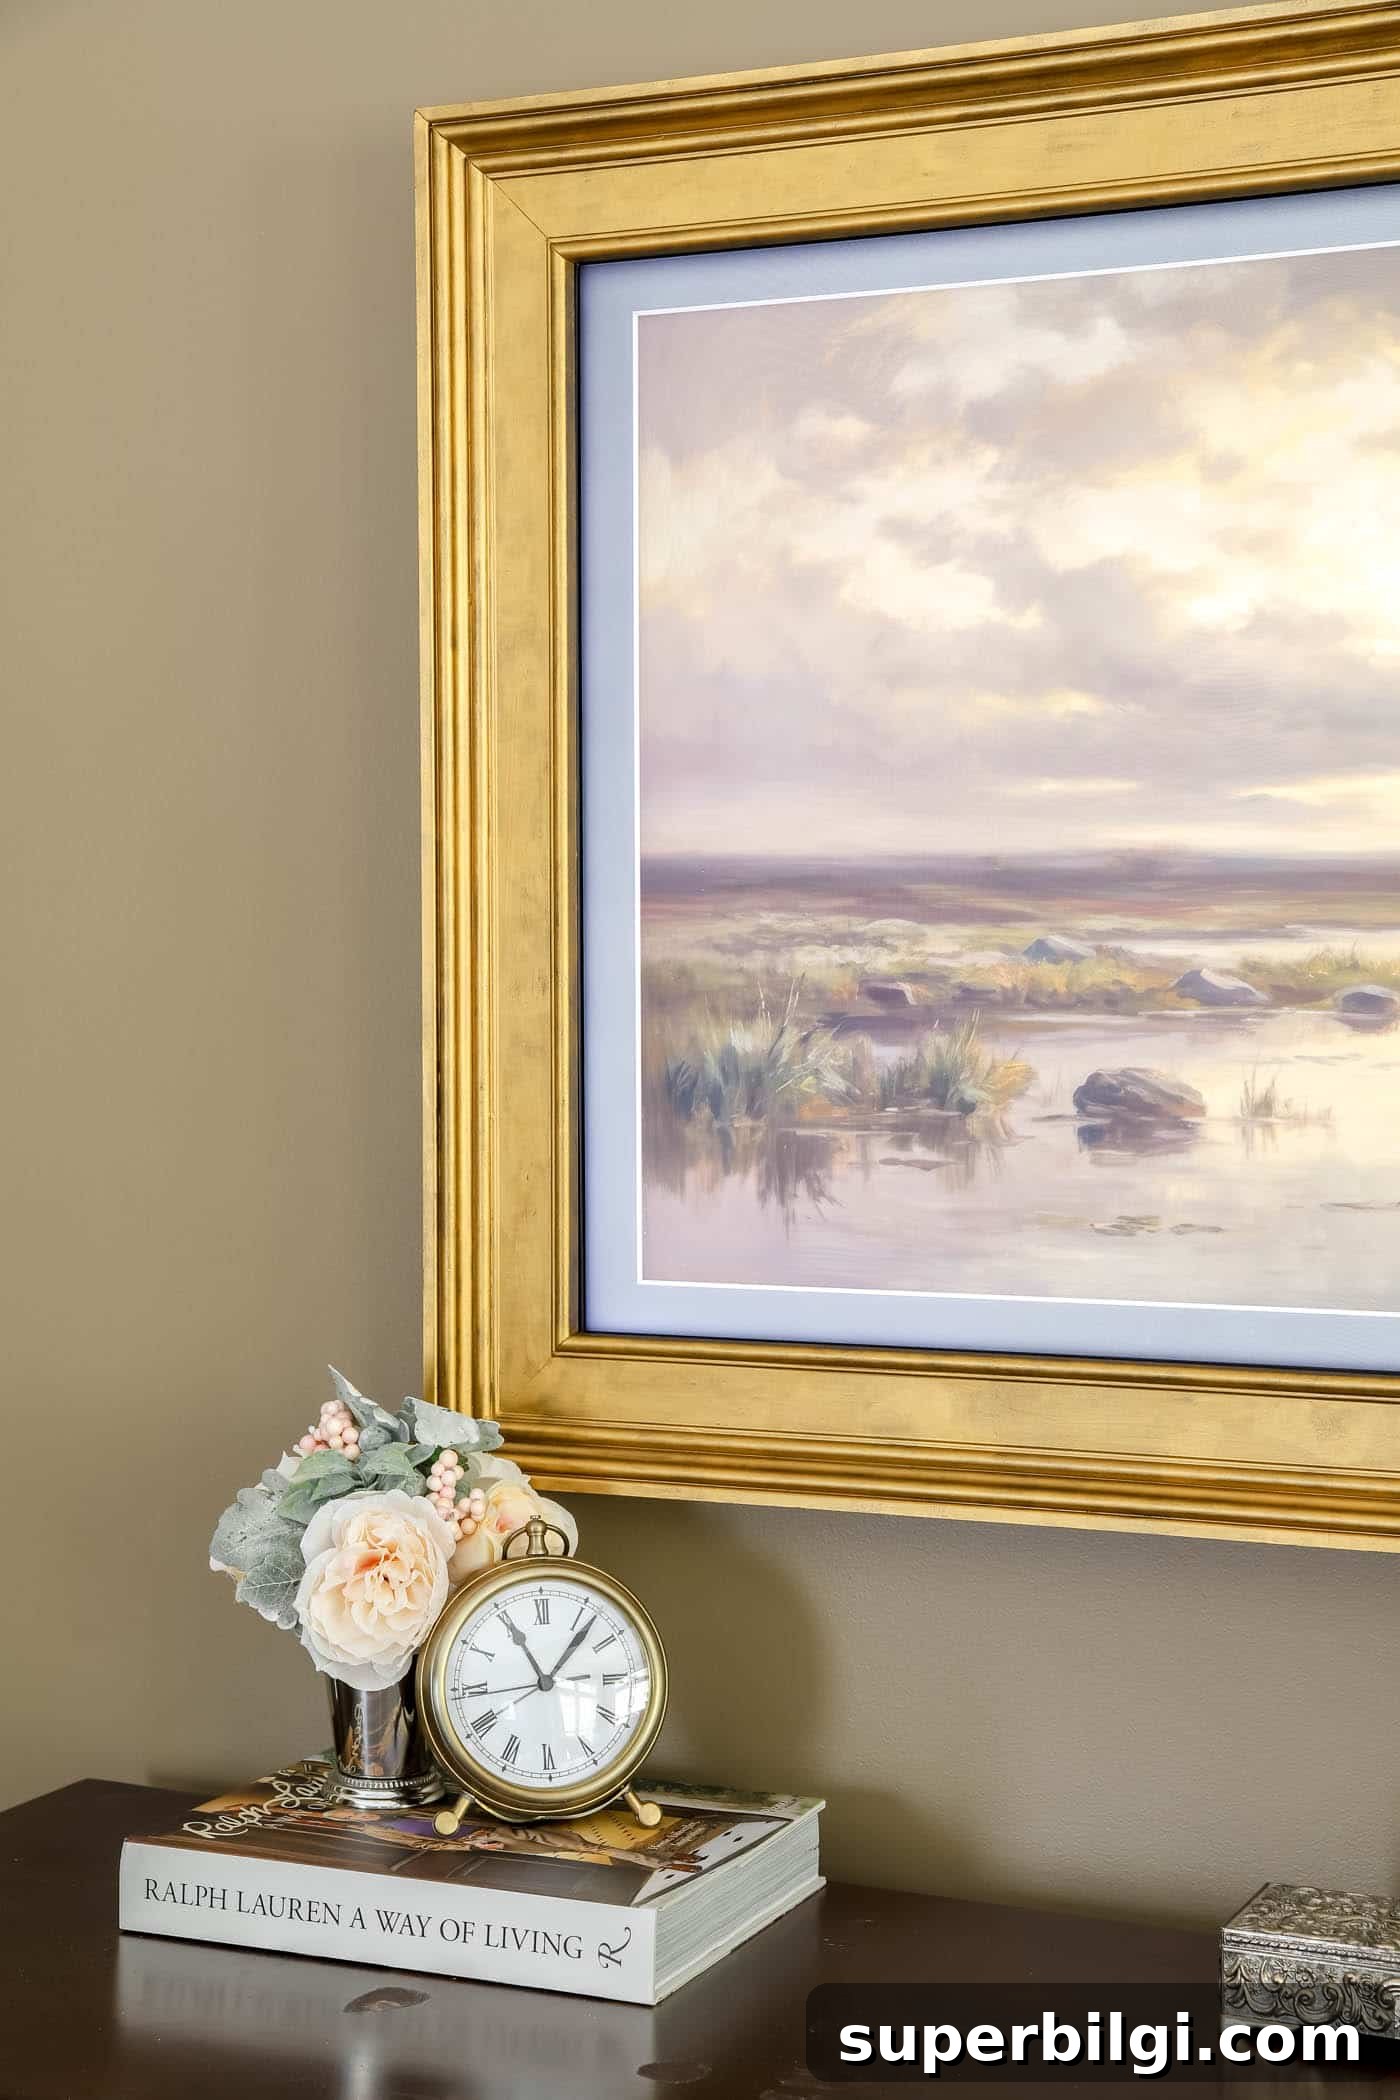
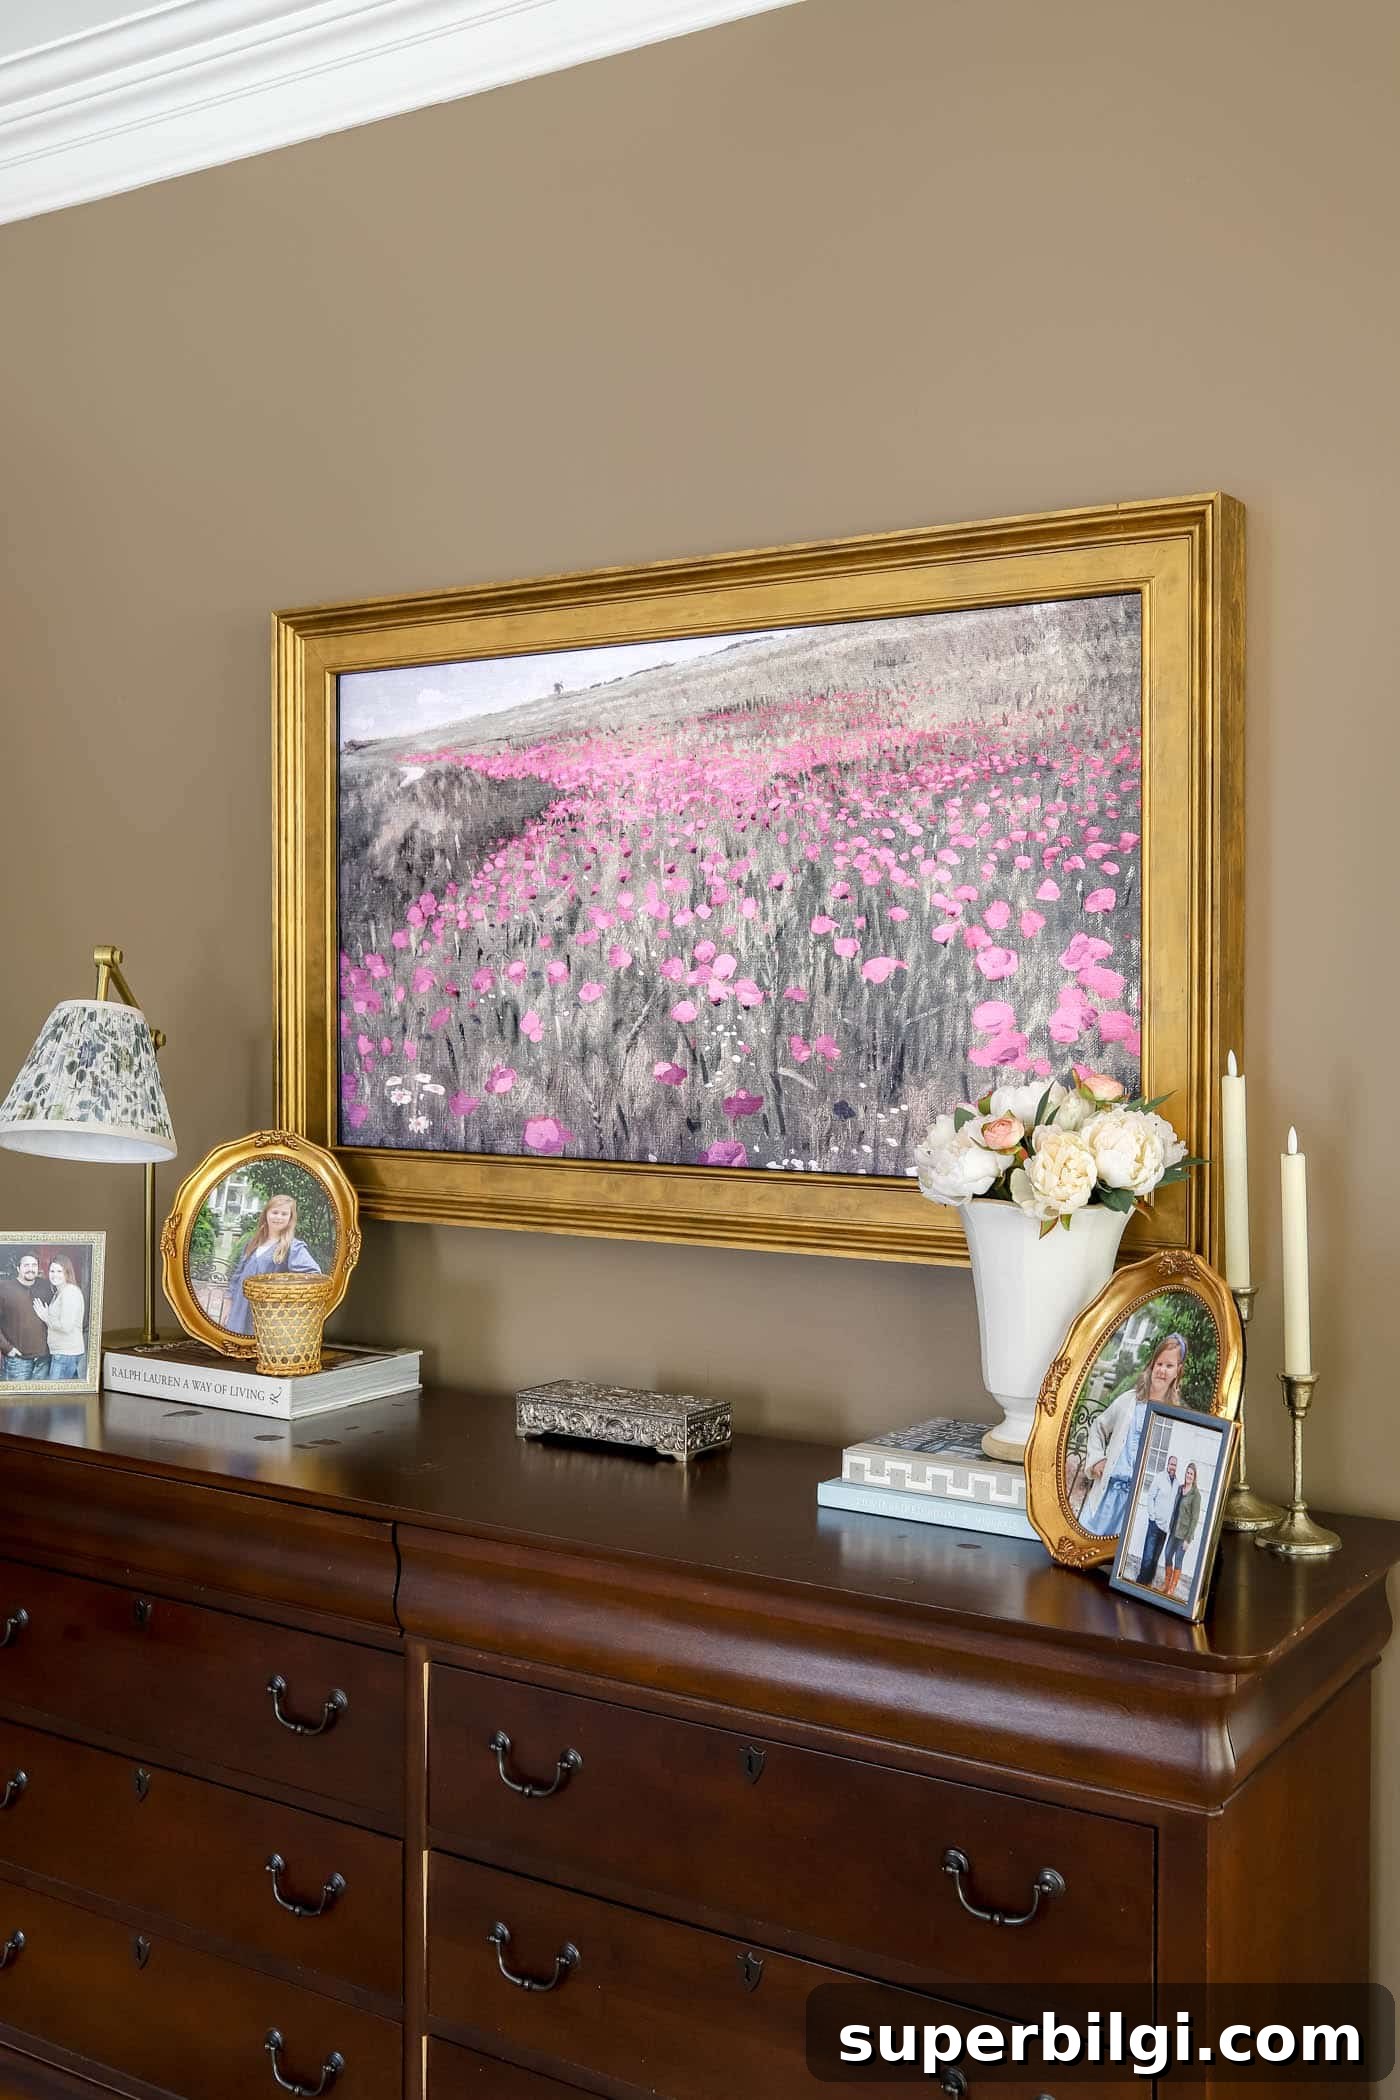
The frame’s goal is to make the TV feel like art. Change the on-screen artwork seasonally to refresh the room. Swapping art for spring, summer, fall, and winter keeps the space feeling cozy and intentional without extra clutter.
Styling the dresser or shelf below the TV with books, a lamp, a vase, or sentimental items anchors the vignette and enhances the framed TV’s gallery feel.
Before:
After:
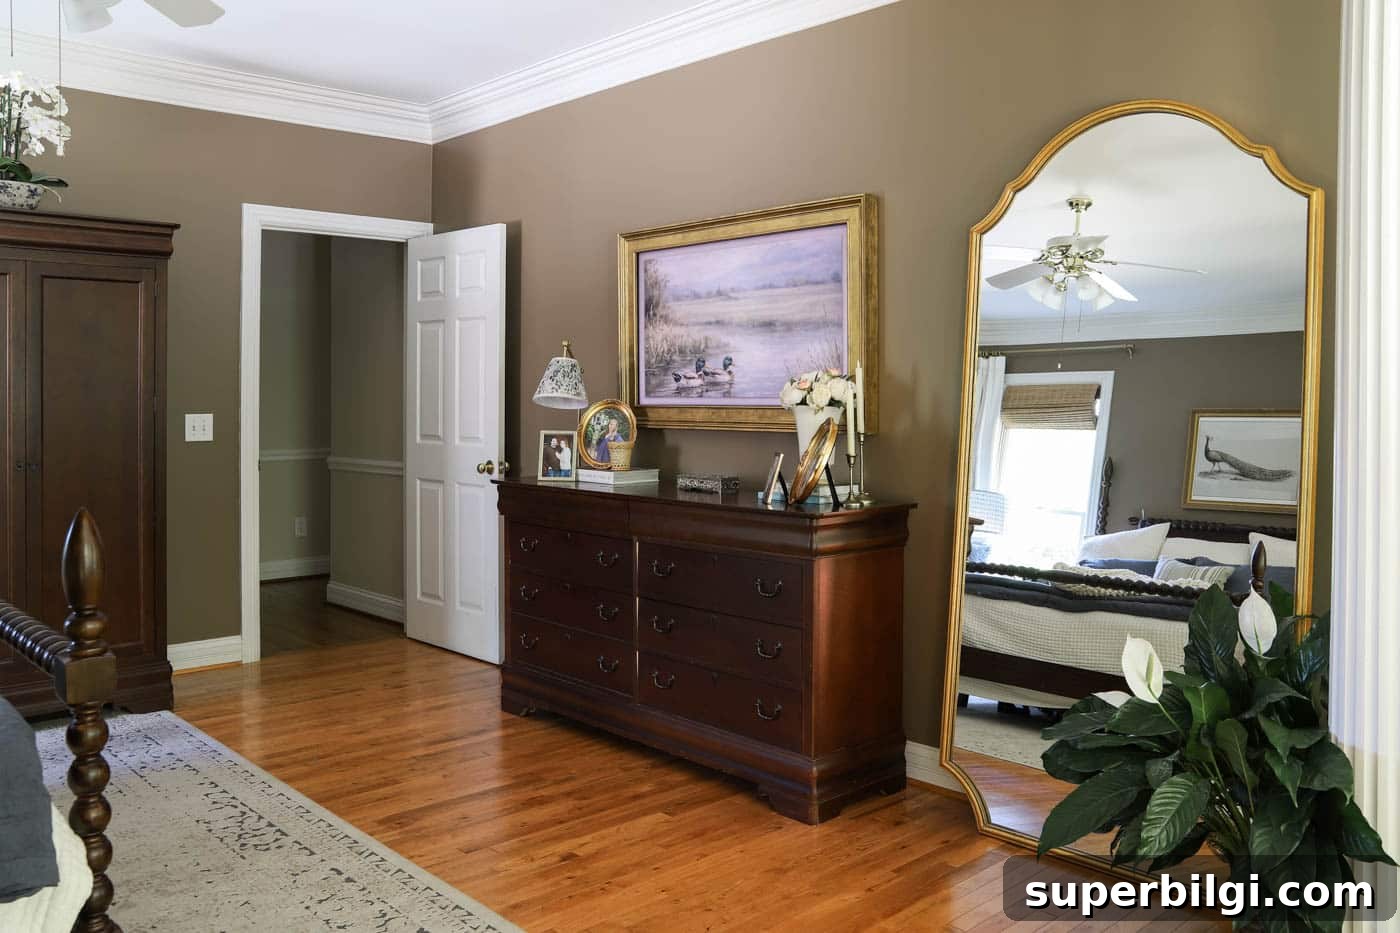
On a large wall, scale matters. The oversized mirror and framed TV finally balance the space and make the room feel intentional instead of empty.
Frequently Asked Questions
Yes. Samsung Frame TVs and similar models are designed to emulate art and accept aftermarket frames. You can build a custom frame or buy a decorative frame, depending on your budget and desired look.
The frame can partially cover sensors if not notched. Mark the sensor location and cut a small notch so light reaches it. If the sensor is too blocked, adjust TV settings or relocate the notch slightly.
If the frame rests snugly around the TV, it’s easy to remove for cleaning or swapping finishes. If you use permanent adhesive it will be harder to remove.
A decorative molding about 3½ inches wide provides a balanced, substantial look without overwhelming the screen. Choose a profile that complements your home style—traditional, modern, or vintage.
Which Frame TV DIY Is Right for You?
I’ve made both a simple frame and this more decorative version. Choose the simple frame if you want a fast, budget-friendly project with fewer tools. Choose the decorative option if you want a more designer, layered look and don’t mind extra steps. Both will cost far less than a luxury pre-made frame and give a custom result.
Final Thoughts
Building this DIY Frame TV frame saved money and created a piece that feels personal and connected to our home’s style. With a few basic tools, some affordable materials, and careful measuring, you can transform a black screen into artwork that elevates an entire room. DIY pieces like this add character and meaning that store-bought items often lack.