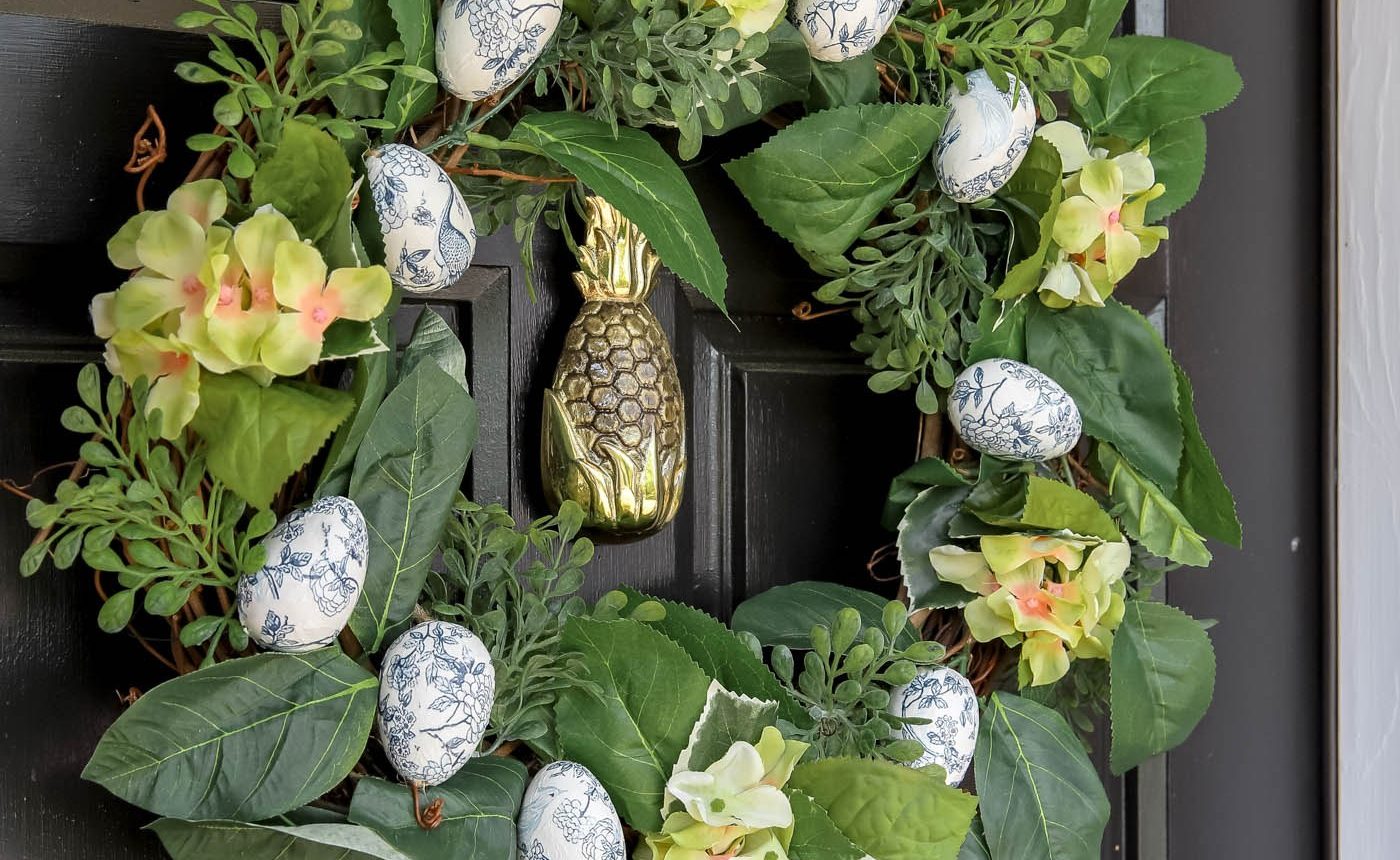
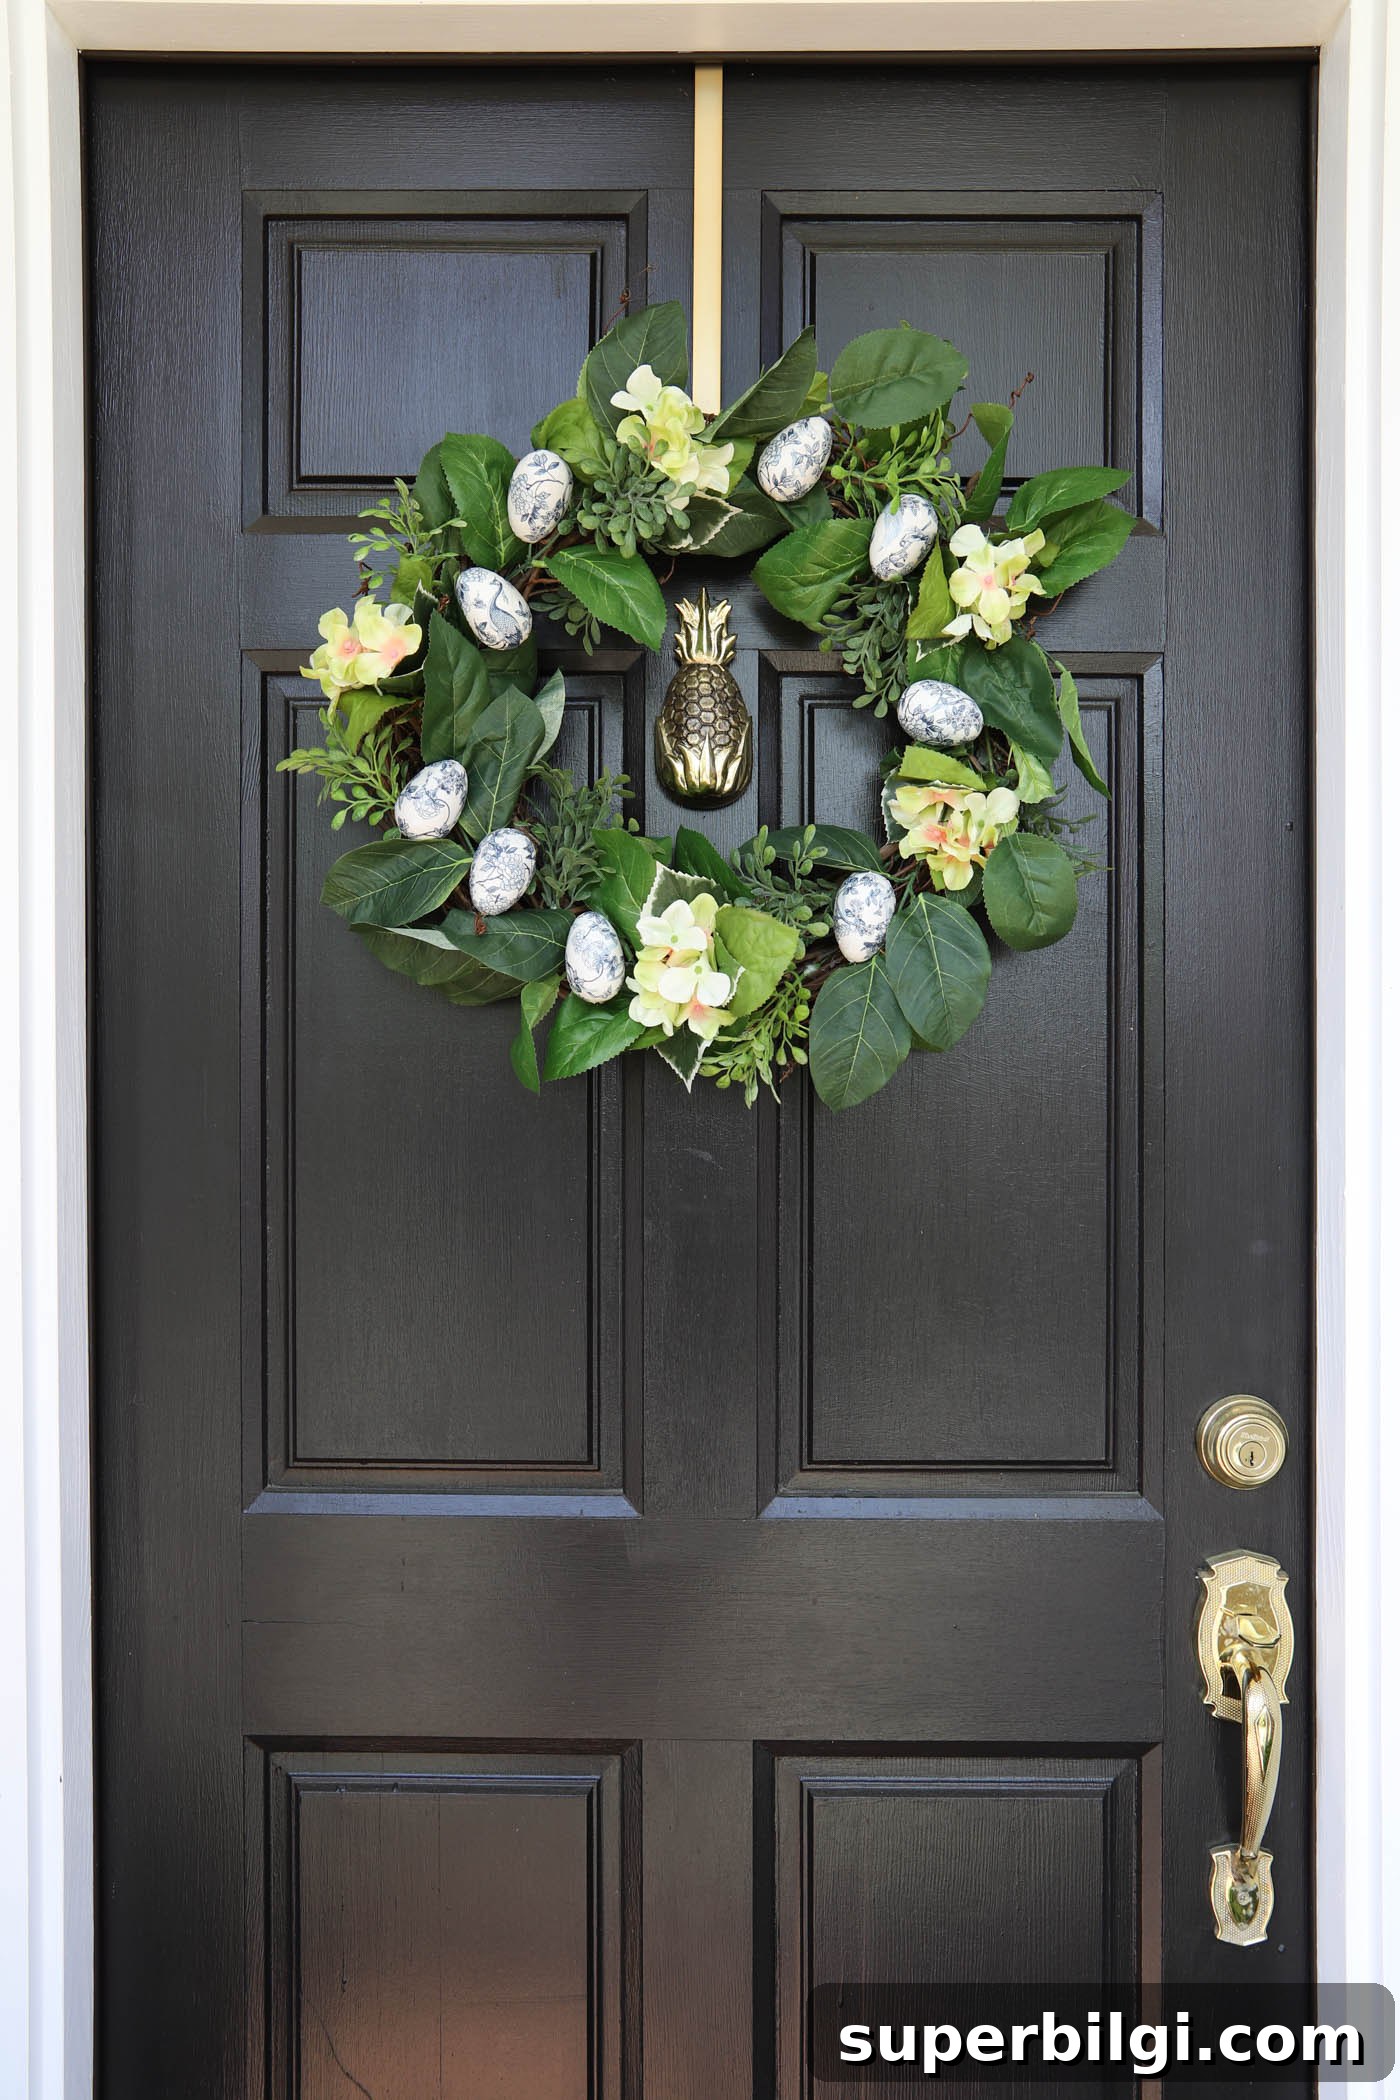
A fresh twist on the classic Easter egg wreath: decoupaged chinoiserie-style eggs in blue and white. This elegant wreath works for Easter and all of spring.
I wanted a new spring wreath using supplies I already had on hand. An old grapevine lemon wreath and a handful of wooden eggs sparked an idea: decoupage the eggs with blue-and-white napkin patterns and arrange them on the wreath for a refined, seasonal look. The result is a delicate blue-and-white chinoiserie egg wreath that brightens a front door or entryway from March through May.
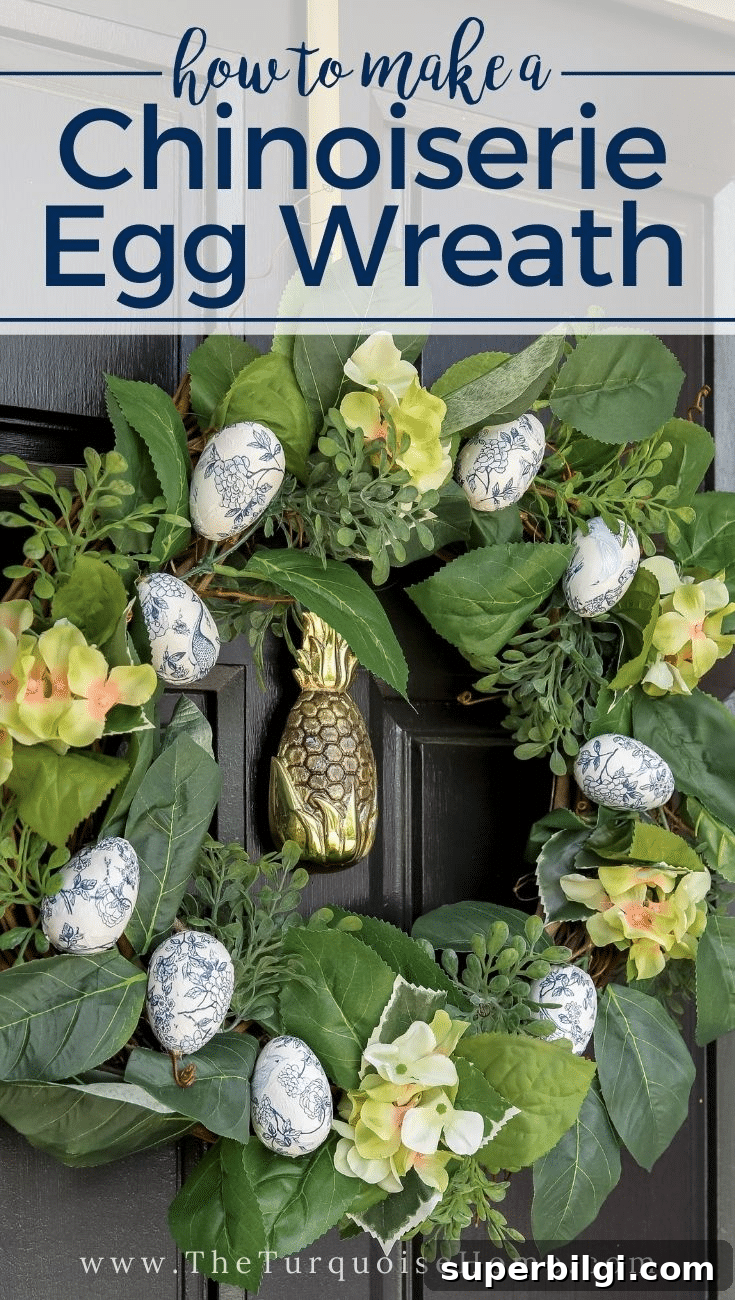
I was inspired by a previous chinoiserie paper napkin project and used the leftover patterned napkins to create these eggs. The process is simple and satisfying—drill, paint, decoupage, and assemble—and it produces a wreath with a polished, classic feel.
This post contains affiliate links for your convenience. See my full disclosure policy.
What You’ll Need to Make a DIY Easter Egg Wreath
- 9 wooden or faux eggs (any faux eggs will work)
- Blue and white paper napkins in a chinoiserie or floral pattern
- Drill bit — long enough to go through each egg
- Drill
- Light or white paint (sample size works well)
- Small craft paintbrush
- Hot glue gun and glue sticks
- Mod Podge or decoupage medium
- Floral wire
- 18-inch grapevine wreath form
- Faux greenery stems and faux flowers for filling the wreath
How to Make an Easter Egg Wreath
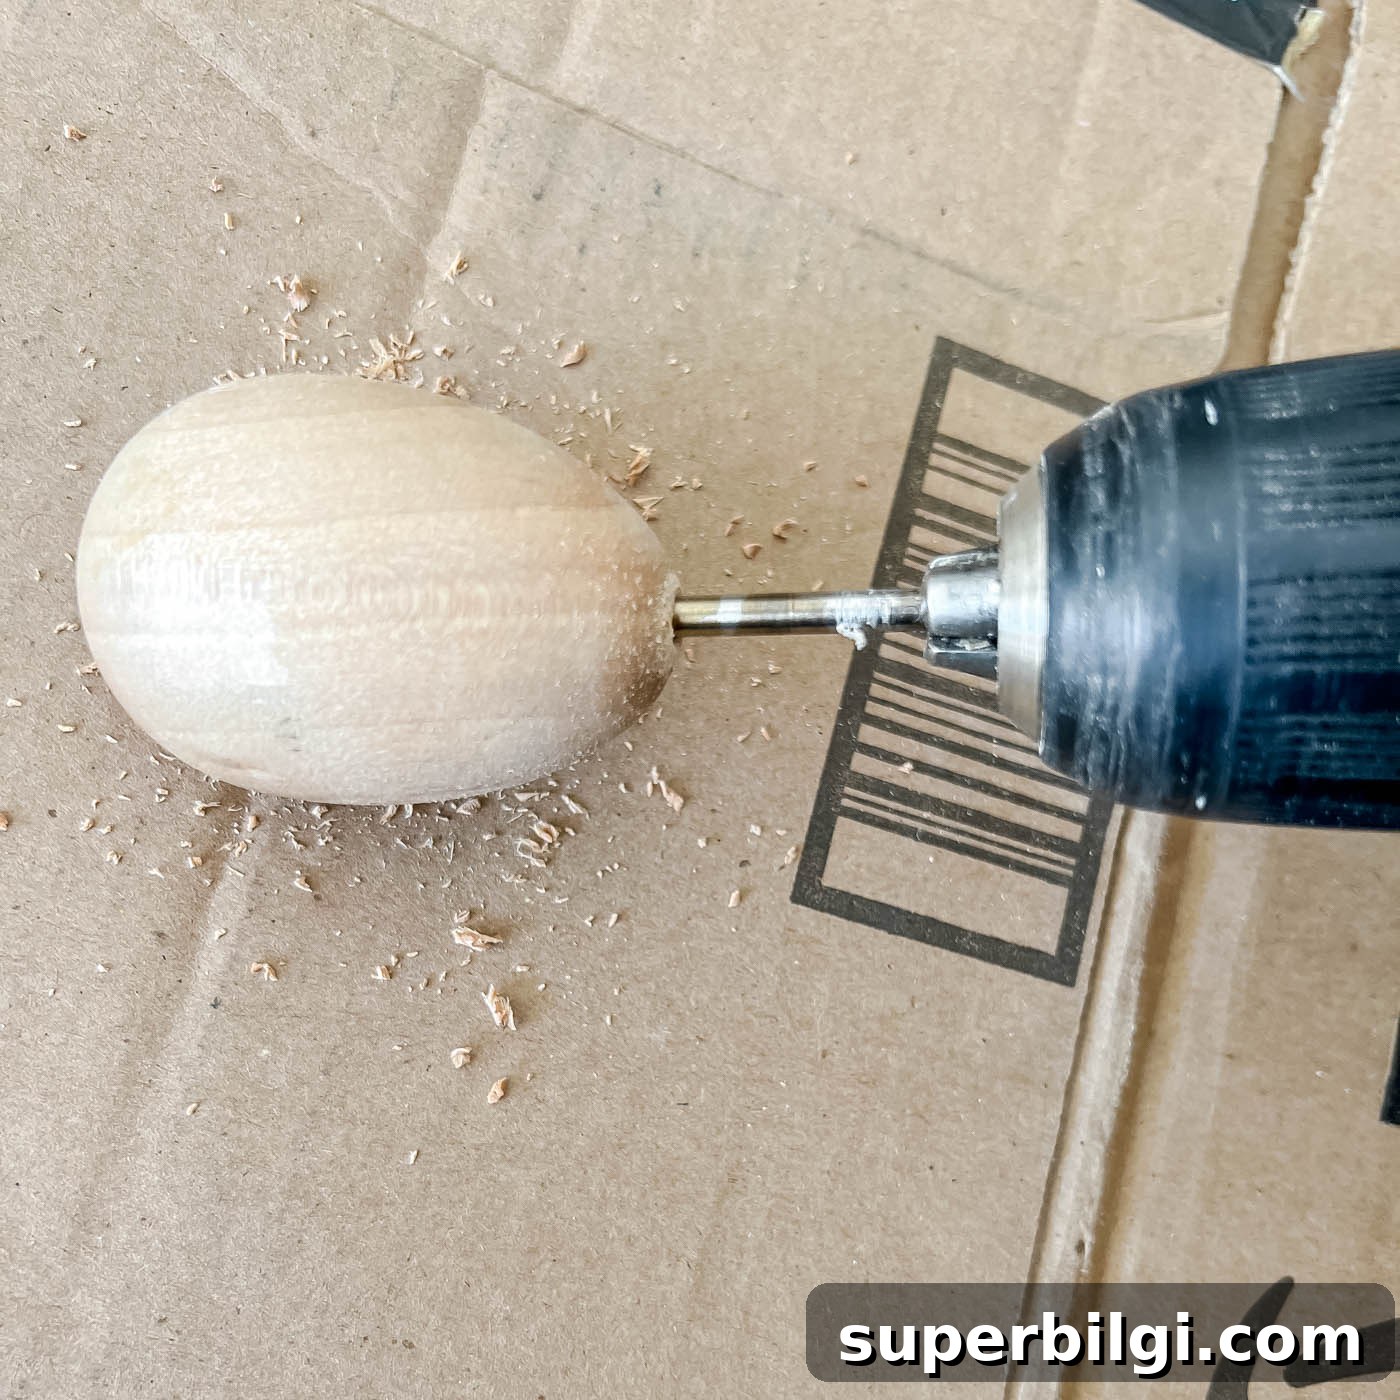
1. Drill a hole through the center of each egg
Begin by drilling a straight hole through the middle of each wooden egg. Use a drill bit that is longer than the egg so you can pass completely through in one pass—trying to drill from both ends with a short bit is often frustrating because the holes rarely meet cleanly. A clean central hole will make it easy to attach the eggs to the wreath later.
2. Paint the eggs a light, neutral color
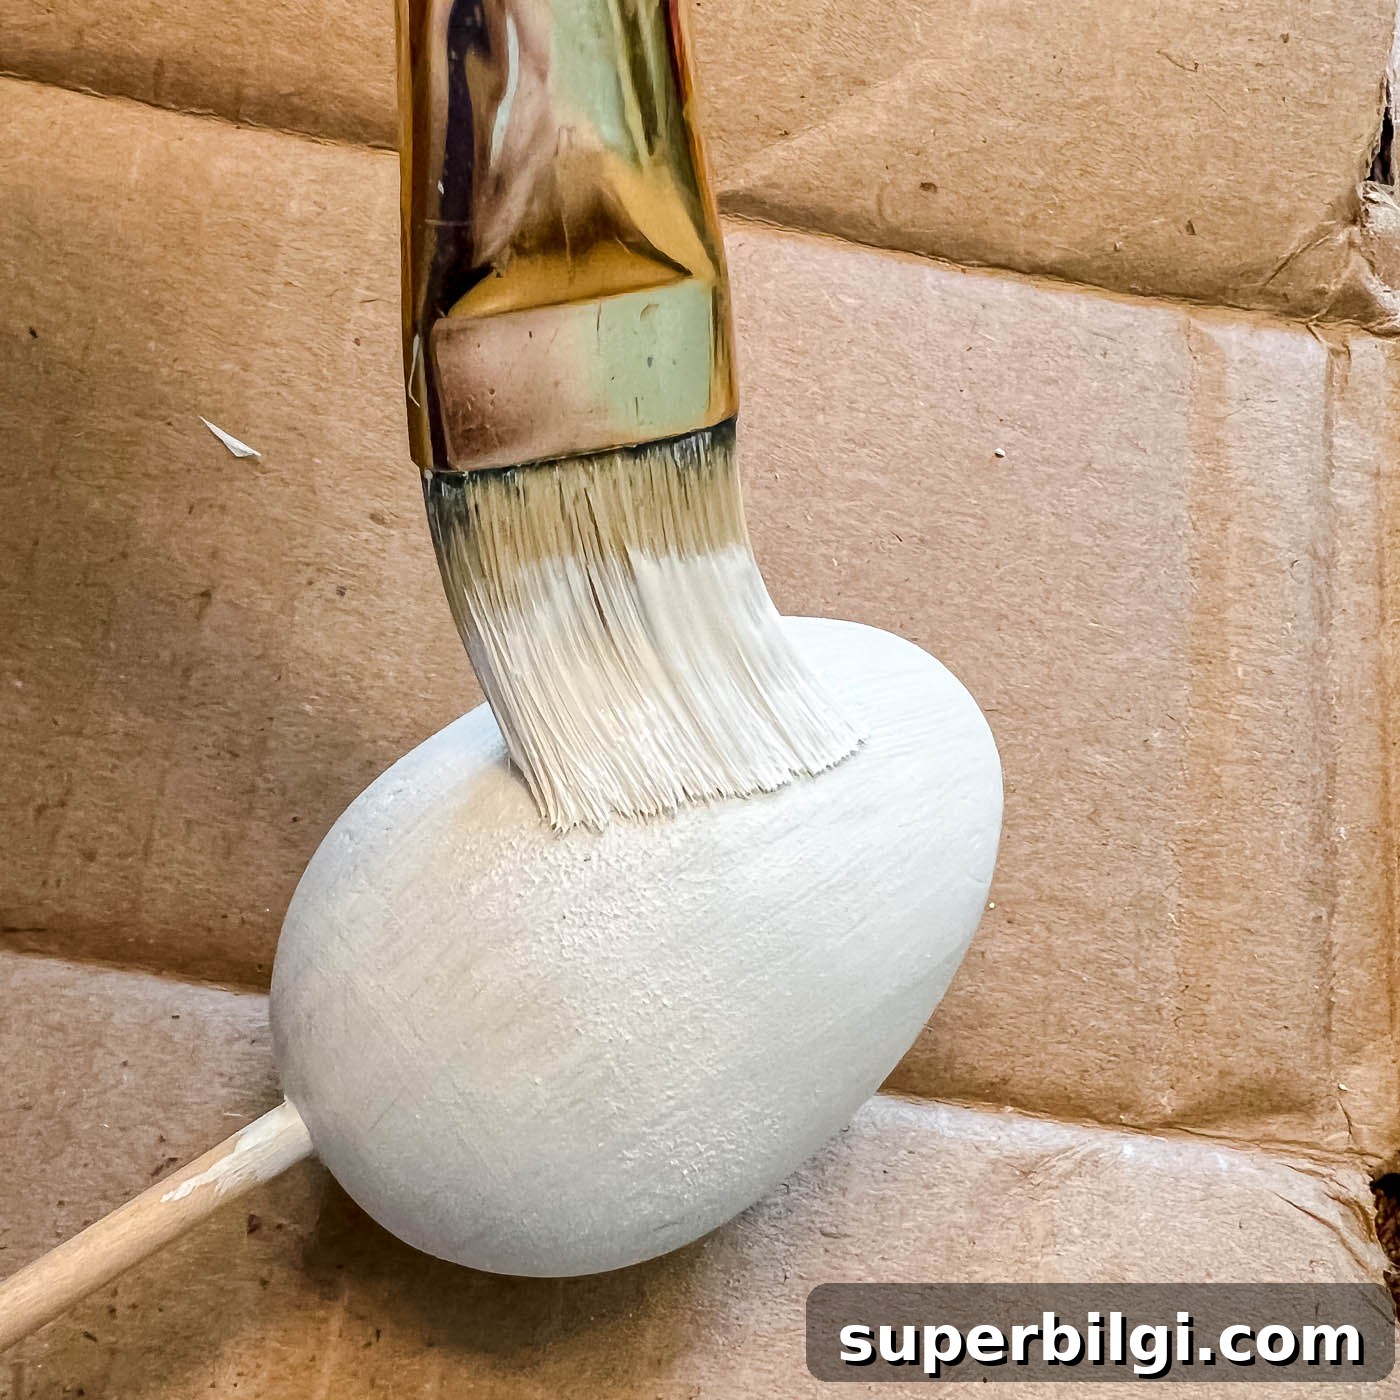
The natural wood can show through napkin patterns, so paint the eggs with a single light coat of white or a pale neutral. I used a sample pot of white paint and held the eggs on skewers inserted into the drilled holes to make painting fast and even. Allow the paint to dry thoroughly before decoupaging.
3. Decoupage each egg with napkin pieces
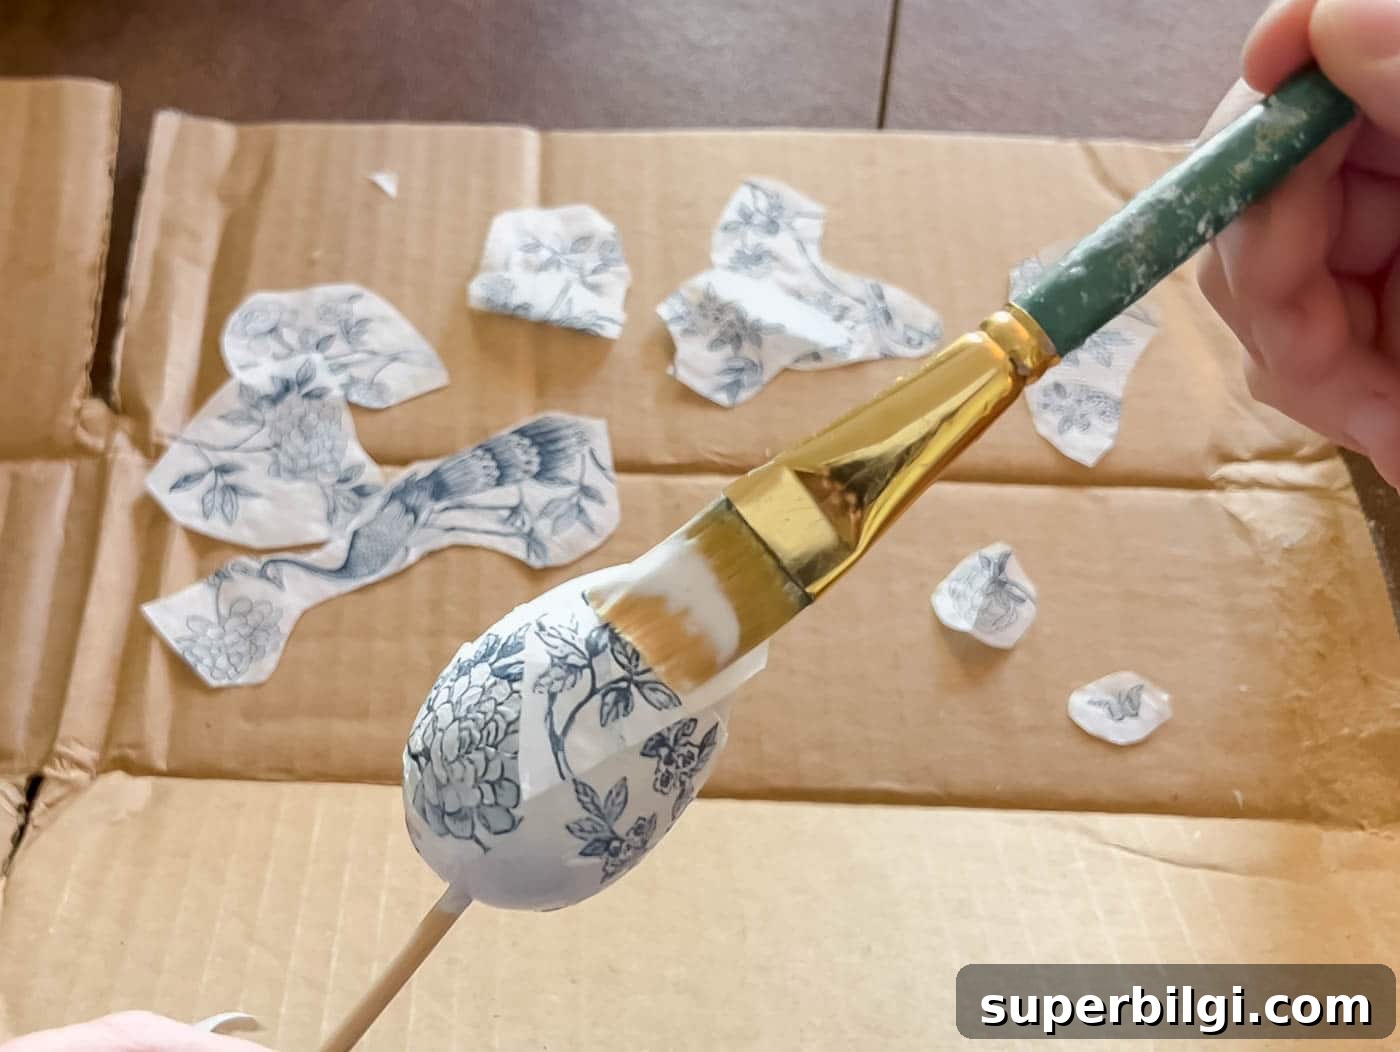
Separate the napkin layers so you are working with a single ply. Cut or tear small sections of the design you want to feature on each egg—working in smaller pieces makes it much easier to conform the napkin to the egg’s curves without bunching.
Brush a thin layer of Mod Podge over the entire egg, then gently lay each napkin piece in place, smoothing it with your fingers or a soft brush. Apply another thin coat of Mod Podge over the napkin to seal it. Work slowly and overlap pieces as needed until the egg is fully covered. Allow each egg to dry completely before handling.
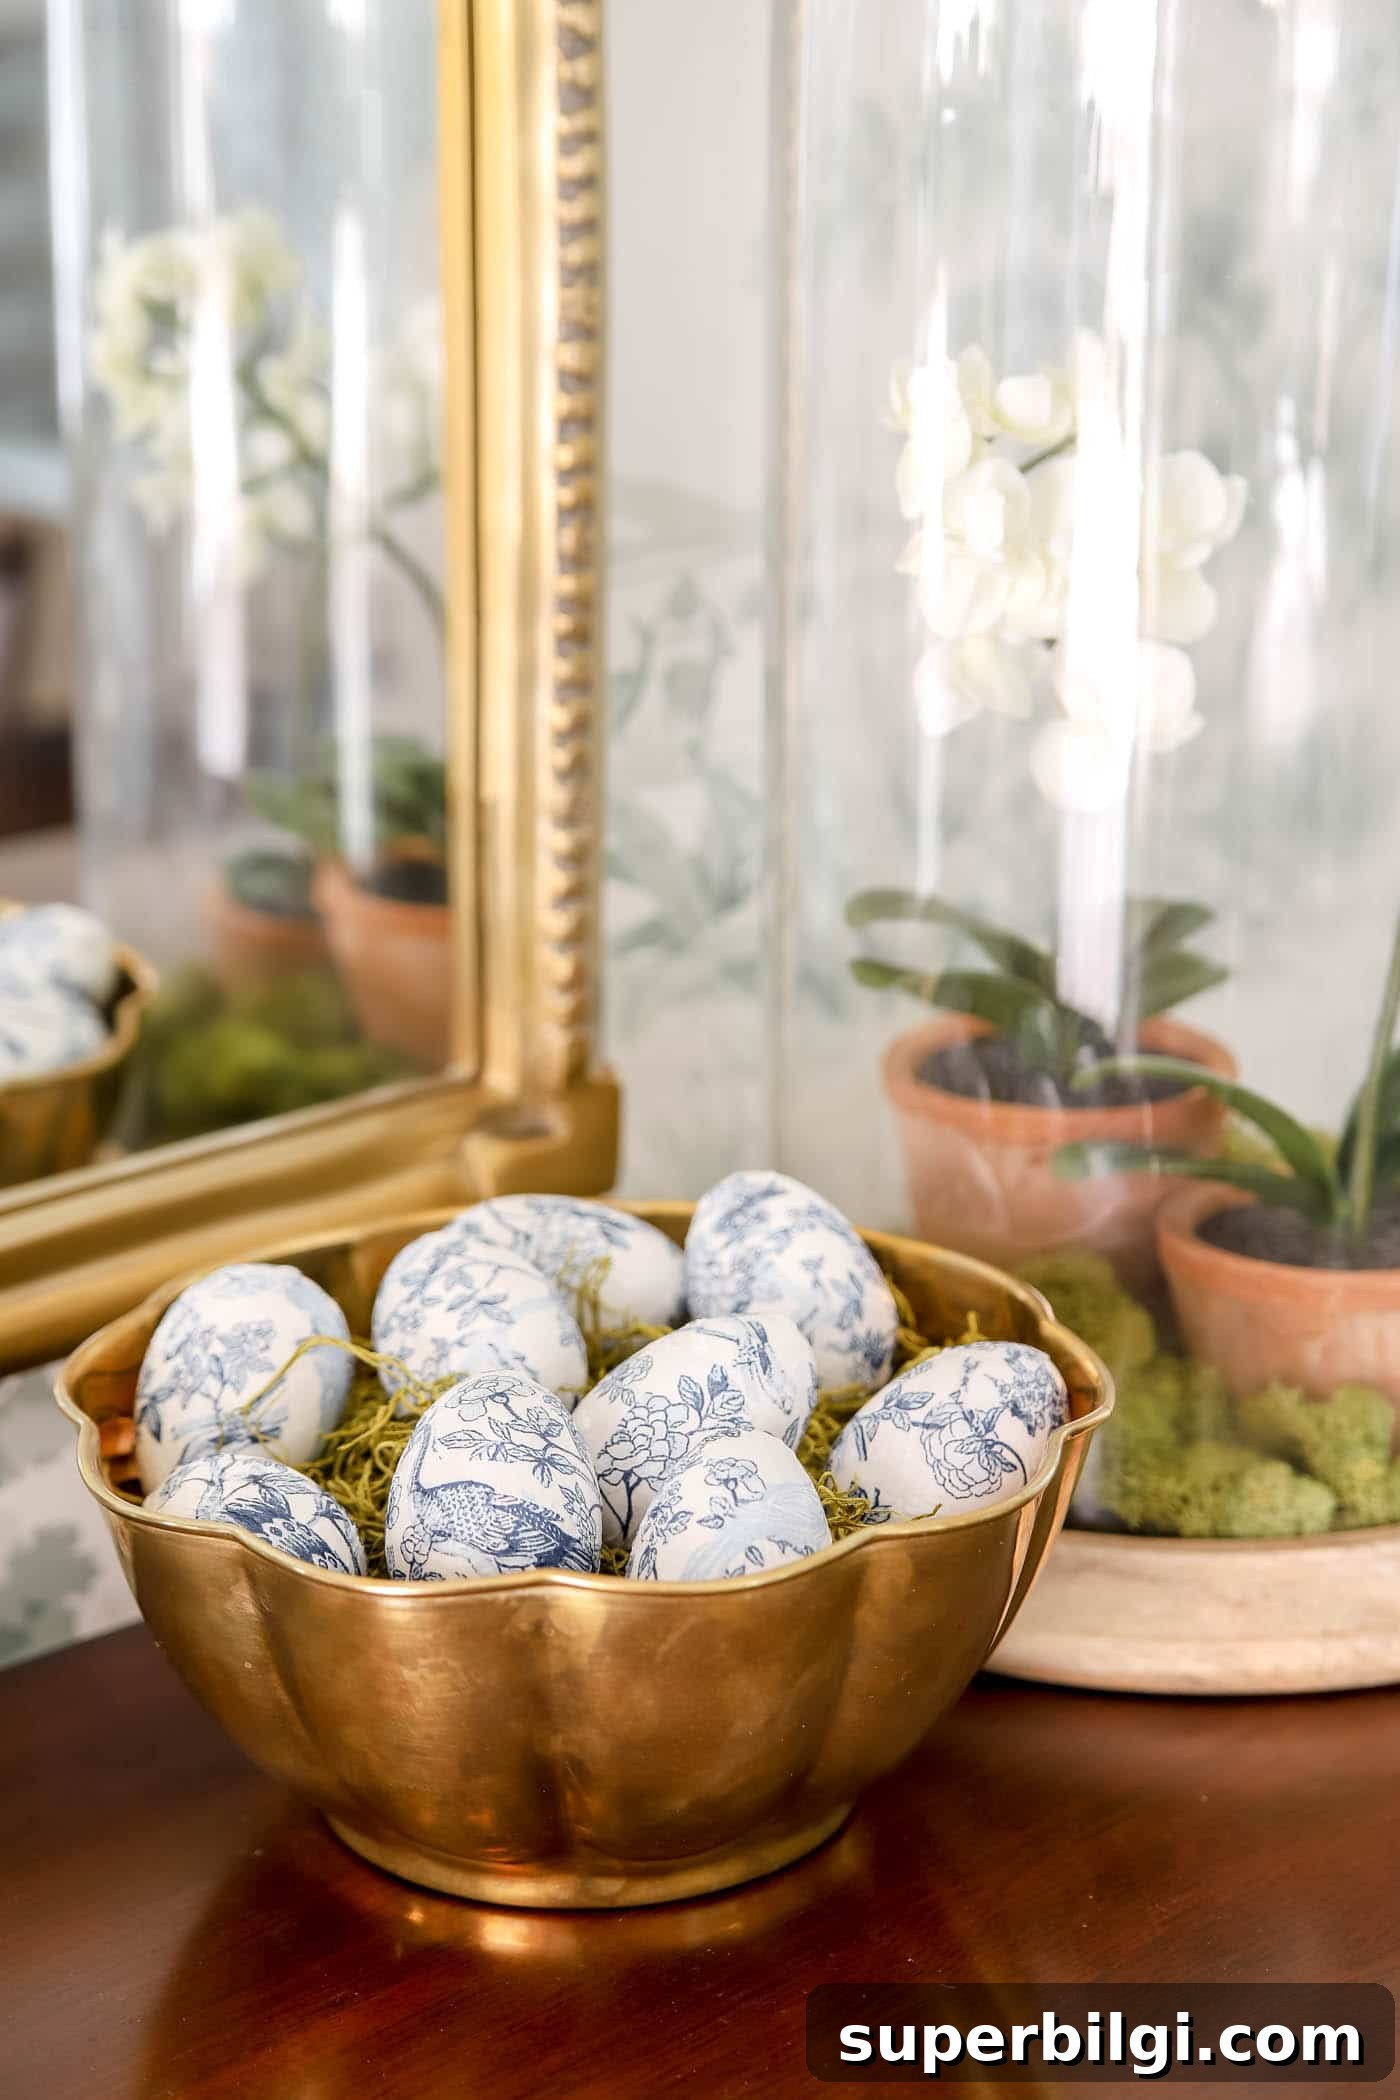
These decoupaged eggs are charming on their own—consider grouping a few in a bowl for an elegant spring vignette if you’d like an alternate display.
4. Build the wreath base with greenery and flowers
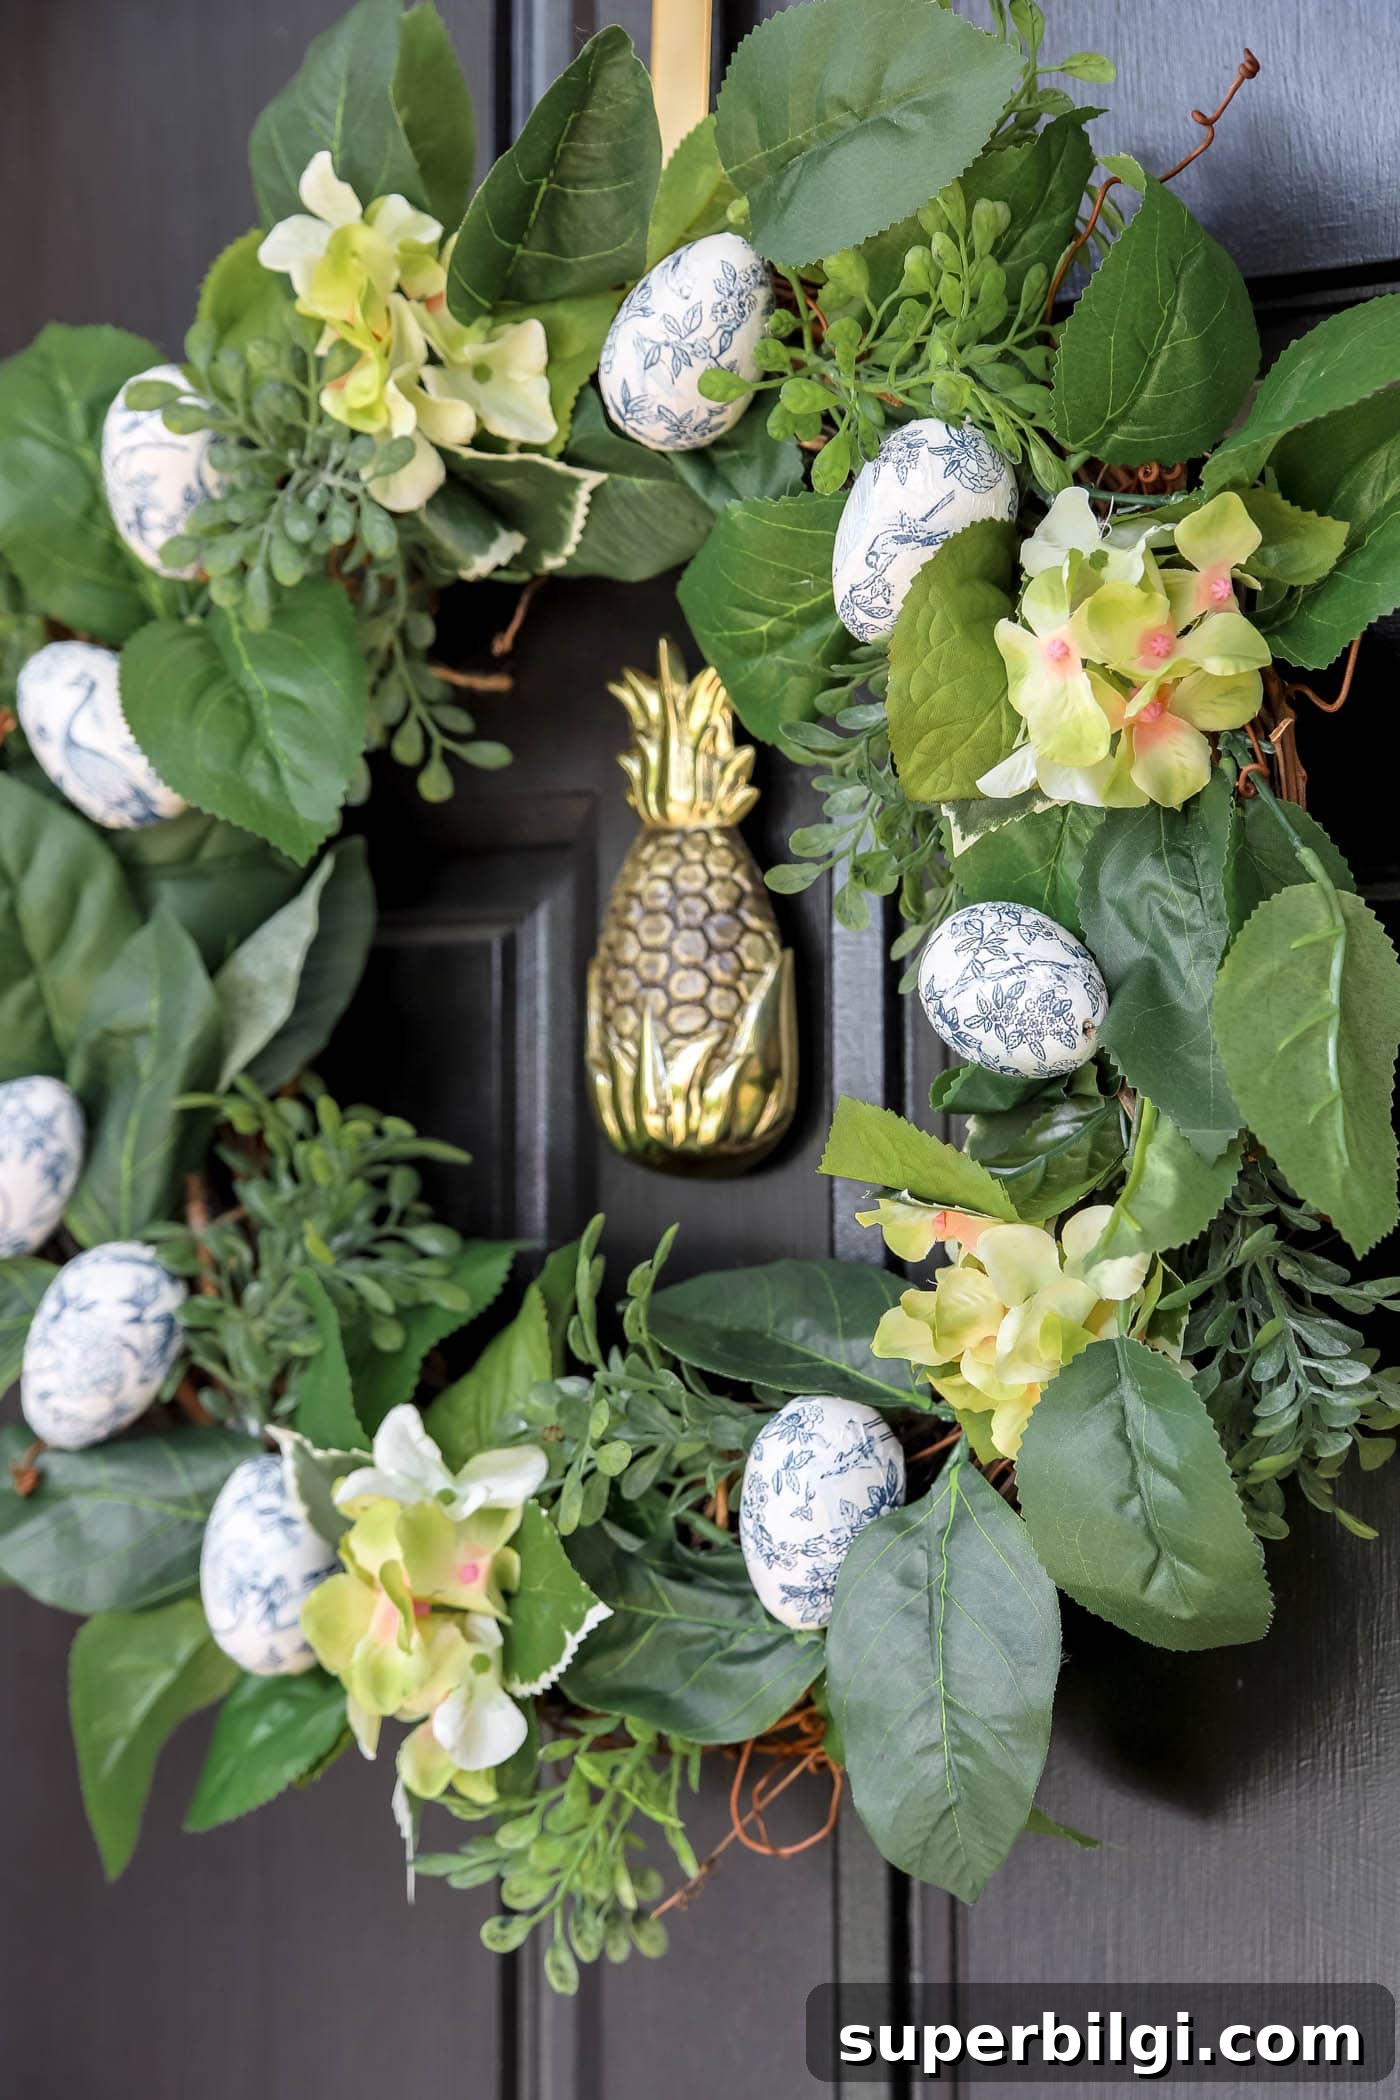
Arrange faux greenery and flowers around the grapevine wreath form until you like the composition. Tuck stems into the grapevine or secure them with hot glue. Layer different textures—small leaves, trailing vines, and a few focal blooms—until the wreath looks full but balanced. If you’re new to wreath making, start with a basic ring of greenery and add flowers sparingly so the eggs remain the focal point.
5. Attach the eggs to the wreath
Thread floral wire through the hole in each egg, then twist the wire at the back of the egg to secure it. Position the eggs around the wreath and wrap or twist the wire tightly around the grapevine base so each egg sits firmly. Hide the wire and secure loose stems with a dab of hot glue if needed. Add a ribbon or bow if you like, then hang the wreath and step back to admire the finished piece.
I love how these blue-and-white chinoiserie eggs elevated a simple grapevine wreath into something classic and fresh. They pair beautifully with neutral or dark door colors and will be a favorite part of my spring decor for years.
Tips and variations: Use ceramic, plastic, or papier-mâché eggs if you prefer; try different napkin patterns for varied looks; swap grapevine for a foam wreath base wrapped in twine for a different aesthetic. Store the wreath flat in a cool, dry place to preserve the paper-covered eggs and faux flowers.
More posts you might enjoy:
- Spring Table Decorations
- Benjamin Moore Palladian Blue — Paint Color Spotlight
- Fun Spring Doormats
- 25 Gorgeous Spring Ideas for Mantel Decor
- 9 Simple Ways To Decorate Your Home For Spring