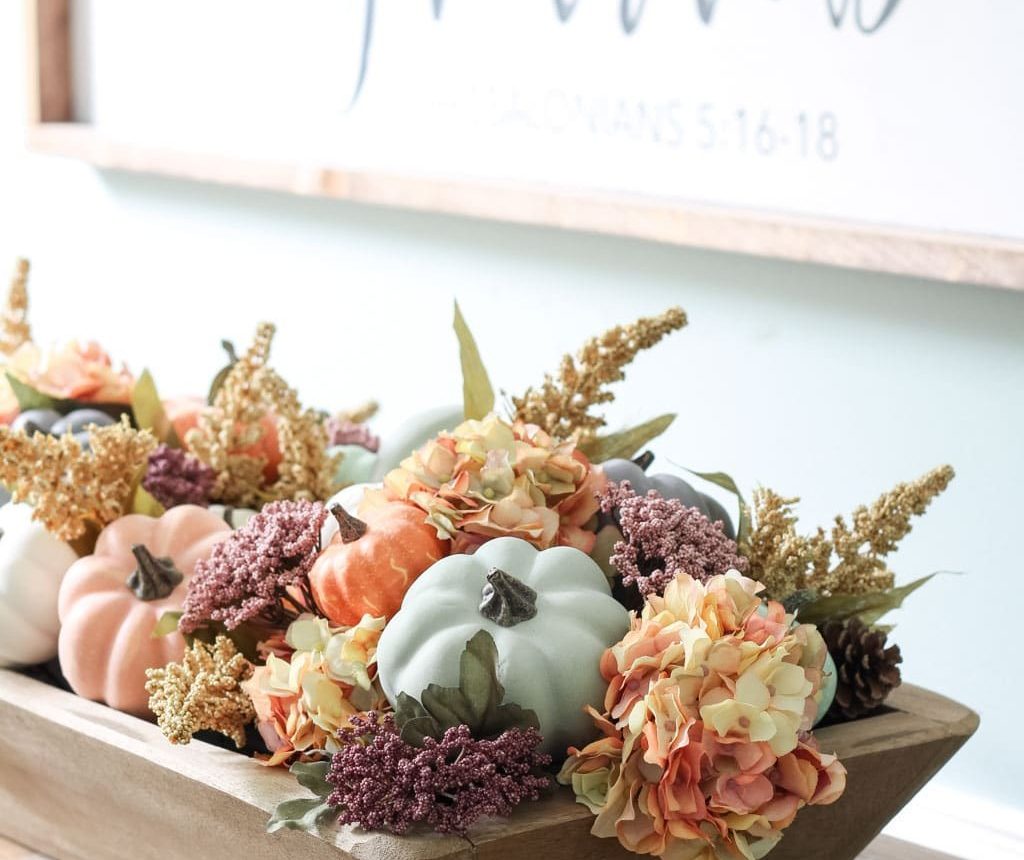
Create a beautiful fall dough bowl centerpiece using faux pumpkins, colorful florals, and a few simple supplies. This easy DIY arrangement makes a striking focal point for a dining table, kitchen island, or coffee table, and it’s fully customizable using items you already own or find outdoors.
I’m excited to share this approachable fall decorating project. When I found a large wooden dough bowl at a local antique shop, I knew it would be perfect for a layered autumn arrangement. I used jewel-toned hydrangeas and coordinating pumpkins, but the same technique works beautifully with neutral pumpkins, dried stems, pine cones, or greenery.
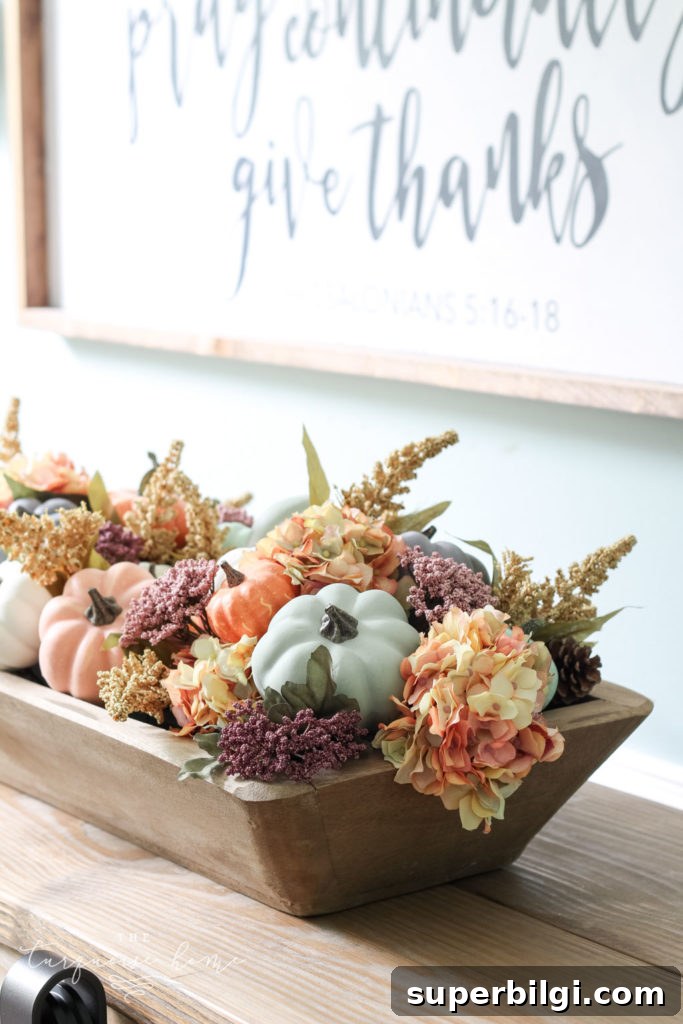
This method works with most long trays, wooden boxes, or antique dough bowls—so you can adapt it to whatever vessel you have. The key is layering from large to small to build depth and visual interest.
What You Need to Make a Fall Dough Bowl Centerpiece
Gather these basic supplies to assemble your centerpiece. Substitute items you already own to personalize the look.
- Dough bowl or any long tray or wooden box (mine is 26 inches long; you can also DIY a wooden box).
- Faux hydrangea stems in autumnal or jewel tones, or dried hydrangeas for a more natural look.
- Assorted faux pumpkins and gourds in a mix of sizes and colors for layered interest.
- Smaller filler stems such as queen anne’s lace, heather, or other delicate florals.
- Floral foam or small mason jars to raise stems if your bowl is deep.
- Wood skewers or floral picks to secure foam pumpkins in place.
- Wire cutters for trimming and shaping stems.
How to Make a DIY Fall Dough Bowl Centerpiece
Follow these simple steps to build a warm, layered fall centerpiece that looks polished and intentional.
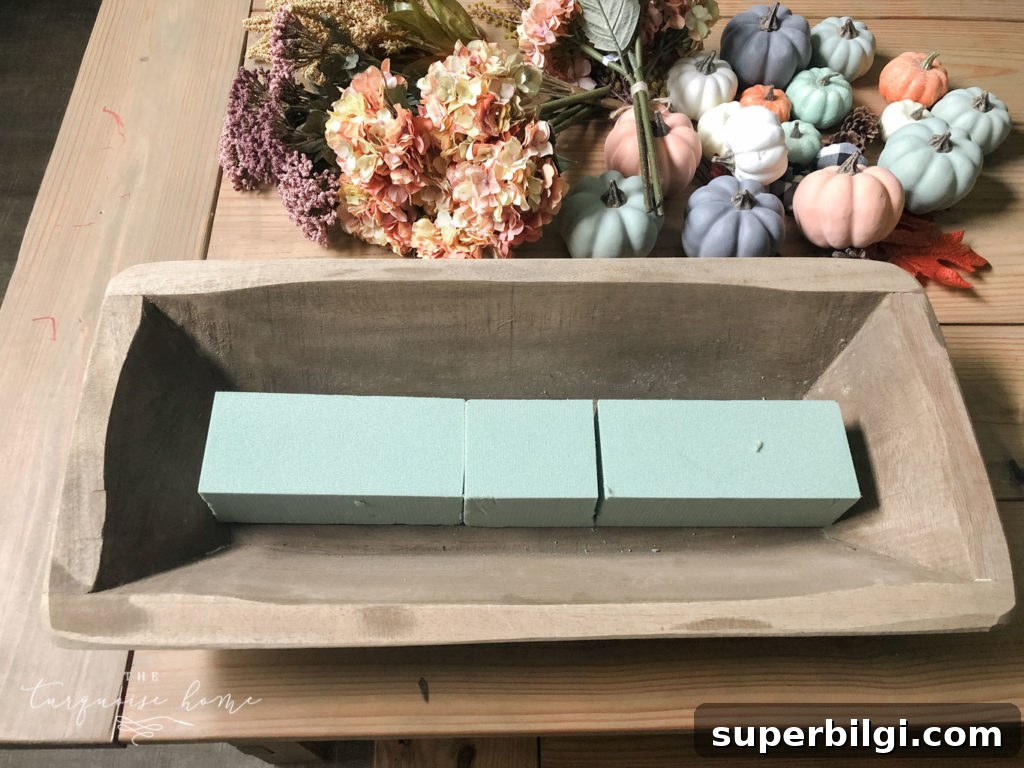
1. Place the floral foam in the bottom of the tray or bowl
Cut floral foam to fit the shape and curve of your bowl. If your bowl is deep, use small mason jars or folded kraft paper to raise stems instead. Trim foam corners so it sits snugly and won’t shift.
2. Add the pumpkins
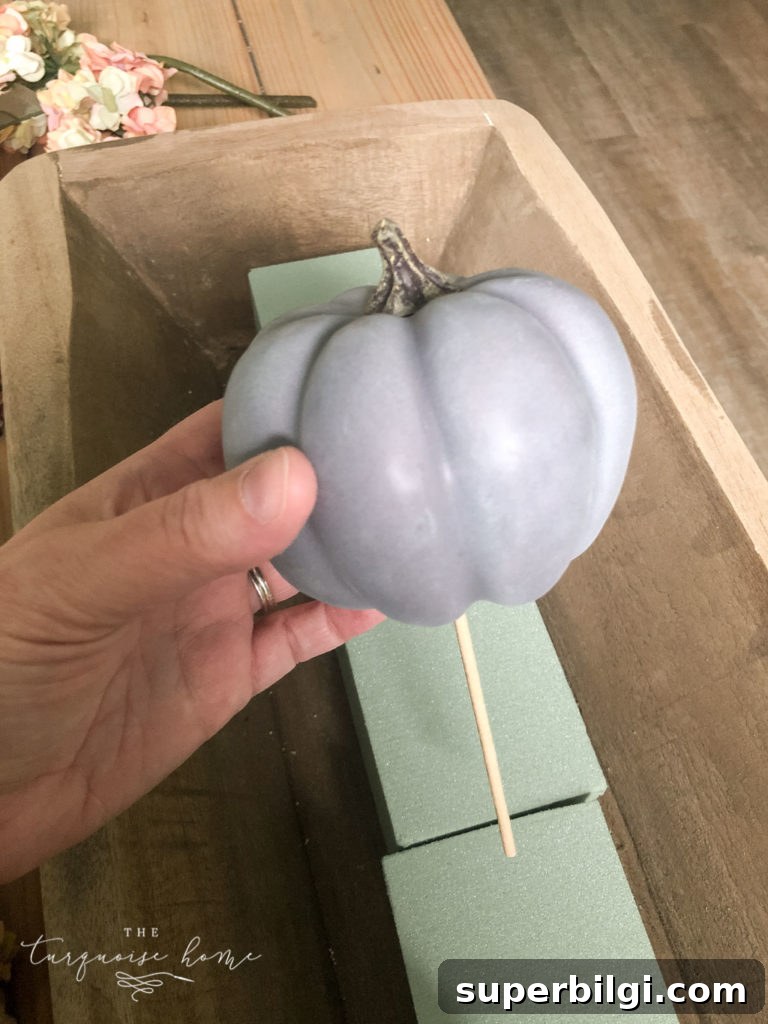
Insert a wood skewer or floral pick into each of the largest foam pumpkins so they’re anchored. Arrange these largest pieces first, spacing them across the foam to establish the main shapes and focal points. I trimmed 12″ skewers down to about 6″ to fit my bowl.
3. Continue adding smaller pumpkins
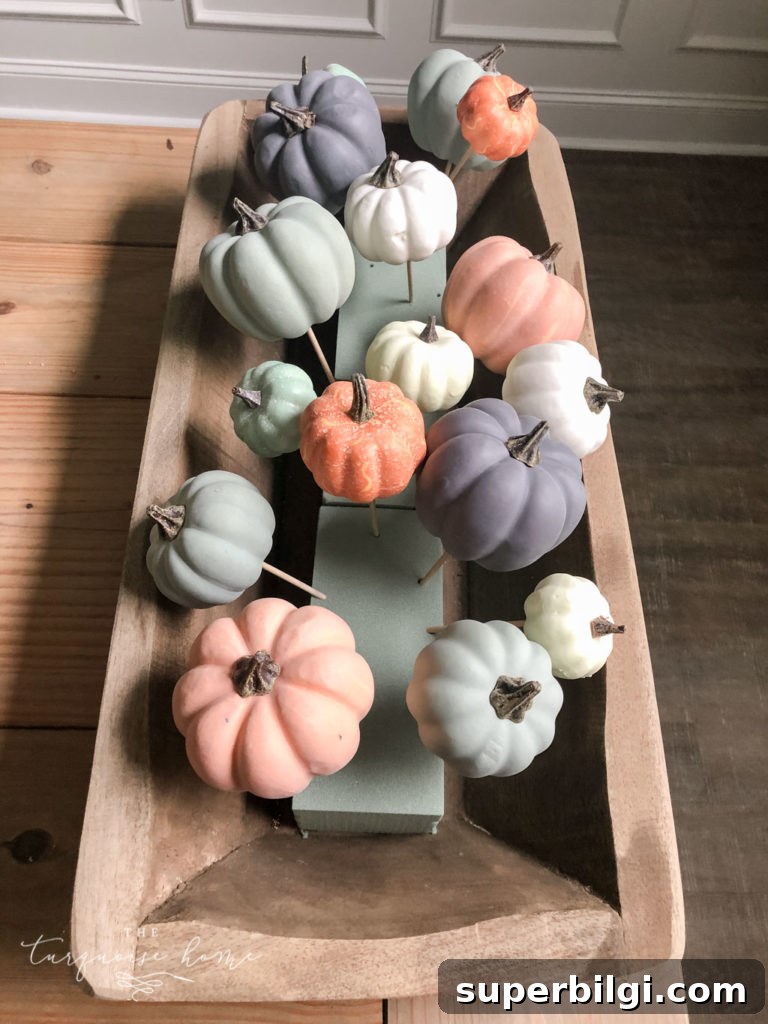
Add medium and small pumpkins after the largest ones, filling gaps and maintaining a natural, collected look. Vary height and orientation so the arrangement feels organic rather than perfectly symmetrical.
4. Fill in the blank spaces with flowers
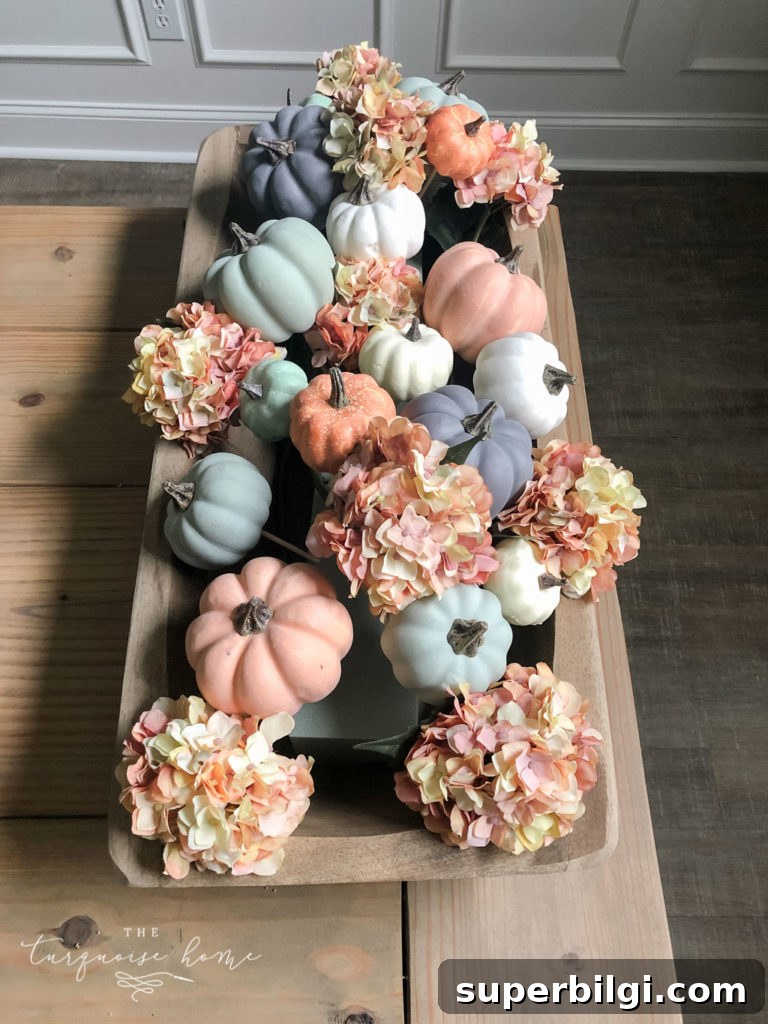
Lay the largest floral stems—like hydrangeas—around and between the pumpkins. If you prefer not to insert them into the foam, tuck them around the edges and into openings so they visually connect each focal point.
5. Fill remaining gaps with smaller florals and greenery
Finish by tucking in smaller stems, filler flowers, and greenery. These elements hide mechanics, soften hard edges, and create depth. Step back periodically to check balance and adjust colors or scale as needed.
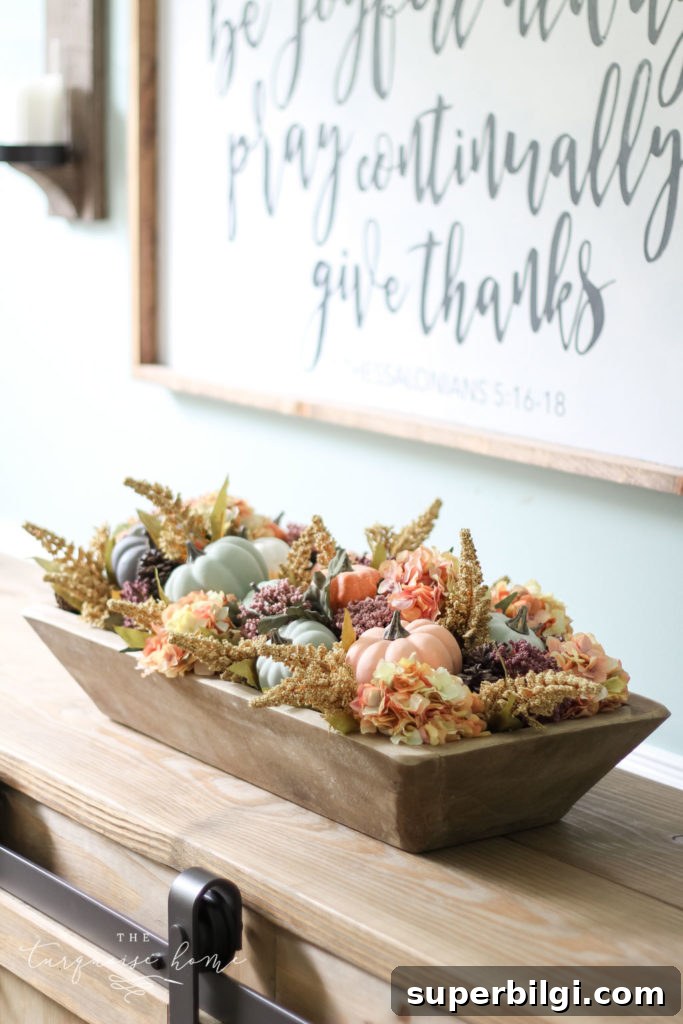
The trick to a polished arrangement is simple: start with the largest items and work toward the smallest details. That approach creates a strong foundation and makes filling in easy.
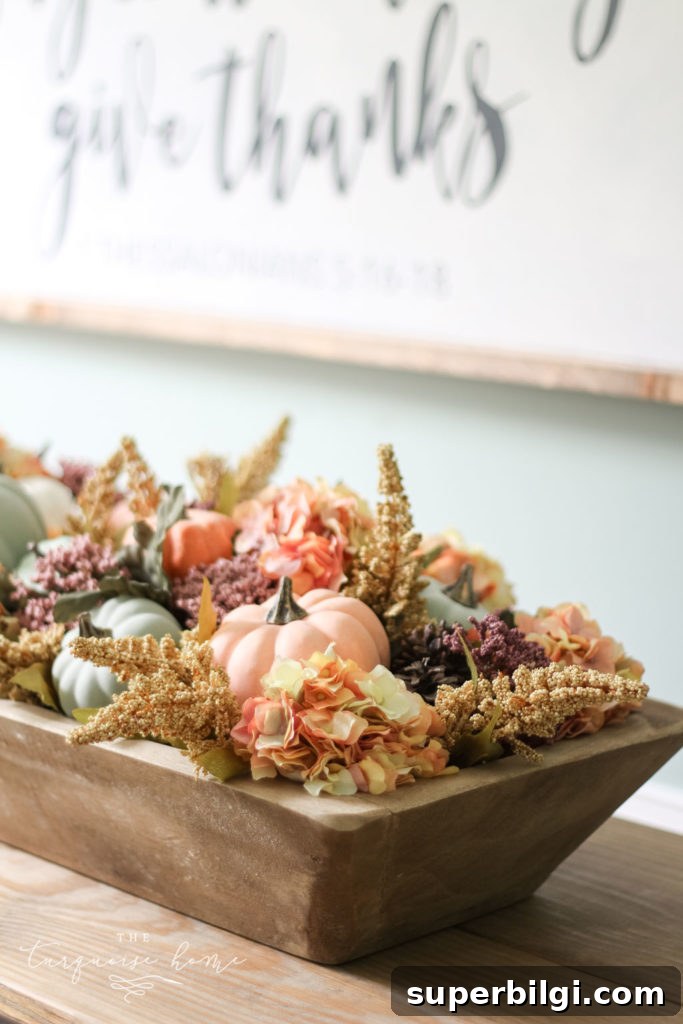
I love how the color palette came together—jewel-toned florals paired with varied pumpkins make a rich, seasonal display. For a different vibe, add pillar candles, moss, or natural elements like pine cones and acorns.
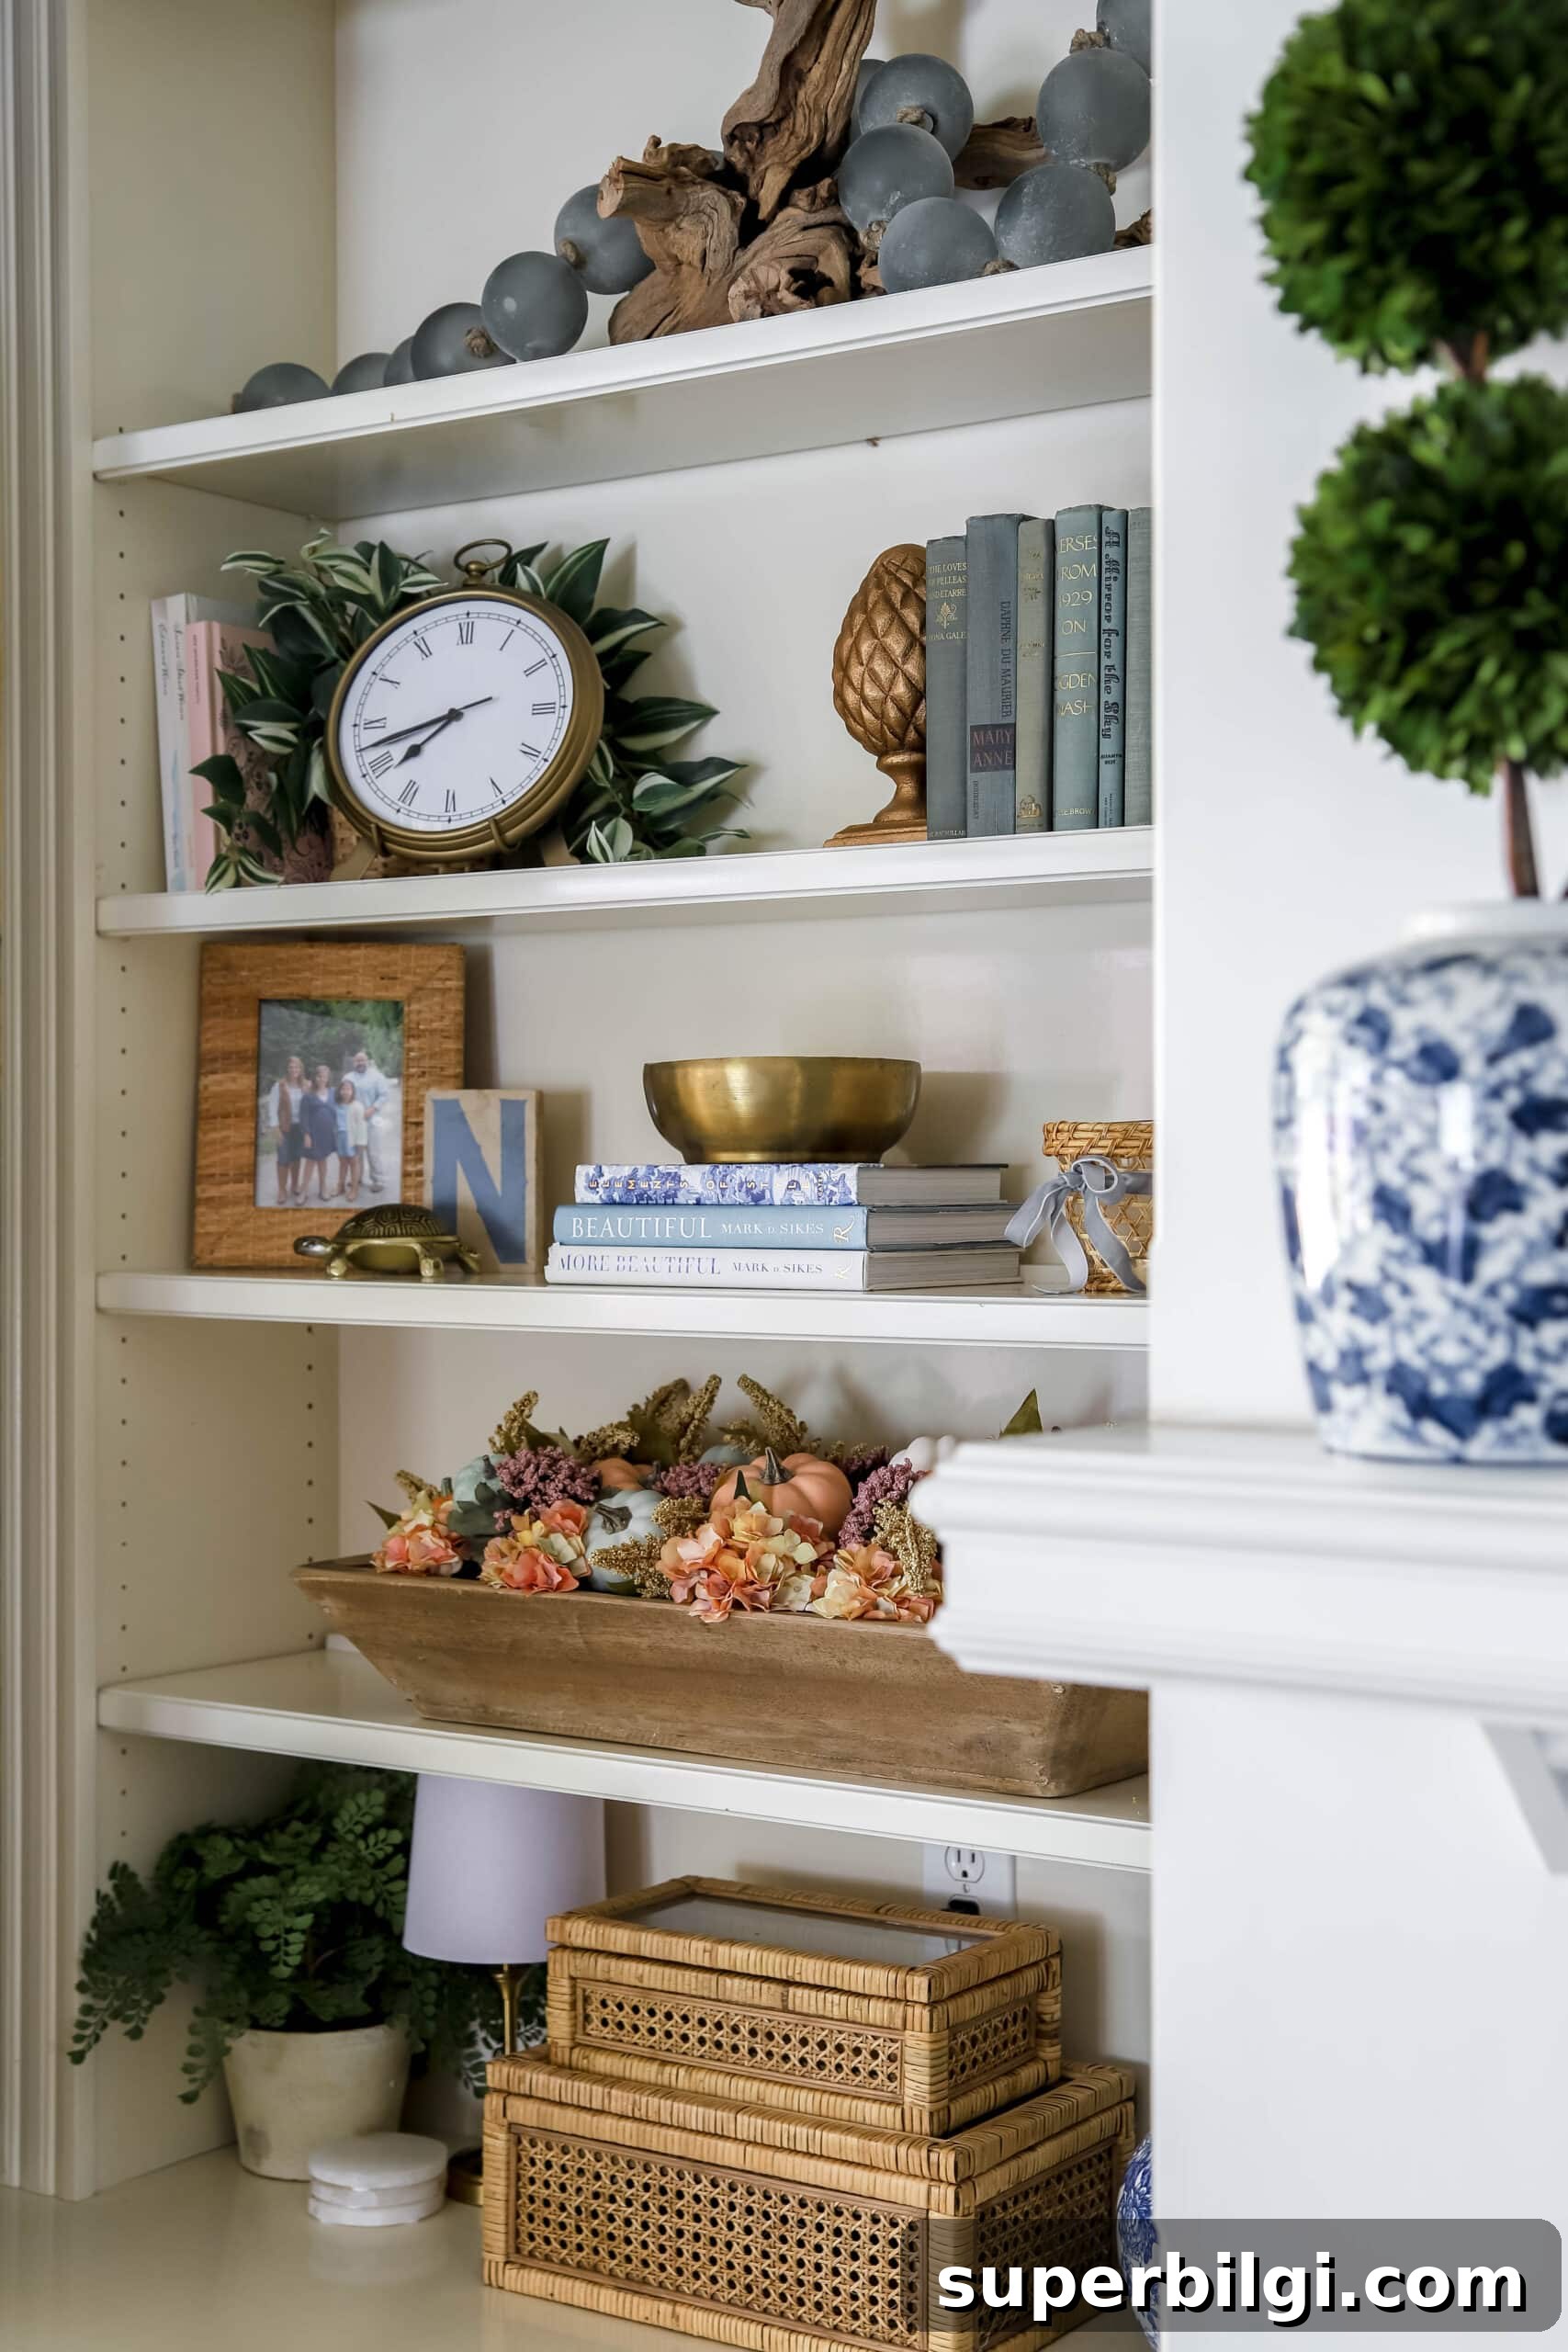
This dough bowl centerpiece works beautifully as a Thanksgiving table centerpiece with a simple runner, or placed on a bookshelf or console to fill a long gap with seasonal charm.
Frequently Asked Questions
Mini pumpkins and gourds, pine cones, acorns, faux or dried florals, wheat stalks, and greenery all make attractive filler. Start with the largest pieces, then fill gaps with smaller stems and natural accents.
Trim the foam to match the bowl’s curve. Use crumpled paper or a nonslip liner beneath it for extra stability, or anchor the foam with double-sided tape.
Try small mason jars, crumpled kraft paper, or a layer of pine cones to raise and support stems. Choose materials that won’t scratch or stain the bowl’s interior.
Remove foam, pumpkins, and stems if possible and store them in labeled bins. Store the empty dough bowl separately so it’s ready for future seasonal decor.
Yes—especially small pumpkins and gourds. Place a protective liner in the bowl and check real pumpkins regularly for moisture or soft spots to avoid damaging the wood.
A fall dough bowl centerpiece is an easy project that looks more complex than it is. With the simple rule of building from the largest pieces down to the smallest accents, you can create a warm, inviting arrangement season after season. Use what you have, choose colors that complement your home, and allow a slightly collected, imperfect look—it often feels cozier and more personal.
More Fall Home Decor Posts You Will Love
- Budget-Friendly Fall Decor Tips & Home Tour
- 25+ Free Fall Printables to Decorate Your Home
- Simple & Neutral Fall Mantel Decor
- DIY Fall Wreath Ideas
- Navy & Orange Free Fall Printables