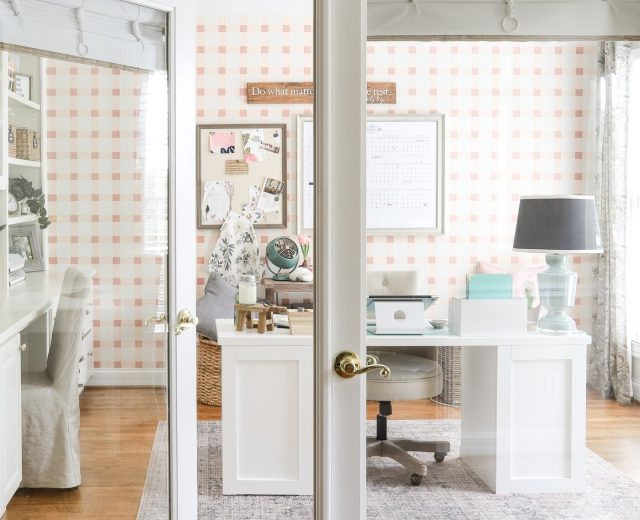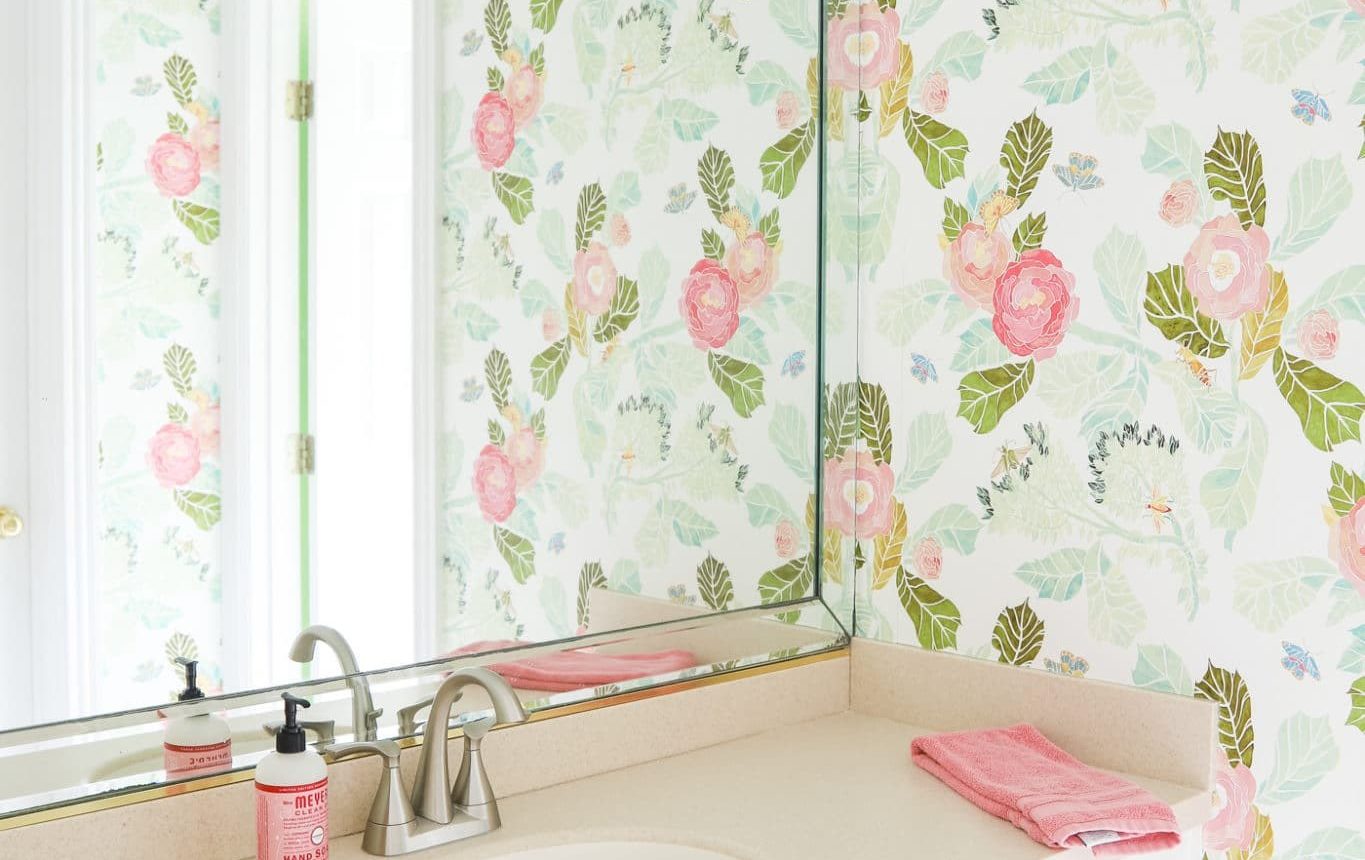
Are you nervous about starting a wallpaper project? Here are my best tips for hanging pre-pasted wallpaper, written for total beginners.
I was a newbie too. From one beginner to another, I’ll walk you through how I hung pre-pasted wallpaper for the first time. I was very nervous to start—I’d wanted to wallpaper a room for years but kept putting it off. If you’re anxious about trying it, I understand.
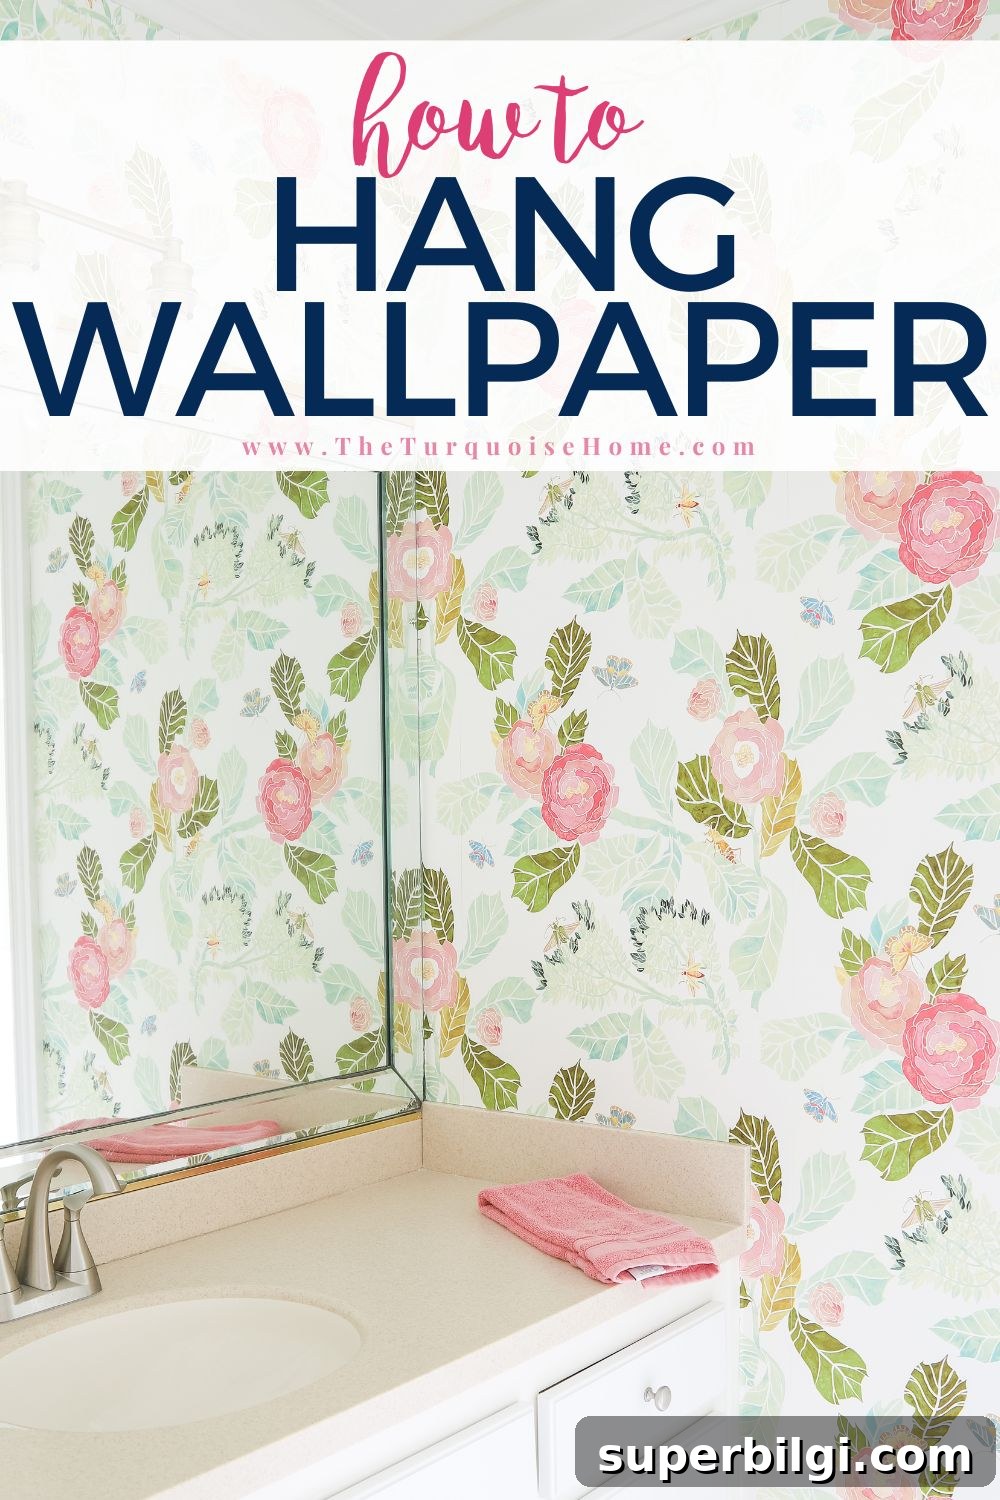
Although I first considered peel-and-stick, I fell for traditional pre-pasted wallpaper and decided to give it a try. Once I started, the process turned out to be much less intimidating than I expected, even with some tricky corners. I actually enjoyed it and plan to wallpaper more rooms in our home.
The finished wall was worth the effort and the few choice words I muttered while trimming around door frames. 😊
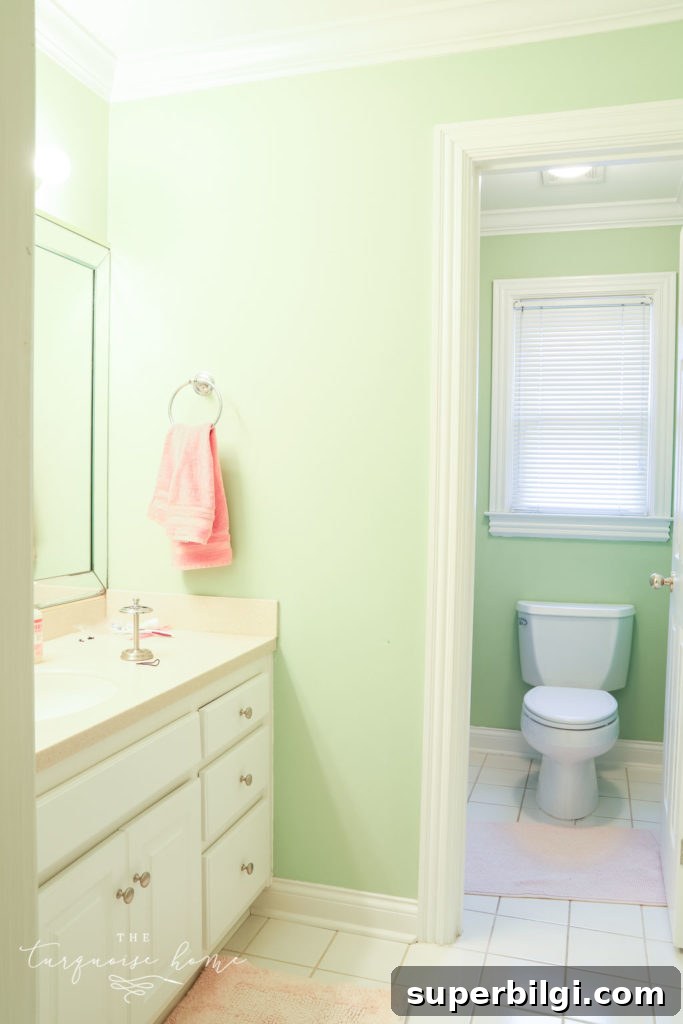
This project is part of the girls’ bedroom and bathroom makeover I’m working on. Below is a reminder of where we began.
This post contains affiliate links for convenience.
Wallpaper Installation Tips for Beginners
Below are the key things I wish I had known before I began. They’ll help you avoid common mistakes and feel more confident tackling your first wallpaper job.
Start in a less-visible room: For your first project, pick a secondary bathroom, closet, or a small bedroom rather than a main living area. I chose my girls’ bathroom, which meant fewer critics and lower stakes.
Choose a small surface: An accent wall or a small room reduces the amount of trimming and pattern-matching. Small spaces are more forgiving, though corners and multiple doorways can still be challenging.
Check level frequently: Use a level or plumb line as you hang each strip to avoid drift. I missed this at one point and had to trim and adjust a bit—something I would have noticed quickly with a chalk or plumb line.
Accept small imperfections: Unless you’re a pro, expect a few imperfections on your first try. They’re normal and often only noticeable up close.
Keep a fresh blade on hand: Change your cutting blade often—sharp blades make precise, clean cuts and save time.
Overestimate material needs: Calculate square footage and buy more than you think you’ll need. It’s easier to return unopened rolls than to run out mid-project.
Supplies You Will Need for Hanging Wallpaper
- Pre-pasted wallpaper (choose a pattern and quantity based on your room size and pattern repeat)
- Tape measure
- Pencil
- Seam roller
- Straight edge ruler or metal straight edge
- Level or plumb line
- Smoothing tool (a flexible plastic smoother is essential)
- Pump sprayer or wallpaper sprayer for activating the paste
- Sponge and bucket of clean water
- Razor trim knife with extra blades
- Drop cloth
- Step stool or ladder
Step-By-Step Instructions for How to Install Wallpaper
Always follow the manufacturer’s instructions for the specific wallpaper you buy. Below is the general method I used to hang pre-pasted wallpaper successfully.
1. Prep the walls
Fill holes and imperfections with spackle, sand smooth, and clean the surface. If your product recommends a wallpaper primer or sizing, apply that first. Also remove or replace any light fixtures and hardware that will get in the way.
2. Measure and choose your starting point
Pick a starting point that’s less noticeable—behind a door or in a corner. Measure the wall and plan where pattern repeats will fall so you can minimize visible seams and maximize whole pattern matches on main sight lines.
3. Cut wallpaper slightly longer than the wall
Cut each strip a couple of inches longer than the wall height so you have material to trim at the ceiling and baseboard. Always check each strip for level alignment before moving to the next one.
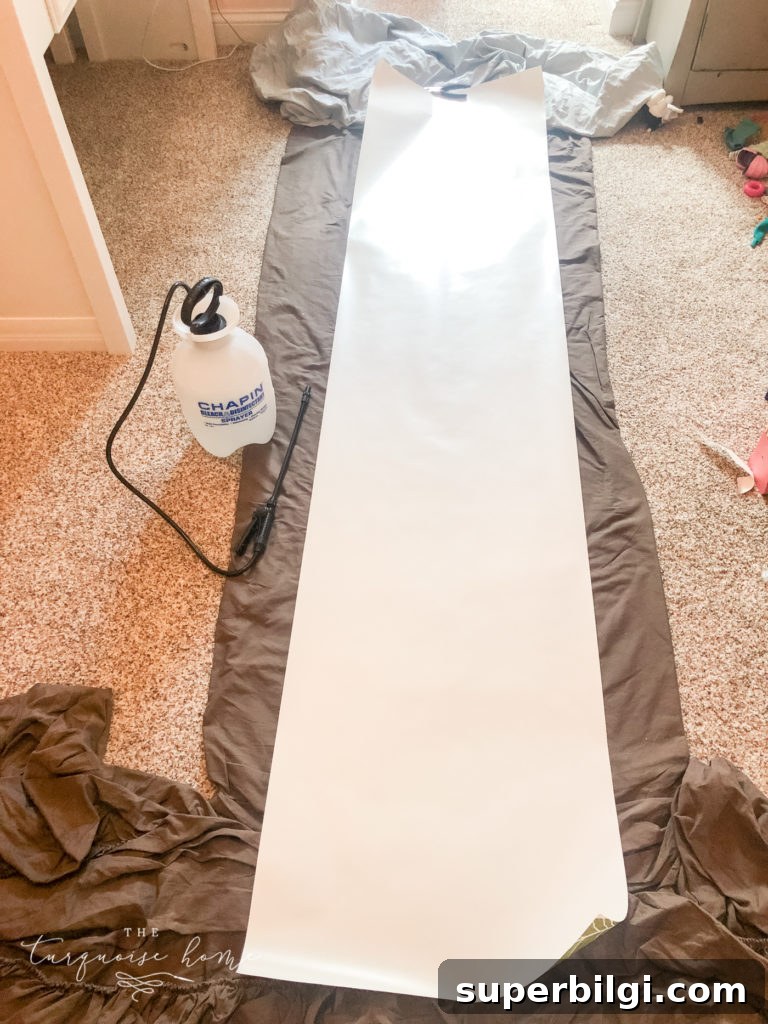
4. Lay the wallpaper pasted-side up and mist with water
Lay the strip on a protected surface and mist evenly with water according to the wallpaper instructions, focusing on edges. Use a pump sprayer or wallpaper sprayer for an even application, and protect your floor with a drop cloth.
5. Book the paper and let it rest
Fold each long edge toward the center (paste to paste) without creasing, then roll the strip like a newspaper. Let it rest for 2–3 minutes—this helps the paper relax and the adhesive to activate, making it easier to handle and hang.
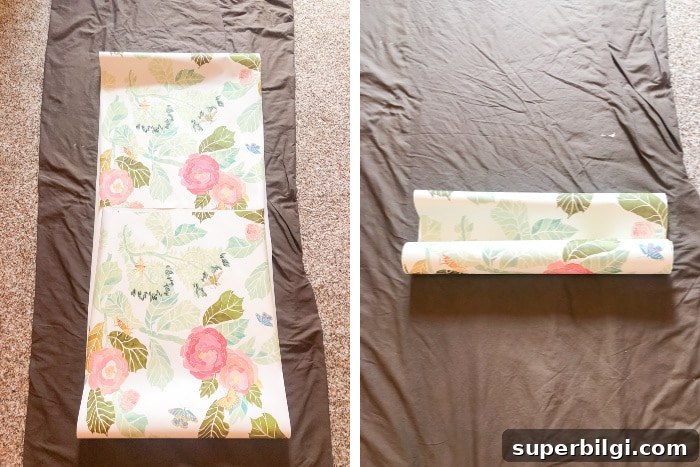
6. Apply the top half to the wall
Unfold the top section and align it at the ceiling or your starting point. If your wallpaper has a repeatable pattern, carefully match the pattern edge as you apply each strip.
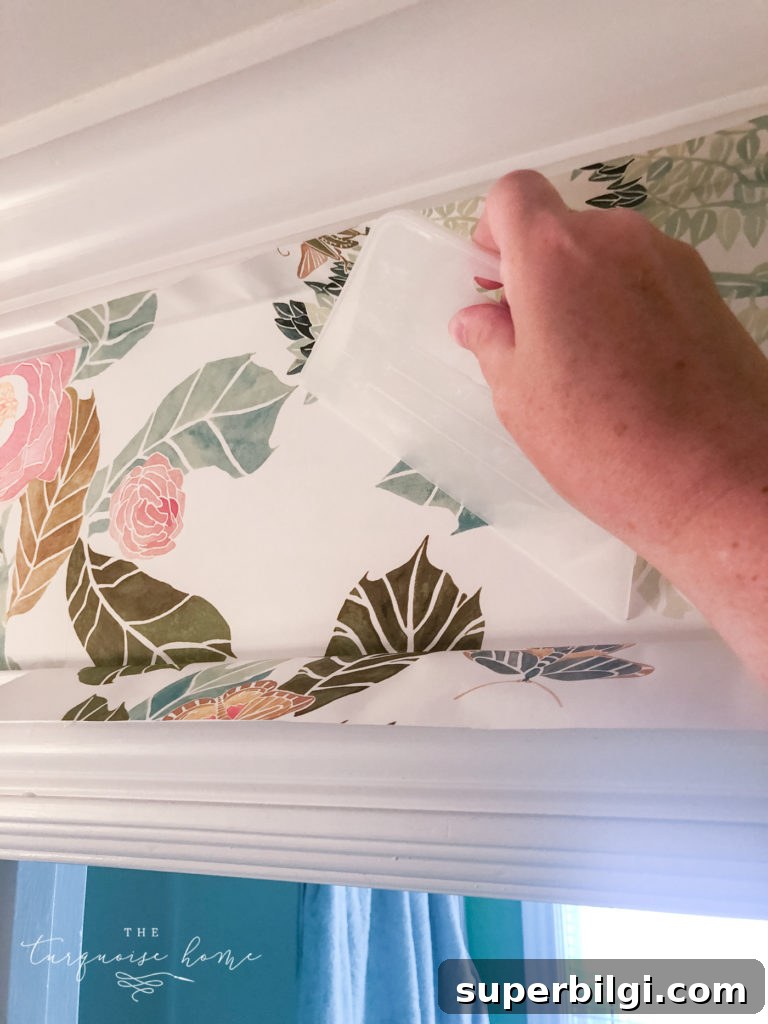
7. Smooth out air bubbles
Use a smoothing tool to gently push air and excess paste from the center outward and from top to bottom. This step is incredibly satisfying and essential for a smooth finish—don’t skip the smoother.
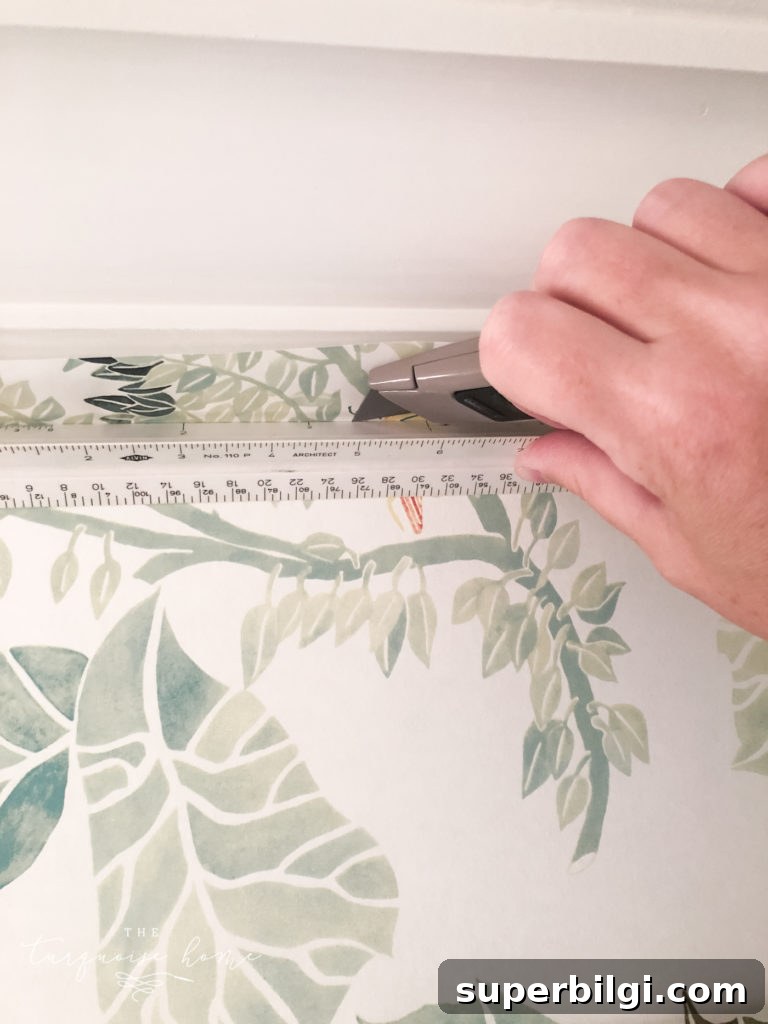
8. Trim excess paper
Trim the top and bottom with a straight edge and a fresh razor blade. Change blades often for clean cuts. Corners and multiple cuts are the trickiest parts—sharp blades and patience make a big difference.
9. Clean seams and seal
Run a damp sponge over seams and wipe away any excess paste. Use a seam roller to press seams together firmly. If adhesive begins to dry before you finish, a damp sponge will reactivate it enough to make adjustments.
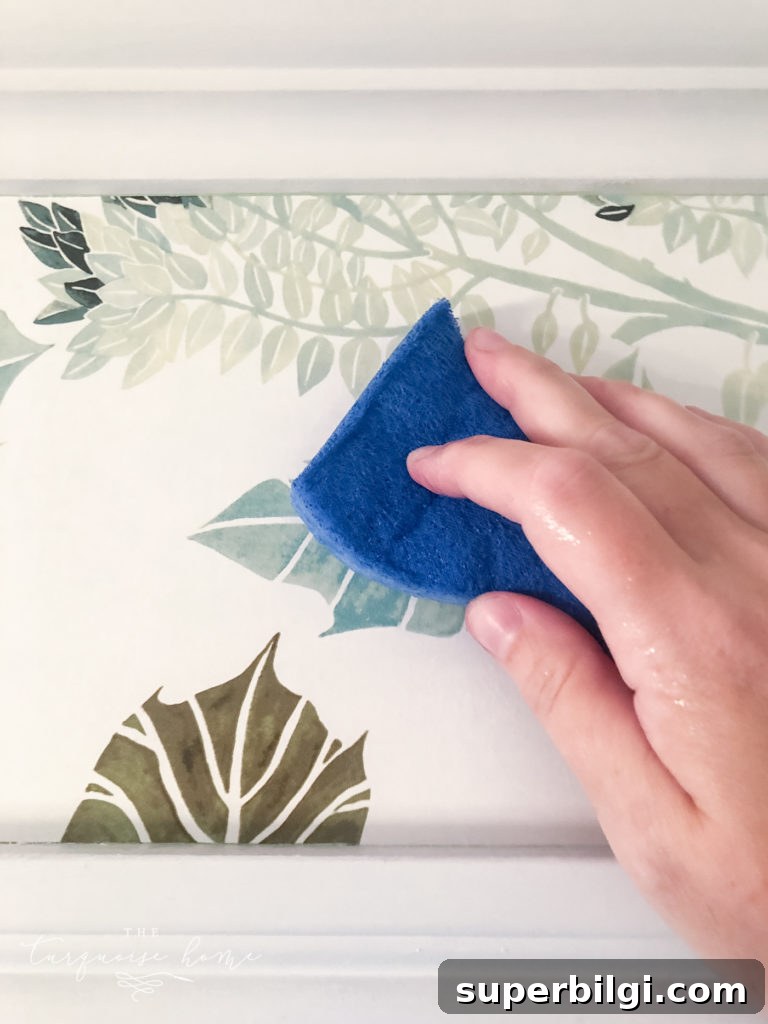
Repeat these steps for each strip until the room is complete. Take breaks as needed—patience is key.
I loved watching the girls’ lime-green bathroom transform into a colorful, jewel-like space that ties their bedroom and closets together.
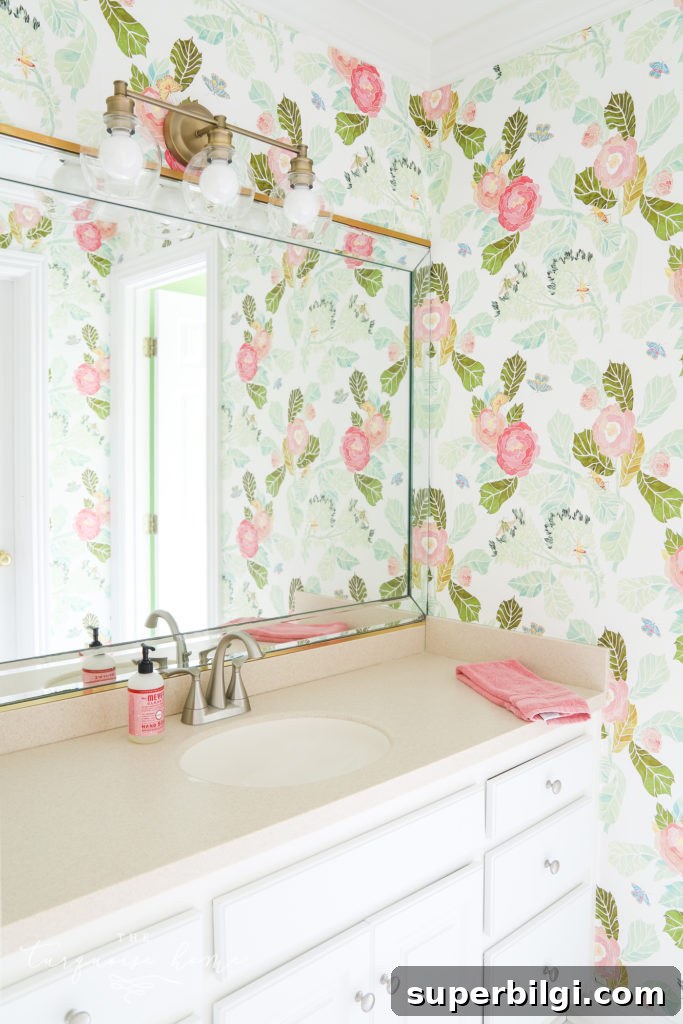
The new wallpaper complements the bedroom paint and the aged brass vanity light we added. I might tweak the water closet paint later, but the wallpaper already elevates the entire space.
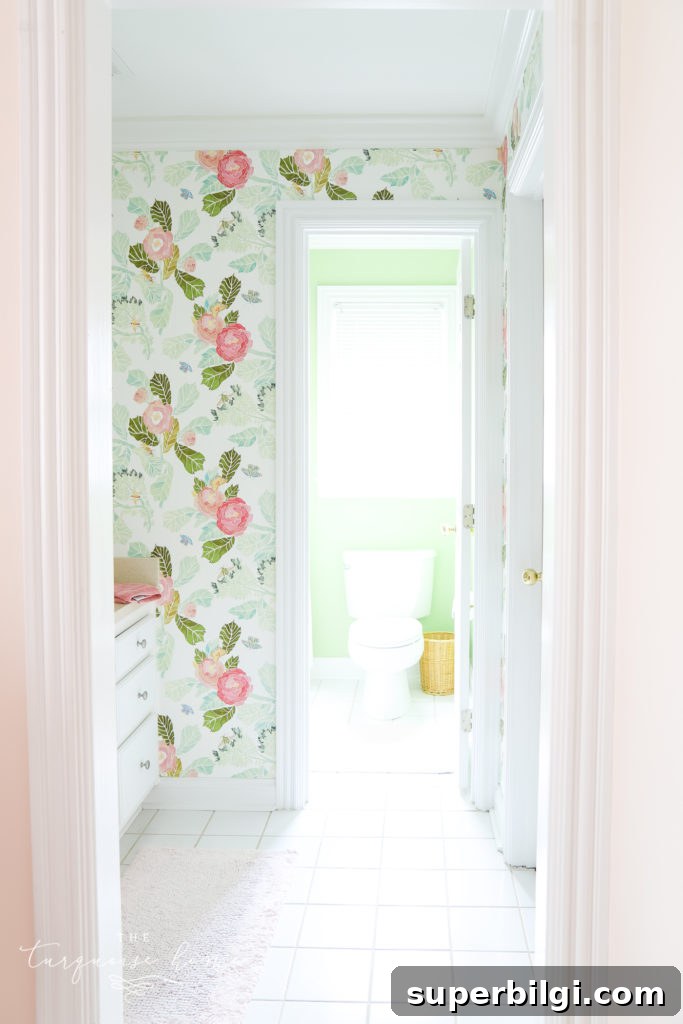
Isn’t the pattern delightful? It made a dramatic and joyful update to a small bathroom.
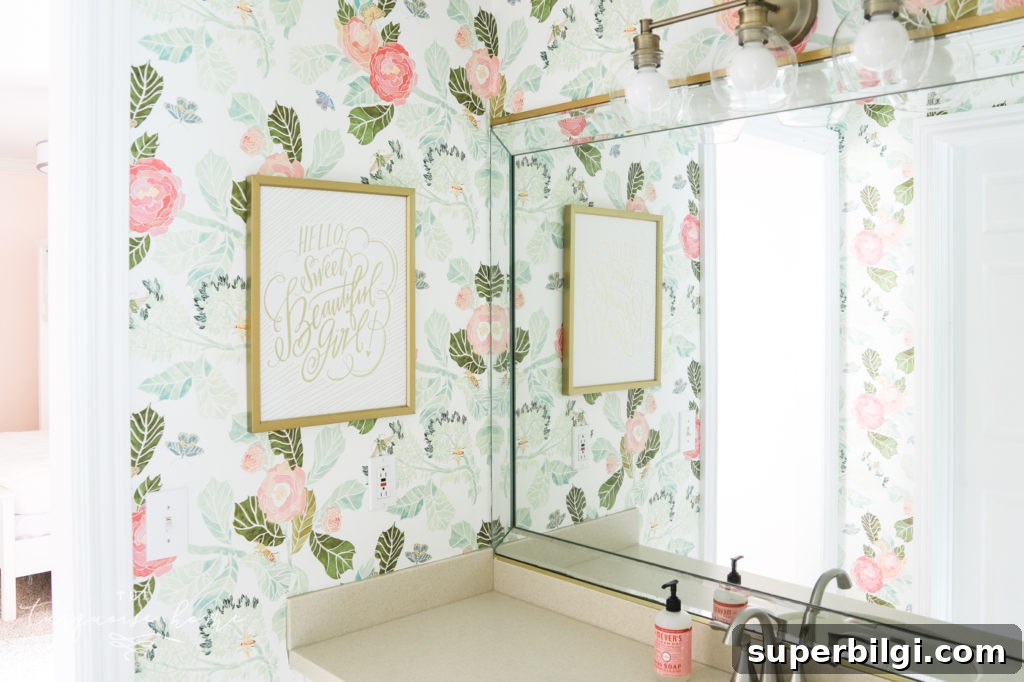
The result felt worth every minute. If you follow these steps and take your time, pre-pasted wallpaper is definitely something a beginner can handle.
Project status and next steps for the girls’ makeover:
- Paint the bedroom walls (sample chosen and matched)
- Install wallpaper in the adjoining bathroom — completed
- Plan loft/bed layout (purchase pending)
- Update bedding and complete window treatments
- Find or refinish a dresser and paint it white
- Hem curtains and finalize ceiling fan replacement
More posts you may enjoy
- How to Install Paste-on-Wall Wallpaper
- How to Select Wallpaper {Decorating 101}
- Traditional Dining Room Reveal
- 20 Best Nursery Paint Colors and Accent Wall Ideas
- Blue & Green Traditional Powder Room Reveal