
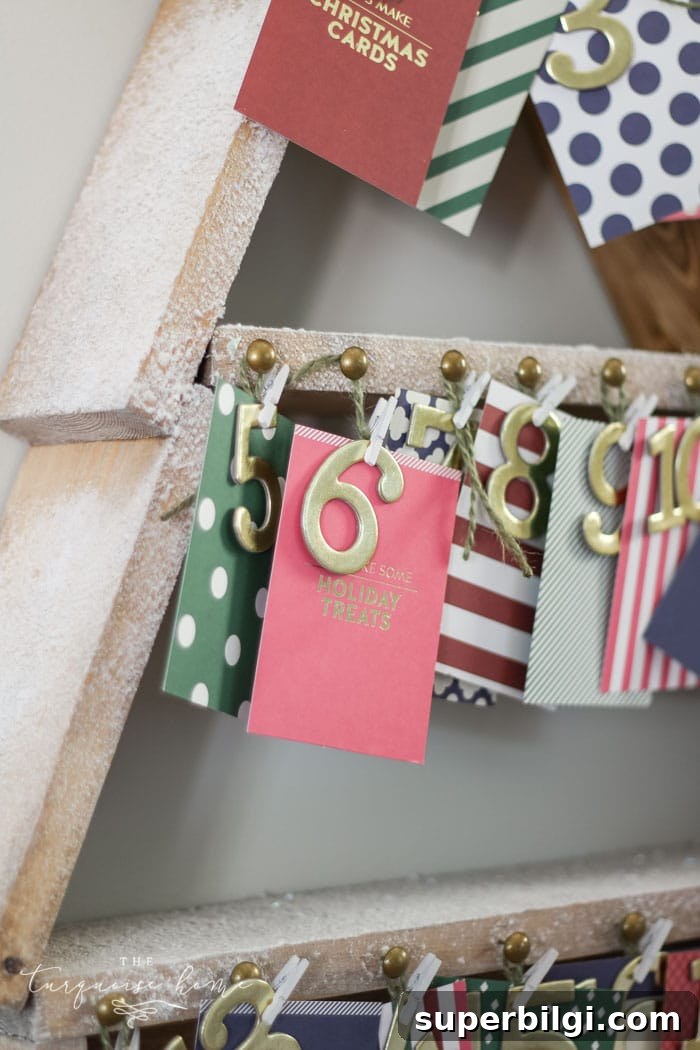
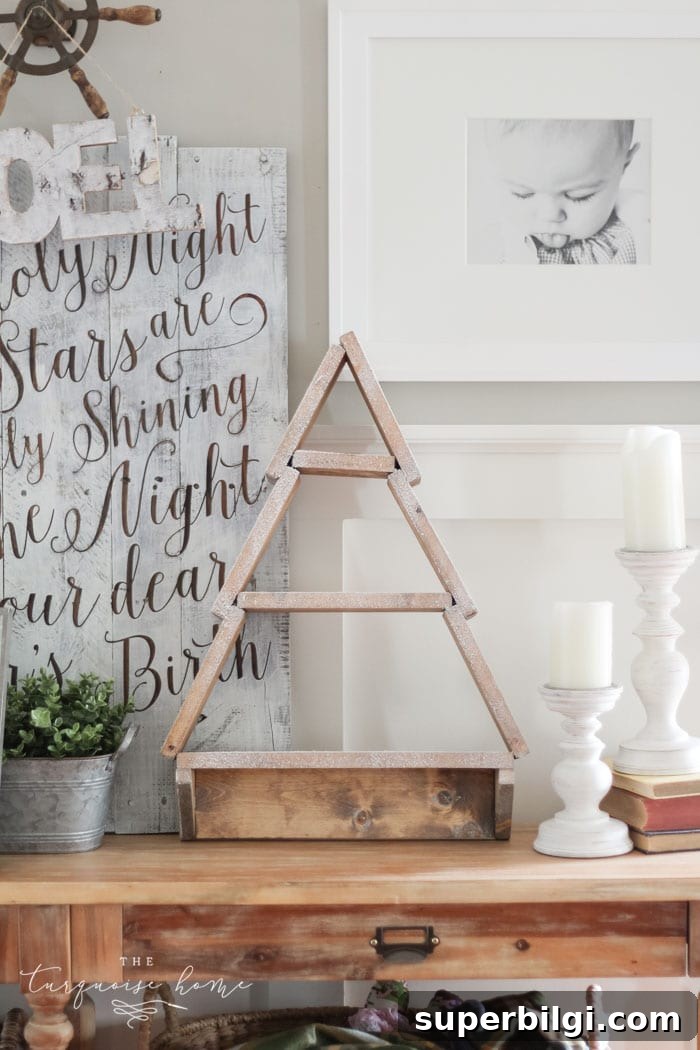
Make this adorable snowy Christmas tree shelf from a few common boards and basic tools. It becomes the perfect spot for an advent calendar so you can count down the days until Christmas in style.
I absolutely love an advent calendar — there’s something magical about opening a small treat or doing a festive activity each day leading up to Christmas. This DIY Snowy Christmas Tree Shelf gives your advent calendar a charming home, keeps it out of reach of little hands, and adds a cozy, seasonal display to any wall.
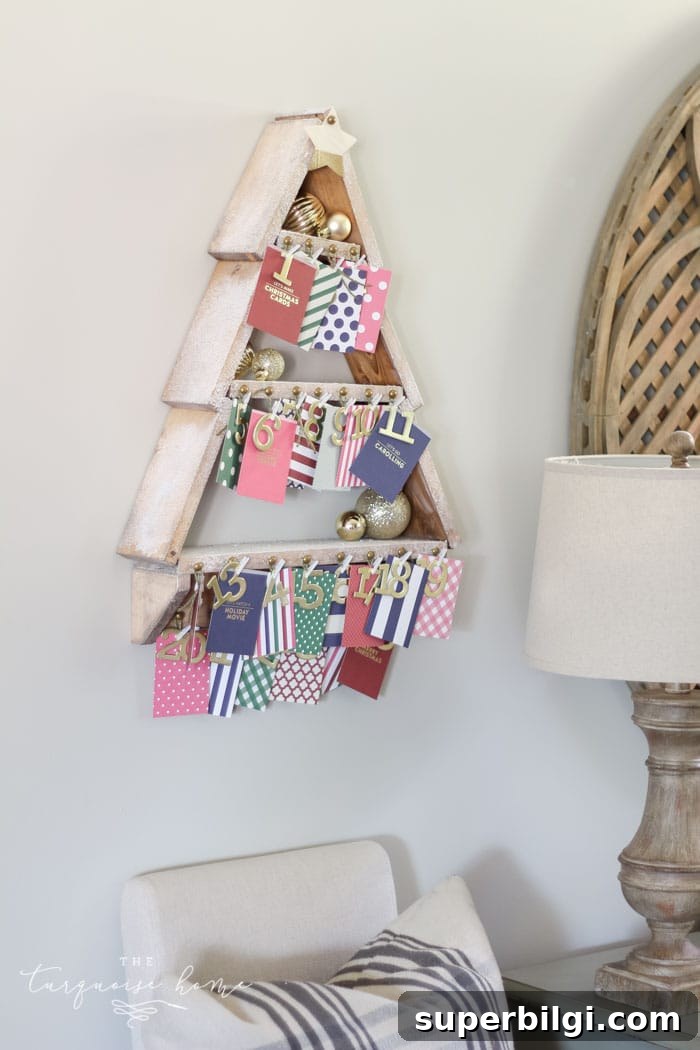
At the time of this writing, the supplies for this tree shelf cost less than $25. This project was originally shared as a do-it-yourself workshop idea. It’s simple, affordable, and customizable — you can make it rustic, modern, painted white for a snowy look, or stained for a warmer finish.
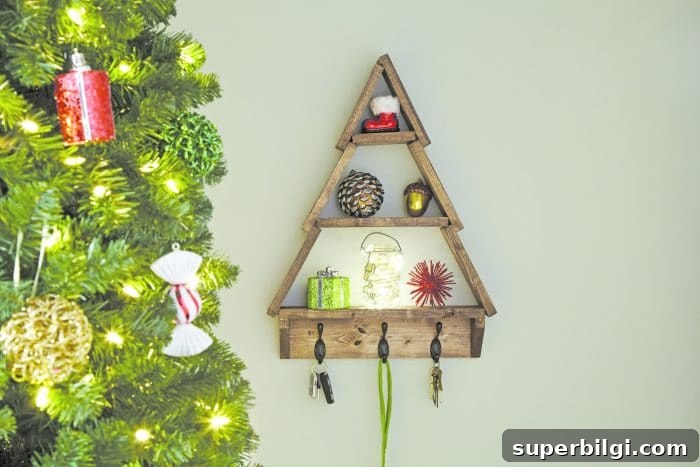
When I first saw the tree shelf design I loved the look, but needed it to serve my family’s needs. I didn’t need hooks for keys, but I did need a secure, elevated spot for our advent calendar — somewhere the kids couldn’t constantly rearrange the cards. Previously I’d hung the calendar on a kitchen chalkboard, but tiny, curious fingers made that a poor location. The tree shelf solves that problem and looks delightful on the wall.
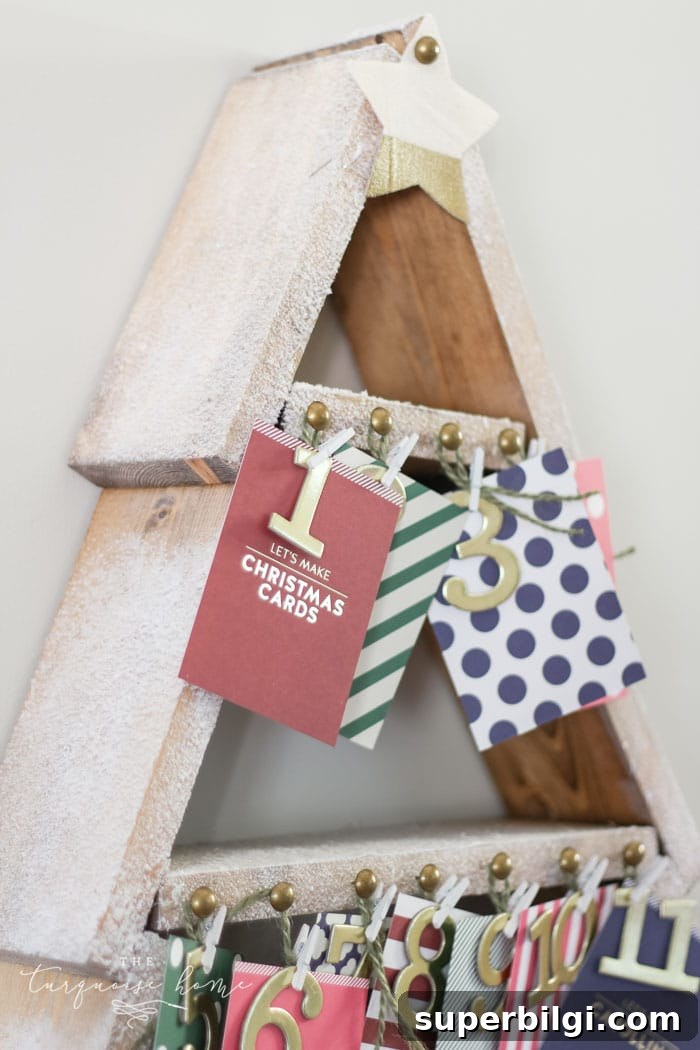
This shelf can be adapted for many uses: a decorative display, a hook rack for keys, or the central home for your seasonal advent cards. I recommend hanging it high enough to keep delicate items safe but low enough to enjoy. Customize the paint, stain, and embellishments to suit your holiday décor.
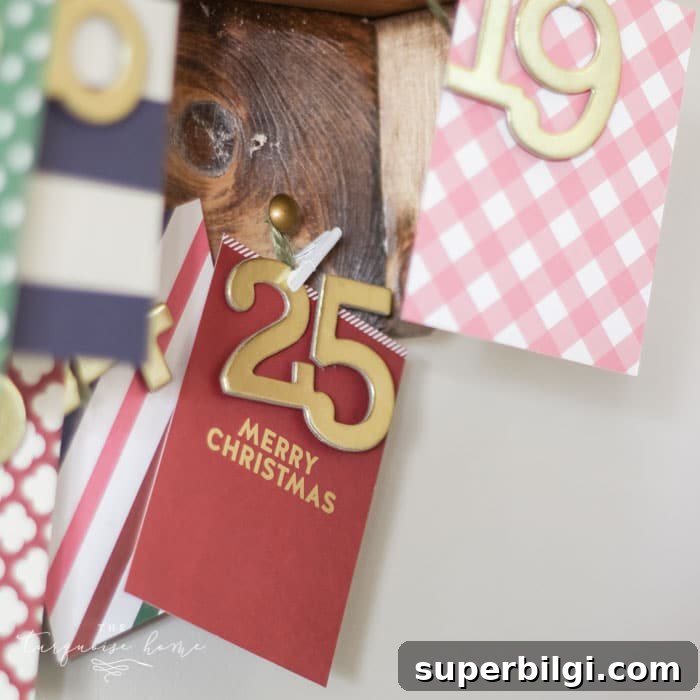
If you attend a weekend workshop or set aside a few hours at home, you can cut, assemble, and finish the shelf in a day. From there, decorate it however you like — keep the design simple, or add layered details and snowy accents for a fancier finished look.
What You Need to Make a DIY Christmas Tree Shelf + Advent Calendar
- 2 pieces of 1 x 4 x 6 common pine boards
- 2″ screws (a few; the original build used three)
- Pack of 2″ brad nails
- Pack of 1 1/4″ brad nails
- Wood glue
- Picture hanging hardware or a picture hanging kit
- Stain or paint of your choice
- Brass nail tacks or small finishing nails
- Chipboard numbers for the advent days (optional: paint or glitter them)
- Scrapbook paper for pockets or cards
- Mini clothespins or small clips
- Optional: flat black heavy-duty hooks and 3/4″ screws if you want hanging hooks
Tools:
- Circular saw
- Brad nailer
- Drill and 1/8″ drill bit
- Measuring tape
- Carpenter’s square
- Clamps
- Pencil
- Safety goggles
- Sanding block
How to Build a DIY Christmas Tree Shelf
Step 1 — Measure and Cut. Measure carefully and follow a cut list. I measure and cut one piece at a time and then use that first cut as the template for any identical pieces so they match precisely.
Suggested cut list:
- 5 pieces at 8″
- 1 piece at 7 1/4″
- 1 piece at 16 1/2″
- 1 piece at 15″
- 2 pieces at 3 1/2″ (these will be notched for shelf supports)
- 1 piece at 5″
- 1 piece at 10 1/2″
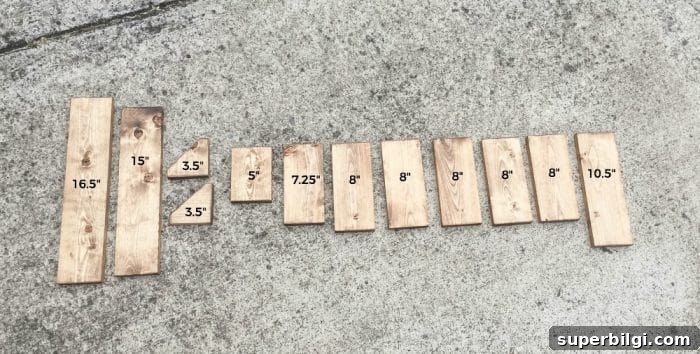
For the 3.5″ shelf-support pieces, mark and remove a small triangle from opposite corners so they seat neatly under the shelves. Measure 3/4″ from the top right and bottom left and trim the excess as shown in the photos. Clamp securely and wear eye protection when cutting.
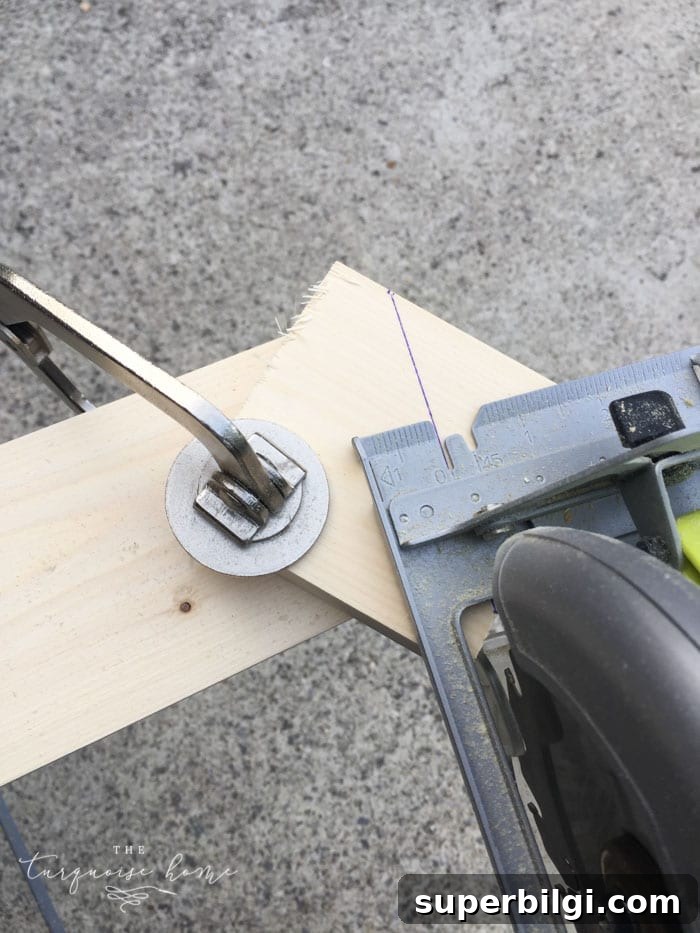
Step 2 — Sand. Use a sanding block to smooth any rough edges and prepare surfaces for paint or stain.
Step 3 — Finish the wood. Stain or paint the boards as desired. The example shown used a warm stain with a light whitewash for a snowy, weathered look.
Step 4 — Assemble the sides. Create Side A by overlapping three 8″ boards by 3/4″ each and fastening with 1 1/4″ brad nails. Create Side B by overlapping two 8″ boards and one 7 1/4″ board in the same way. Apply glue at all joints and allow to dry for stability.
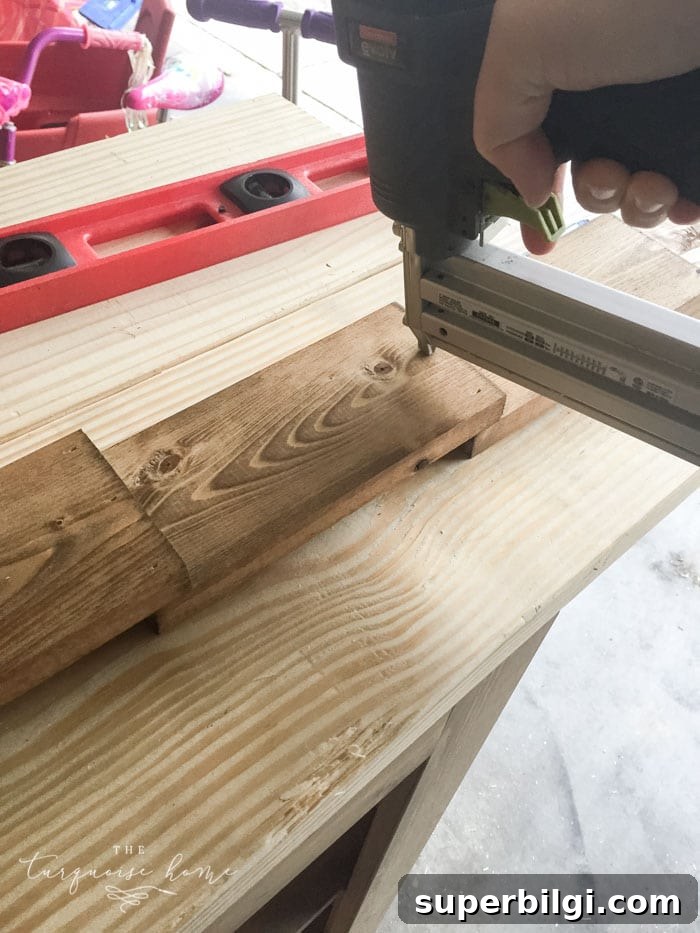
Step 5 — Join the sides at the top. Align Side A and Side B at the top so the shorter section sits below the longer one. Nail through the top of Side A into Side B with 2″ nails to secure the union.
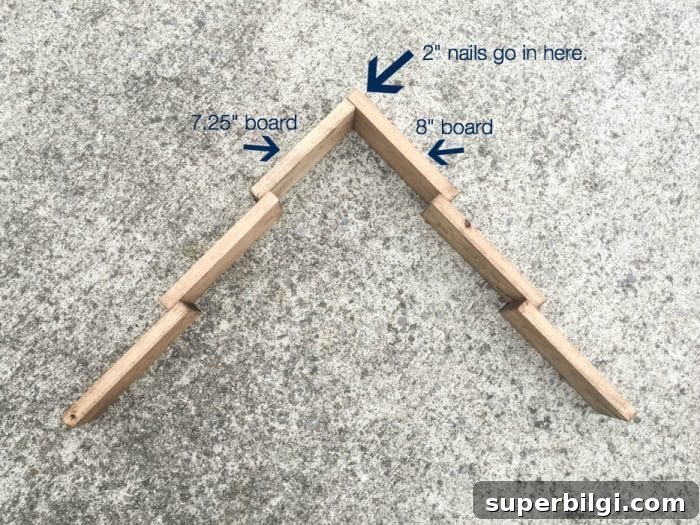
Step 6 — Form the tree shape. Carefully bend the assembled sides outward until the distance between them equals 16 1/2″. Use the 16 1/2″ board as a guide while bending. If you glued the sides properly before, they should hold their shape while you work.
Step 7 — Attach the shelves. Fasten the bottom shelf (16 1/2″) to the two sides with wood glue and 1 1/4″ brad nails. Then attach the remaining shelves in their positions the same way.
Step 8 — Build and secure the bottom section. Place the 15″ board perpendicular to the bottom shelf, leaving room for the shelf braces. Attach with 1 1/4″ brad nails and then secure with screws; pre-drill holes to prevent splitting. Add the trimmed shelf braces to each side using glue and nails.
Step 9 — Add hanging hardware. Attach a sturdy picture hanger across the back of the shelf so it can be hung safely on a wall hook. Properly installed hardware will support a good amount of weight — still use common sense when placing heavy items on the shelves.
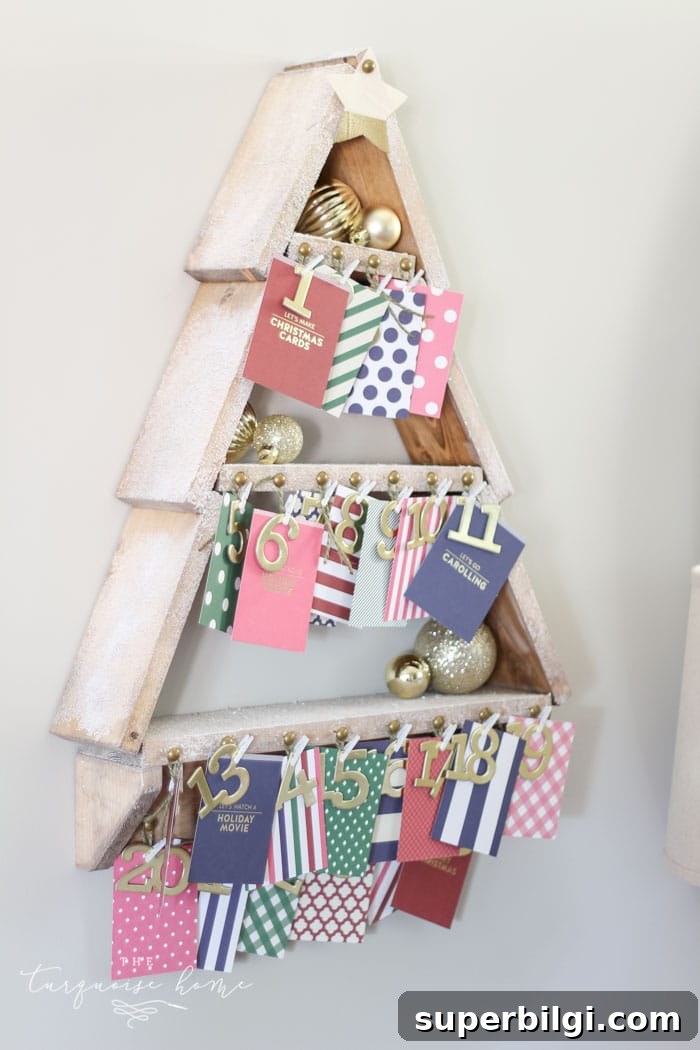
Step 10 — Embellish and arrange the advent calendar. Add small brass tacks or finishing nails along the front edge of each shelf and tie green twine between them. Clip advent cards, numbers, or small treats to the twine with mini clothespins. Alternatively, install small hooks for hanging items or keys.
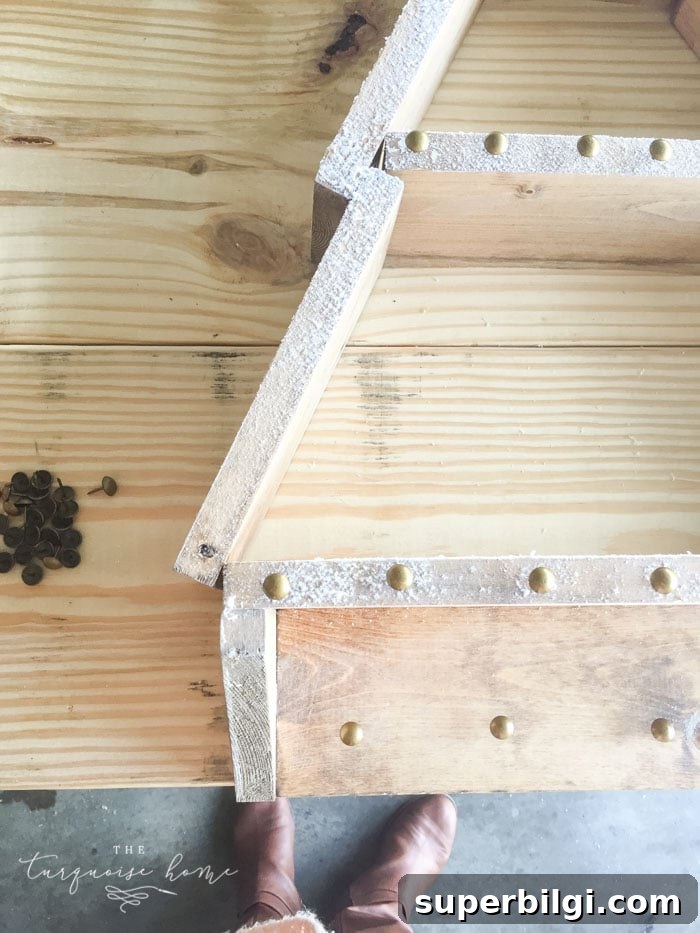
Clip your advent numbers and cards in order, hang the shelf on the wall, and enjoy a tidy, attractive countdown to the holidays.
Ideas for Making Your Own Advent Calendar
You can craft an advent calendar using holiday-themed scrapbook paper, small envelopes, or folded cards. Write an activity or treat idea on the back of each card to create memorable family moments. Paint chipboard numbers, use glitter, or spray-paint them gold for a polished look.
- Make a paper chain countdown for the kids’ bedrooms
- Write letters to Santa
- Create and send Christmas cards
- Make paper crowns and discuss the story of the Wise Men
- Bake holiday treats together
- Watch short, funny Christmas videos as a family
- Decorate the Christmas tree
- Visit Santa or a holiday display
- Make a simple homemade present and add a printable gift tag
- Open a small present together
- Read a favorite Christmas story
- Enjoy hot chocolate and a cozy chat
- Go ice skating
- Decorate Christmas cookies
- Create playdough snowmen
- Give a small gift or act of kindness to someone in need
- Watch a classic Christmas movie
- Have a holiday music dance party
- Decorate gingerbread houses
- Host a family game night
- Go caroling or sing together
- Color a Christmas coloring page
- Make paper snowflakes
- Drive around to look at Christmas lights
- Leave out milk and cookies for Santa
If you have other advent ideas or variations that worked well for your family, try them on the shelf — it’s a flexible display that can be updated year after year. Happy building and merry decorating!
More posts you will love: check other seasonal DIY projects and easy holiday decorating ideas to complement this snowy tree shelf.